Search This Blog

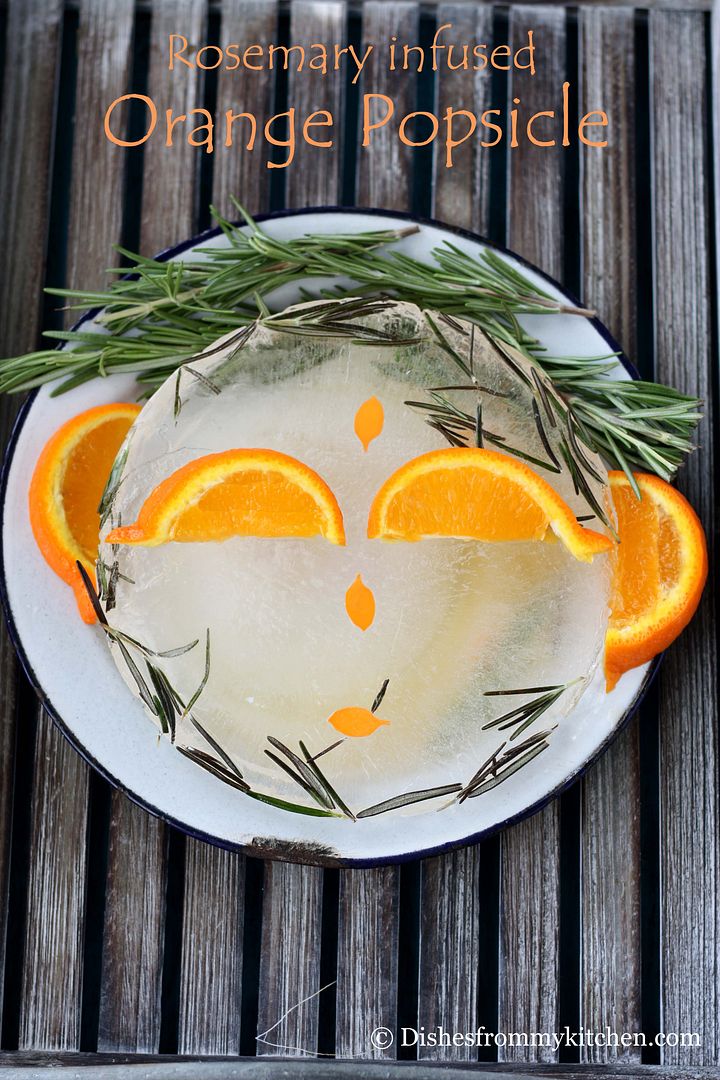
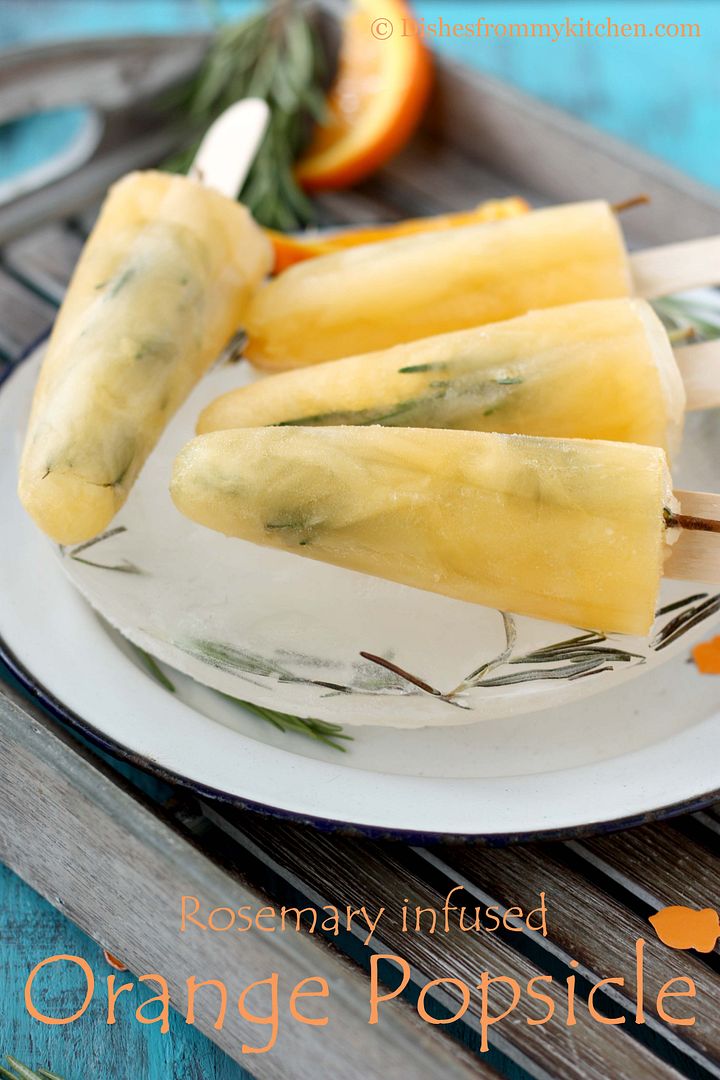
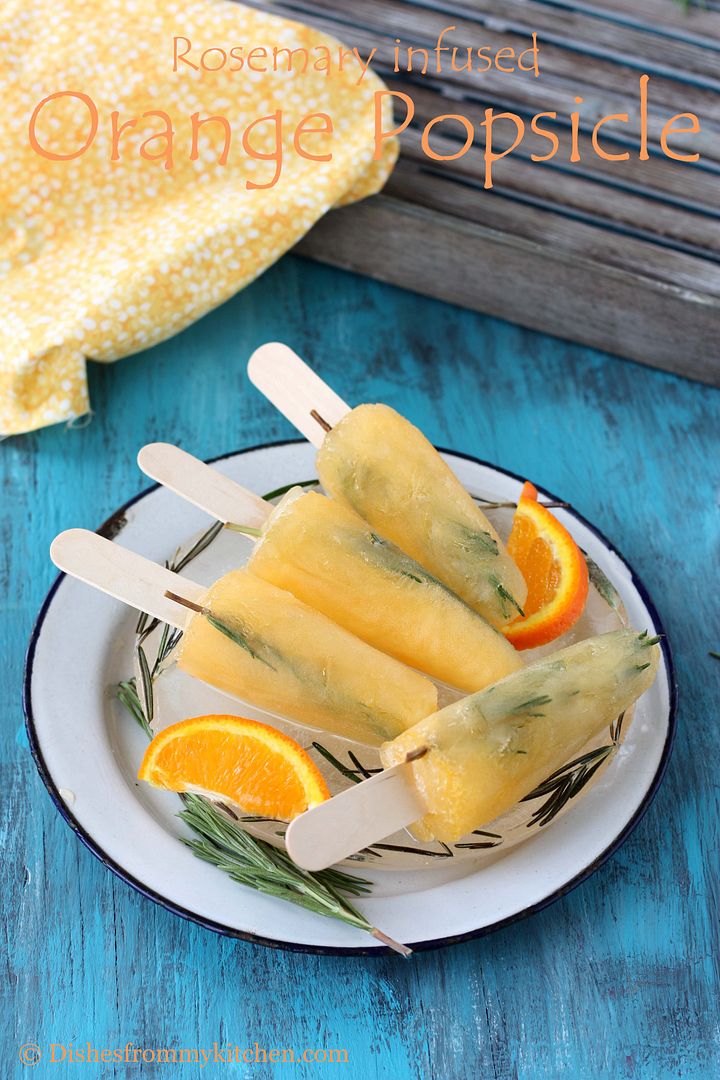
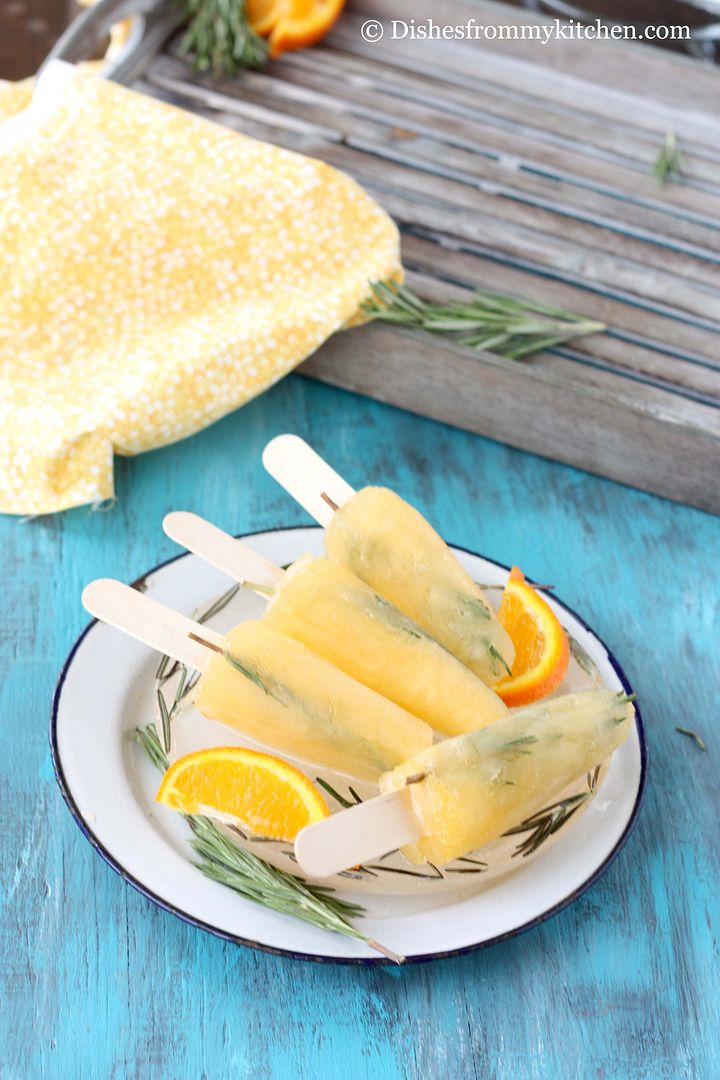
ROSEMARY INFUSED ORANGE POPSICLE - UNBEATABLE COMBINATION !!!!

 
Its already summer vacation here and I am enjoying the time with my kiddo and also keeping him occupied with some activities as well.  Lately it’s becoming very hot and the only way to beat the summer heat is to enjoy fresh fruits, Juices, Smoothies, Ice cream, and Popsicle etc.  

Popsicle certainly brings back my childhood days, I know everyone have their own sweet memories :)  I still 
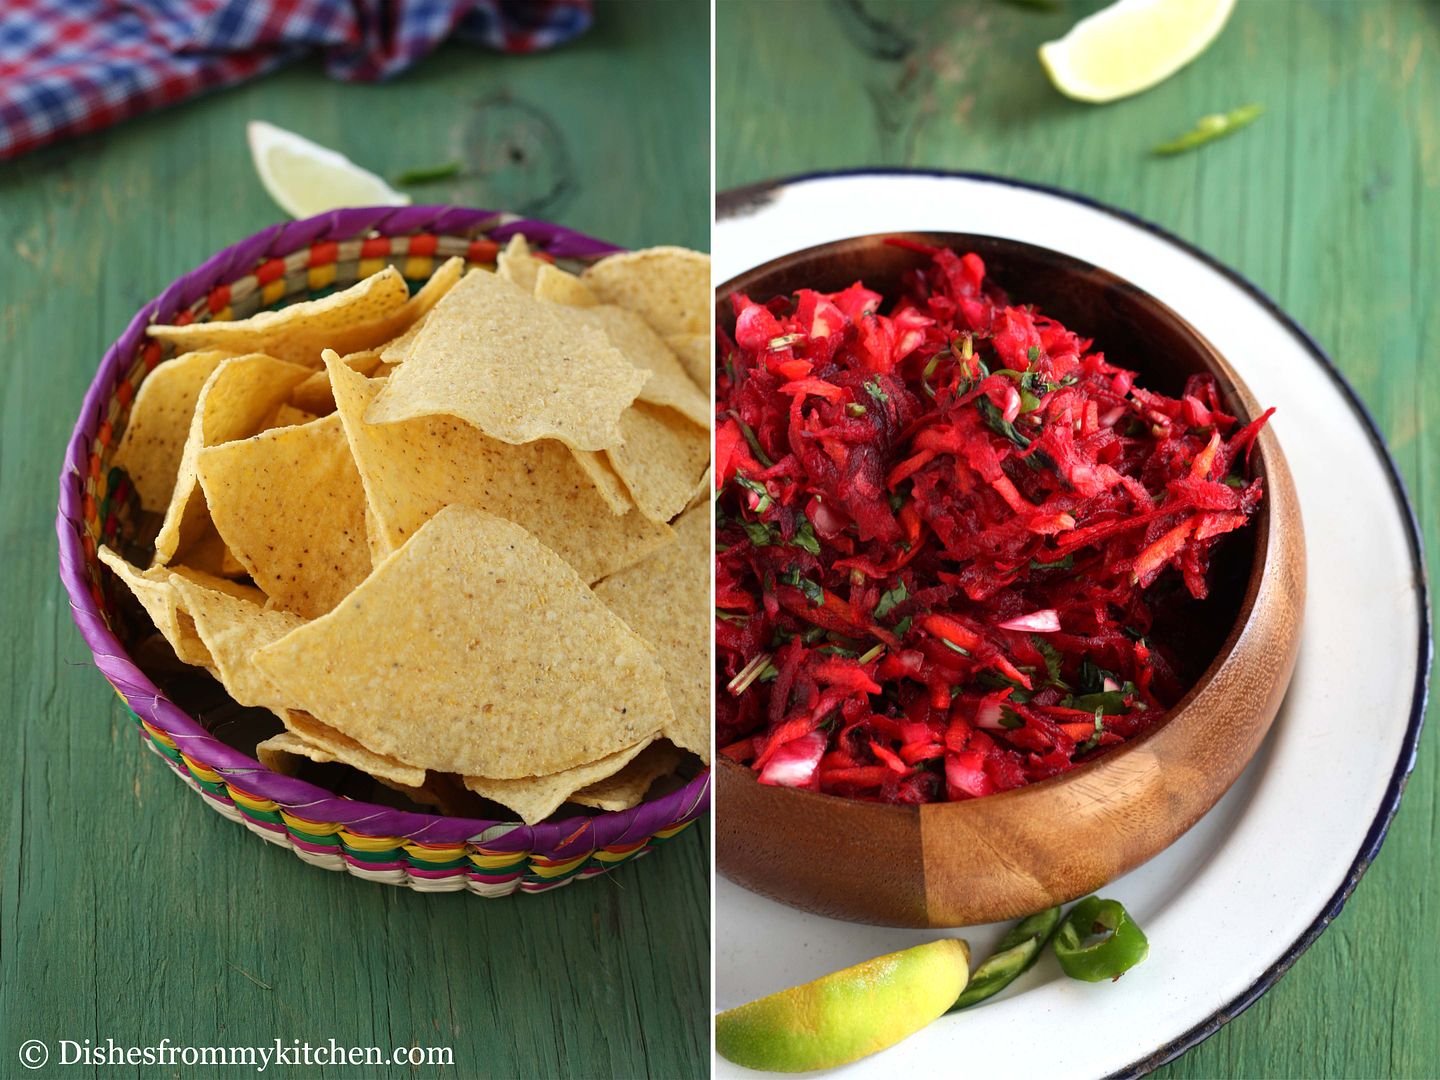
remember making Popsicle with my cousins, we used to pour the rose flavored milk mixture, Rasna (It is an artificial orange juice in India), fresh juices etc in the Ice cube tray and enjoy licking them sitting in the patio by chitchatting, I badly want those days back :)

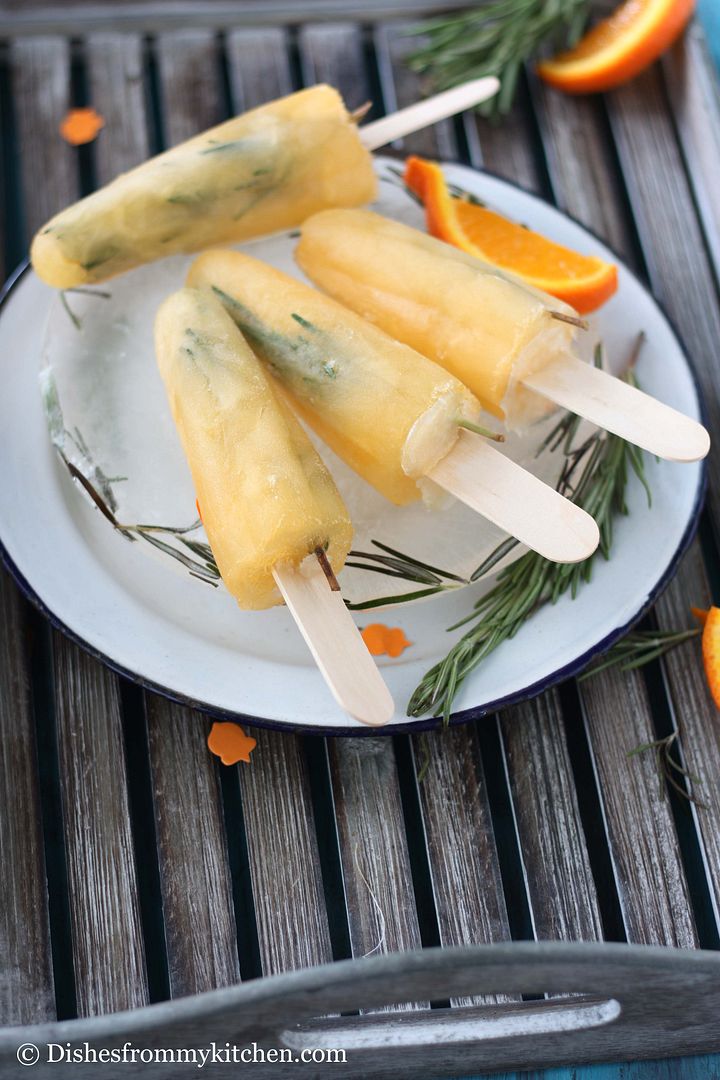
Here you go make and enjoy Rosemary infused Orange pops.  I always love the combination of citrus fruits with the herbs, it’s so refreshing and the flavor is unbeatable. 


Rosemary Infused Orange Popsicle

For simple Syrup:

The simple syrup we are preparing is little bit more than what we need.  The quantity depends on the sourness of the orange, so add more or less simple syrup according to your preference.

Sugar - 1 1/2 cup
Water - 1 1/2 cup
Rosemary - 2 small sprig (chopped) 


For Popsicle :

Orange juice - 2 cups
Simple Syrup - as needed
Lemon Juice - 2 tsp
Salt - pinch of salt
Zest of 1 orange (optional)
Few rosemary sprigs for inserting into the molds (optional)


Method :
   
1.  Bring water and sugar for boil.  Let it boil until the sugar dissolves completely and let it boil for couple of minutes.
2.  Switch of the heat and add the rosemary sprig.  Allow to steep and cool.
3.  Extract the juice of the Orange, strain and keep it aside.
4.  In a bowl mix the orange juice, 3/4th of simple syrup (remove the rosemary), salt and zest if using.  Stir until well combined.
5. Taste for sweetness and add more simple syrup if needed.  When tasting it has to be too sweet because when you freeze it lose some sweetness
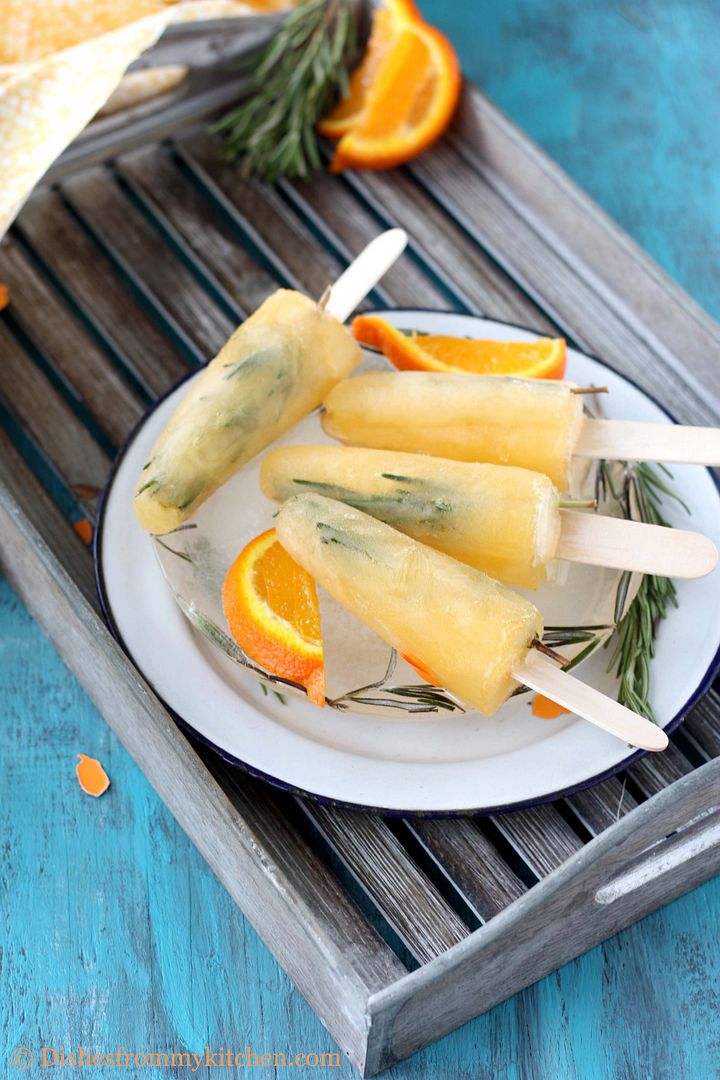
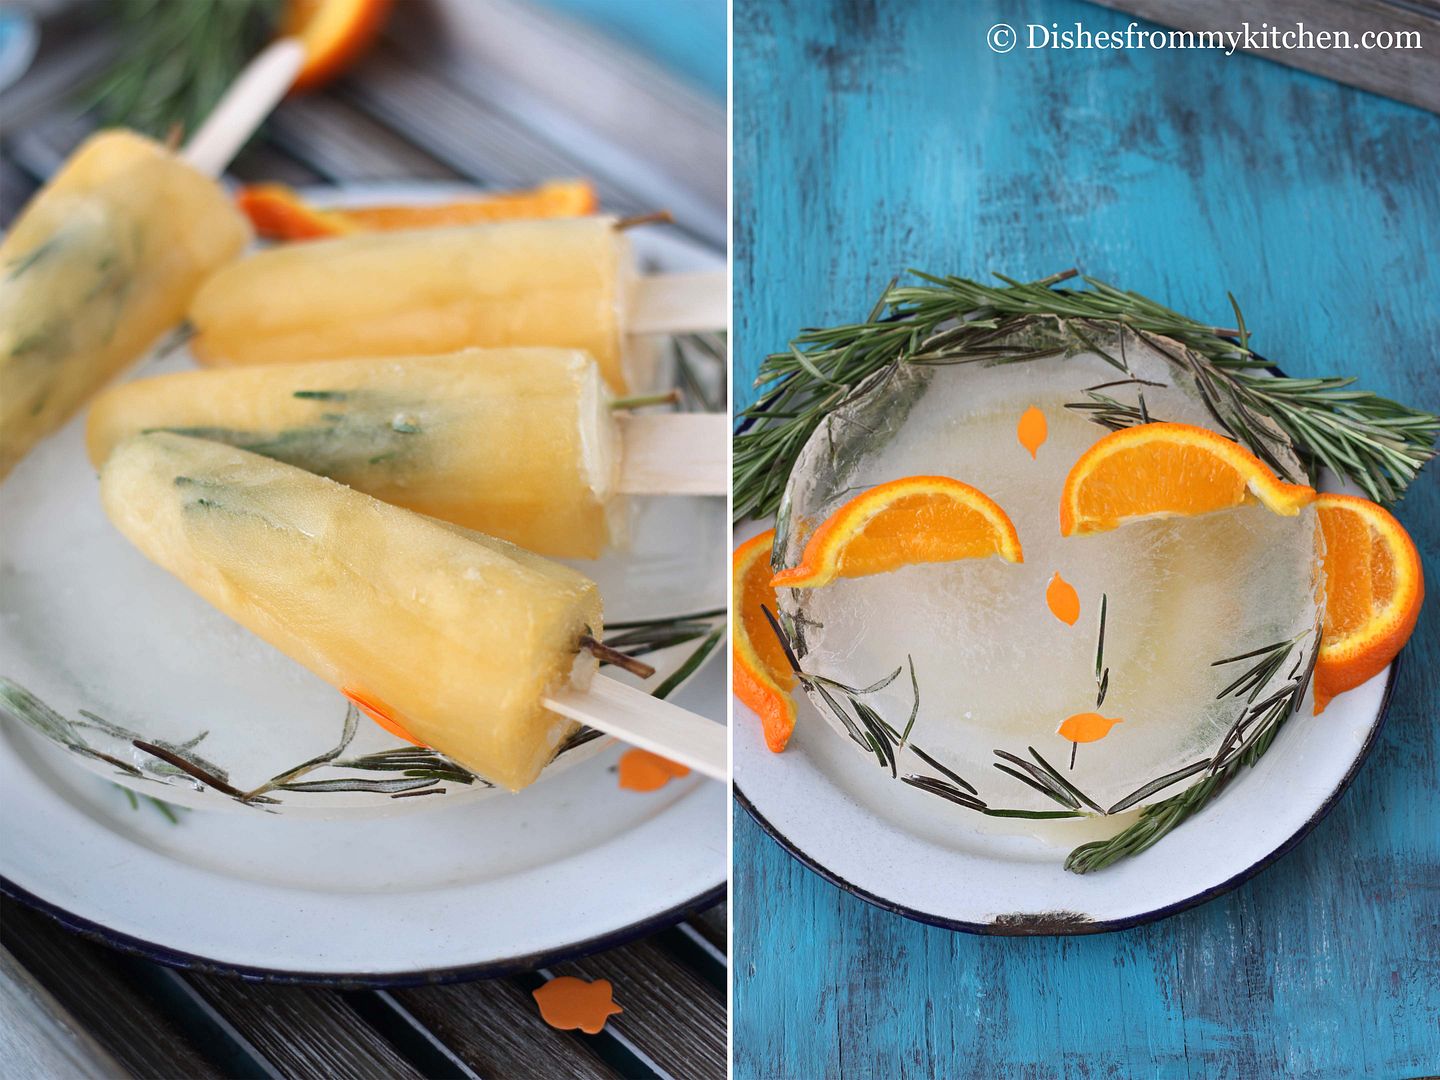
6. Pour the liquid mixture in the molds, insert rosemary sprigs inside the molds and also insert sticks.
7. Freeze for about 5 to 6 hours or even overnight.  It has to be completely solid.
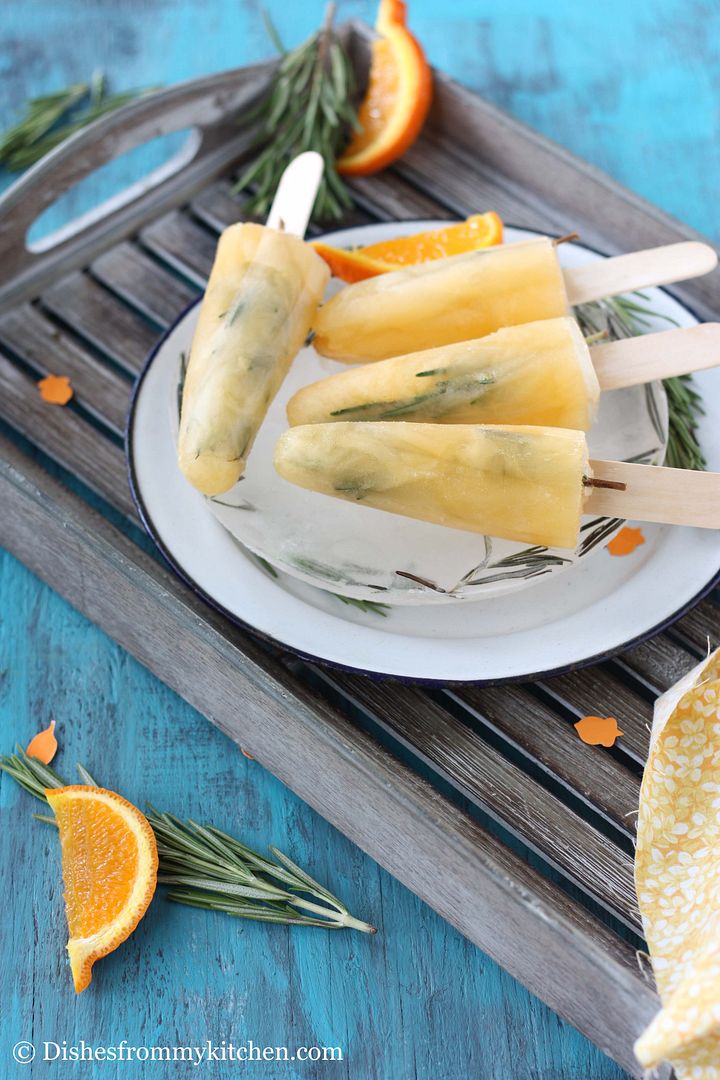
8. Unmold when you are serving.


Tip:

1. If you are using wooden pop sticks, soak them for an hour in warm water.  This helps them floating up when inserted into molds.
2. Run warm water around the mold to easy release.

Read more...

Double Chocolate Banana Bread - For your everyday breakfast !!!


I have been searching my old dairy for a particular recipe and saw my old treasure, double chocolate banana bread recipe which I used to do a lot when I was in Singapore.  This is mind blowing bread for a chocolate lover. I always end up making banana bread, muffin or cake using ripen banana.   But the addition of intense dark cocoa and bitter sweet chocolate chunks to the banana bread makes it really delectable.  This is a world of chocolatey goodness.  The combination of double chocolate, banana and nuts is the perfect way to start a day and this combo is like match made in heaven.  The best thing is it is very easy to make without any fancy ingredients.  

Here are few other suggestions for over ripen Banana....


Double Chocolate Banana Bread


Ingredients:

I used 8cmX17cmX6cm tin

All purpose flour - 120 gms
Unsalted butter - 110gms (room temperature)
Banana - 200gms (Mash them using fork)
Brown sugar - 100 gms
Unsweetened Cocoa powder - 60gms (I used dark cocoa powder, which I love a lot but you can use any unsweetened cocoa powder)
Baking soda - 1/2 tsp
Egg - 2
Yogurt - 30gms
Nuts pecan or walnuts - 60gms (slightly toasted and roughly chopped)
Bitter sweet Chocolate chunks - 60gms
Vanilla extract - 1 tsp


Method:

1. Sieve the flour, baking soda and cocoa powder.
2. Preheat the oven to 325 f.
3. Beat the butter and brown sugar until creamy.
4. Then add one egg at a time and continue beating.
5. Now add the yogurt, mashed banana and Vanilla extract whisk until everything comes together.
6. Add the sieved flour mixture to the wet mixture in 2 additions.
7. Now stir in the chopped nuts and chocolate chunks.
8. Pour the batter into the prepared baking tin, level them using the spatula.
9. Bake for 50 to 60 minutes until the center comes out clean. 
10. Remove from the tin and cool them completely before you slice them.

Read more...

CURRY FLAVORED FRIED RICE !!! RESTAURANT STYLE !!!


Any kind of fried rice is super easy to make and its always wonderful one pot meal that you can enjoy.  Except the pre-preparation work, the cooking time is always super quick which will be ready in no time.  I always love this Curry fried rice which is very flavorful and any person who likes curry flavor will absolutely love this.  Please see the notes before you move forward with the recipe.  Do use the oriental curry powder which you find in ethnic/Asian aisle.  Use Vietnamese or Japanese made curry powder for wonderful flavor.

 I have also posted the Singapore curry Noodles earlier, do take a look if you have missed it.  Thanks for all who complimented me after trying the Singapore curry noodles; it really makes me happy to get wonderful feedbacks from you.  I hope you will enjoy this Curry fried rice as much as you enjoyed the Singapore Curry noodles.


CURRY FRIED RICE

Jasmine rice - 2 cups (Cooked and cooled)
Vegetables of your choice - 2 cups (I used capsicum, baby corn, onion, carrots, green peas)
Egg - 3
Extra firm Tofu - 1 packet cubed
Oriental Curry powder - 1 tbsp
Chilli garlic sauce - 1 tbsp (Increase or decrease according to your spice level)
Soy sauce - 2 tsp
Scallion- 1/2 sliced (green part)
Garlic - 2 clove (very finely chopped)
Thai chilli red color - 2 slitted(optional)
Salt as needed
Oil as needed (Don't use very little oil otherwise they will be sticky)
Thai Basil - few chopped for garnish


Method :


Note:

1. Try to use Jasmine rice for this recipe.
2. Cook the rice the day before you planned to make and refrigerate it.
3. The rice has to be cooked in the way that the grains are separate. Mushy or soft rice will spoil the taste of the fried rice.
4. The whole sauteing process takes only few minutes, don't do it for long as it makes the vegetable soggy. Maintaining the crunchiness and color of the vegetables is important.
5. Increase the quantity of curry powder and chilli garlic sauce according to your taste buds.
6. Be generous with oil while making, that means it need not be oily.  Too little oil will make the fried rice tasteless and ends up with sticky rice.
7. Instead of soy sauce you can also substitute mushroom flavored soy sauce to have slight umami flavor.
8. You can also use other vegetables like, broccoli, mushroom, bok choy, bean sprouts as well. 
9. The whole sauteing process has to be done in high flame but take care not to burn them.


Enjoy the delicious and flavorful one pot meal!!!!

Read more...

BRAIDED BREAD FILLED WITH TVP !!! - YUMM !!!


Textured or texturized vegetable protein (TVP) is also known as textured soy protein (TSP).  TVP is made from high (50%) soy protein/soy flour or concentrate.  It is extruded into various shapes (chunks, flakes, nuggets, grains, and strips) and sizes.   Textured vegetable protein is a versatile substance which can be used in variety of forms.  Since we all love this lot, I try to use them in many ways.  This can be used for making curry, filling for paratha (Indian bread), bread toast, topping for dosa/oothappam etc.  For this recipe you can use any shapes or size of soy protein, it can be chunks, flakes, grains, and strips but they must be small.  I am using it as filling/stuffing for the bread.  Here are few recipes I have posted earlier using soy protein.  Do take a look and enjoy eating!!!!

1. Veggie Burger (Pattie made of Soy protein, this is very a flavorful one)
2. Soya Chunks Vegetable Curry (Absolutely healthy sidedish for any bread) 
3. Soya chunks Gravy
(Rich and creamy gravy that goes very well with any kind of breads.  My favorite is with Naan(Indian Tandoori bread), the picture in this post may not be appealing as those are during my early days of blogging :):) but I promise you will be addicted to this gravy if you make once)
4. Vegetarian Chilli with Tacos
( Very flavorful and absolute favorite one)

Stay tuned to see more recipes using soy protein !!!! 


For the dough

Ingredients :

Whole wheat flour - 1 cup
All-purpose flour - 1 1/4
Active dry yeast - 1 package (7g)
Warm water -1 1/4 cup + 2 tbsp (110 degrees F/45 degrees C)
Sugar - 1 tbsp
Salt - 3/4 tsp
Potato flakes - 2 tbsp(2 1/2 tbsp water to mix the potato flakes)
(If you don't have potato flakes substitute with 1/4 cup of  boiled and mashed potato)
Butter - 1/8 cup (melted and cooled)  
Olive oil - for brushing the dough


                                                                ................... See the Filling and Braiding below


For Soy Masala /Unflavored Textured Vegetable Protein
Ingredients :

Soy Granules - 1 cup
Hot water - 1 1/2 cup
Ginger - 1/2 inch
Garlic - 3 cloves
(Make paste out of ginger and garlic)
Onion - 1 (finely chopped)
Tomato - 1(small finely chopped)
Potato flakes - 2 tbsp mixed with 2 1/2 tbsp of water (If you don't have potato flakes substitute with boiled and mashed potato)
Chilli powder(Cayenne pepper) - 1/2 tsp (Increase if you want spicier)
Garam masala - 1 tsp
Tomato ketchup - 1 tbsp
Salt as needed
Cilantro - handful finely chopped


For Garlic butter

Garlic - 1 clove
Butter - 11/2 tbsp (melted and cooled)
Salt - pinch

Mix all of the above ingredients and keep it aside for brushing the rolled dough.


Filling and Making Braid 


Note :

1.  You can use any kind of filling for this braided bread.
2.  You can store the bread for one day in air tight box, when you are ready to eat them next day, microwave for few seconds to enjoy the freshness.
3. Make sure the filling is not so moist.

Read more...

BEETS TOPPING/SALAD FOR ANY KIND OF SNACKS !!!

This beet salad/topping is wonderful and healthy one that goes with any kind of snacks like crackers, tortilla chips etc.  Sweet beets and carrots with the crunchy onion and fresh cilantro together with freshly squeezed lime with the hint of little spice, don't they sound tasty for the topping.. Yes they do.  If you have not tried this combination try it out; for sure you will like this.  I use this salad to top so many south Indian munchies too :)  I love this salad a lot... it’s a great way to include beets in your diet. 

Here is another way to enjoy this Salad - Click here to see How it can be used ????


BEETS TOPPING/SALAD

Ingredients:

Beets - 1 big
Carrots - 3
Cilantro - handful chopped
Onion - 1/4 cup finely chopped
Juice of one lime
Green chilli (Serrano) - 1 ( If you don't want spicy remove the seeds and chop finely)


Method :

1. Grate the beets and carrots.
2. Take the grated beets, carrots, cilantro, chopped onion, chilli in a bowl.
3. Add salt and freshly squeezed lemon.
4. Mix everything until everything is blended well.
5. You can use it immediately or keep it aside for an hour.


Enjoy with your favorite snack as topping or as a salad !!!
See the pictures for serving suggestion.

Note :

1. You can refrigerate this salad for 2 days.

Read more...


Page copy protected against web site content infringement by Copyscape

Visit Great Cooks Community
All recipes are on Petitchef