Search This Blog

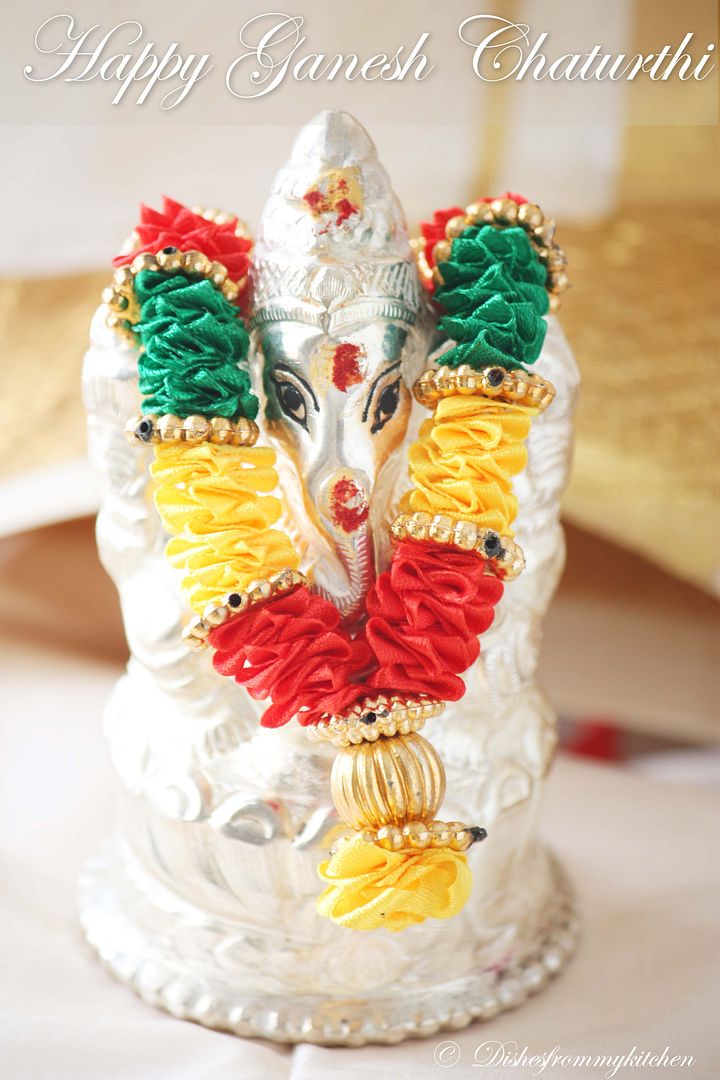
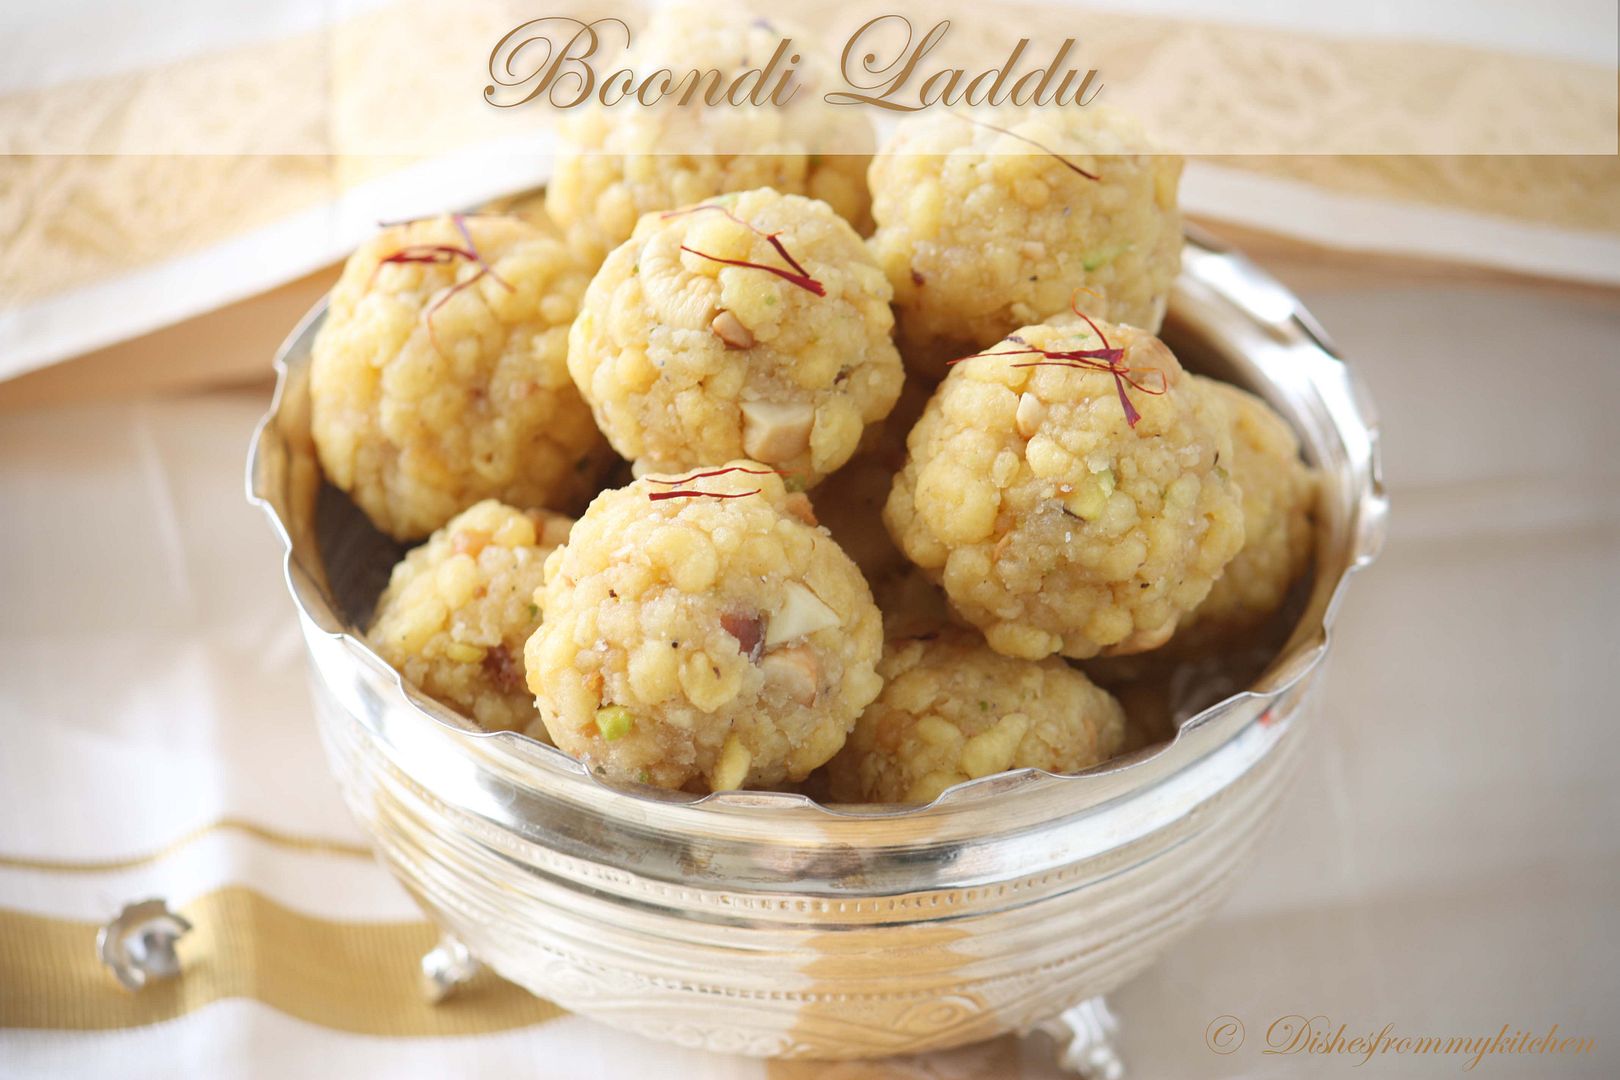
HAPPY VINAYAKA CHAVITHI/ GANESH CHATURTHI !!! - BOONDI LADDU

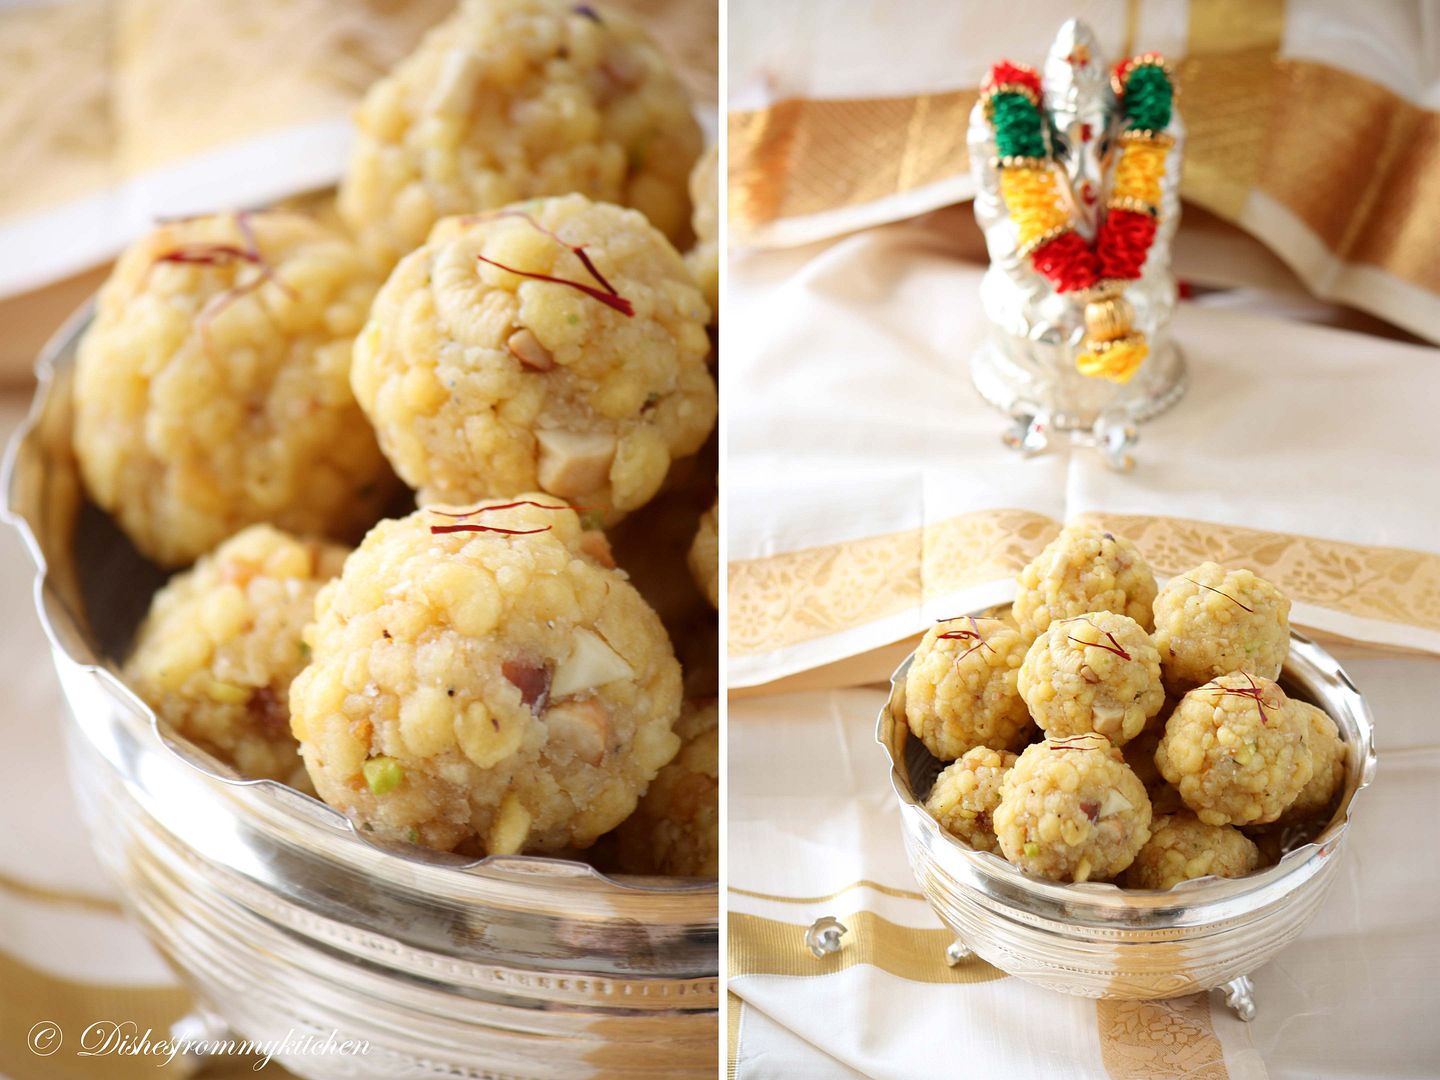
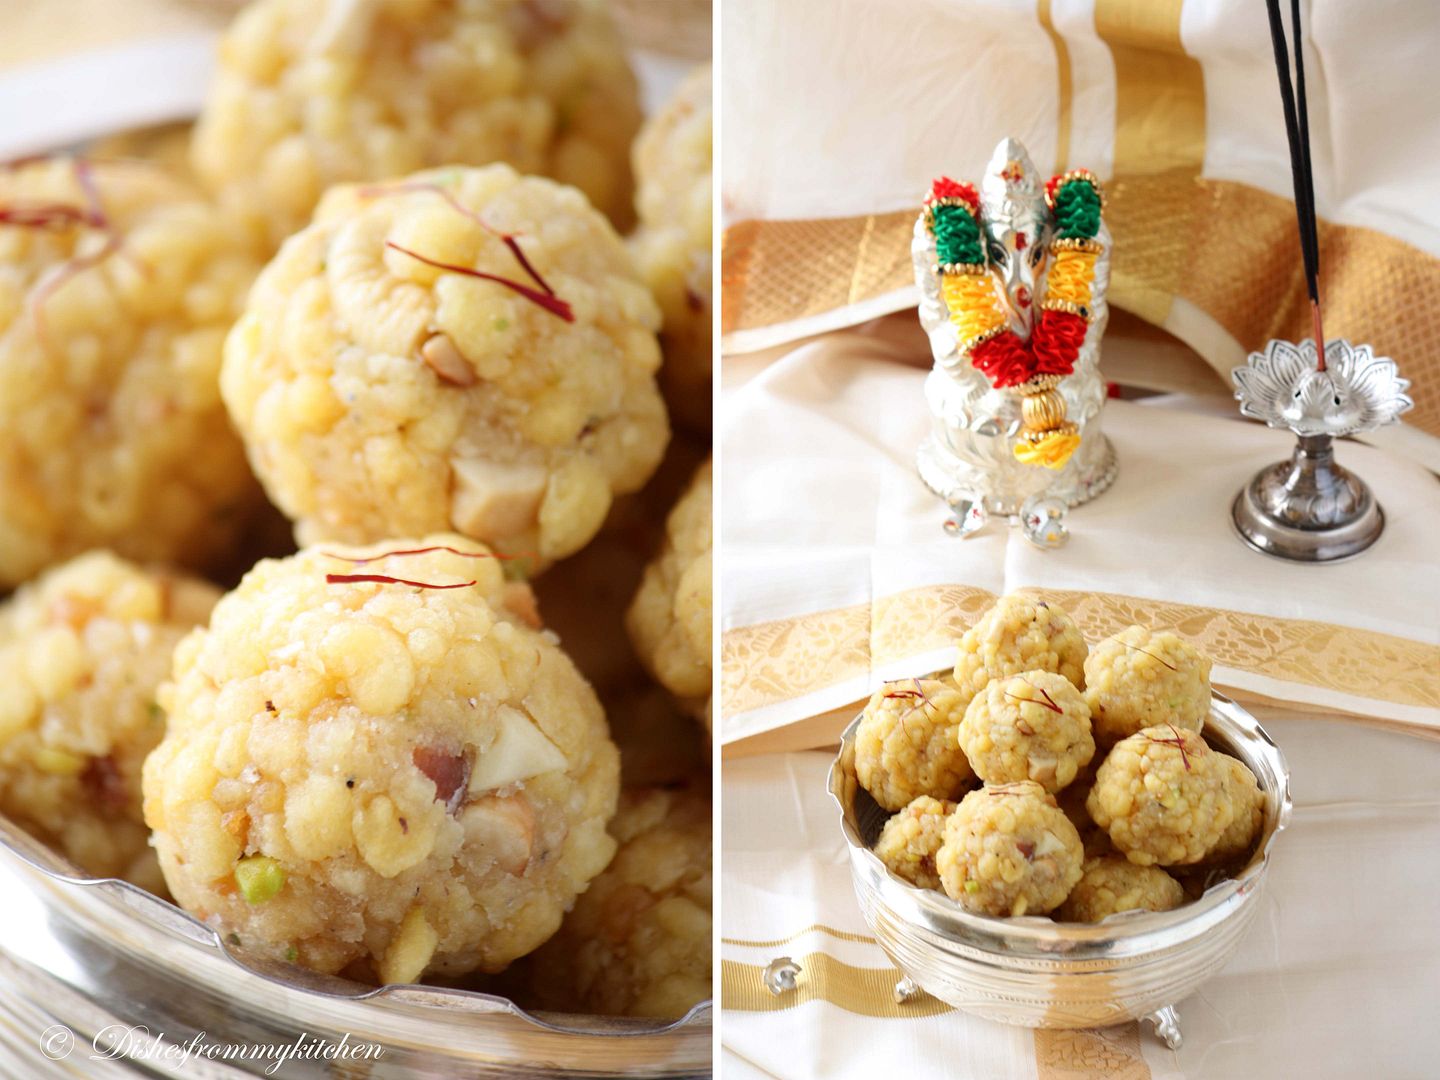
Happy Ganesh Chaturthi/Vinayaka Chavithi to all of you!!!   Click here to see the recipe for Karjikai or Kozhukattai, Udhu untallu (Savory dhal balls), Sundal.  See the celebrations of last 2 years by clicking this link here - Vinayaka chavithi celebration.  
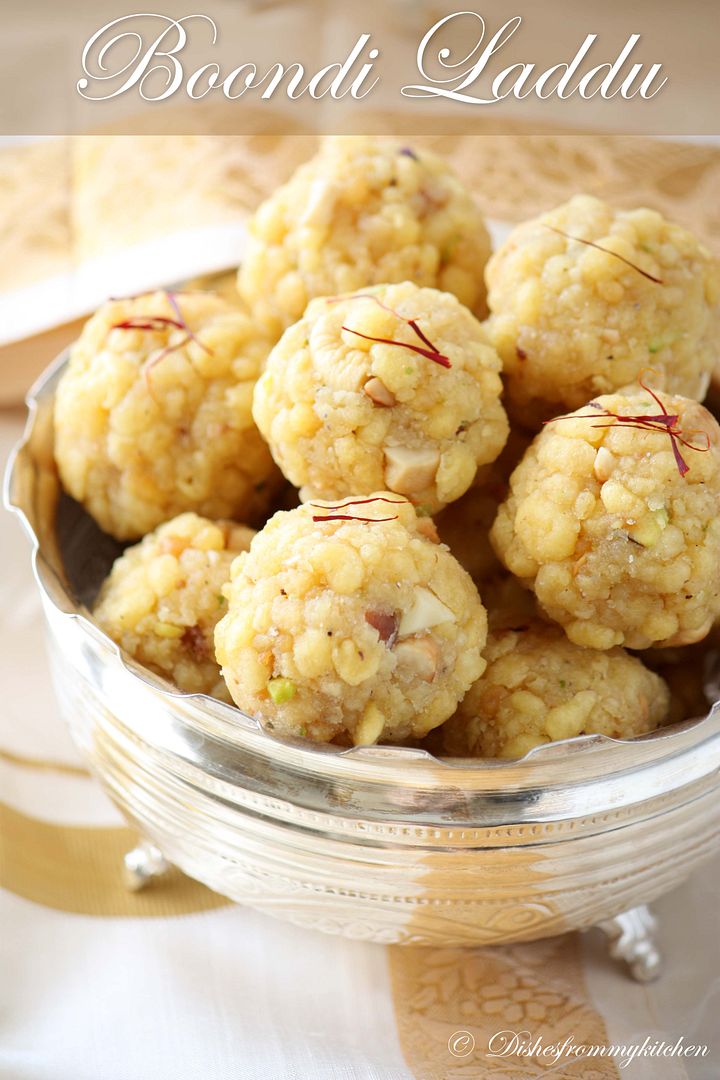


BOONDI LADDU

Ingredients:

Yields - 15 medium size Laddus

Besan - 1  cup
Sugar - 1 cup (If you like more sweet add 1/4 extra)
Water for making sugar syrup - 1/2 cup
Cardamom - 6 to 7 powdered
Pistachio - 6 to 7 finely chopped
Cashews - 10 finely chopped
Ghee - 3 tbsp
Water - to mix besan into batter
Oil for deep frying


Equipment: If you have Boondi ladle then its good other wise its ok to use poori ladle too which have small holes.  But with the poori ladle its bit difficult to get exactly perfect round boondis. 
Method:

1.  Make a lump free batter by mixing besan and water (water approximately 1 cup). Keep it aside.
2. Add the sugar and water in a wide vessel. Let it boil for some time and switch off when it reaches the one thread syrup consistency. One thread means if you touch the syrup in-between your fore finger and thumb finger it should form 1 thread.  At this time you have to switch of the flame and keep it aside.
3. Add the powdered cardamom to this syrup.
4. While sugar syrup is getting ready parallely heat oil in the pan/kadai.
5. Just drop a little batter to check the oil temperature.  If the batter comes up immediately and floats then oil is ready for frying the boondi's.
6. Again to check the batter consistency you can simple drop a little batter with the spoon into the oil with 6 inches high from the oil if it immediately falls with perfect round without any tails then the consistency is correct otherwise add little water to batter to get the right pouring consistency.
7.  Fry the Cashews in the ghee and keep it aside.
8. Now pour the batter in the Boondi ladle on the top of the oil.
Fry them until light brown color, don’t make it crisp. You can check it by pressing a boondi in middle of two fingers if it bounce back without breaking then it is right.   Remove them in kitchen tissue.
9. Repeat this until batter is finished.  Now add this Boondi's to warm syrup, add the fried cashews, Pistachio.
10. Let this cool for half an hour by the time whole syrup will be absorbed by the boondi's.  Now make tight balls out of this mixture. Store them in air tight container.


Garnish with saffron, pistachio...

Read more...

DARING BAKER'S CHALLENGE AUGUST 2011 - CANDYLICIOUS !!!

As every DB challenge I loved this one too and enjoyed making it. This was truly fun filled challenge for chocolate lovers.  I hope you will enjoy seeing them as much as I enjoyed by making them.  Please bear with number of pictures as this post has loooooooong tail.  Seeing through all my pictures, you can find a brief about each one in their picture itself.  

The August 2011 Daring Bakers’ Challenge was hosted by Lisa of Parsley, Sage, Desserts and Line Drive and Mandy of What the Fruitcake?!. These two sugar mavens challenged us to make sinfully delicious candies! This was a special challenge for the Daring Bakers because the good folks at http://www.chocoley.com offered an amazing prize for the winner of the most creative and delicious candy! 

Tempering Chocolate :
 
What is tempering?
“Tempering is a method of heating and cooling chocolate in order to use it for coating or dipping.
Proper tempering gives chocolate a smooth and glossy finish. Tempered chocolate will have a crisp snap and won't melt on your fingers as easily as improperly tempered chocolate.
Properly tempered chocolate is also great for molding candies because the candies will release out of the molds more easily and still retain a glossy finish.” - Ghirardelli

Why is it necessary?
If you simply melt chocolate and let it cool it will set with unattractive grey streaks or spots, called blooming. If eaten, the texture will be grainy and it won’t melt smoothly in the mouth.

When you temper chocolate the end result is shiny, even colored, smooth melting and with a crisp snap. Basically, tempered chocolate is what you want because it’s better in every way.

The reason for the difference is a bit complicated, it has to do with different types of crystals forming in the cocoa butter at different times, to understand it fully you’d have to learn about the behavior of the chocolate crystals at a molecular level.

For our purposes all that we need to know is that with tempered chocolate the crystals have formed in a uniform way which gives us great looking and tasting chocolate.
Tempering Ranges:

Celcius
Dark: 45°C-50°C > 27°C > 32°C
Milk: 45°C > 27°C > 30°C
White: 45°C > 27°C > 29°C

Fahrenheit
Dark: 113°F-122°F > 80.6°F > 89.6°F
Milk: 113°F > 80.6°F > 86°F
White: 113°F > 80.6°F > 84.2°F

Chocolate is melted and heated until it reaches 45°C / 113°F. It is then poured onto a marble surface and moved around the surface with a scraper until it has thickened and cools to 27°C / 80.6°F. Once cooled it is then put back into the bowl and over heat to bring it back up to 32°C/30°C/29°C /// 89.6°F/86°F/84.2°F depending on the chocolate you’re tempering. It is now ready for using in molds, dipping and coating.

Now see what I made using Tempered chocolate :

HONEYCOMB / SPONGE CANDY 


SPONGE OR HONEY COMB CANDY

Ingredients

2½ cups (20oz/560gm) Granulated White Sugar
2/3 cup (160 ml) Light corn syrup
6 tablespoons (90 ml) Water
1 tablespoon (0.5 oz/ 15g) Baking Soda
2 teaspoons (10 ml) Vanilla extract
Vegetable oil for greasing pan


Directions:

1. Liberally grease a 10-inch round spring form cake pan with vegetable oil. Trace the bottom of the pan on a piece of parchment paper. Line the bottom of the pan with the parchment paper circle. Line the sides of the pan with a parchment paper so that the parchment paper creates a collar that sits 1 to 2-inches above the pan. Liberally grease the parchment paper.
2. In a deep medium saucepan add sugar, corn syrup, water, and vanilla. Over medium-high heat bring the mixture to a boil (without stirring) and cook until hard crack stage, i.e. until temperature reads 285°F / 140°C on a candy thermometer (if using light corn syrup, it will be light amber, if using dark corn syrup it will be the color of maple syrup). This should take about 10 minutes. If sugar crystals form on the sides of the pan during the cooking process, brush the sides of the pan with a clean pastry brush dipped in water.
3. Remove from heat. Working quickly, add the baking soda and quickly blend to incorporate the soda into the sugar mixture, about 5 seconds. The mixture will bubble up when you add the baking soda. Be very careful not to touch the hot mixture.
4. Immediately pour the hot toffee into the prepared pan. Let set completely before touching. Cut into pieces. It makes a huge mess. But the messy little crumbs can be saved to top ice cream. Leave candy as is and enjoy, or dip pieces in tempered chocolate and let set.


 CHOCOLATE BON-BON FILLED WITH CREAM PATISSIERE 


Chocolate Nut Bark


Pate de Fruit 


Citrus Paté de Fruits (Base Recipe)

Recipe created by Jen King and Liz Gutman
Oprah.com | From the October 2010 issue of O, The Oprah Magazine
Active time: 30 minutes
Total time: 30 minutes plus overnight

Ingredients:

½ cup (120 ml) Citrus Juice (orange, lemon, lime, grapefruit, etc.)
1½ cups (360 ml) Applesauce, plain (no sugar added)
2 teaspoons (10ml/10 g) powdered pectin
2½ cups (600 ml/20oz/560gm) Granulated White Sugar
Zest – use 2 small (lemon or limes), or 1 medium to large citrus (like oranges or tangerines)
Gel or paste food colouring, yellow green or orange depending on the citrus you're using, optional


Directions:

1. Lightly oil (or line with parchment paper) an 8”x8” (20cmx20xm) square pan; set aside.
2. Combine citrus juice and applesauce in a medium, deep saucepan. In a small bowl, whisk together the pectin and 1/2 cup sugar, and blend into the lime mixture. Clip a candy thermometer onto the side of the saucepan and bring mixture to a boil. Add remaining sugar and boil, stirring, until mixture reaches 225°F / 107°C (you may need to stir constantly toward the end to prevent burning). Remove from heat and stir in lime zest and colouring (optional).
3. Pour into prepared pan. When slightly cool, sprinkle sugar on top, and allow to set, about 2 hours. Cut into 1-inch (25 mm) squares, or use a lightly oiled cutter to make other shapes. Dredge in sugar and dry on a cooling rack overnight. Scraps can be re-melted and reset.
4. Store in a box or paper bag at room temperature for up to two weeks


CHOCOLATE HEARTS FILLED WITH CHOCOLATE COATED ALMONDS


RASPBERRY DIPPED IN TEMPERED CHOCOLATE


MARZIPAN DIPPED IN TEMPERED CHOCOLATE


Read more...

JUDGES FOR DMBLGiT AUG 2011

 Thanks for everyone who had sent their entries for DMBLGiT  and I am excited to see all your gorgeous shots. For those who have not sent yet, no worries... do send them.  You can still send them until midnight of August 22nd 2011.  

I am very happy to reveal the lovely judges for this month's photography contest.  Hope you all enjoy reading about them and don't miss to see the tip they gave about the food Photography. 


  I am a great admirer of Kris  photography. He is basically a graphic designer who found his passion of baking along the intriguing journey that involved Sydney, Jakarta, Singapore and Bangkok.  And in turn, various baking courses have introduced him to the meaning of delicacy, quality, aesthetics and supreme taste.  The constant effort to capture the look of his cakes and desserts stretched his arms wide open to embrace blogging, food styling and photography.  All were seemingly coherent with his years of graphic design practice. Only when his creations appeared in a dessert magazine and several food photo contests, he was determined to explore this exciting path of blending baking, food styling and photography.   His latest passion is sugar flowers and fondant cake decoration.


   2. Sala @ Veggiebelly                                                                                                                                                                 

Sala is one of my favorite blogger and  I love her Photography.   She is from India  and  now lives with her husband on the east coast.  She loves to cook, to her there is no greater joy than turning on the music and  cooking a meal for the people she loves.  Growing up in southern India with fiery, bold flavors has influenced her cooking a lot. She almost travelled over 36 countries in 6 continents and lived in 3 countries.  Along the way she picked up new ingredients, tastes and methods of cooking. 

What she says about Food photography ... 

Take some pictures of the food along with its context.  For example, shoot the dish with someone eating it, or shoot the dish being made in the kitchen, or take a picture of the cook.  This will tell a story about the dish, and make the food more interesting.

That's interesting one Sala, Thanks so much :)                                                           
                                                                                                                

3. Soma Rathore @ Ecurry
                                                                                               
                                                                                                                                                                    
 I love the way she plays around with spices.  Needless to say about her pictures she has got so many Badges of DMBLGiT :)  she is a happy woman who loves to read, travel and very crazy about exploring and experimenting with food.  But enjoys being a mom for the best two little girls in this world who makes her smile, laugh and teach to live life in a simple, silly, child like way without inhibitions.  Her husband who is the main inspiration is her best friend and best critic.  She loves her Family which is the most precious treasure of her Life.

When I asked her about the Food Photography, wow she gave lot of info.. see what she says ....

Use natural light, with the table set up beside a window.  I also use a white board to bounce light and to avoid shadows. That would be about what I do, nothing fancy.  Light from different directions and  shots from different angles has the ability to change the mood and personality of a photograph. Use the props, but with self restraint and care!  The food should still be the hero.  Make a skeleton drawing on paper before the shoot if that helps with the composition and styling.

Take a million shots, go over it and see what you like best or what is it that you would like to change. Scrutinize your photographs. Inspirations of food photography is everywhere... it does not have to be on your shooting table.  The uncommon places and circumstances often capture the essence and life of food photography.

So sweet of you Soma :) Thanks so much, Hope those tips will be very useful for everyone.


Xiaolu's  pictures are really pleasure to view and needless to say about her baking skills.  She is a Chinese-American girl in her mid-20s who loves baking, cooking and pretty much any food-related DIY project.  She recently left the legal field to return to a poor student's life -- all in order to pursue a career in nutrition.  In addition to food, her other biggest passion is music.  She is  new to blogging, but already have connected with many fabulous foodies around the world through this community.  Blogging has led her to discover a great passion for food styling and photography.  For anyone who's interested in her photography set-up, she has shared some tips and behind-the-scenes photos recently. She uses the Canon EOS Digital Rebel XS camera with the Canon EF 50mm f/1.8 II lens.  Both are on the lower end of the price range for DSLR equipment.  Though the Rebel XS has served her well,  she recommends starting with a slightly higher-end model if you expect to be serious about photography.  Even though she have no professional aspirations, she tries very hard to make the images as inviting and mouth-watering as possible for viewing pleasure!

See what she says about Food Photography and styling :)

First, you want to be careful in preparing/presenting the food to make sure it looks appealing.  Many factors big and small can enhance the look of the food.  For example, if using veggies, make sure they're fresh.  Spritz a little water on things if they should look moist but are drying up.  If photographing something cooked, pick the best pieces and make sure they're positioned at an angle that's attractive.  At the same time, it's often best not to make the food look too "pretty" or "perfect".  A little messiness or anything that adds a human touch (a bite taken, crumpled napkin, etc.) often makes the shot more relate able and mouthwatering.  Lastly, I encourage budding photographers to have a mood and look (a "story" so to speak) in mind when preparing to photograph. And to include something of themselves in their photography.  Whether it's propping, composition, light etc. Don't be afraid to play around and develop your own unique style. 

Thank Xiaolu :)

Again thanks all of you for your valuable tip and helping me out !!!


Read more...

BROWN RICE NOODLES WITH CHILLI SOY DRESSING

Just few ingredients, simple recipe but makes a delicious meal . This can be made in no time, if you have marinated tofu ready.  You can press and marinate the tofu a day ahead.   For this recipe I have used Brown rice noodles but you can use normal rice noodles as well.  You can get this noodles at any supermarket in Asian isle or Asian grocery store. Use pure sesame oil for this recipe.


Brown Rice Noodles with Chilli Soy Dressing 


Ingredients :

Rice Noodles - 1 1/2 cup cooked (Cook as per the instruction given in the packet.  I have used brown rice Noodles)
Firm Tofu - 1 packet 
Spring Onion - 2 stalk one for making the dressing another for garnishing.
Pure Sesame oil - 1 tsp (pure sesame oil works best)
Chilli Garlic sauce - 1 tbsp ( its according to your spice level)
Soy sauce - 1 tbsp
Salt as needed..as both soy and chilli sauce both has the salt in it.

For Marinating Tofu :

Pure Sesame Oil - 1 tsp
Chilli Garlic sauce - 1/2 tbsp
Soy sauce - 1 tbsp
Salt - 1/4 tsp

How to press the tofu :

Drain the tofu without water, tap with the kitchen towel.  Wrap the Tofu with using 3 to 5 kitchen towels (paper towel).  Keep it in a plate and keep one more plate on the top of wrapped Tofu.  Now keep a heavy weight on top of that plate.  For me Morter stone works best.  Let this sit for atleast 1 to 2 hrs.  All the moisture from the tofu will be absorbed by the kitchen towel. And you will be left with pressed tofu with no water in it.


Marinating the Tofu :

Cut the Tofu into 4 equal parts, both horizontally and vertically as shown in the pictures.  Whisk the marinating ingredients in a separate bowl . Brush them in the tofu on all sides.  Cover it and keep it aside for 2 hrs atleast.  Pressing and marinating the tofu can be done a day ahead.


Before serving :

1.  Heat the skillet, sear the Tofu on all sides until they are light brown in color.
2. Once it is done cut them into cubes.
3. Now slice 1 spring onion very finely.
4. To this add the sesame oil, chilli garlic sauce,Soy sauce and little salt. whisk it.
5. To this add the cooked Noodles give it a nice toss until everything is well blended.
6. Serve it with seared Tofu and slices of Cucumber.


The noodles need not be hot. This can be served in room temperature.

Read more...

MUSHROOM PÂTÉ WITH TOAST AND OMELETTE

Mushroom Pâté is wonderful tasty spread for toasts, filling for omelette's and with crackers.  Exotic Mushroom Pâté with refreshing herbs is one of the spread that I use for my bread filling.  This can be made a day ahead or at least  keep refrigerated for at least 4 to 5 hrs to let the flavors develop.   Bring them to room temperature before you serve. We love to have this little bit coarse and the texture depends on the way you like.  Wild Mushrooms adds more flavor but today I used normal white button mushrooms.  You can use Shiitake, Cremini etc or the  mixture of your favorite ones. The recipe follows....


MUSHROOM PÂTÉ WITH TOAST AND OMELETTE


Ingredients :

Mushroom - 1 1/2 cup sliced
Shallots(small onion) - 2 sliced
Garlic cloves - 3
Butter - 1 tbsp
Olive oil - 1 tbsp ( You can fully use butter too)
Silvered almonds - 1 cup
Cream - 2 tbsp
Thyme - 2 tbsp
Flat leaf Parsely - 3 tbsp
Red chilli flakes - 1/4 tbsp(this is absolutely optional, I use this personally or you can always substitute with red chilli powder for Indian touch)
Pepper - 1/2 tsp 


Method :

1. Heat butter, olive oil  in a large frying pan. Add the Red chilli flakes followed by onion and garlic. Cook over medium heat until soft.
2. Now add the sliced mushroom, increase the heat and cook till they get soft and most of the liquid has evaporated,
3. The mushroom at this stage will get slightly caramelized(don't burn it).
4. Roughly chop the almonds in the food processor. Add the mushroom mixture and process until smooth. With the motor running , gradually add the cream. 
5. Add the herbs, and black pepper.  Give it a run again.
6.Spoon the mixture and smooth the surface. Keep Refrigerated for at least 4 to5 hrs. This can be stored for 2 days if refrigerated.


This can be served with toasts, filling for sandwiches, Make omelette and spread the Mushroom Pâté, roll it like a roulade , cut to small circles and serve it as an appetizer.

Enjoy your breakfast with exotic Mushroom Pâté with refreshing herbs :)


Read more...


Page copy protected against web site content infringement by Copyscape

Visit Great Cooks Community
All recipes are on Petitchef