Search This Blog

Showing posts with label tempered chocolate. Show all posts

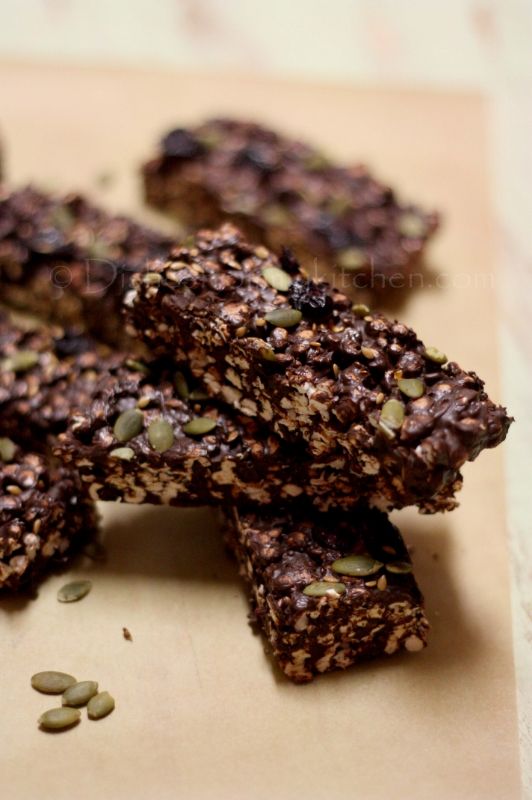
DARK CHOCOLATE POPCORN BARS - SNACK BOX RECIPE !

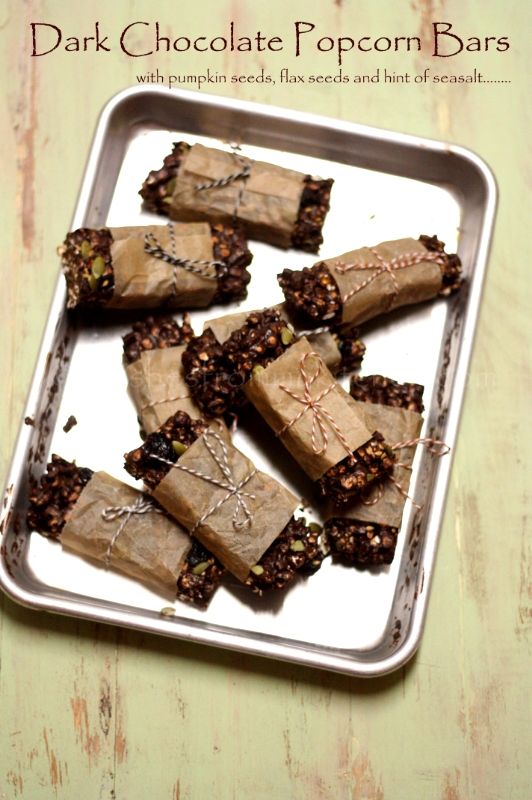
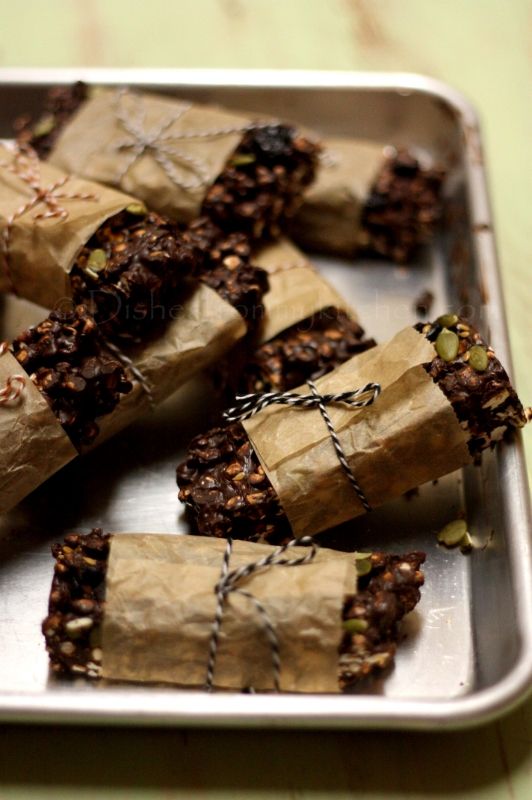
DARK CHOCOLATE POPCORN BARS

WITH CRAISINS, PUMPKIN SEEDS, FLAX SEEDS WITH HINT OF SEA SALT


I used Ancient heirloom popcorns which will be tiny and outrageously delicious.  The good thing in this popcorns is they won't get stuck in your teeth. Also I used couverture chocolate for making this popcorn chocolate bars.  Since I used couverture chocolate it has to be tempered.  Proper tempering gives chocolate a smooth and glossy finish and sets fast.  It will not melt in room temperature. 


INGREDIENTS:


Unpopped corns - 135 gm

Dark Chocolate - 300gm (Use any Couverture chocolates like scharffen Berger, Callebaut etc. which has to be tempered for detail instructions TEMPERING CHOCOLATE click the link,)

Pumpkin seeds - 1/8 cup

Flax seed - 1/8 cup

Raisins - 1/8 cup

Sea salt - little


Line 9 * 13 inch pan with parchment paper. You need one more Parchment paper and another baking tray for pressing the chocolate.


Method:


1. Make Pop corns as per the package instructions.

2. Mix pumpkin seeds, flax seeds and craisins (reserving few to sprinkle on the top) with popcorn. Temper chocolate.

3. Pour the tempered chocolate to the popcorn mixture.

4. Mix well till all the popcorns are coated with chocolate.

5. Immediately pour in the lined tray it almost fills 3/4 of the tray.  Even the mixture, smooth on the top using spatula.

6. Sprinkle reserved seeds, sea salt.  Put another paper and press tightly with another tray.

7. It takes 15 to 20 minutes to set.  Once 3/4 th is set cut to desired shapes.

8. Let it set completely before you wrap or store in the container.


Note:


1. You can also add your favorite nuts along with the popcorn mixture before you add the chocolate.

2. You can also drizzle caramel on the top of the popcorn bars.

3. This stays good in room temperature but away from heat.


ALTERNATE METHOD FOR CHOCOLATE POPCORN BARS IF YOU CANNOT TEMPER CHOCOLATE 

**  Since this recipe has no corn syrup etc this will not stay in room temperature definitely this has to be refrigerated. 

Ingredients :

INGREDIENTS:


Unpopped corns - 135 gm

Bitter sweet  Chocolate - 300gm

Pumpkin seeds - 1/8 cup

Flax seed - 1/8 cup

Raisins - 1/8 cup

Sea salt - little


Line 9 * 13 inch pan with parchment paper. You need one more Parchment paper and another baking tray for pressing the chocolate.
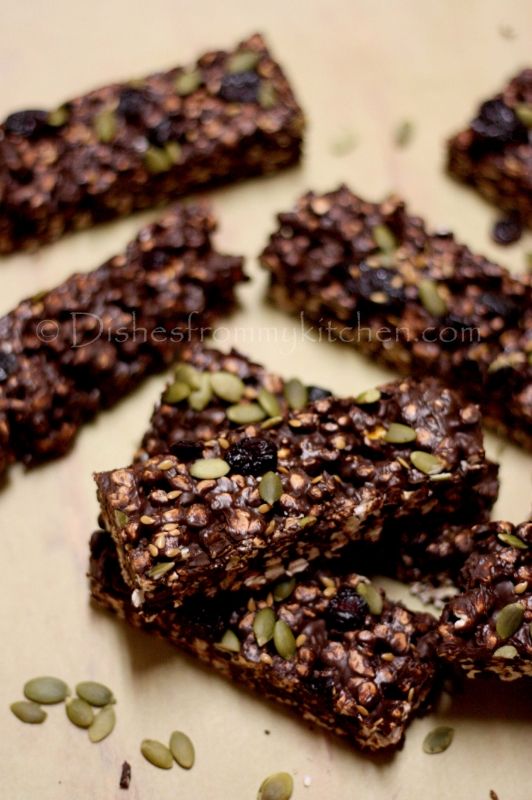


Method:


1. Make Pop corns as per the package instructions.

2. Mix pumpkin seeds, flax seeds and craisins (reserving few to sprinkle on the top) with popcorn. Melt the chocolate in the double boiler.

3. Pour the melted chocolate to the popcorn mixture.

4. Mix well till all the popcorns are coated with chocolate.

5. Immediately pour in the lined tray it almost fills 3/4 of the tray.  Even the mixture, smooth on the top using spatula.

6. Sprinkle reserved seeds, sea salt.  Put another paper and press tightly with another tray.

7.  Let it cook completely or cool in the fridge. Cut to desired shapes and keep refrigerated.  Serve when needed. 

Note :
1. You cannot pack this bar for school, unless you pack with some ice pack or ice box. 

Read more...

DARING BAKER'S CHALLENGE AUGUST 2011 - CANDYLICIOUS !!!

As every DB challenge I loved this one too and enjoyed making it. This was truly fun filled challenge for chocolate lovers.  I hope you will enjoy seeing them as much as I enjoyed by making them.  Please bear with number of pictures as this post has loooooooong tail.  Seeing through all my pictures, you can find a brief about each one in their picture itself.  

The August 2011 Daring Bakers’ Challenge was hosted by Lisa of Parsley, Sage, Desserts and Line Drive and Mandy of What the Fruitcake?!. These two sugar mavens challenged us to make sinfully delicious candies! This was a special challenge for the Daring Bakers because the good folks at http://www.chocoley.com offered an amazing prize for the winner of the most creative and delicious candy! 

Tempering Chocolate :
 
What is tempering?
“Tempering is a method of heating and cooling chocolate in order to use it for coating or dipping.
Proper tempering gives chocolate a smooth and glossy finish. Tempered chocolate will have a crisp snap and won't melt on your fingers as easily as improperly tempered chocolate.
Properly tempered chocolate is also great for molding candies because the candies will release out of the molds more easily and still retain a glossy finish.” - Ghirardelli

Why is it necessary?
If you simply melt chocolate and let it cool it will set with unattractive grey streaks or spots, called blooming. If eaten, the texture will be grainy and it won’t melt smoothly in the mouth.

When you temper chocolate the end result is shiny, even colored, smooth melting and with a crisp snap. Basically, tempered chocolate is what you want because it’s better in every way.

The reason for the difference is a bit complicated, it has to do with different types of crystals forming in the cocoa butter at different times, to understand it fully you’d have to learn about the behavior of the chocolate crystals at a molecular level.

For our purposes all that we need to know is that with tempered chocolate the crystals have formed in a uniform way which gives us great looking and tasting chocolate.
Tempering Ranges:

Celcius
Dark: 45°C-50°C > 27°C > 32°C
Milk: 45°C > 27°C > 30°C
White: 45°C > 27°C > 29°C

Fahrenheit
Dark: 113°F-122°F > 80.6°F > 89.6°F
Milk: 113°F > 80.6°F > 86°F
White: 113°F > 80.6°F > 84.2°F

Chocolate is melted and heated until it reaches 45°C / 113°F. It is then poured onto a marble surface and moved around the surface with a scraper until it has thickened and cools to 27°C / 80.6°F. Once cooled it is then put back into the bowl and over heat to bring it back up to 32°C/30°C/29°C /// 89.6°F/86°F/84.2°F depending on the chocolate you’re tempering. It is now ready for using in molds, dipping and coating.

Now see what I made using Tempered chocolate :

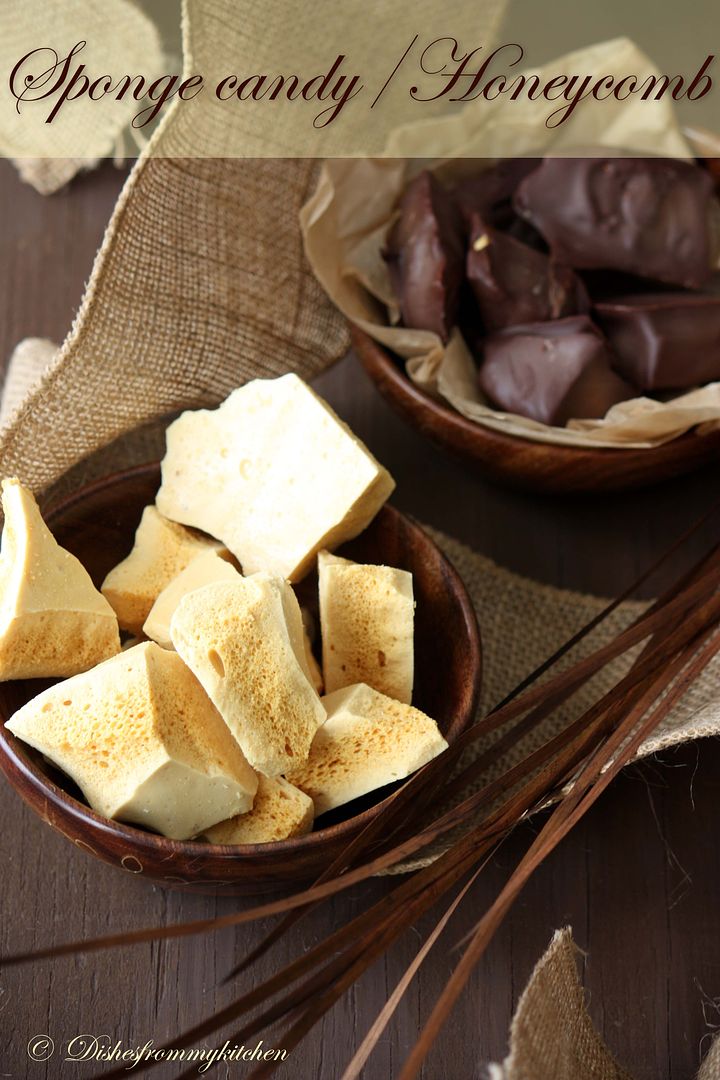
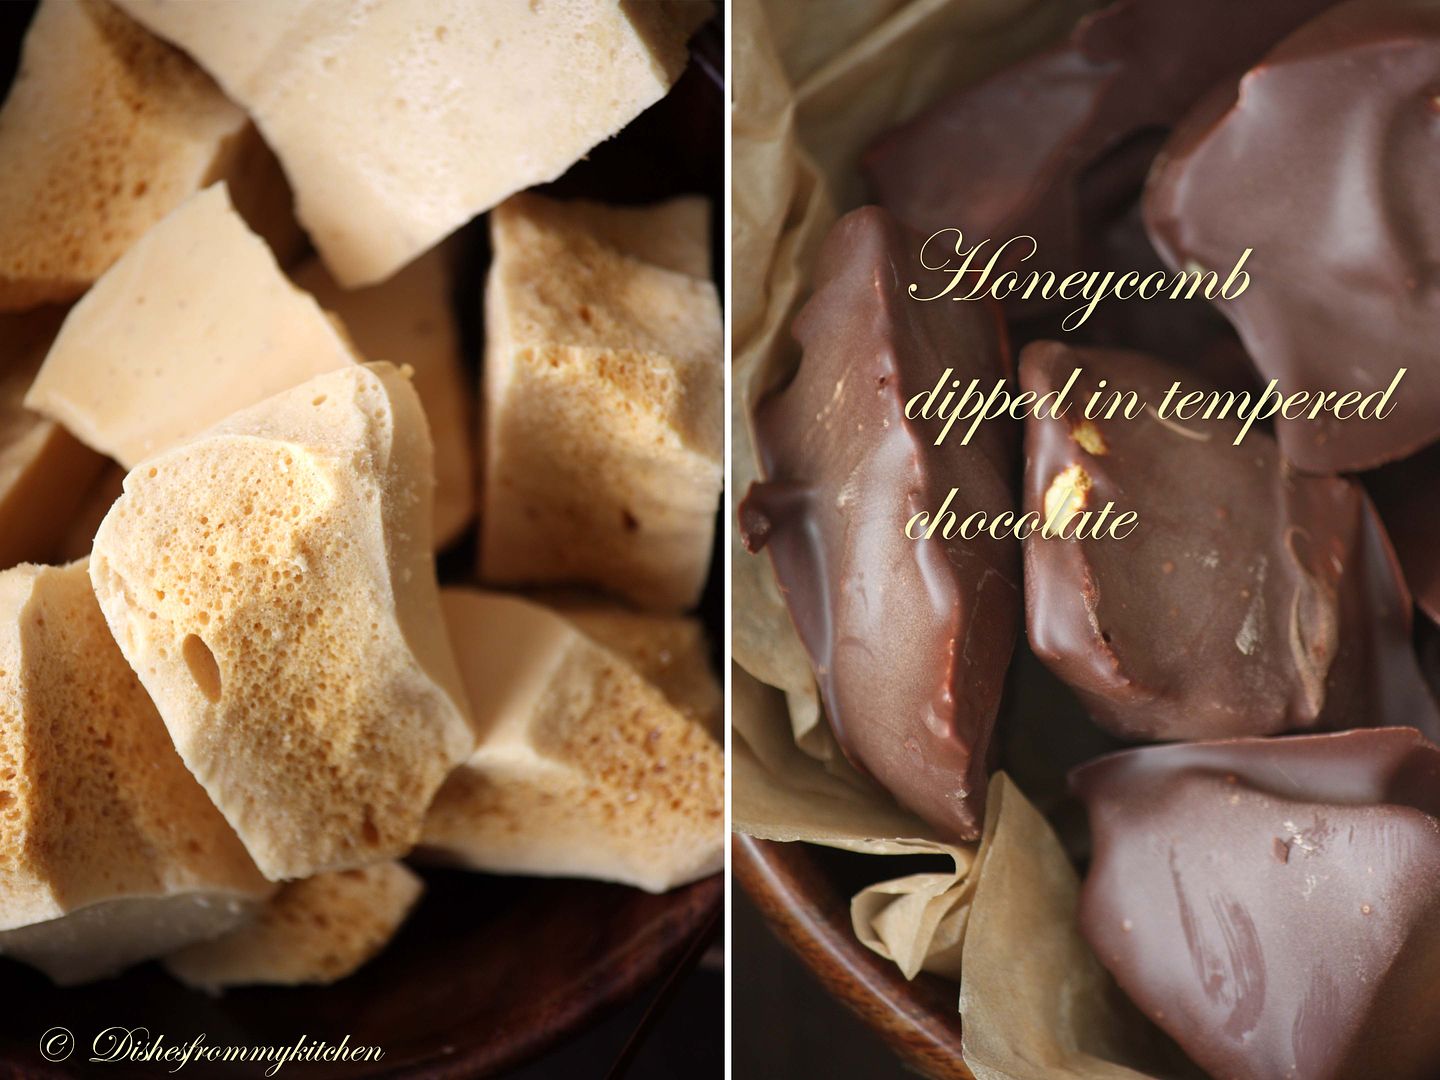
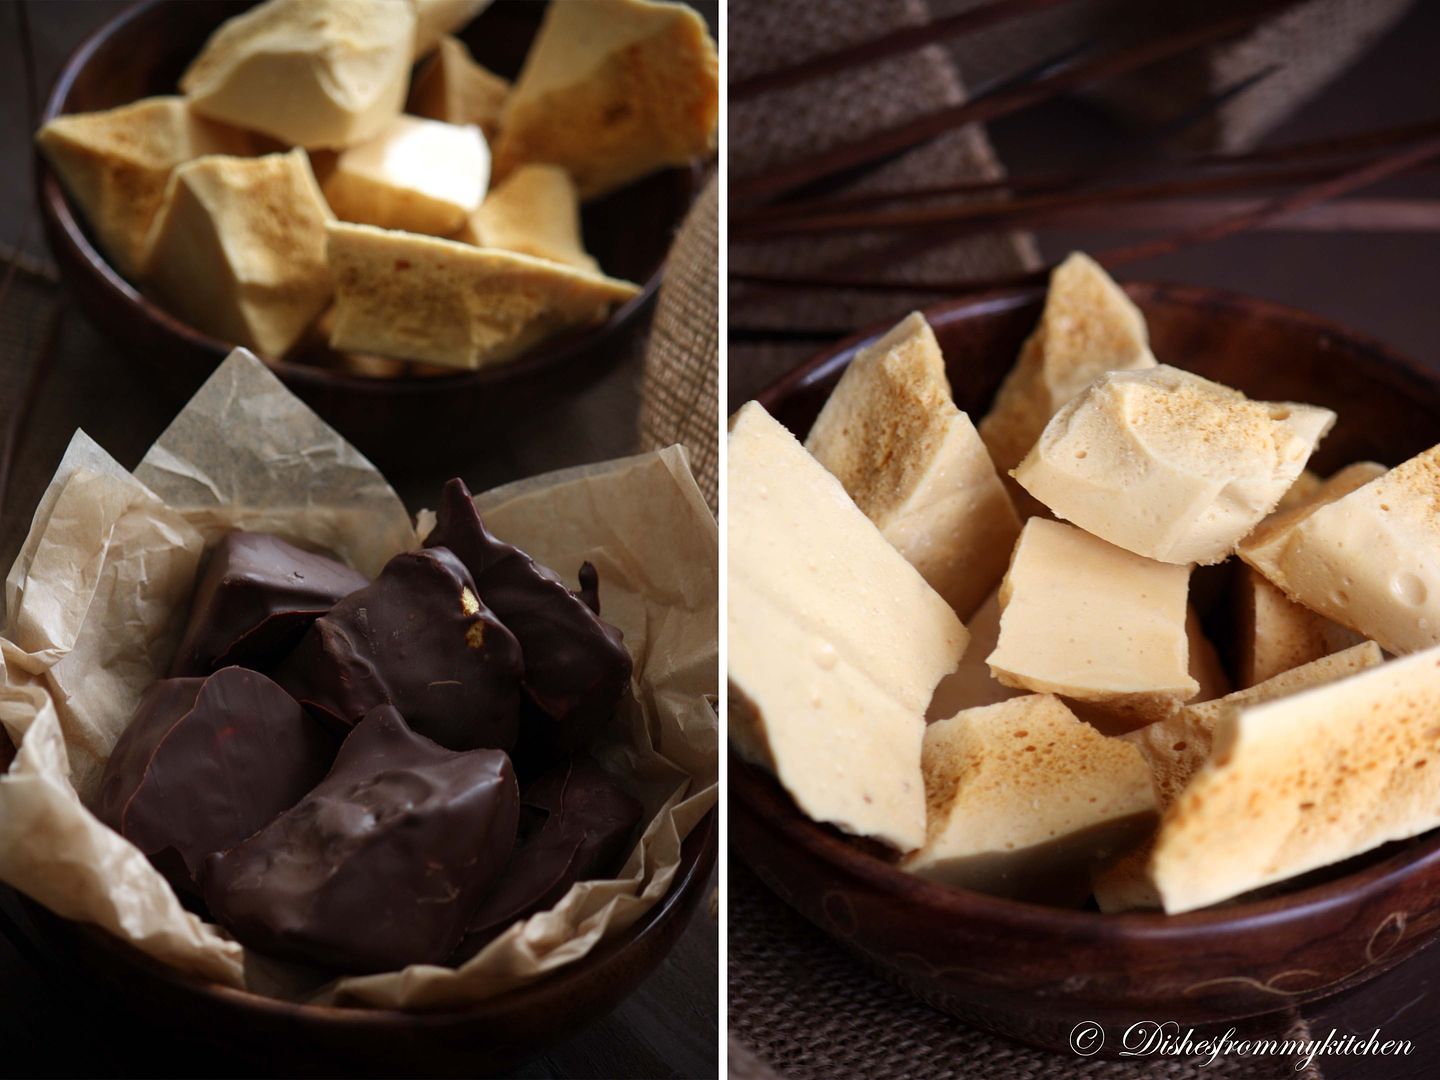
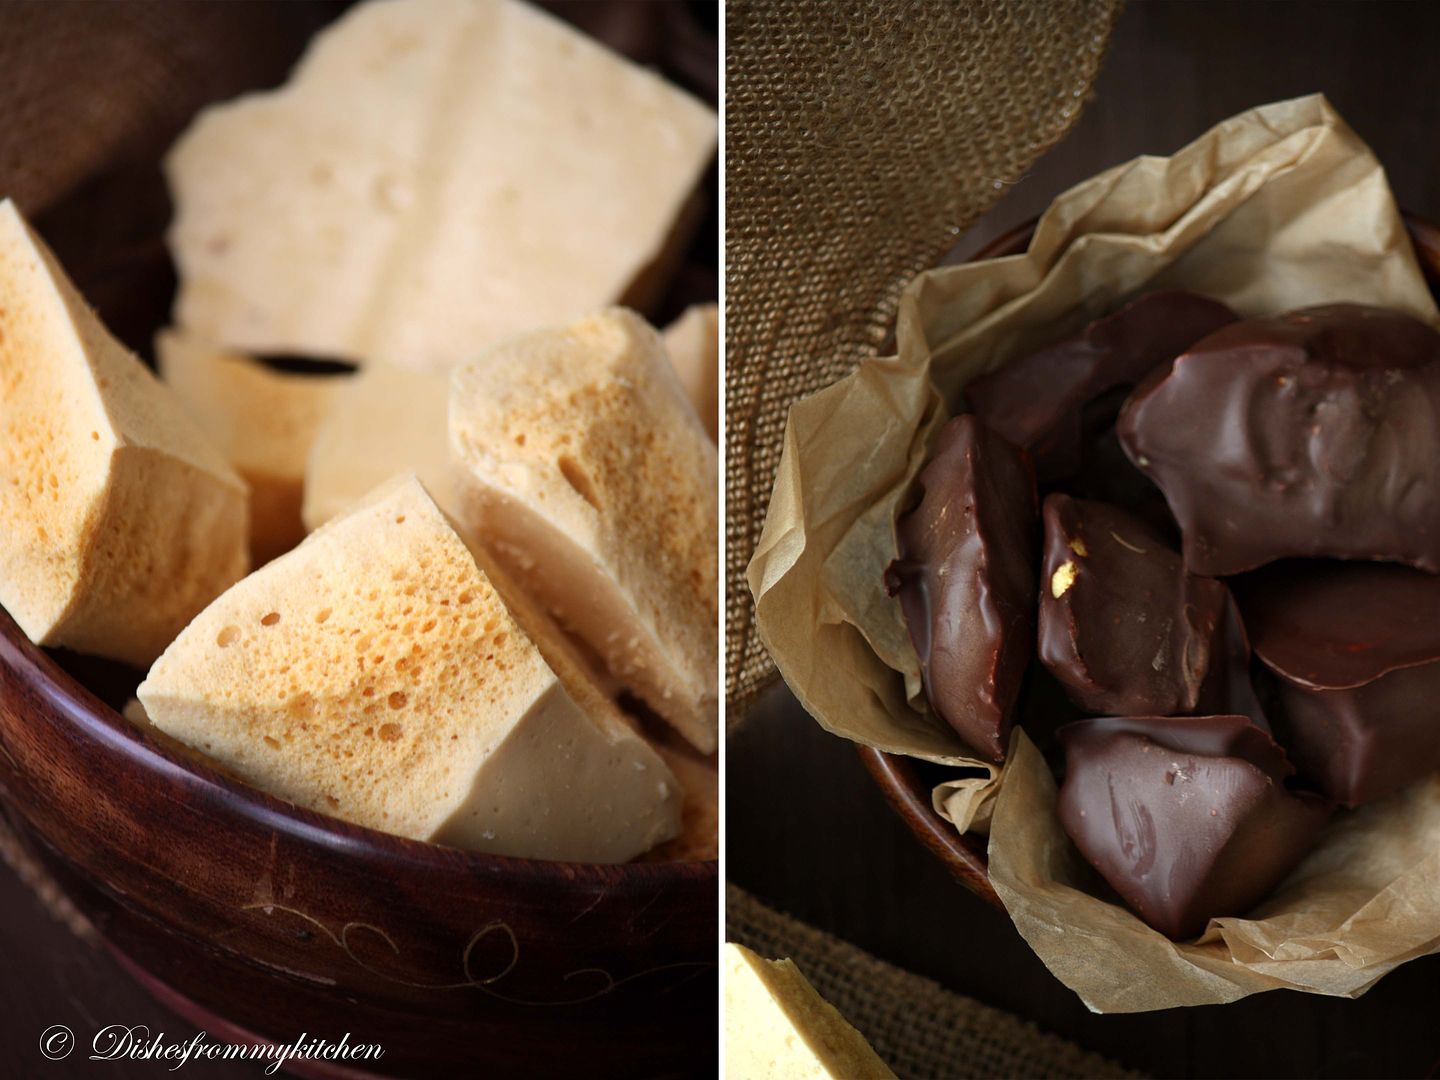
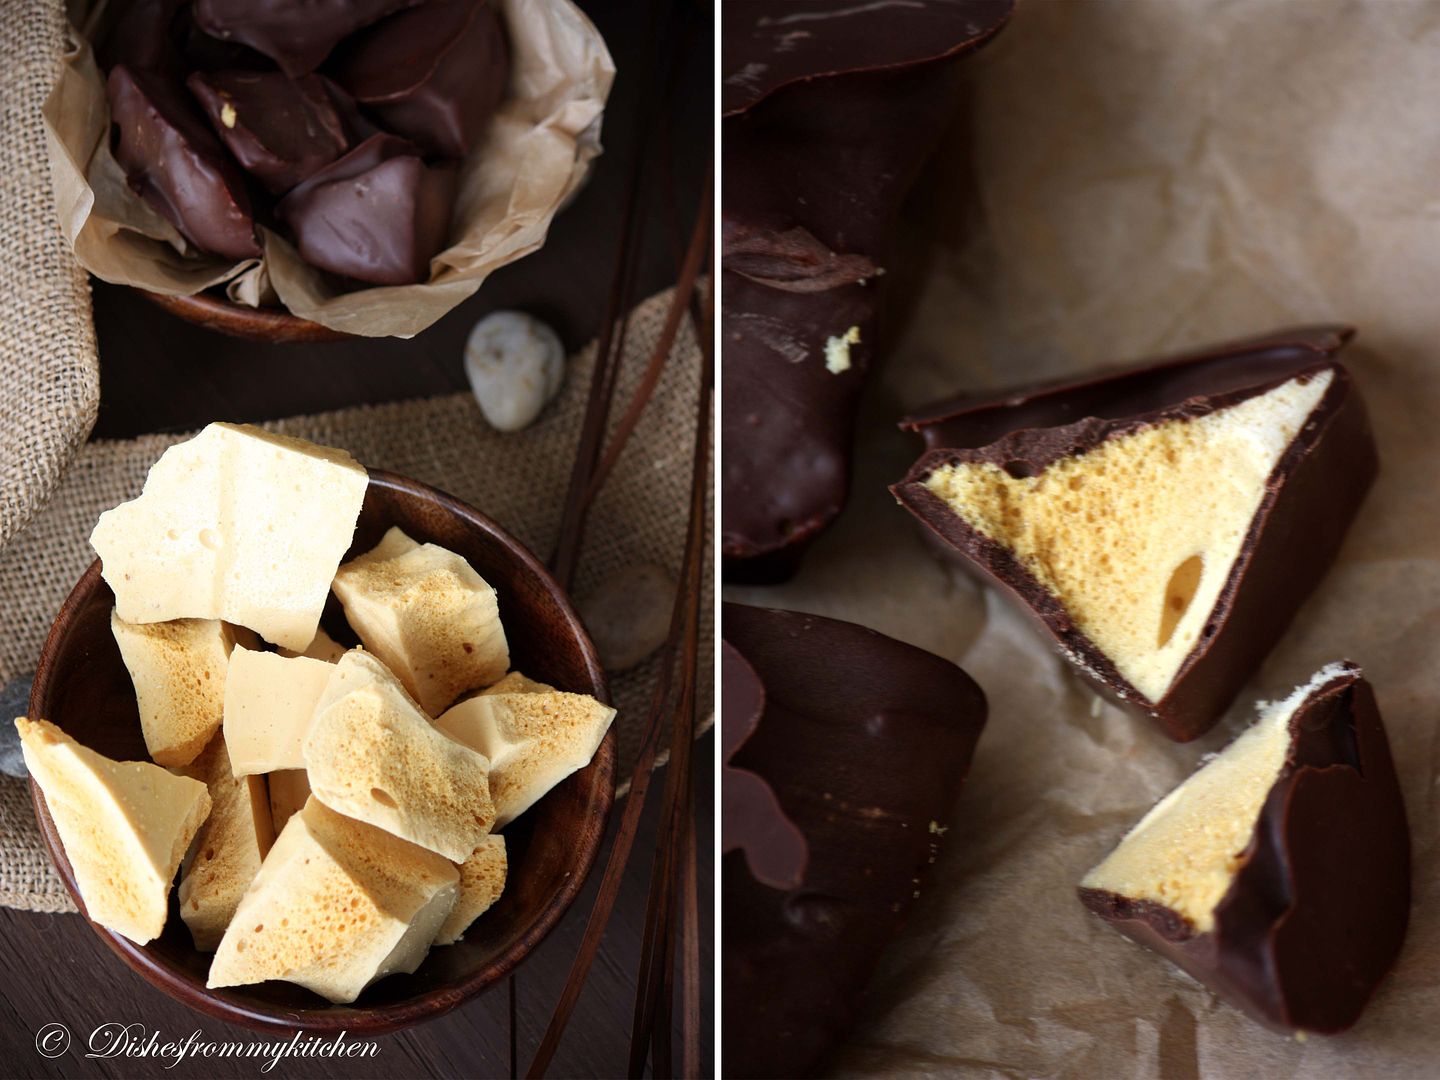
HONEYCOMB / SPONGE CANDY 


SPONGE OR HONEY COMB CANDY

Ingredients

2½ cups (20oz/560gm) Granulated White Sugar
2/3 cup (160 ml) Light corn syrup
6 tablespoons (90 ml) Water
1 tablespoon (0.5 oz/ 15g) Baking Soda
2 teaspoons (10 ml) Vanilla extract
Vegetable oil for greasing pan


Directions:

1. Liberally grease a 10-inch round spring form cake pan with vegetable oil. Trace the bottom of the pan on a piece of parchment paper. Line the bottom of the pan with the parchment paper circle. Line the sides of the pan with a parchment paper so that the parchment paper creates a collar that sits 1 to 2-inches above the pan. Liberally grease the parchment paper.
2. In a deep medium saucepan add sugar, corn syrup, water, and vanilla. Over medium-high heat bring the mixture to a boil (without stirring) and cook until hard crack stage, i.e. until temperature reads 285°F / 140°C on a candy thermometer (if using light corn syrup, it will be light amber, if using dark corn syrup it will be the color of maple syrup). This should take about 10 minutes. If sugar crystals form on the sides of the pan during the cooking process, brush the sides of the pan with a clean pastry brush dipped in water.
3. Remove from heat. Working quickly, add the baking soda and quickly blend to incorporate the soda into the sugar mixture, about 5 seconds. The mixture will bubble up when you add the baking soda. Be very careful not to touch the hot mixture.
4. Immediately pour the hot toffee into the prepared pan. Let set completely before touching. Cut into pieces. It makes a huge mess. But the messy little crumbs can be saved to top ice cream. Leave candy as is and enjoy, or dip pieces in tempered chocolate and let set.


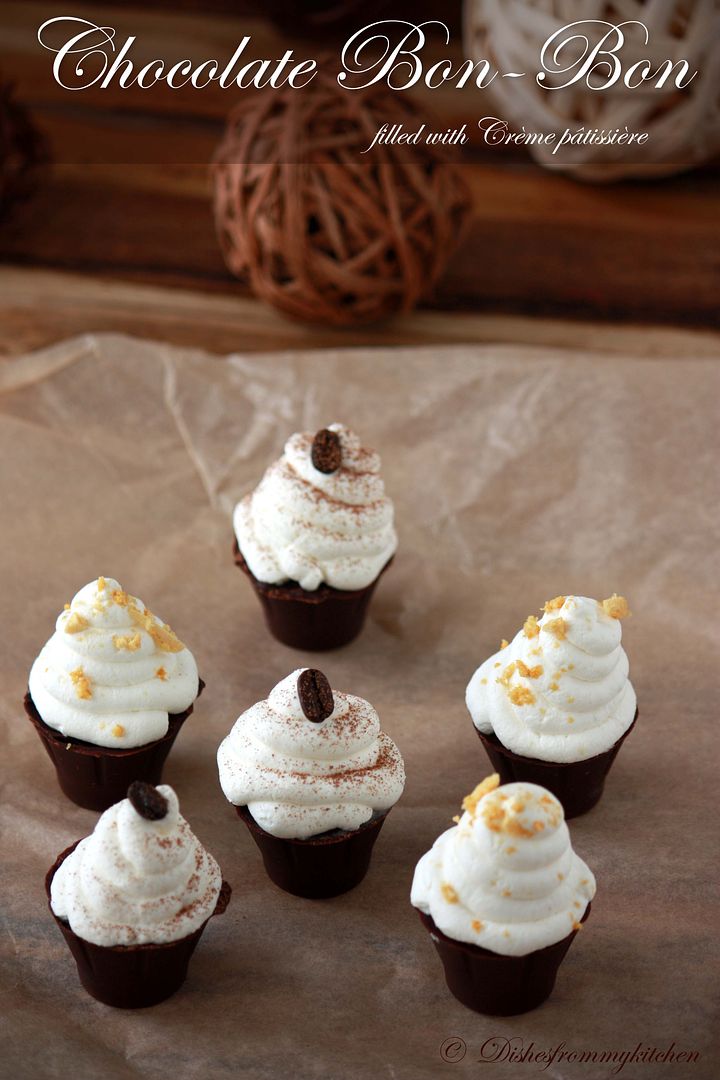
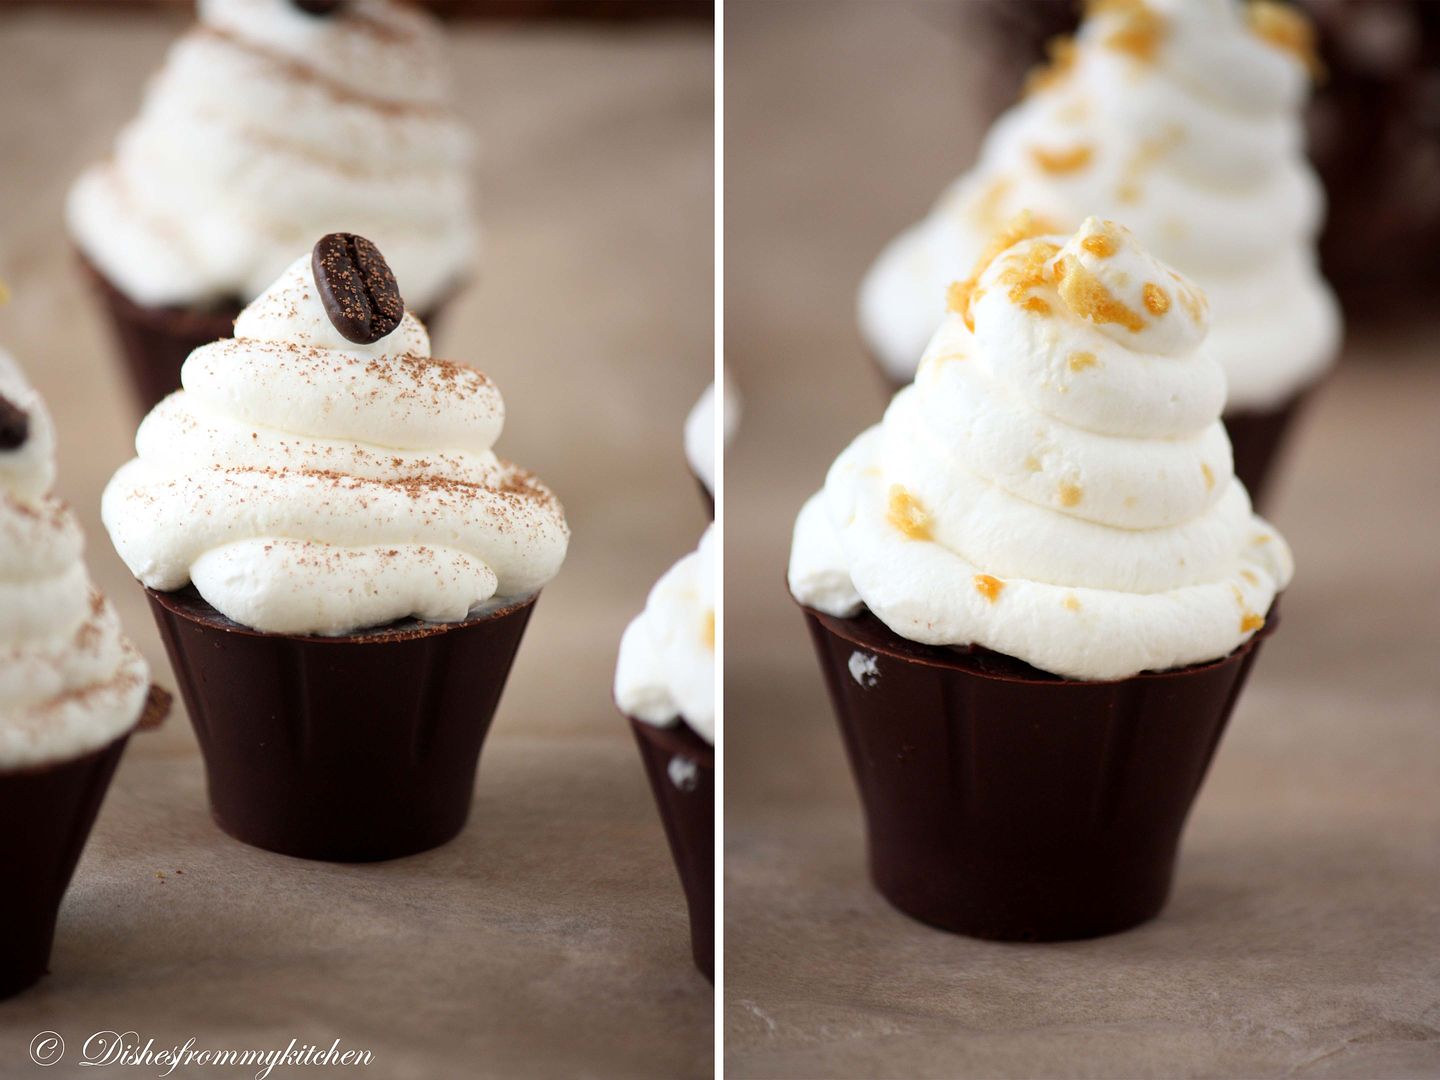
 CHOCOLATE BON-BON FILLED WITH CREAM PATISSIERE 


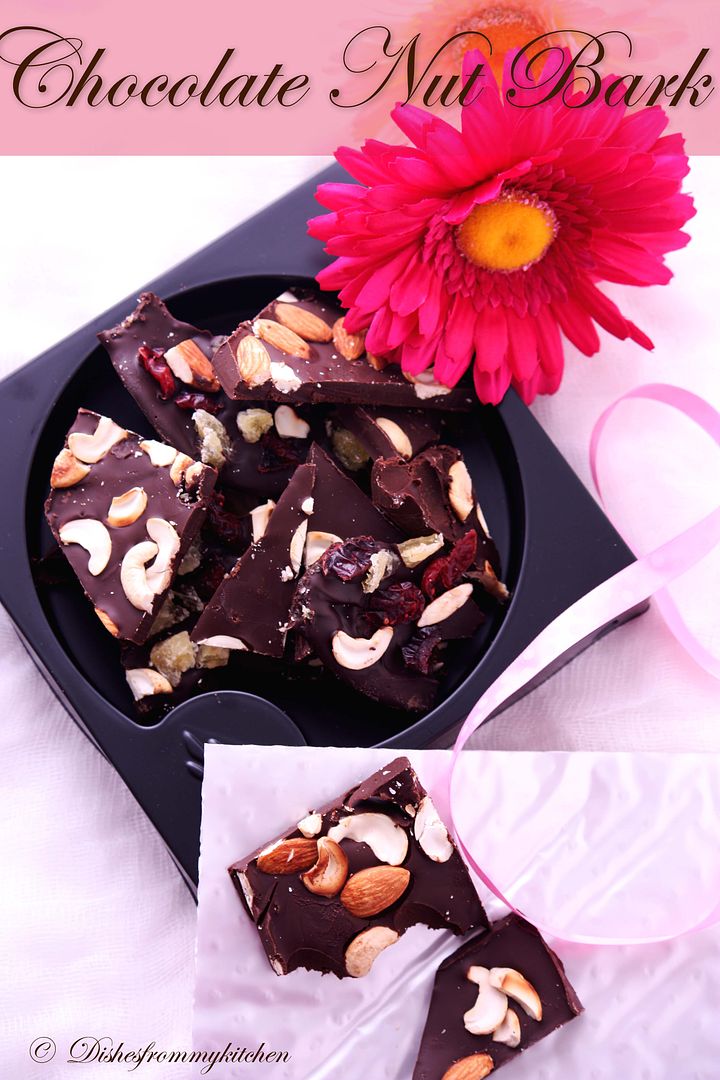
Chocolate Nut Bark


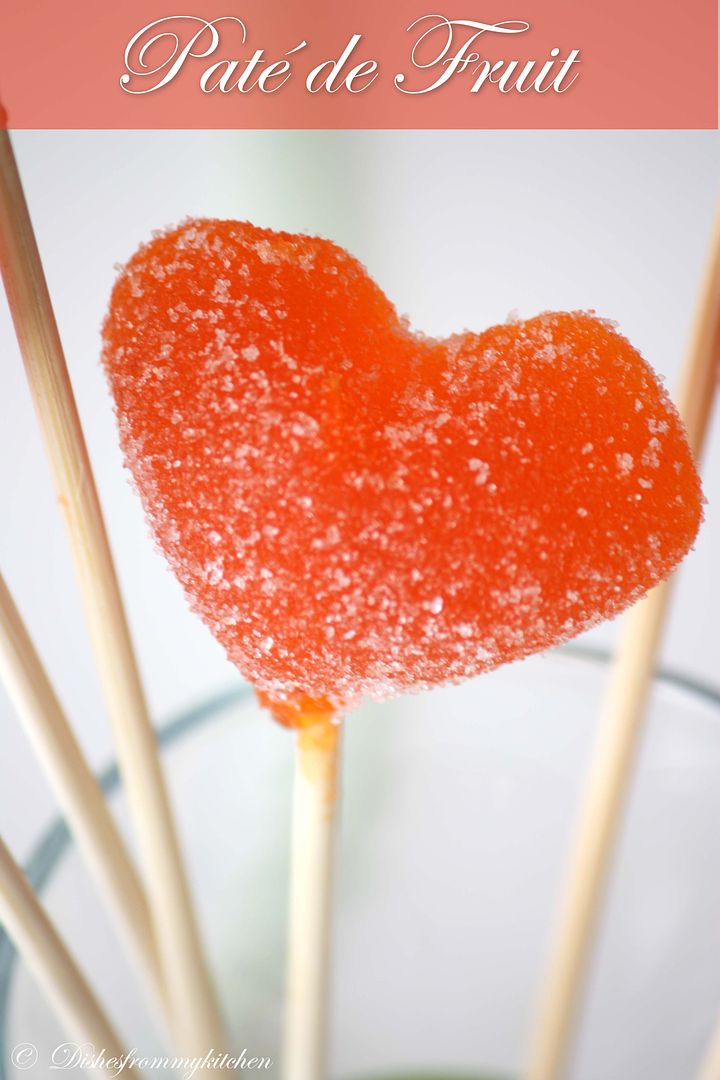
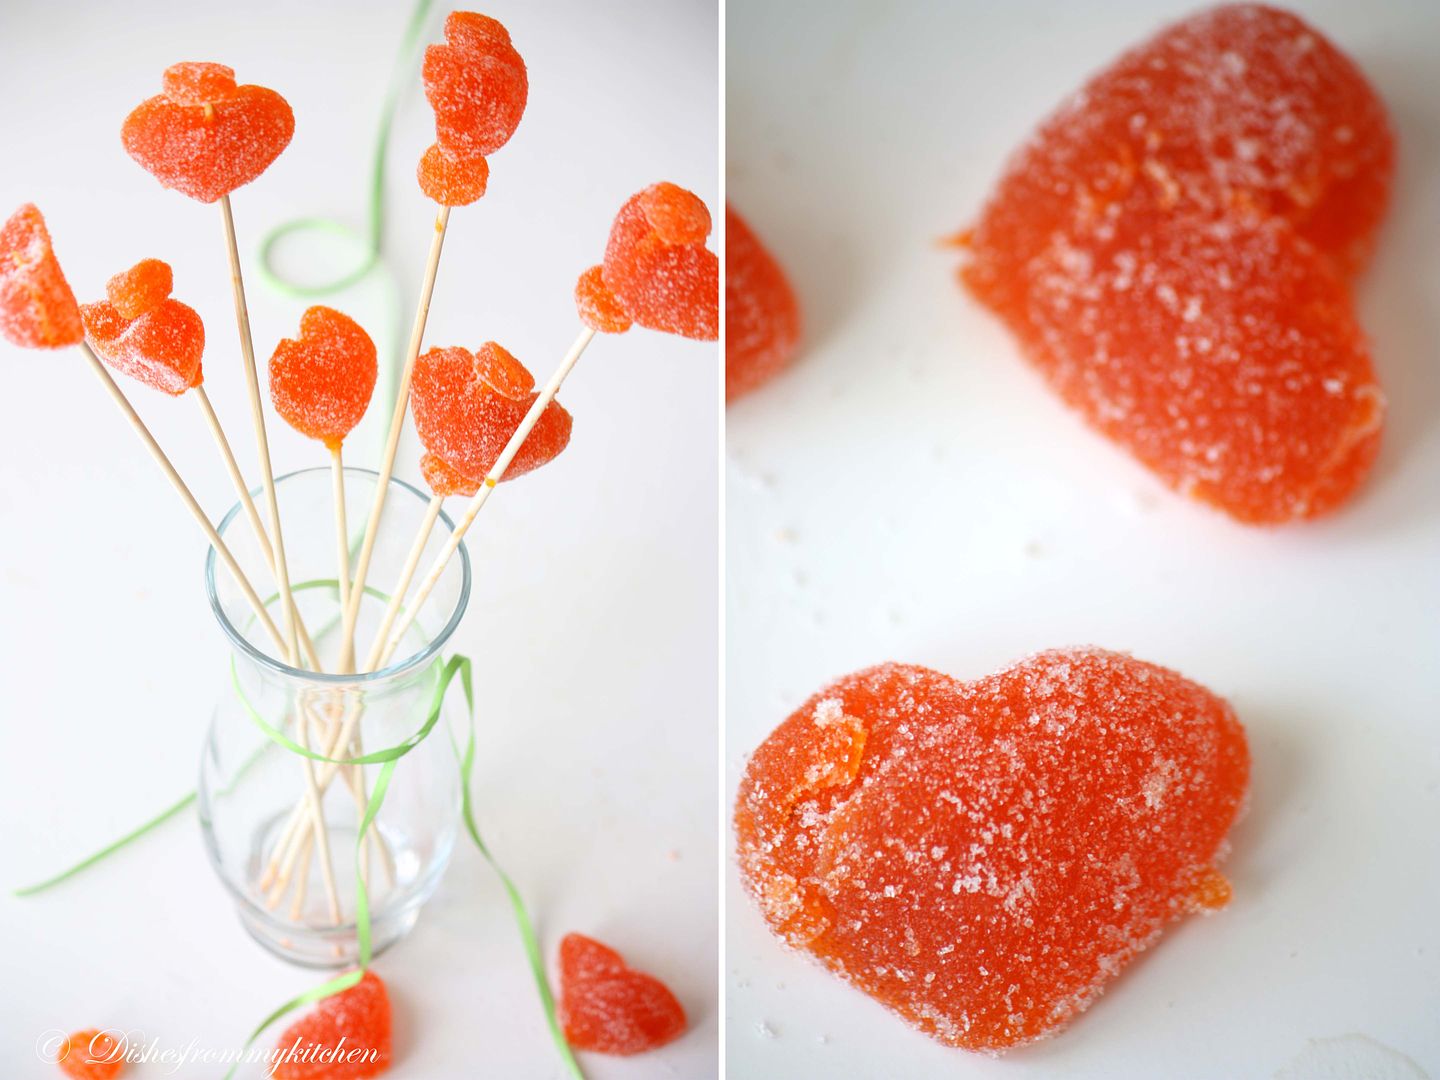
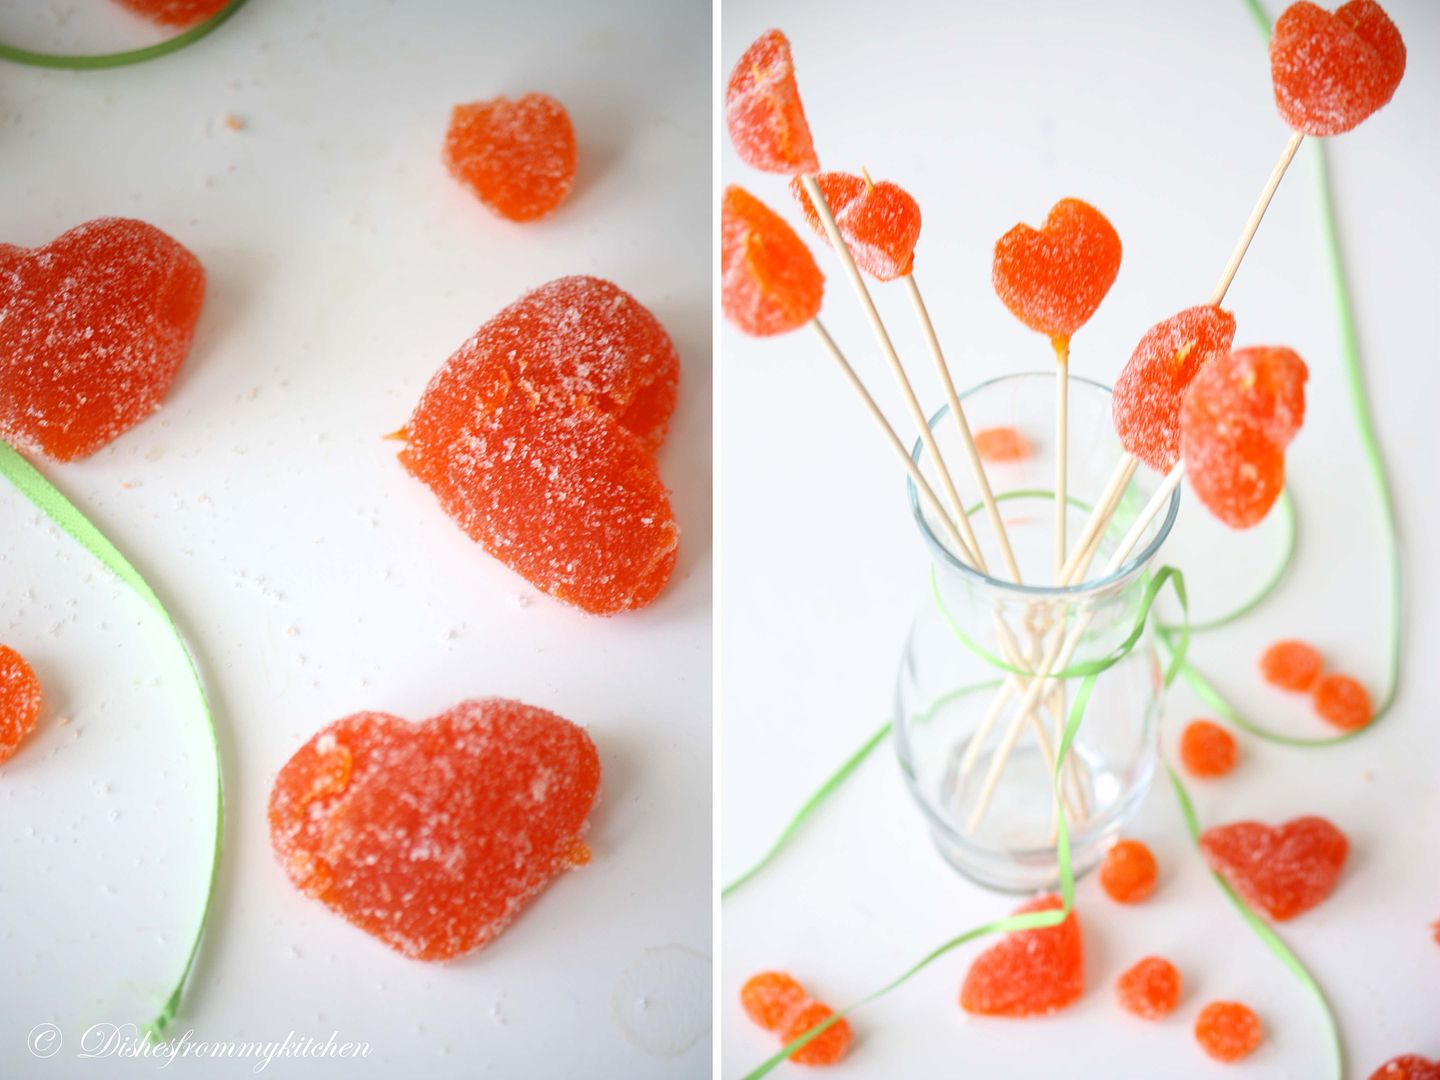
Pate de Fruit 


Citrus Paté de Fruits (Base Recipe)

Recipe created by Jen King and Liz Gutman
Oprah.com | From the October 2010 issue of O, The Oprah Magazine
Active time: 30 minutes
Total time: 30 minutes plus overnight

Ingredients:

½ cup (120 ml) Citrus Juice (orange, lemon, lime, grapefruit, etc.)
1½ cups (360 ml) Applesauce, plain (no sugar added)
2 teaspoons (10ml/10 g) powdered pectin
2½ cups (600 ml/20oz/560gm) Granulated White Sugar
Zest – use 2 small (lemon or limes), or 1 medium to large citrus (like oranges or tangerines)
Gel or paste food colouring, yellow green or orange depending on the citrus you're using, optional


Directions:

1. Lightly oil (or line with parchment paper) an 8”x8” (20cmx20xm) square pan; set aside.
2. Combine citrus juice and applesauce in a medium, deep saucepan. In a small bowl, whisk together the pectin and 1/2 cup sugar, and blend into the lime mixture. Clip a candy thermometer onto the side of the saucepan and bring mixture to a boil. Add remaining sugar and boil, stirring, until mixture reaches 225°F / 107°C (you may need to stir constantly toward the end to prevent burning). Remove from heat and stir in lime zest and colouring (optional).
3. Pour into prepared pan. When slightly cool, sprinkle sugar on top, and allow to set, about 2 hours. Cut into 1-inch (25 mm) squares, or use a lightly oiled cutter to make other shapes. Dredge in sugar and dry on a cooling rack overnight. Scraps can be re-melted and reset.
4. Store in a box or paper bag at room temperature for up to two weeks


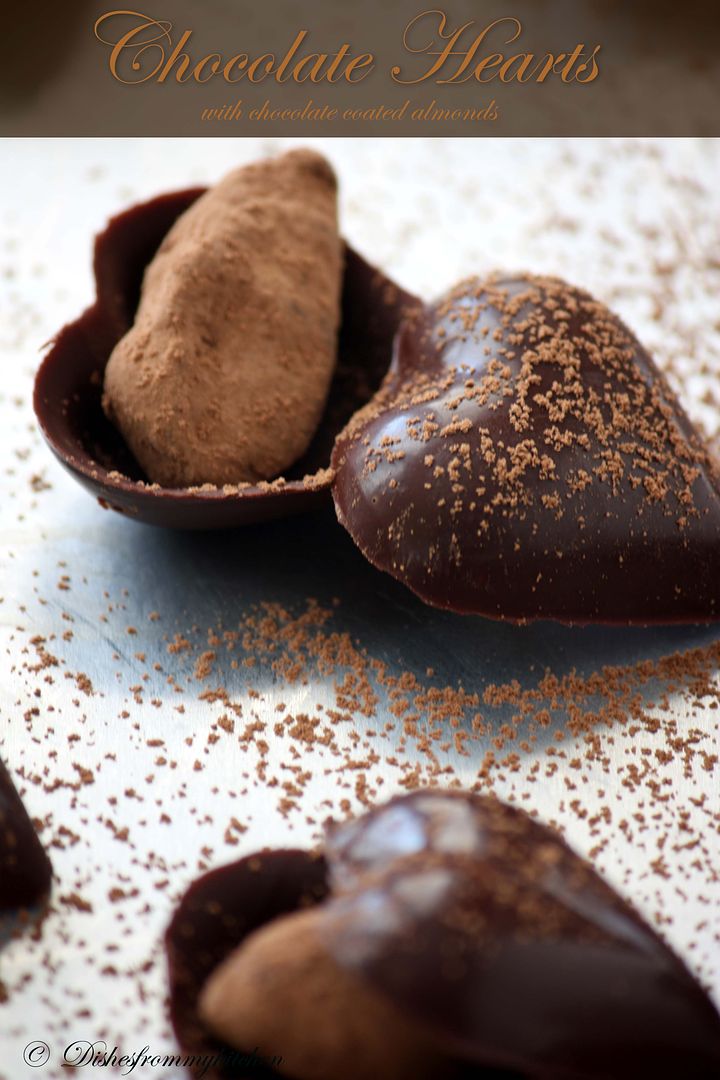
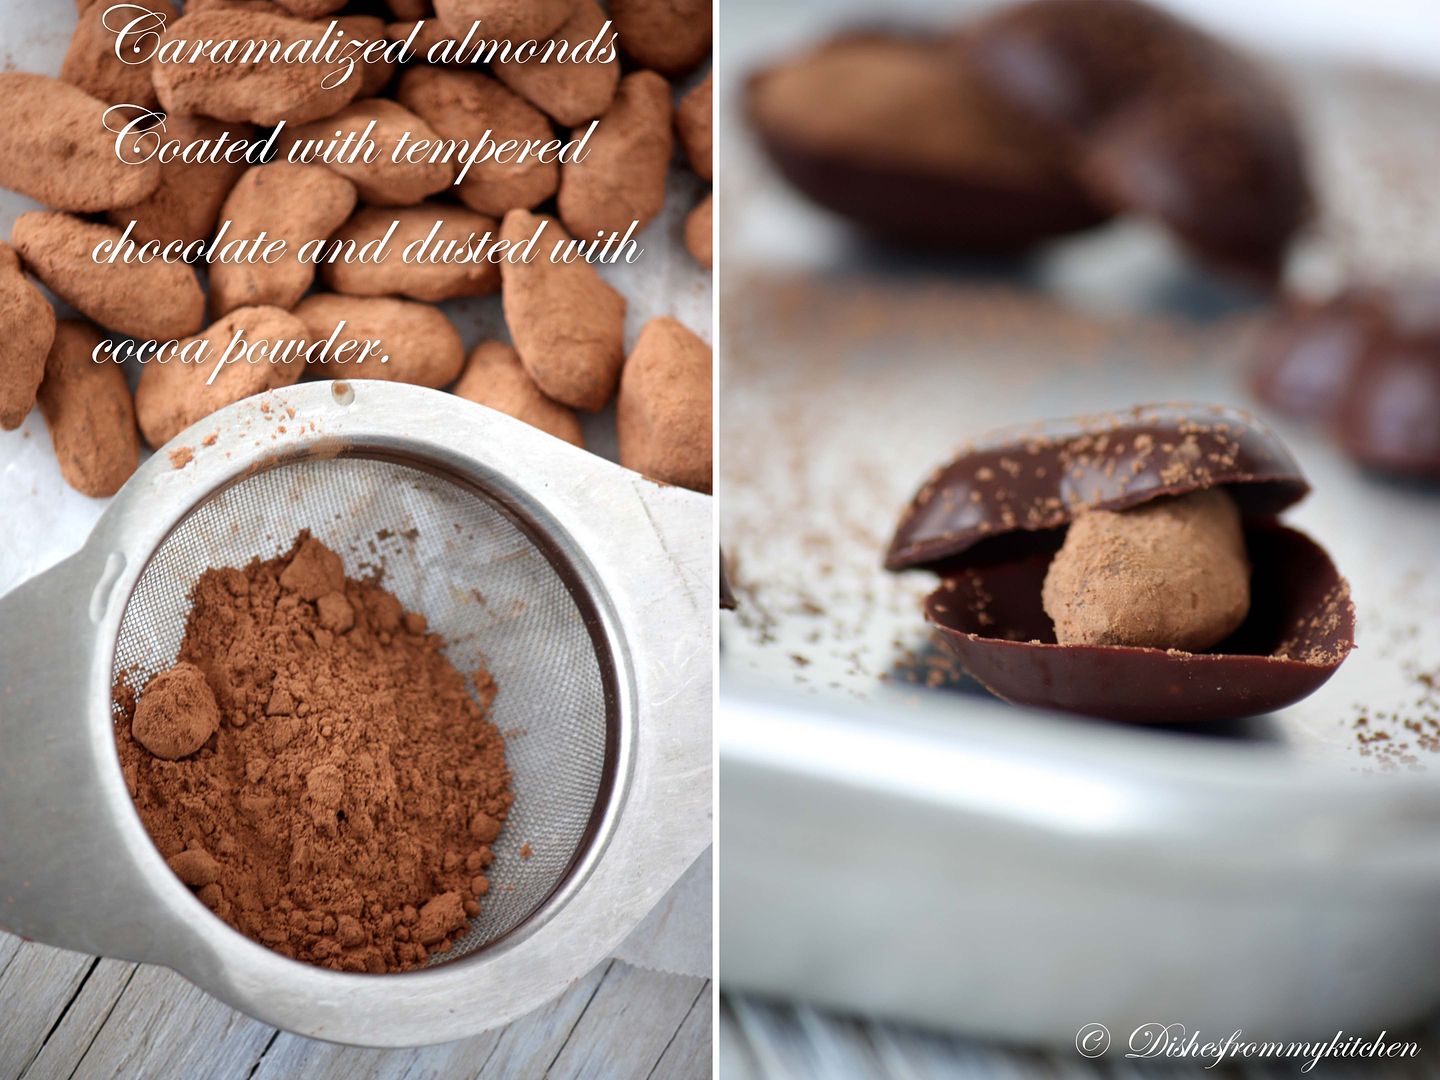
CHOCOLATE HEARTS FILLED WITH CHOCOLATE COATED ALMONDS


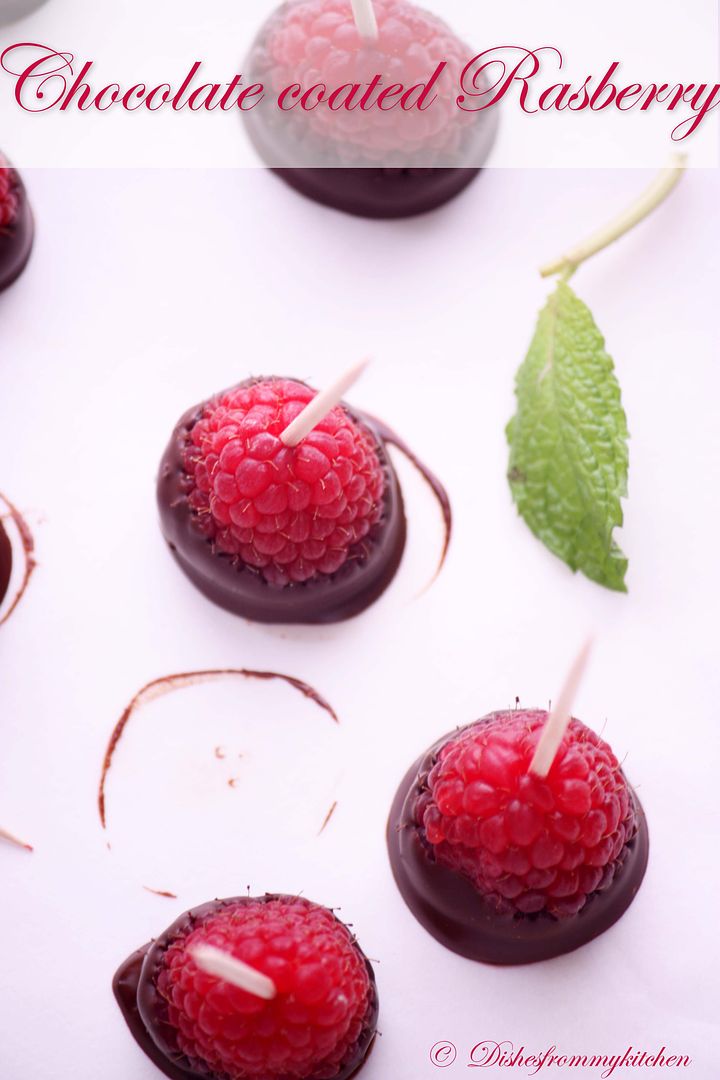
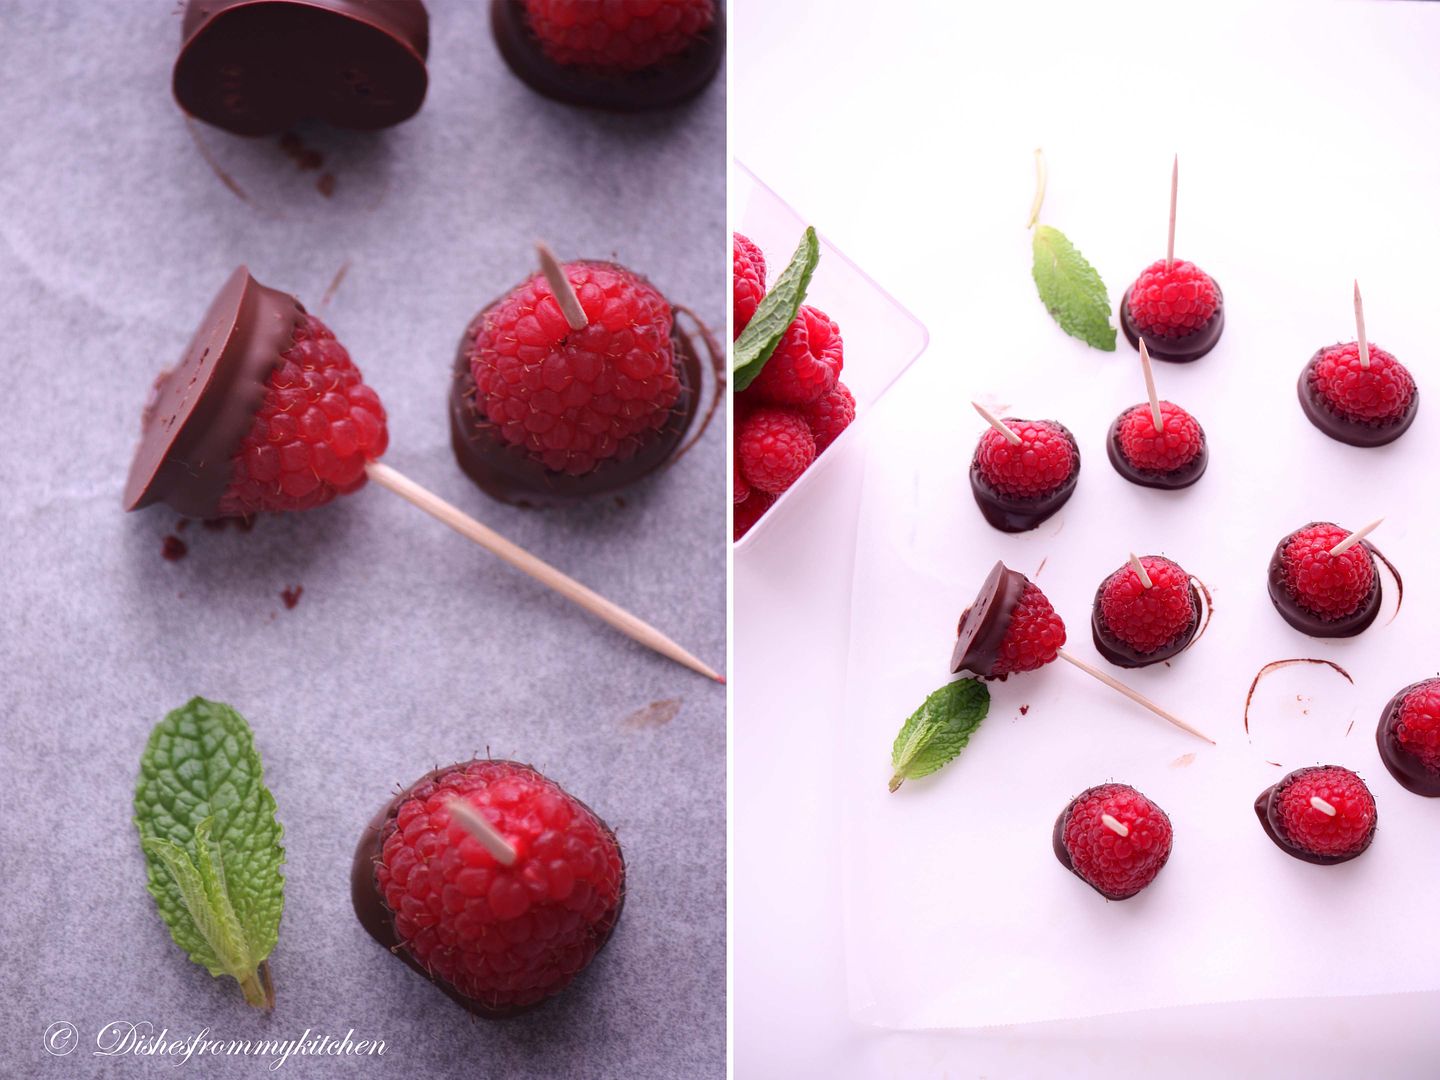
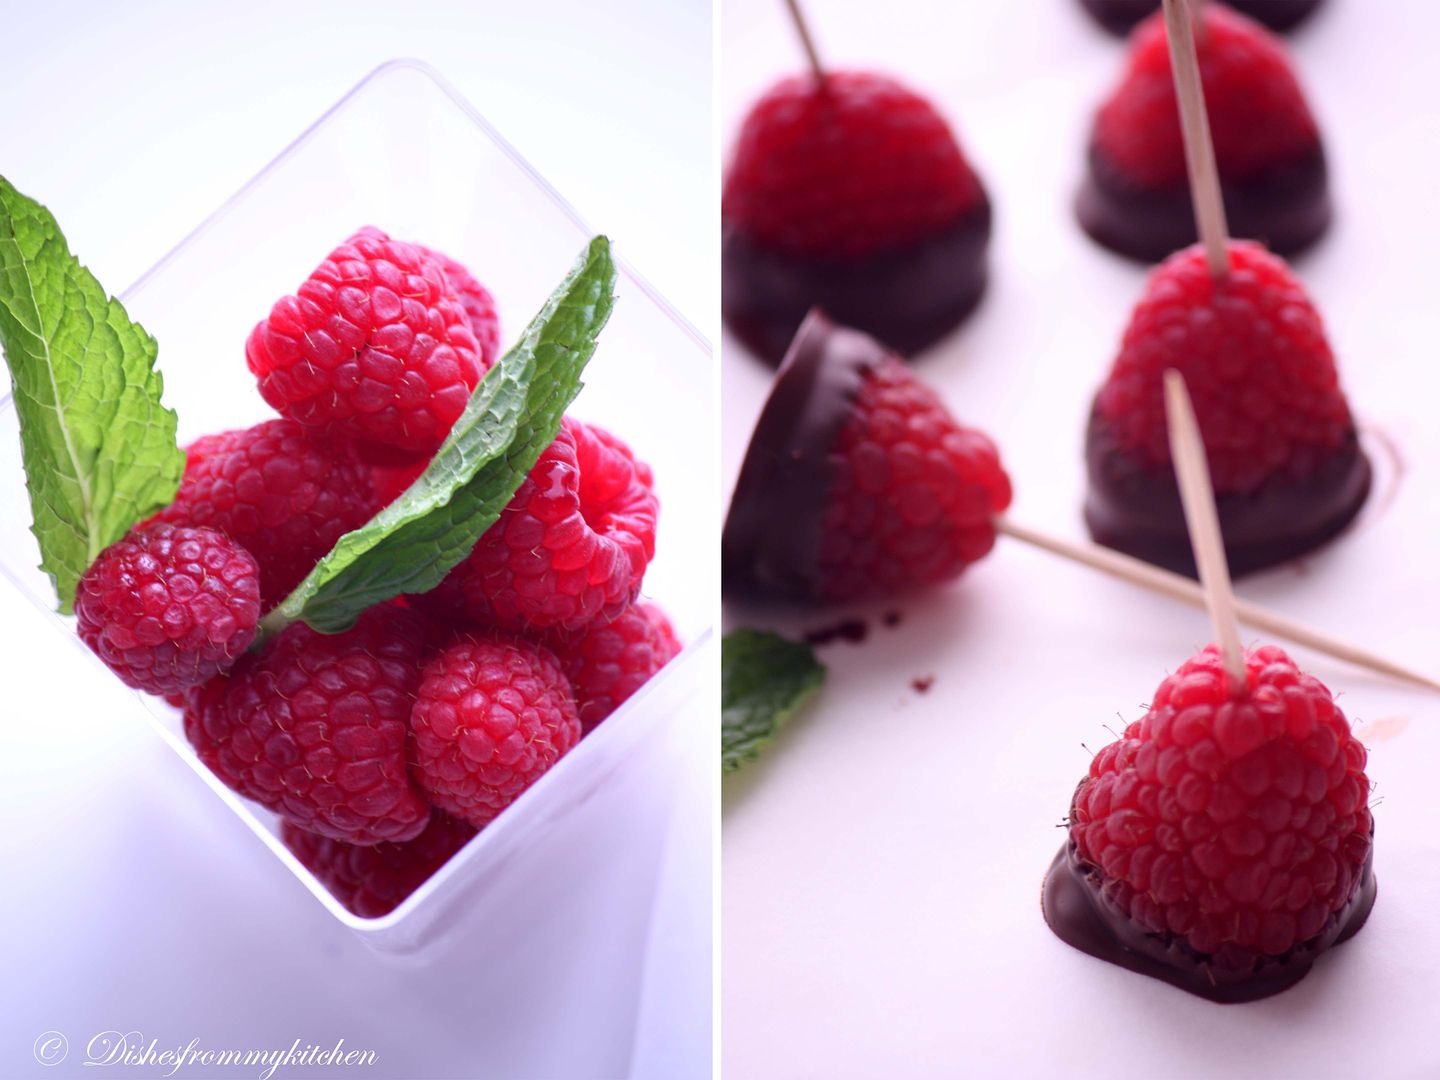
RASPBERRY DIPPED IN TEMPERED CHOCOLATE


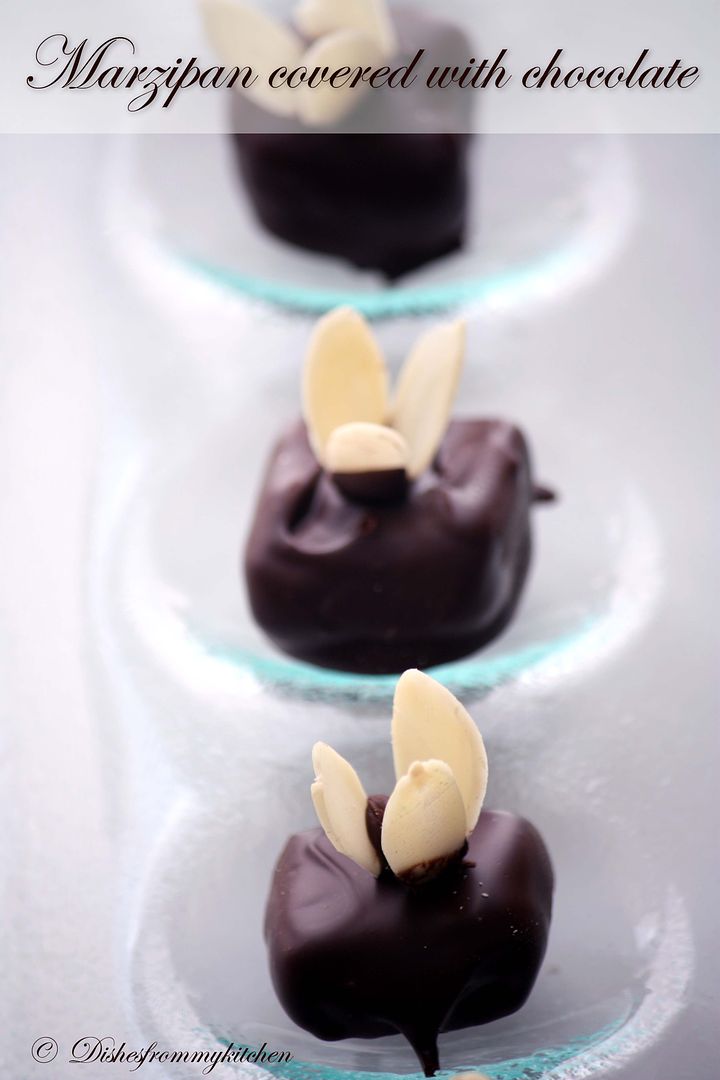
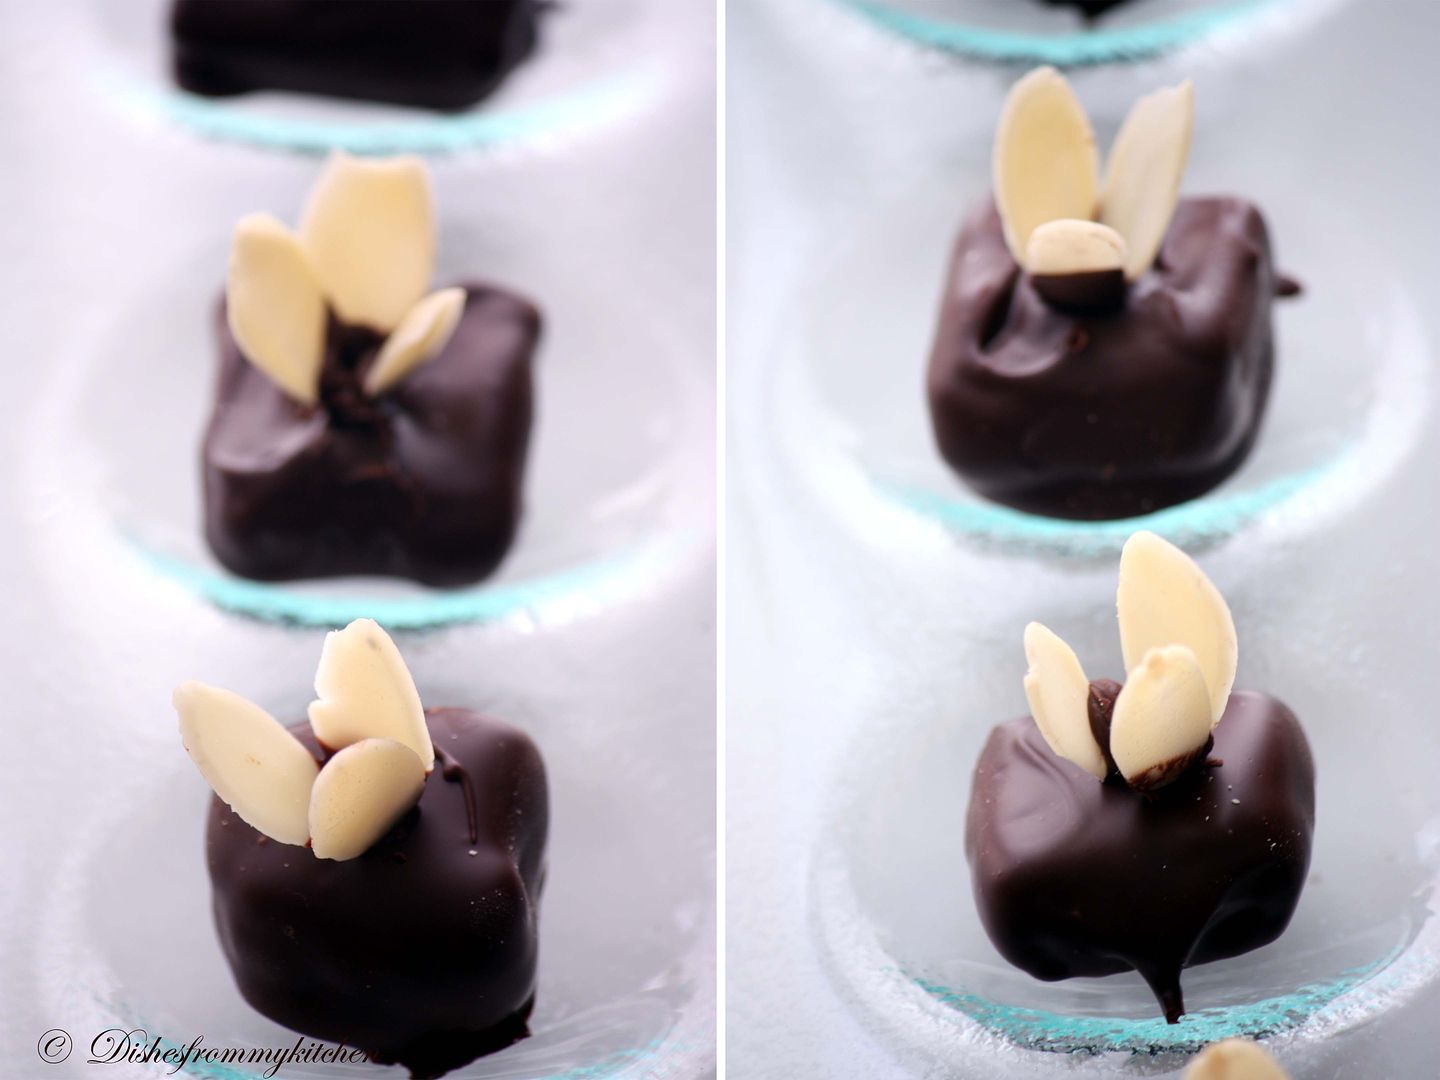
MARZIPAN DIPPED IN TEMPERED CHOCOLATE


Read more...


Page copy protected against web site content infringement by Copyscape

Visit Great Cooks Community
All recipes are on Petitchef