Search This Blog

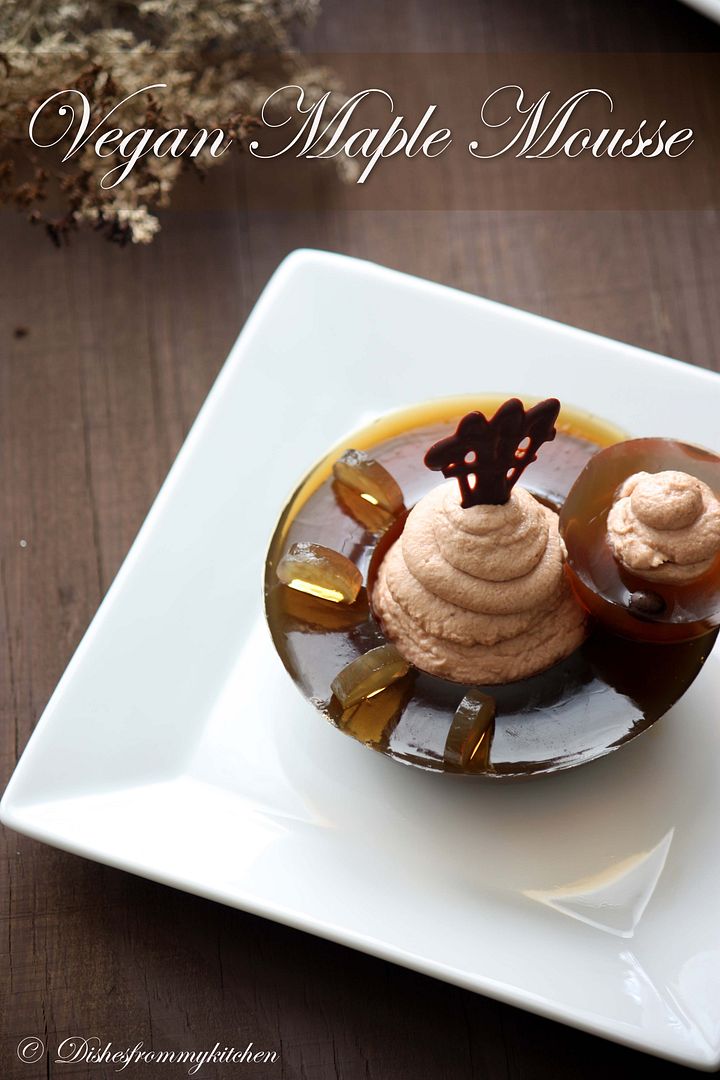
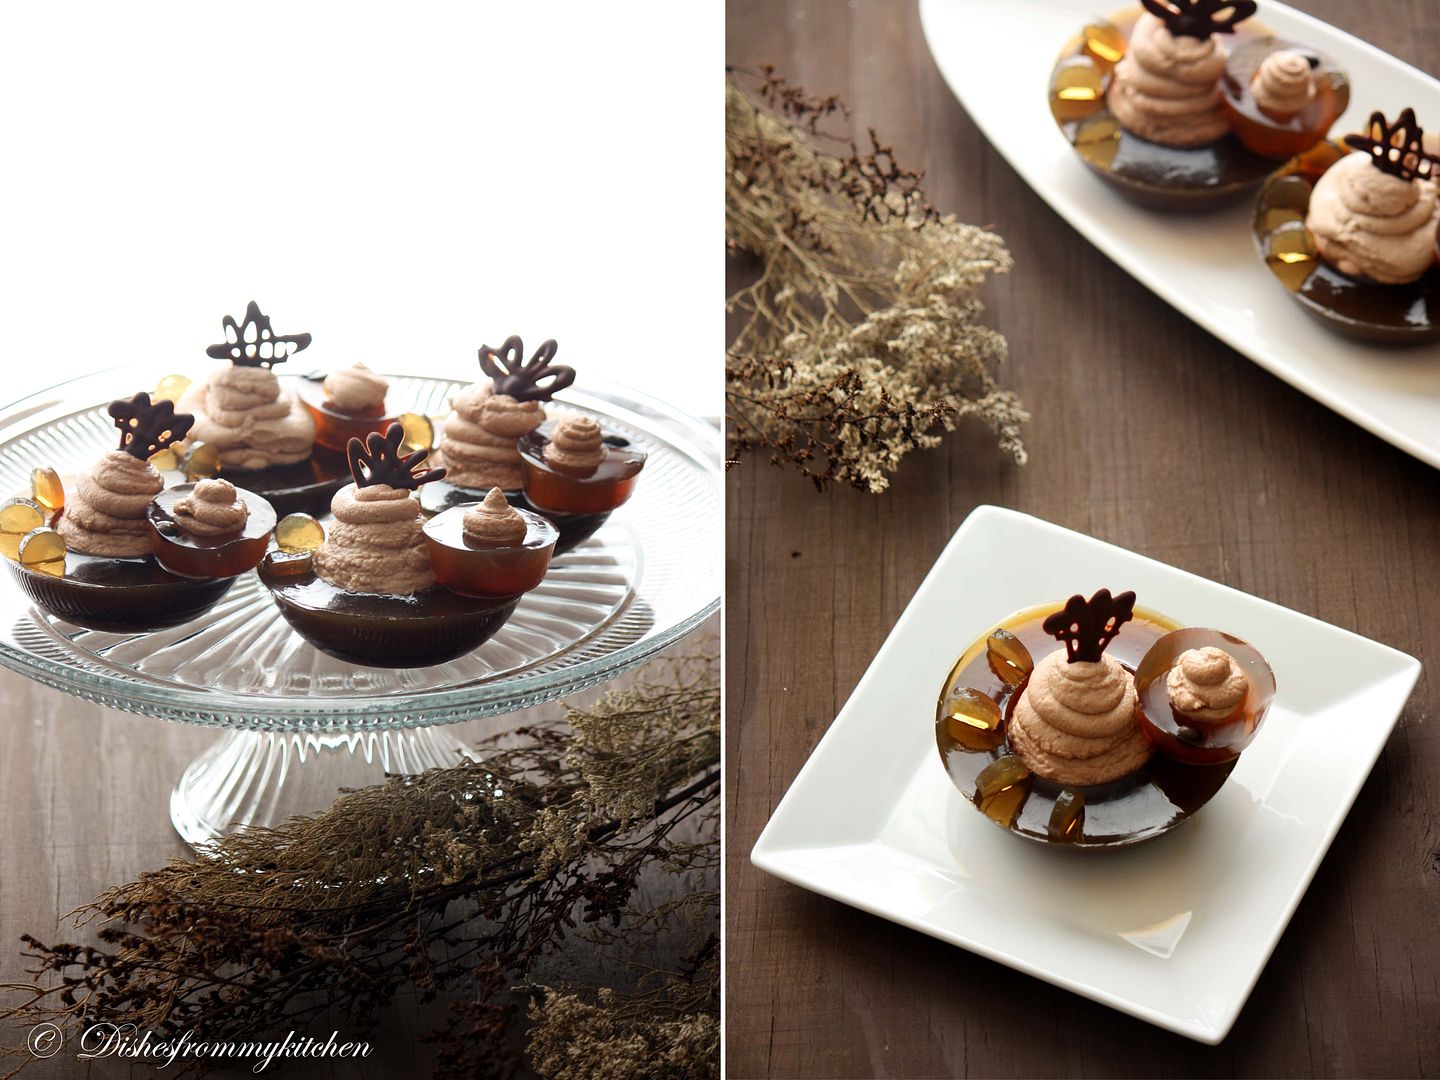
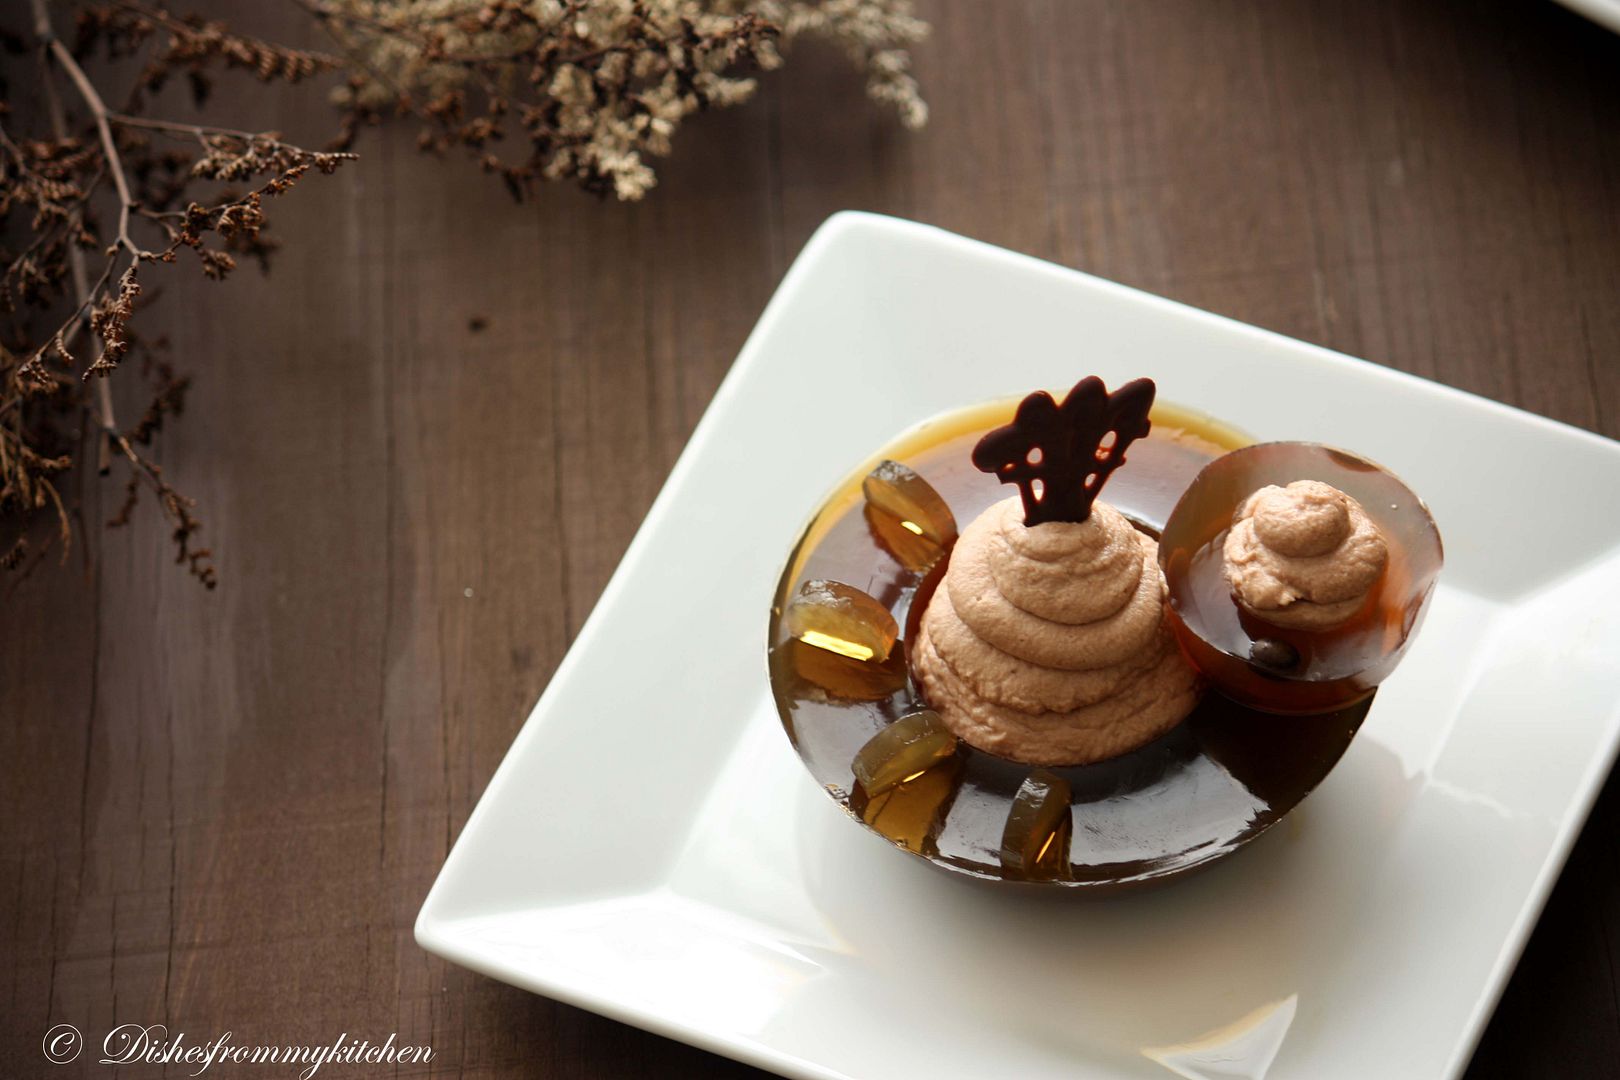
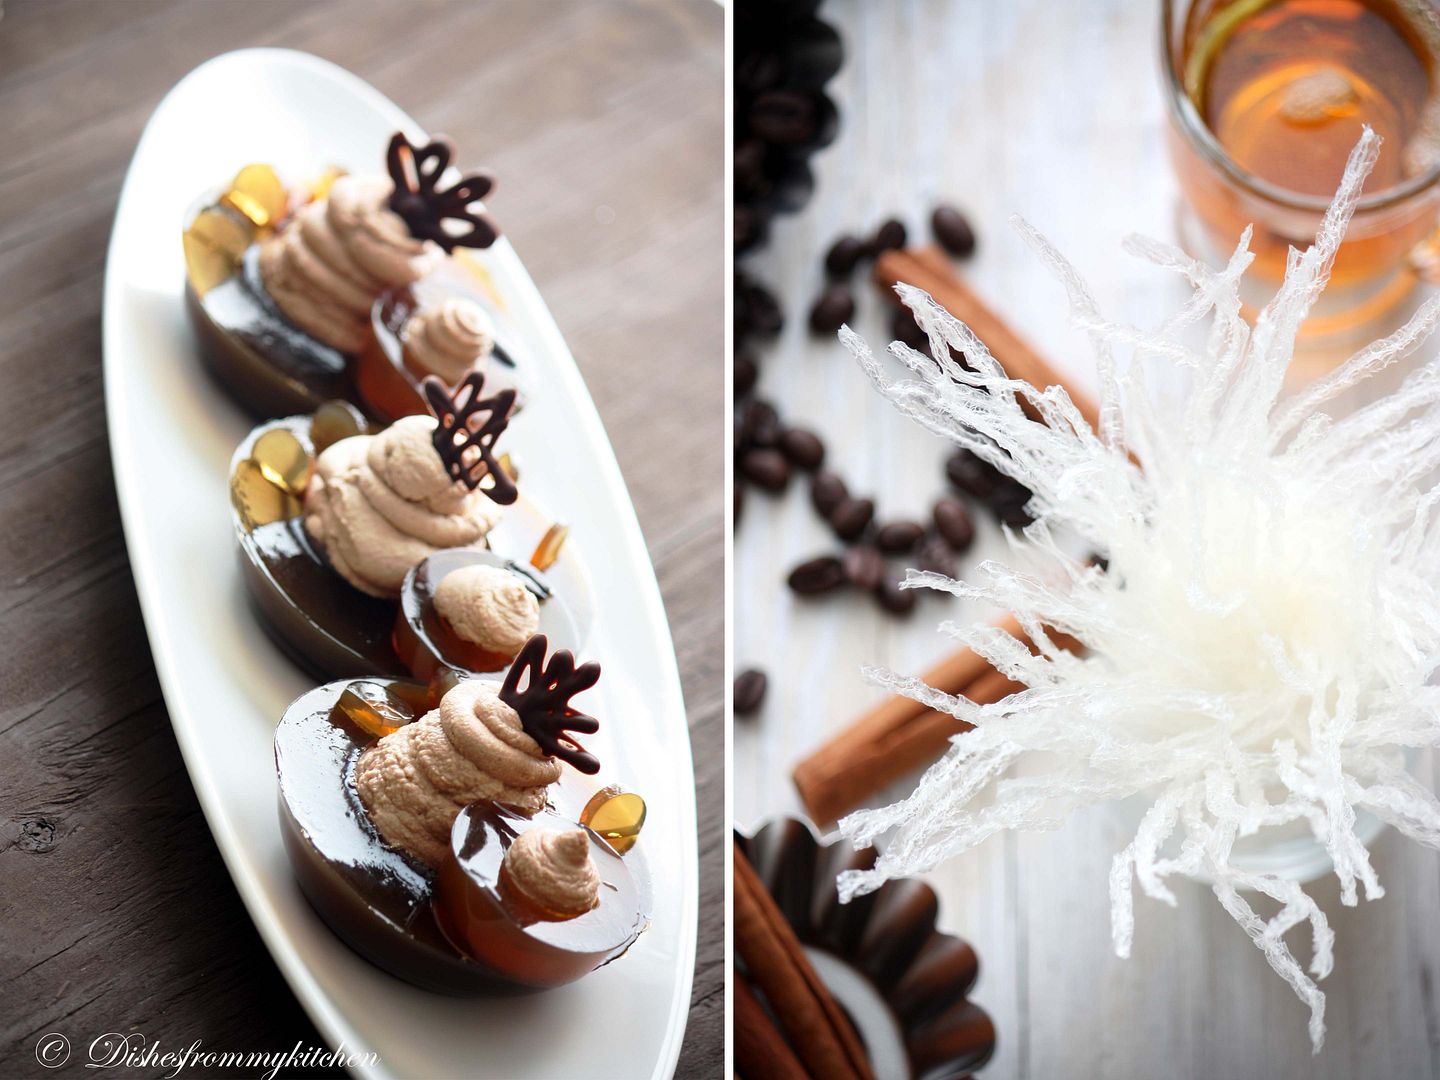
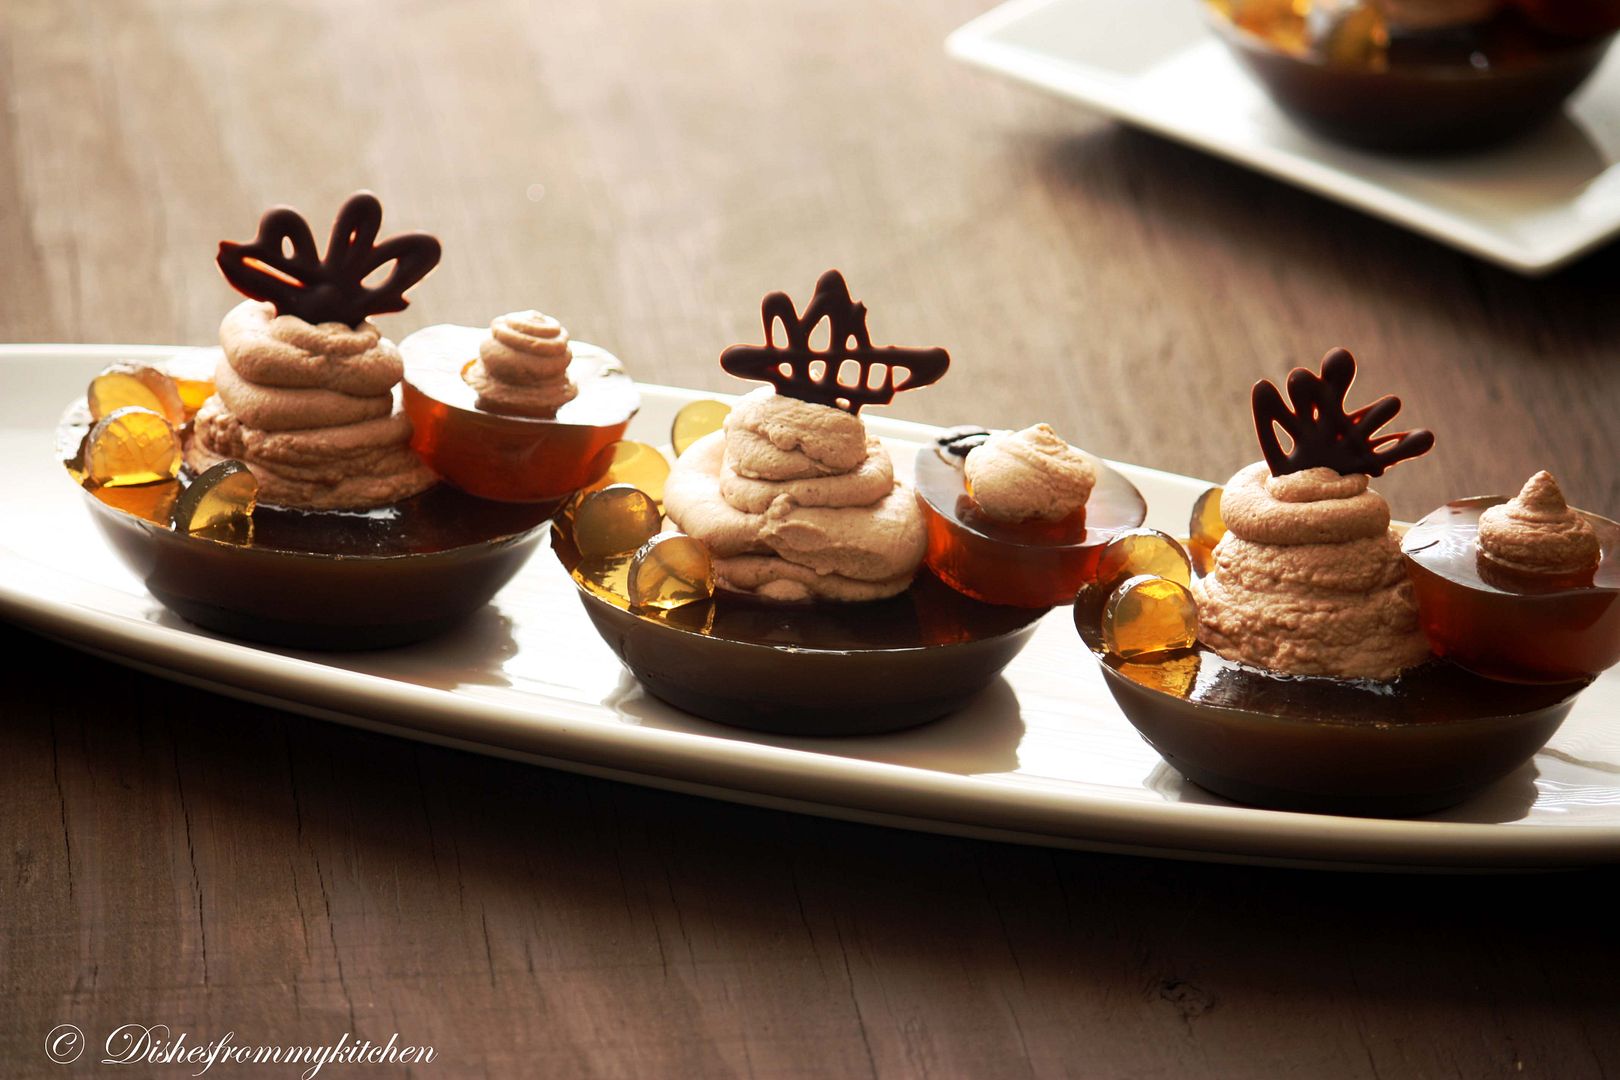
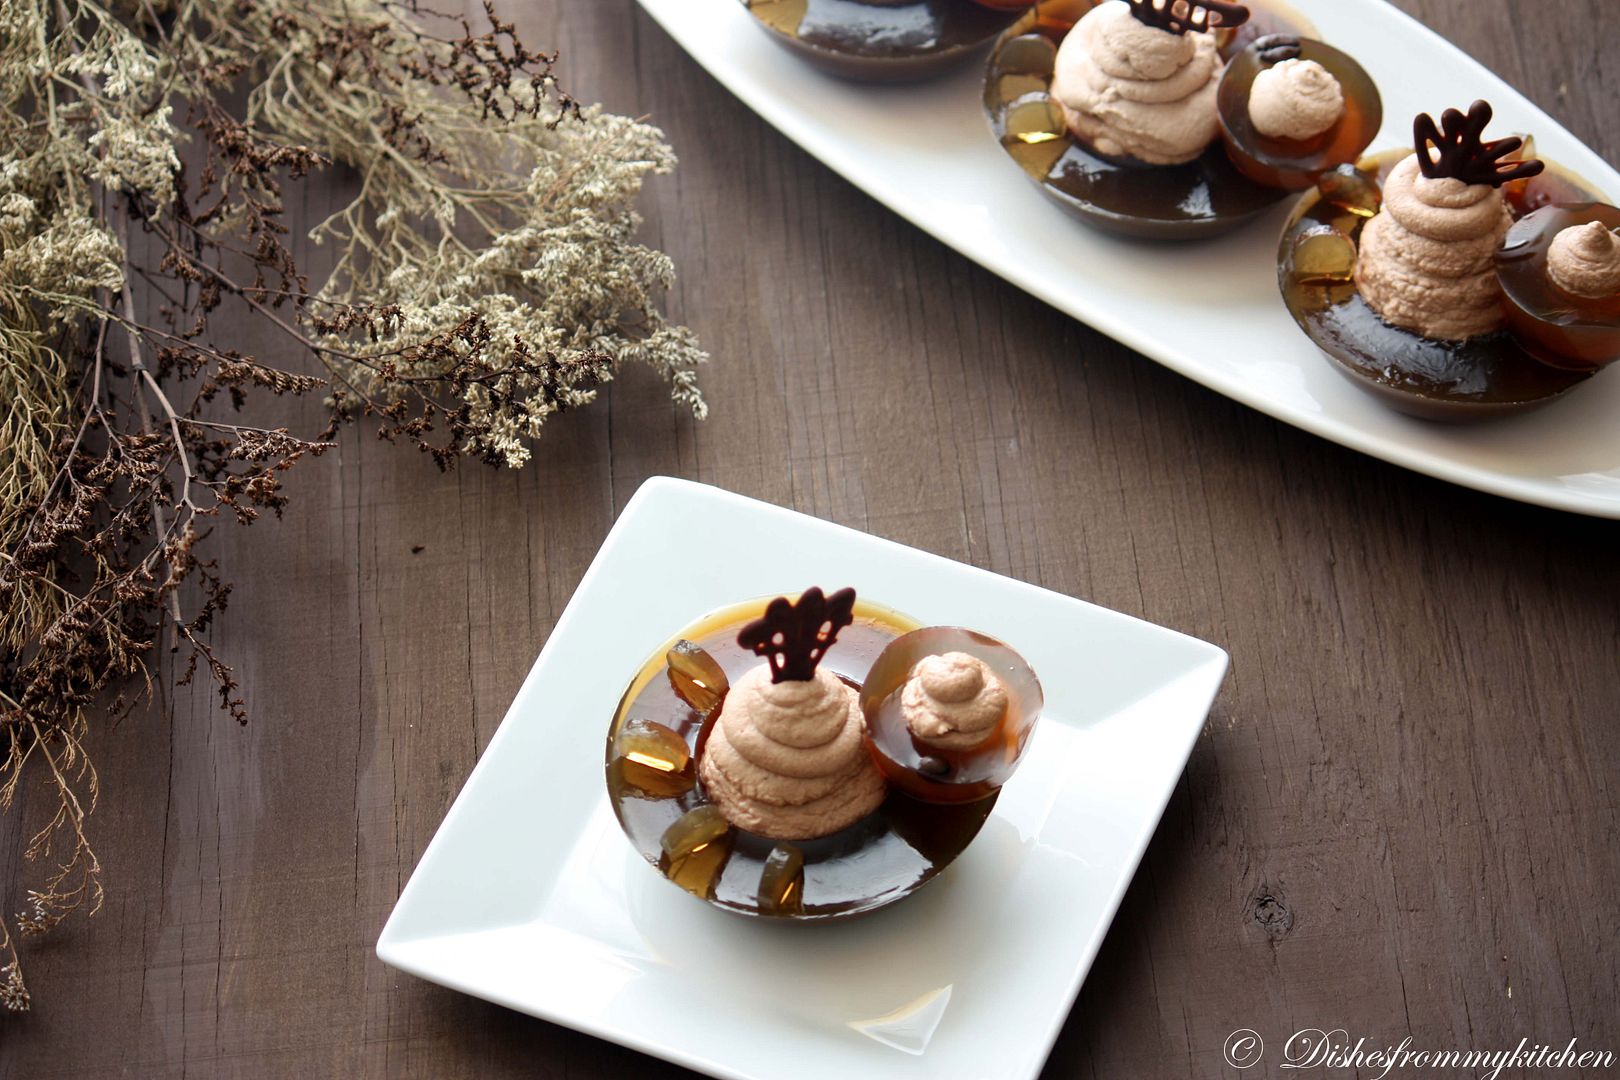
VEGAN MAPLE MOUSSE WITH COFFE CINNAMON JELLO - DARING CHALLENGE APR 2011

The April 2011 Daring Bakers’ challenge was hosted by Evelyne of the blog Cheap Ethnic Eatz. Evelyne chose to challenge everyone to make a maple mousse in an edible container. Prizes are being awarded to the most creative edible container and filling, so vote on your favorite from April 27th to May 27th at  http://thedaringkitchen.com!


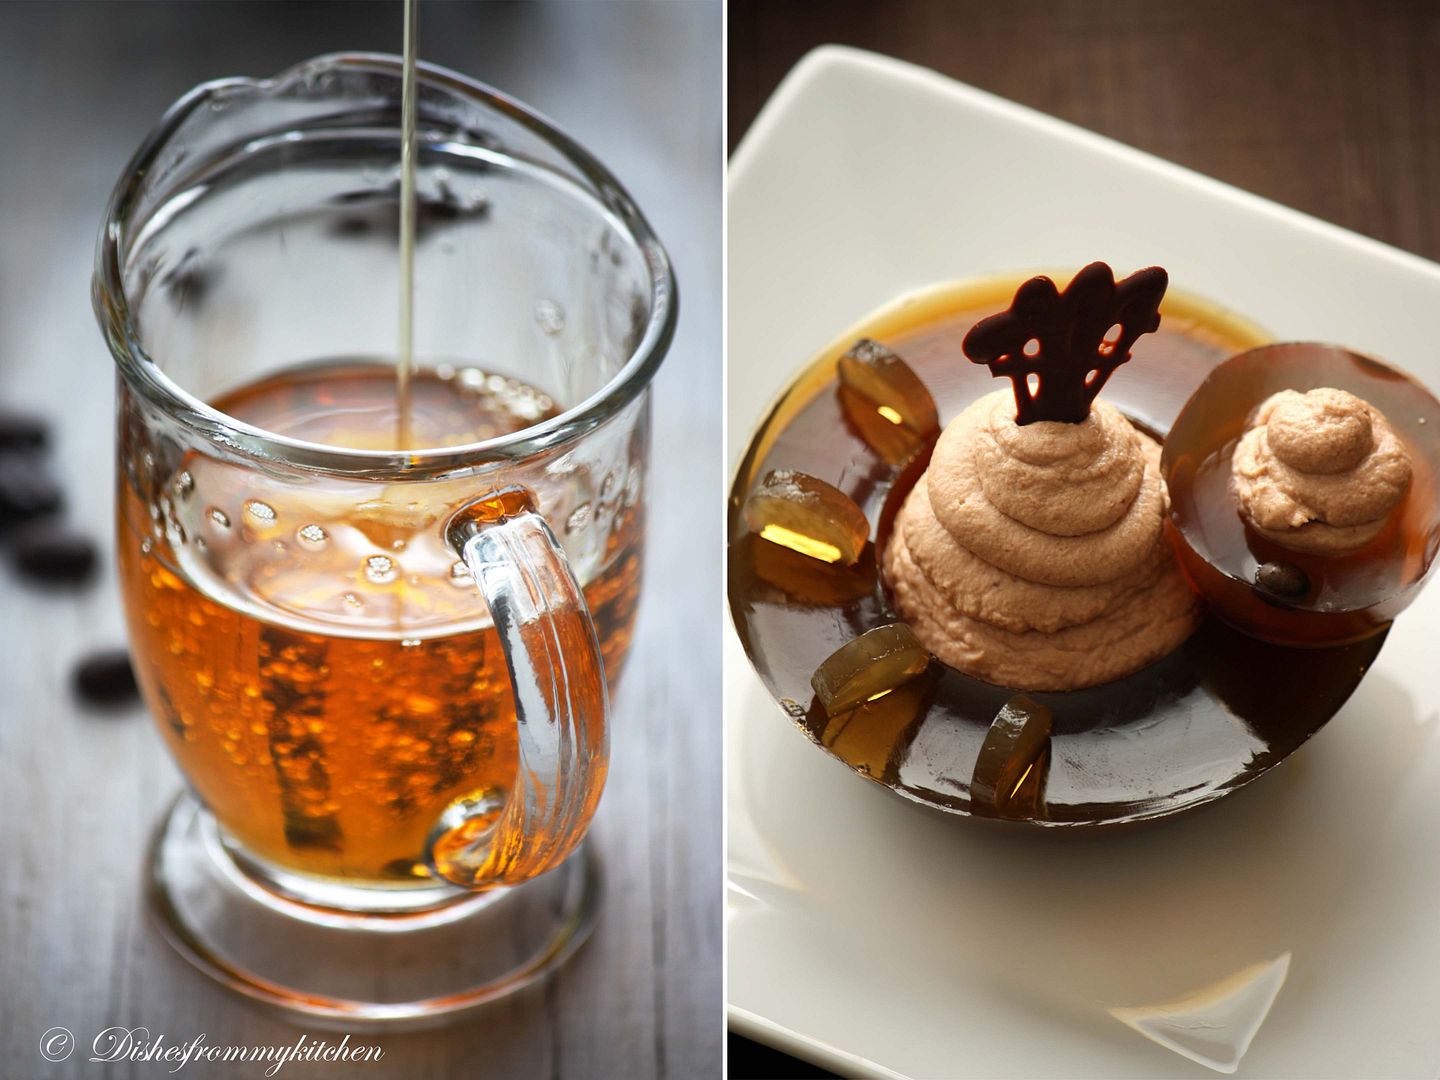
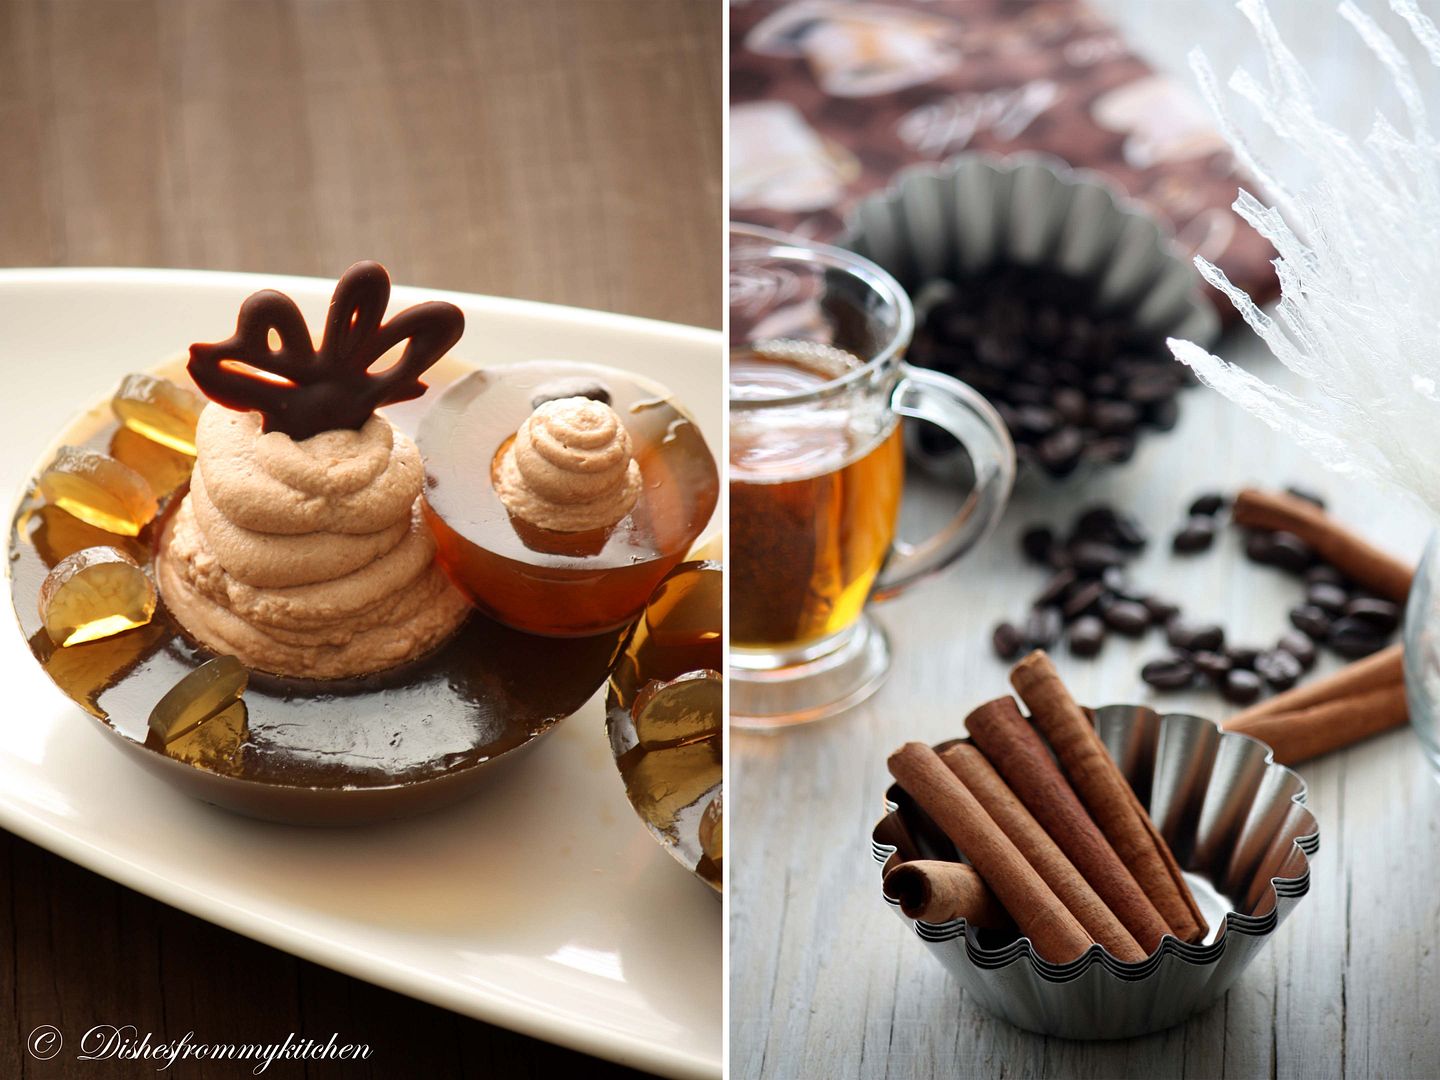
I did mine few hours ago and this was absolutely last minute work.  Could not spend much time.  Its  because I am just getting ready for my vacation :) Happily held up with so many works like shopping.  But sadly not good with my health :(.....Ok coming to this month challenge, I choose to do the vegan Maple which tasted so delicious, easy to do and I had all the ingredients in hand.  And the container is coffee cinnamon Jell-O (using agar agar) which worked wonderfully with creamy vegan maple mousse. Hope you all enjoy the virtual treat!!!  I am also posting the nuts bowl and the Maple mousse using egg yolks you can give it a try as well.


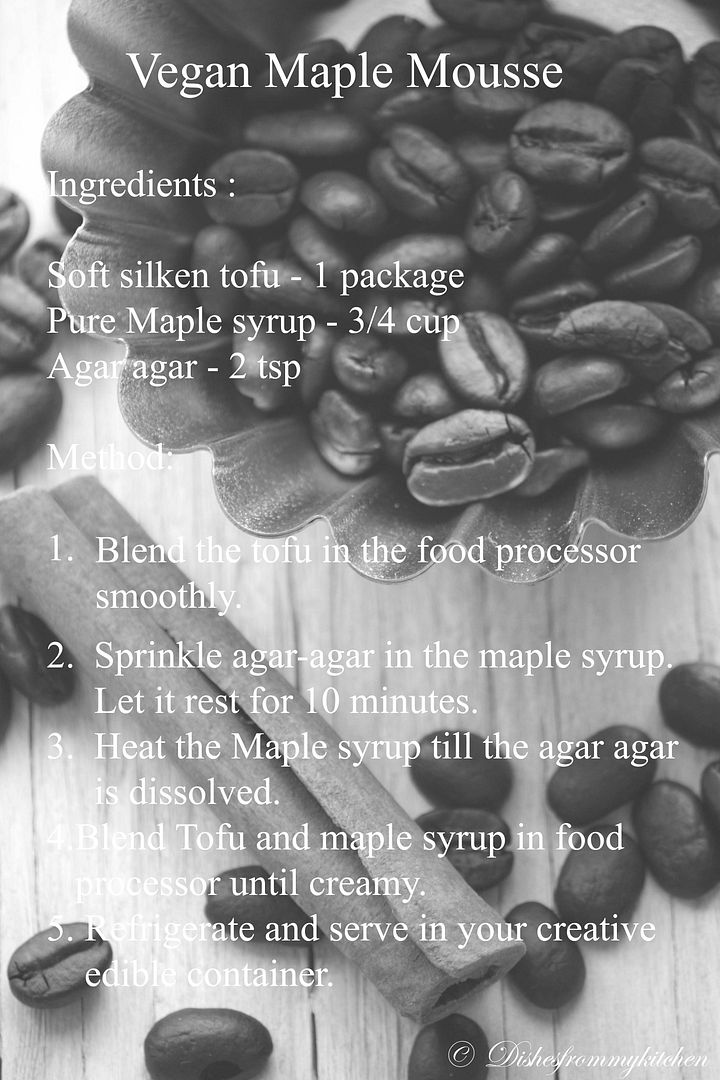
VEGAN MAPLE MOUSSE

Ingredients:

Soft silken tofu - 1 package
Pure maple syrup - 3/4 cup
Agar-agar - 2 tsp 


Directions:

1. Let tofu come to room temperature. Using a food processor, blender, or hand mixer, blend tofu until just smooth. (But I did not blend very smooth)
2. Sprinkle agar-agar on the maple syrup and let it rest for 10 minutes. Heat maple syrup on the stove to a boil and then let it simmer 5 minutes until the agar-agar has dissolved.
3. In a food processor, blender, or a large bowl, blend the tofu with the maple syrup until creamy(I like little bit grainy).
4. Refrigerate for at least one hour. Remove from the fridge and divide among your edible containers.


MY EDIBLE CONTAINER - COFFEE CINNAMON JELLO
 

Ingredients:

Instant coffee - 1 tbsp
Water - 3 1/4 cup
Sugar - 1 /2 cup
Cinnamon stick - 2
Agar agar - 1 1/2 tsp


Method:

1. Place the water, coffee, Cinnamon, sugar in a small saucepan and bring to gentle boil.
2. Heat until sugar dissolves.
3. Add the agar agar powder in the boiling water until it dissolves.
4. Pour it in the moulds and let it set.
5. Then fill it with the mousse.


NUT BOWLS

Ingredients:

Crushed nuts of your choice such as almonds, hazelnuts or walnuts - 1 1/2 cups
Egg - 1 beaten room temperature
Sugar - 2 tbsp
Dark chocolate pieces - 1/2 cup 


Directions:

1. Use a food processor or a zip-lock back with a rolling pin to crush your nuts if whole, use about 1 cup of whole nuts to get 3/4 cups crushed. You want it somewhat coarse.
2. In a bowl mix the nuts with the beaten egg and the sugar.
3. Take 6 small ½ cup capacity Pyrex cups or a similar container and line the inside with aluminum foil. Spread ¼ cup of the mixture in the bowl, all the way up to the sides making sure you have a thin and even clean layer all around.
4. Bake at 350 degrees F/175 degrees C. until the nuts are golden and fragrant (about 15 minutes). Let cool completely before unmolding.
5. Melt chocolate (either in the microwave or over a double boiler). Dip the rims of the cooled nut bowls in the chocolate. Place in the freezer for at least 15 minutes or until the chocolate has hardened and is set.

MAPLE MOUSSE
 

Ingredients:

Pure maple syrup (not maple-flavored syrup) - 1 cup
Egg yolks -  4 large
Unflavored gelatin - 1 package
Whipping cream (35% fat content) - 1 1/2 cups

Directions:

1. Bring maple syrup to a boil then remove from heat.
2. In a large bowl, whisk egg yolks and pour a little bit of the maple syrup in while whisking (this is to temper your egg yolks so they don’t curdle).

Read more...

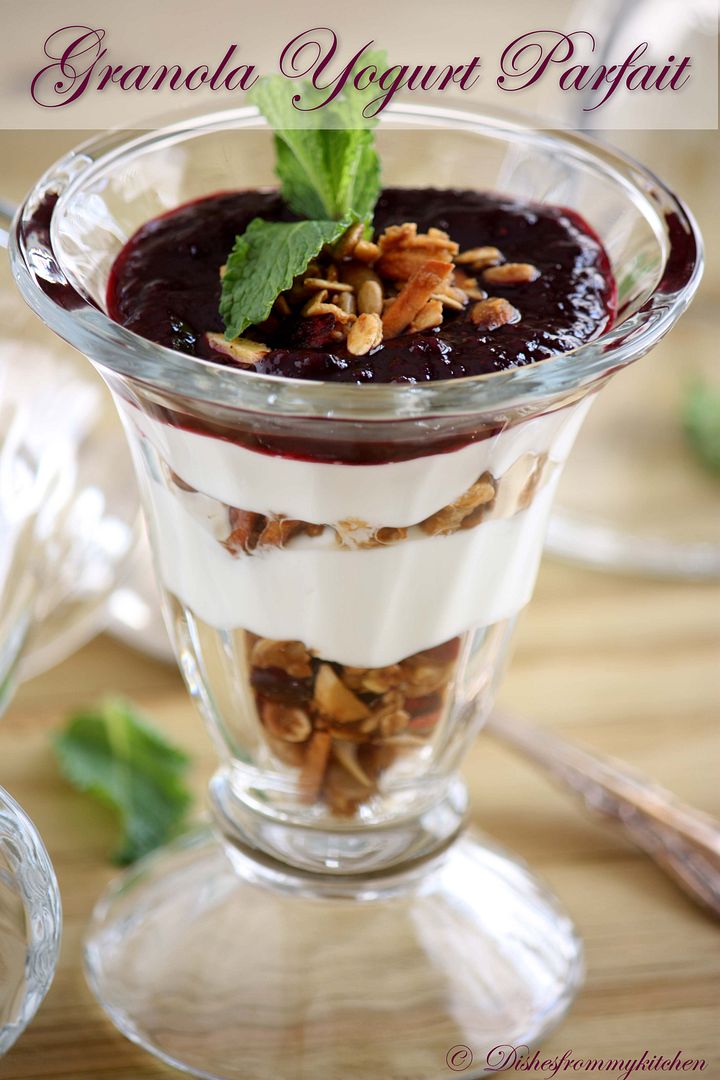
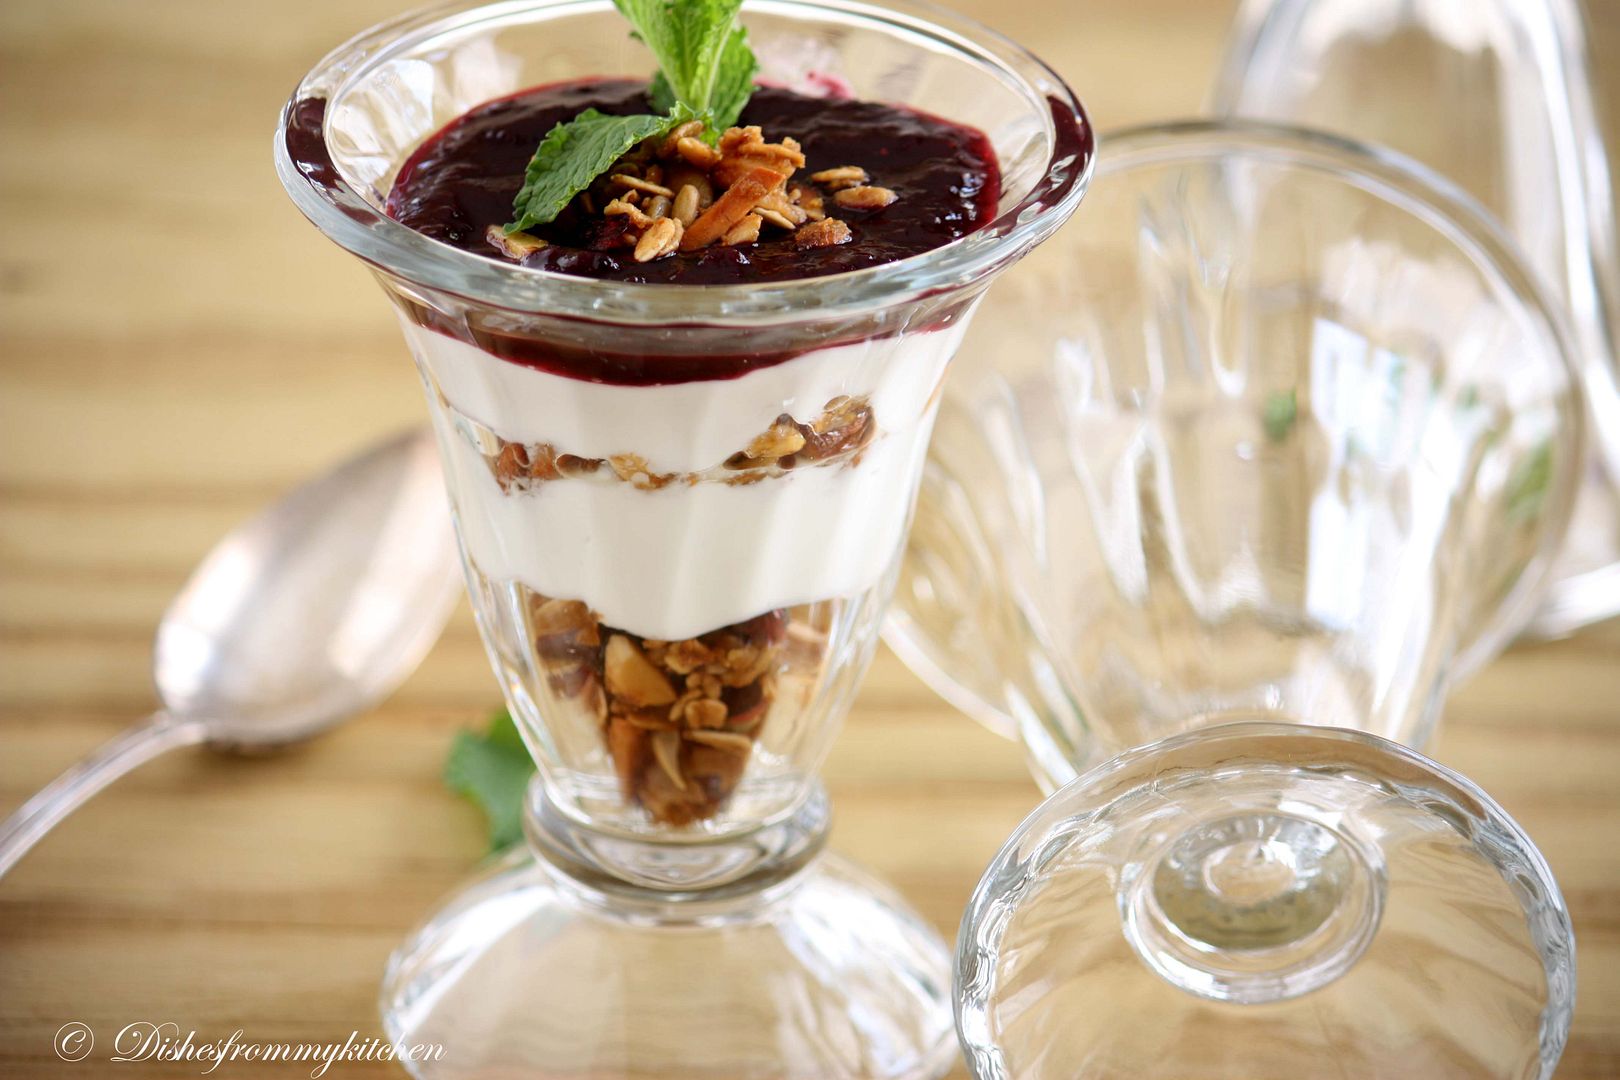
GRANOLA YOGURT PARFAIT WITH BERRY PRESERVE(Home made granola and Berry Preserve)

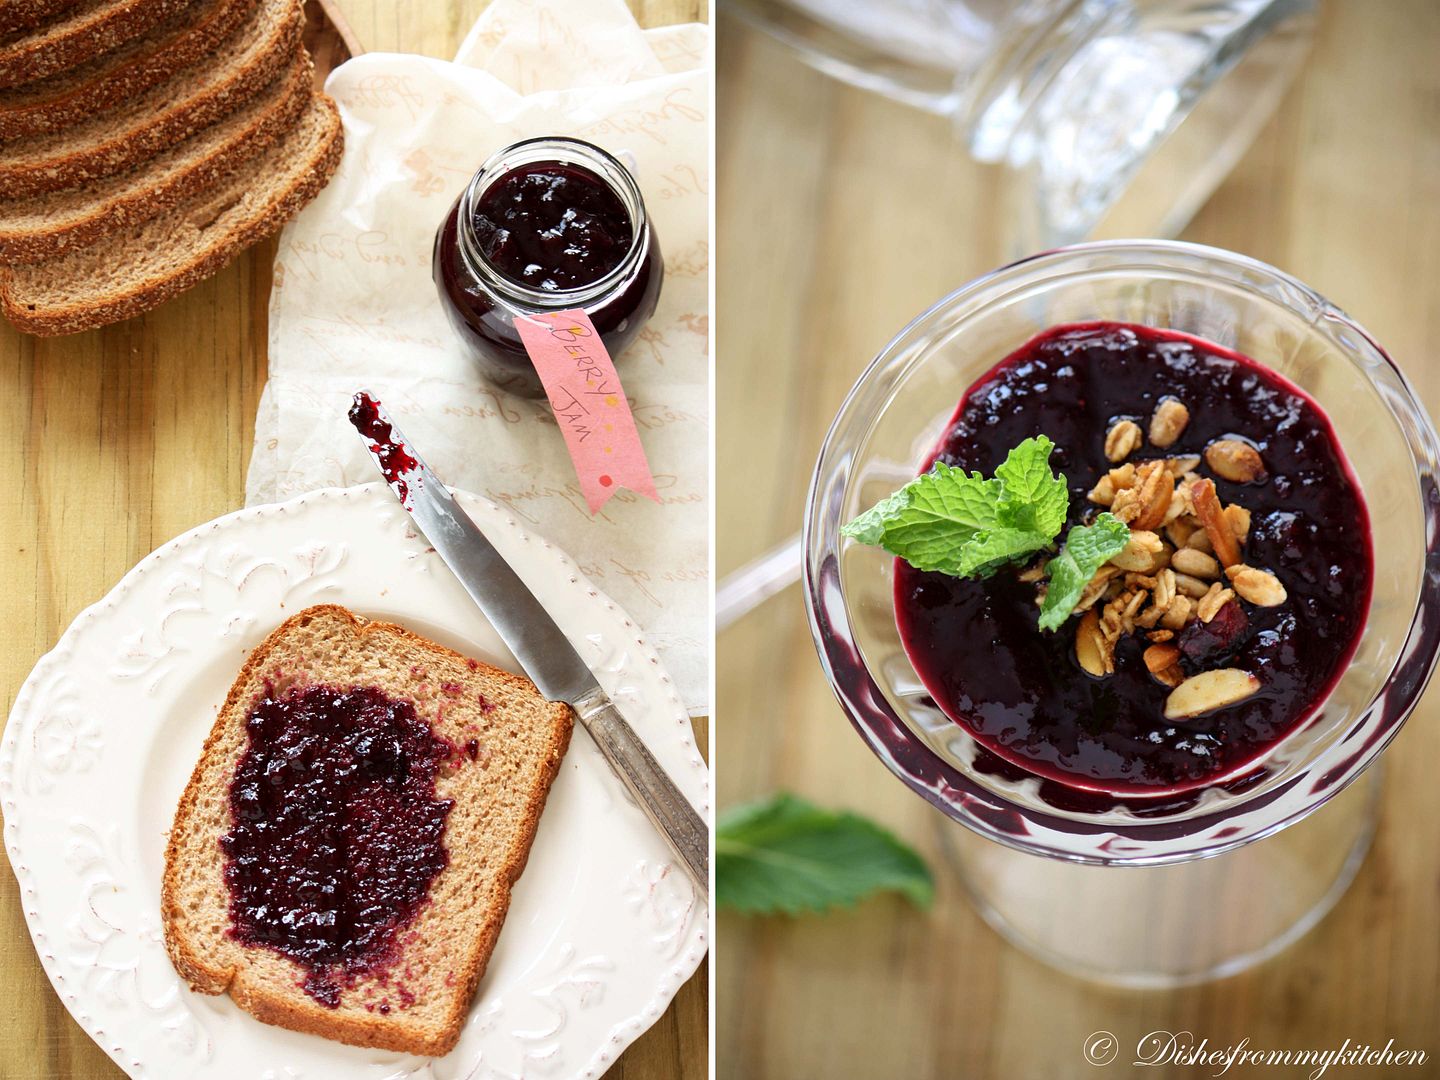
Parfait with healthy granola, low fat yogurt with some home made Berry preserves sounds healthy right... yes it is.  If it is home made granola and home made Berry Jam/Preserve then it is double likes.  Truly it is delicious and healthy dessert.  The berry jam/preserve which is I am posting has no sugar; instead I am using Agave Nectar.  I know everyone will be aware of this natural sweetener.  Anyway here is a brief... Agave is a natural sweetener extracted from the heart of agave plant.  It is low in glycemic index, so it is slowly absorbed into the body preventing spikes in blood sugar. It is 25% sweeter than sugar so you need less.  The sweet mild taste is perfect for sweetening beverages, baking etc. 

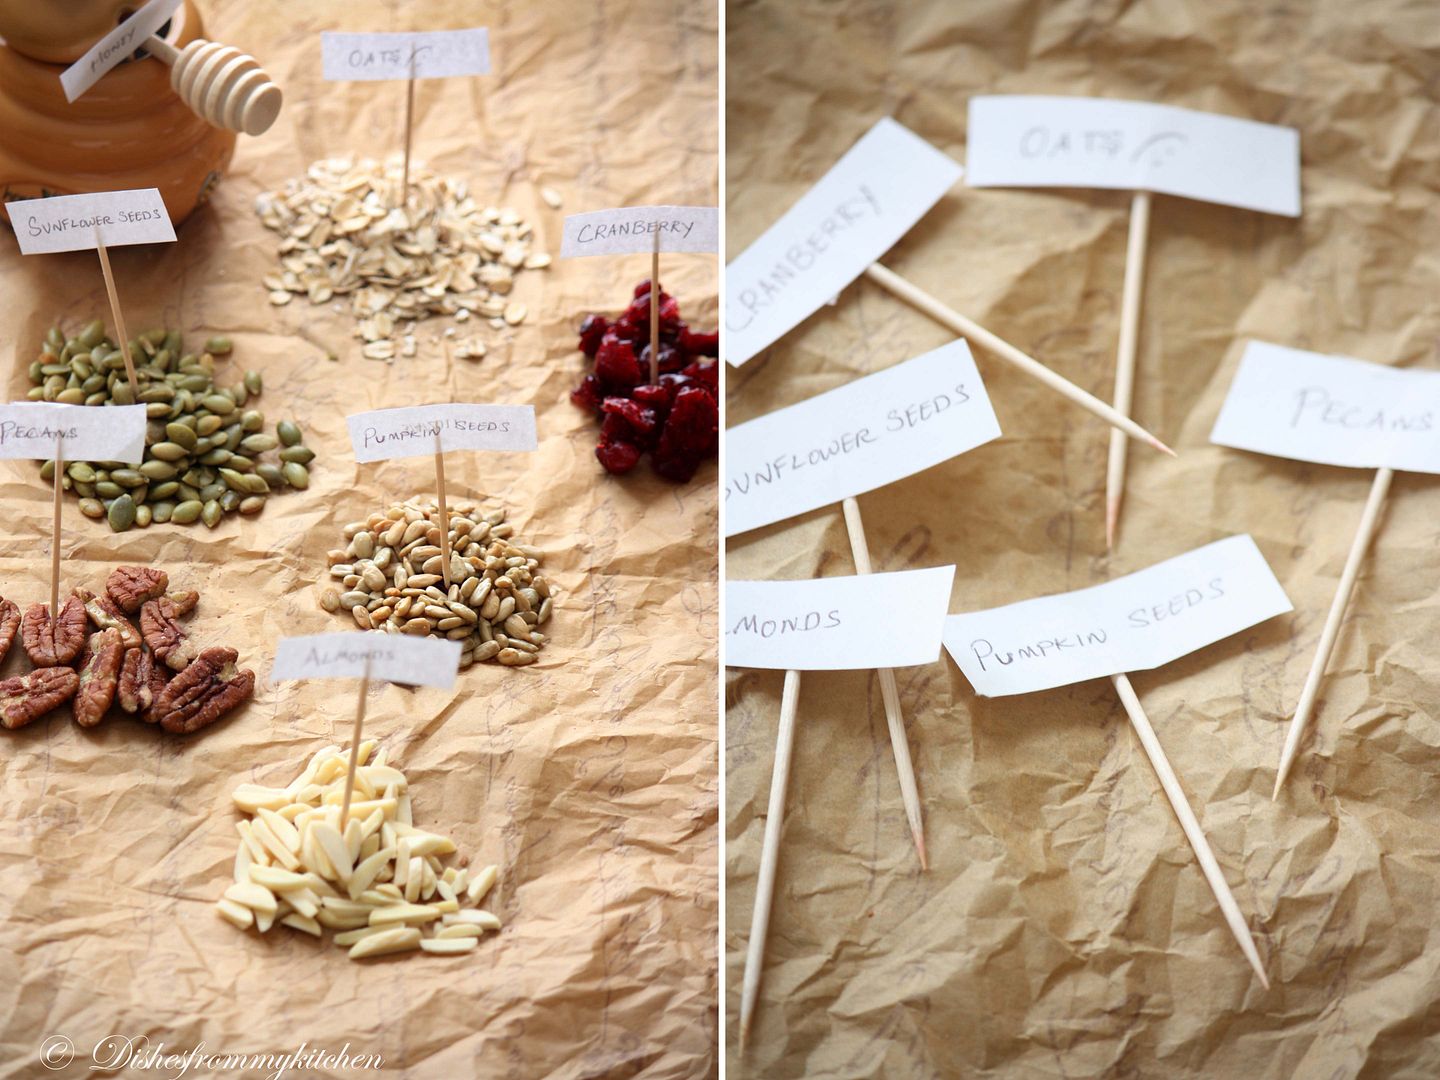
The Granola I am posting is oats with cranberry and nuts.  You can mix and match your favorite nuts and dried fruits of same amount.  But this is standard recipe which I am following every time I make and as I said by using different nuts and dried fruits every time.

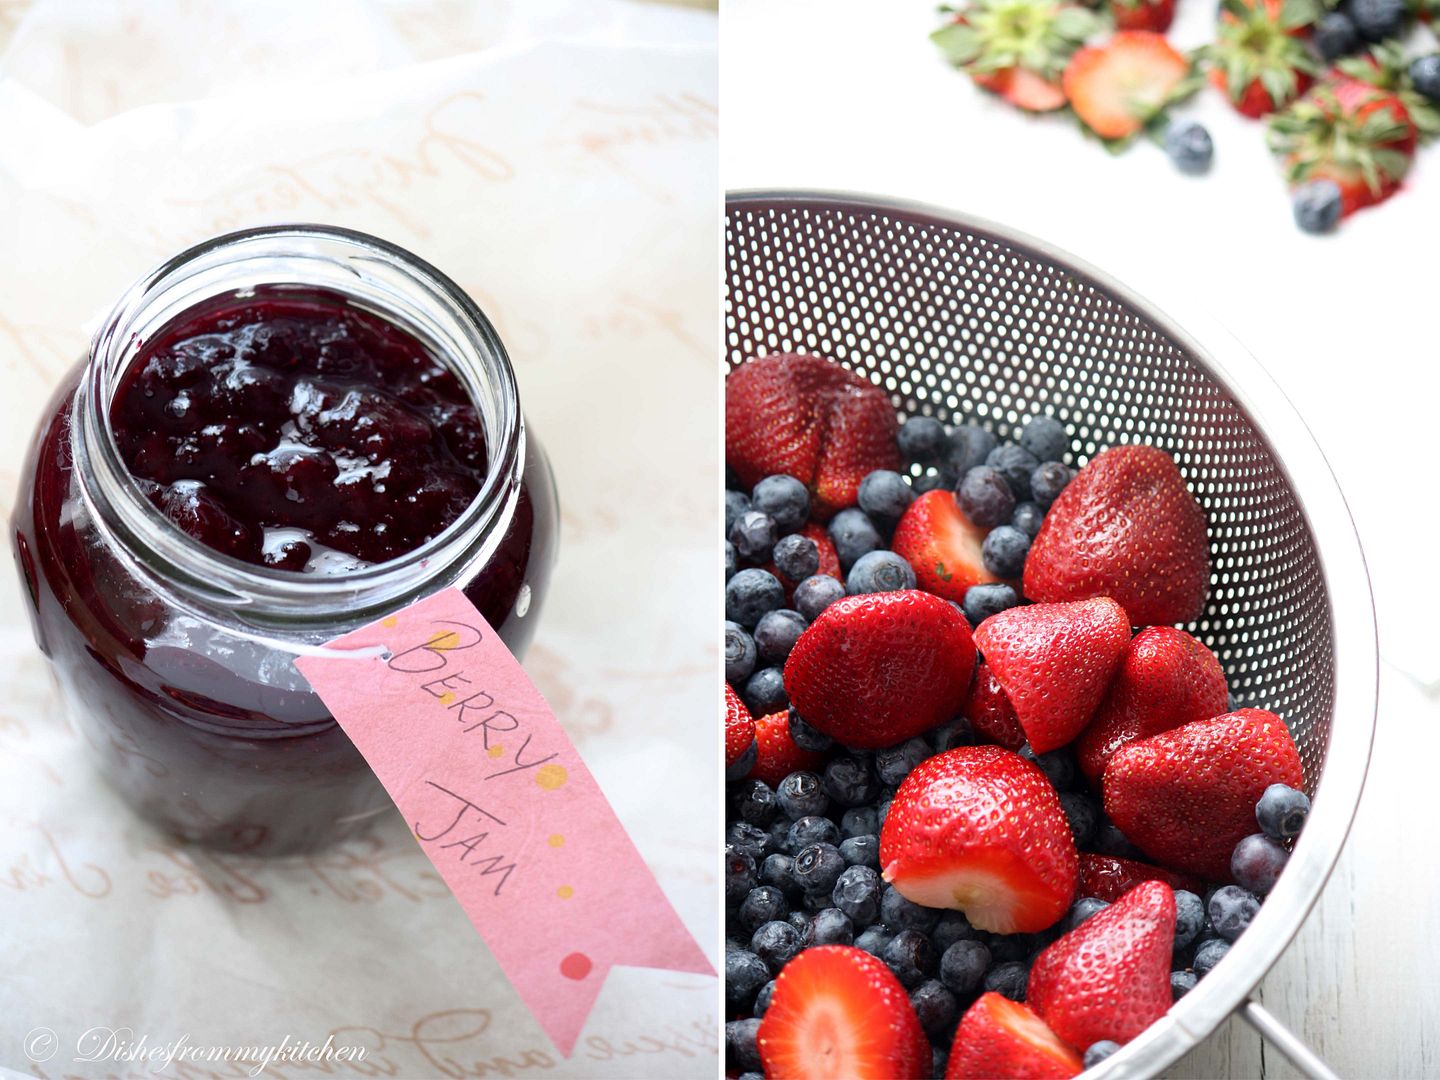
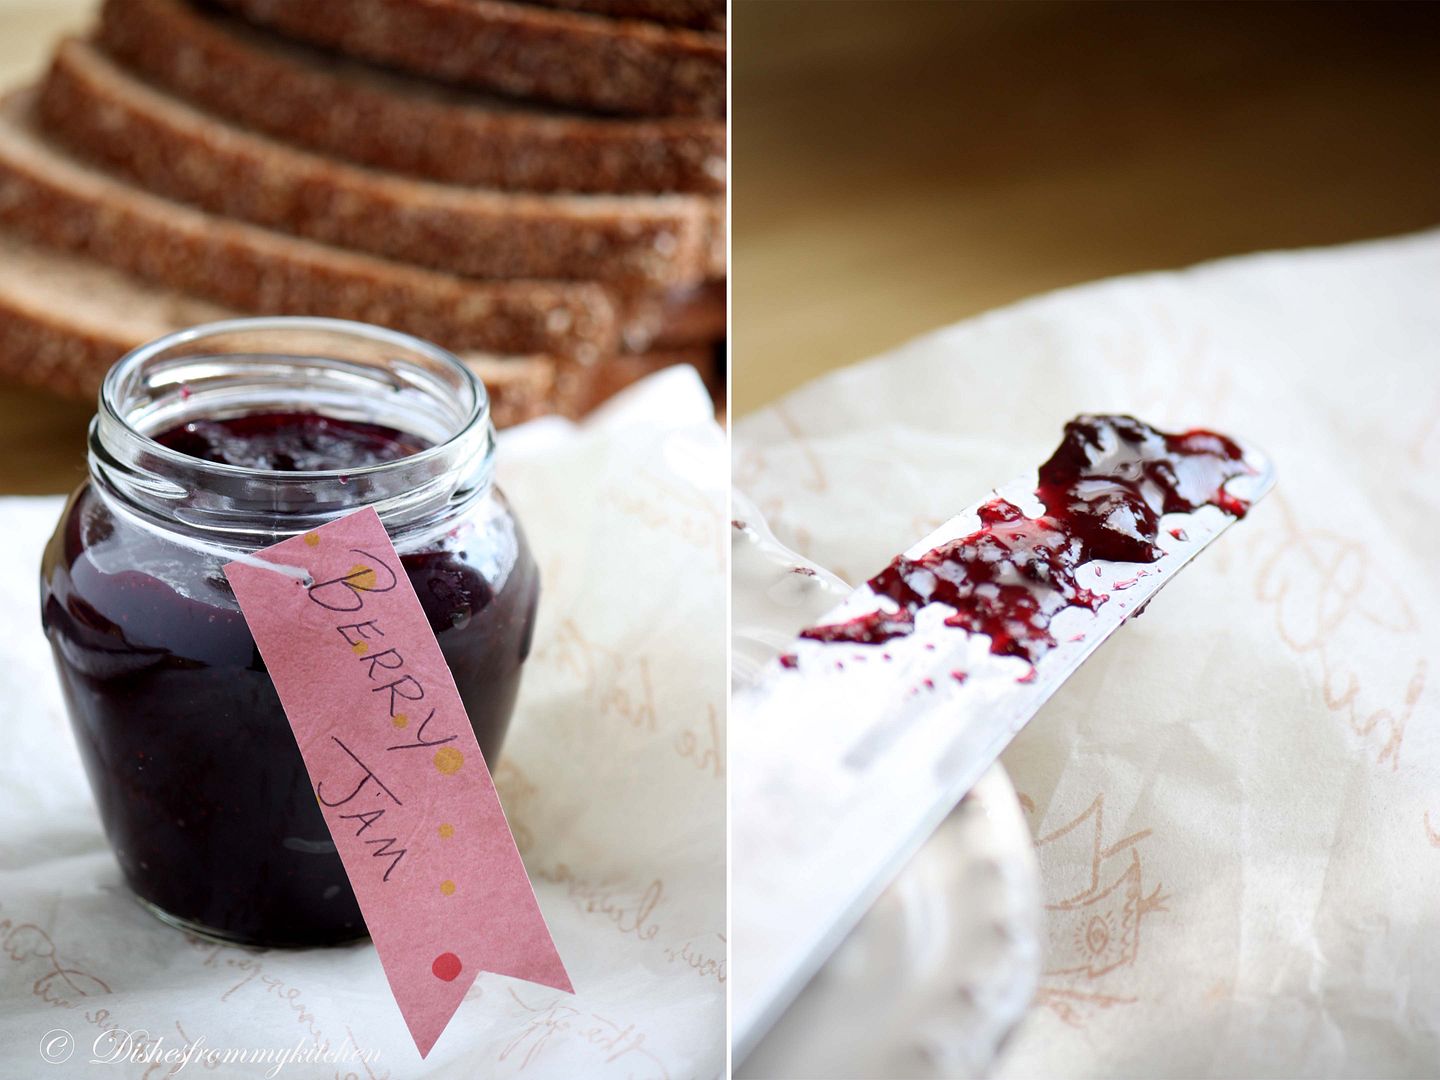
The Berry Preserves is quick method which has no pectin in it, it can be stored in the fridge for a month.  You can follow the same method with your favorite fruits, just by adjusting the sweetener alone, as it depends on the type of fruit we use. As this has no preservatives this has to be consumed soon, not more than a month.


OATS AND CRANBERRY/NUTS GRANOLA

Ingredients:
           
Old fashioned oats - 2 cups 
(You can also use Instant oats, but reduce the baking time and amount of orange Juice to 1/4 cups)
Roasted almonds - 1/2 cup chopped
Dried cranberries - 1 cup
Pumpkin seeds - 1/4 cup
Sunflower seeds - 1/4 cup
Pecans - 1/4 cup chopped
Honey - 1/3 cup
Brown sugar - 2/3 cup tightly packed
Unsweetened Orange juice - 1/2 cup
Ground cinnamon - 1 tsp
Fine sea salt- 1/4 teaspoon
Nonstick cooking spray or Silpat or Nonstick Parchment


Method:

1. Preheat the oven to 350°f.
2. Spread the pumpkin seeds and sunflower seeds on a baking sheet. Bake for 8 to 10 minutes until lightly toasted. Set aside to cool.
3. Reduce the oven temperature to 325°f.
4. Spray a baking sheet with nonstick cooking spray. Set aside.
5. In a small saucepan, combine honey, brown sugar, Orange juice and cinnamon over medium heat.
6. Cook the above mixture, until the sugar has dissolved, stir constantly.
7. Mix together the oats, almonds, pecans, pumpkin seeds, sunflower seeds, and salt.
8. Pour the honey mixture over the oat mixture and stir until combined.
9. Let this sit for 5 minutes, mix once in a while.
10. Spread this mixture onto the prepared baking sheet.
11. Bake for 20 to 25 minutes. For every 10 minutes take the tray out and give it a stir/or to make even browning.
12. Remove the baking sheet from the oven.
13. Stir in the cranberries and bake for an additional 10 to 15 minutes until the mixture begins to brown.
14. Cool completely. Store in an air tight container.  You can keep this for up to 3 weeks.

Wonderful healthy snack is ready !!!


Note :

1. You can also add the choco chips, but add it after the mixtures is roasted and cooled completely.
2.  The oven time varies so watch out.  When the granola mixture is slightly browned it means it  is done.  If you brown or roast for too long then it becomes harder rather than crispier.

BERRY PRESERVE/JAM


Ingredients:

Mixed berries - 7 cup
Agave - 1 1/4 cup
Zest of 1 lemon
Juice of 1 lemon (Use Meyer lemon if available)


Method:


1.  Wash and drain the berries.
2. Puree in the food processor roughly.
3. In the medium heavy bottom pan, add this puree, agave, and zest and Lemon juice.
4. Let this cook for few minutes, stir once in a while. (When it is cooking it splutters, so watch out)
5. Cook rapidly almost too gelling point.
6. When the mixture thickens, stir frequently to prevent sticking.
7.  At first you will see lot of bubbles, later it starts to disappear and also it thickens. Then its time to do the gelling test.

Gelling test:

Place a plate in the freezer, now place a small amount of the hot spread on the chilled plate..  Set the plate in a freezer until the spread is cooled to room temperature.  Now run your finger through the cooled spread.  If it separates then slowly returns to its original form then it is ready.

Storing:

1. Cool this preserve.
2. And store in the clean sterilized bottle.
3. This can be kept for 1 month.
4. Usually I make this quantity and store in 2 bottles, when 1 bottle is done.  Then Open another one, instead of storing whole thing in single bottle.


For the Parfait :


I used Greek yogurt
Granola
Berry Preserve


In a tall glass, fill the above three in layers and enjoy your healthy dessert.


Read more...

WISH YOU ALL HAPPY TAMIL NEW YEAR !!! - MILK SWEET (PAALKOVA) easy, fat free but delicious. With step Pictures !!!

I wish all my readers and friends " Happy Tamil New year" . 


Today's post is a Milk sweet which is called as Paalkova.  This sweet is usually prepared by boiling and condensing the milk in the stove top for hours.  Even though it is time consuming the end result is super rich and delicious.  But I am posting the short cut method of making Paalkova.

If you ask these questions regarding the Paalkova which I am posting today here are the answers

1. Can be made in 15 minutes ?  - Yes
2. Will it tastes like original Paalkova that is made authentically - 100% No but 80% yes.  Sure will satisfy your craving :)
3. Does it contain any ghee, sugar ?  No ghee, Only sugar which is in the Condensed milk
4. Messy Job ?  Absolutely not
5. Do you need prior Planning ? No
6. Do you need so many ingredients ?  No, Just 5 ingredients
7. Can this be made in low fat milk ?  Yes I made this in fat free condensed milk
8. But still will it taste good ?  Absolutely yes
9. Should I follow the same method if I use normal Condensed milk other than Fat free Milk - Yes, only slight variation in time and  measurement of ingredient.  I am posting both the version please take a look in the variation part.


If you have more question please leave a comment.


MILK SWEET (PAALKOVA)

Fat free version/ Low fat version

Yields - 3 scoops in the ice cream scooper

Ingredients:


Fat free Condensed milk - 1 tin
Low fat yogurt - 5 tbsp ( Don't use sour yogurt)
Cardamom - 1/4 tsp
Pistachio - few sliced finely
Almonds - few sliced finely


Method :

1. Pour the Condensed milk in the microwaveable bowl.( preferably glass and use big bowl as it rises when microwaving)
2. Microwave for 3 minutes , stirring once every minute.

3. Now add 5 tbsp of yogurt.  Mix well and microwave for 9 to 10 minutes, stirring every 1 minute.


4. Add the powdered cardamom.
5. Since we are using low fat condensed milk, the sweet will be little bit loose.
6. Now drain them in the strainer, let it sit for 5 minutes, stir it.


7. Now using the whisk, give it a whisk for 2 or 3 times.. don't  over do it.


8. Garnish with Nuts.

Serve warm or Cold.


Note:

The readiness of the sweet can be seen when the condensed milk is curdled. 

Variation:

If you are using the normal condensed milk tin and full cream yogurt.  Follow the same procedure except this...

1. Reduce the  yogurt to just 3 tbsp.
2. Microwave only for 4 to 5 minutes after adding yogurt.
3. You need not drain the sweet..as it comes nice and thick.
4. Whisking is optional.. if you are ok with the consistency and texture.

Hope everyone will love this rich sweet which is very simple to make.


Wish you all once again  " Tamil Puthaandu Vazhthukaal !!! "  .

Read more...

PIZZA IN A CUP/THICK CRUST PIZZA

This time I am pretty late in posting the sweet punch challenge.  Pizza was this month's challenge.  As I have already posted the thin crust pizza, I wanted to make thick crust and pizza in a cup.  This pizza cups looks cute for parties and kids will surely love it. I have used the inverted muffin tray for making the Pizza cups and before rolling I have just sprinkle redchilli flakes, grated garlic and dried Italian Herbs. Hope you all will enjoy the virtual show here. Take a look at the thin crust Pizza which I have posted earlier. I have chosen to make Basil pesto pizza.  So if you want to know the BASIL PESTO HERE IS THE LINK and FOR MARINARA SAUCE HERE IS THE LINK.


PIZZA
 
Recipe source - Pioneer Women

FOR THE CRUST (MAKES TWO CRUSTS):

Ingredients :

1 teaspoon Active Dry Or Instant Yeast
4 cups All-purpose Flour
1 teaspoon Kosher Salt
⅓ cups Extra Virgin Olive Oil


TO MAKE THE CRUST:


Sprinkle yeast over 1 1/2 cups warm (not lukewarm) water.


In a mixer, combine flour and salt. With the mixer running on low speed (with paddle attachment), drizzle in olive oil until combined with flour. Next, pour in yeast/water mixture and mix until just combined.

Coat a separate mixing bowl with a light drizzle of olive oil, and form the dough into a ball. Toss to coat dough in olive oil, and then cover the bowl tightly with plastic wrap and store in the fridge until you need it. ***It’s best to make the dough at least 24 hours in advance, and 3 or 4 days is even better.


The topping I used for Thick crust Pesto Pizza: 


Black olives
Artichokes
Onion
Roasted Asparagus
Mushrooms

the above topping are my favorite one for pesto pizza.  You can choose you own topping as well.


For filling the Pizza cup I used the following

First apply your favorite sauce then fill with the following

Colored bell peppers
Capers
Lettuce
Tomato
Pickled Chilies
Mozzarella cheese


This is kind of salad Pizza , but if you want you can also bake it with other favorite ingredients like capsicum, onion, tomato , olives and bake it.

Read more...

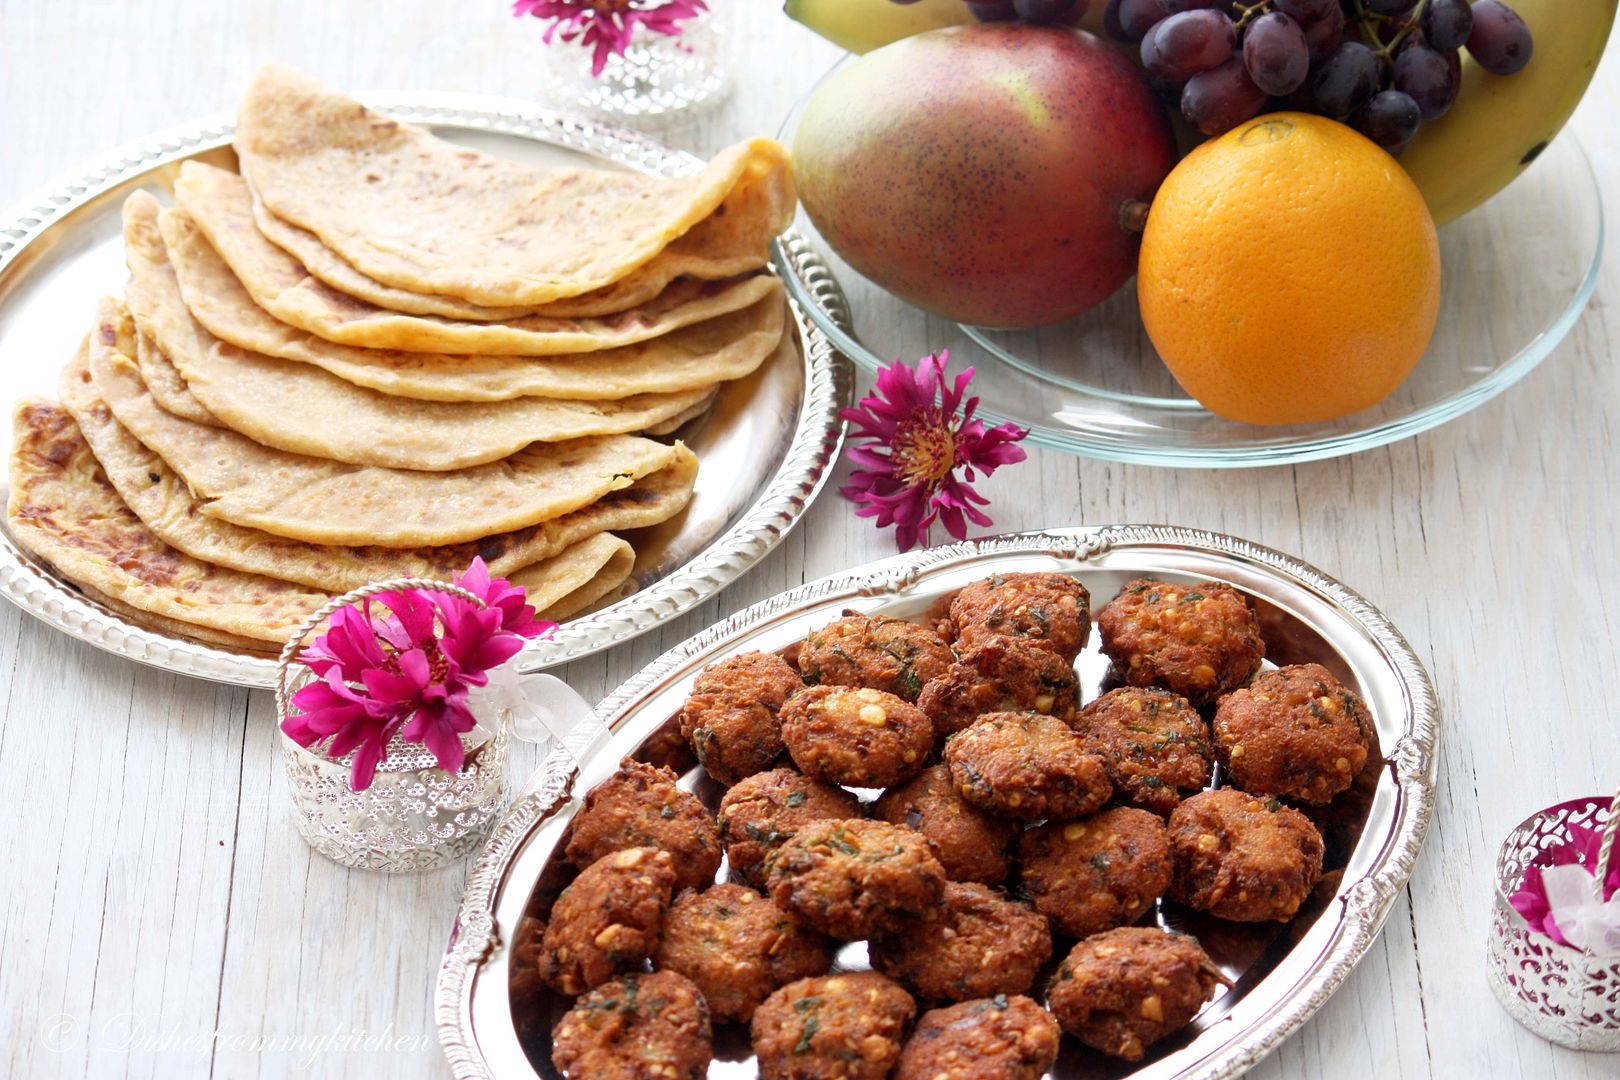
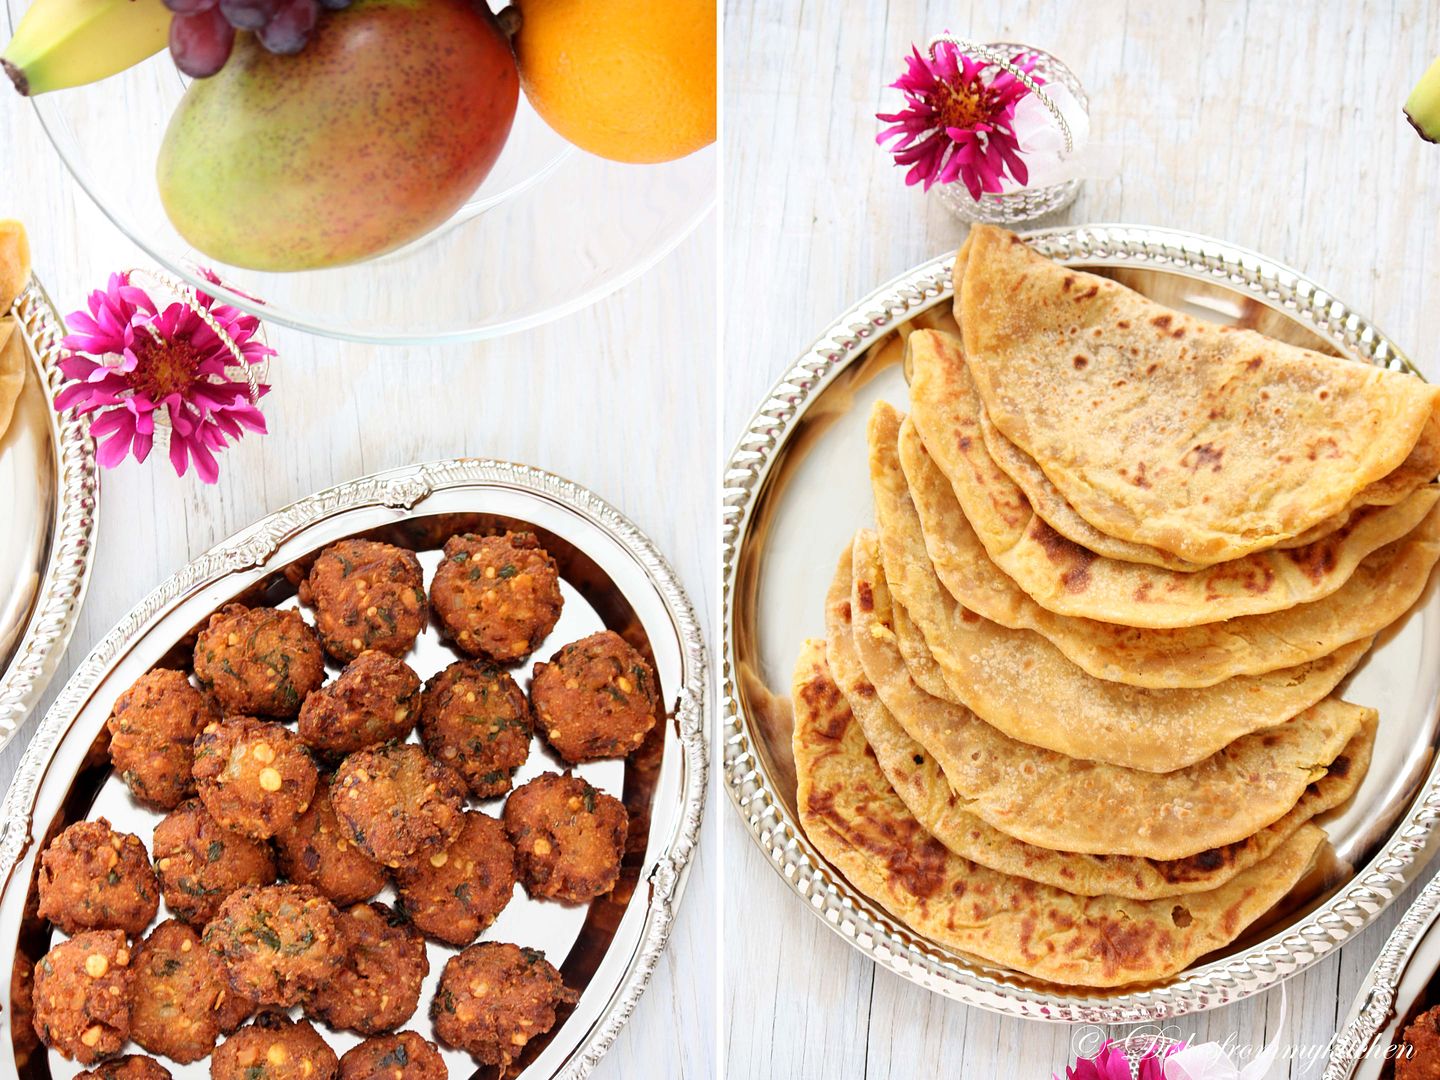
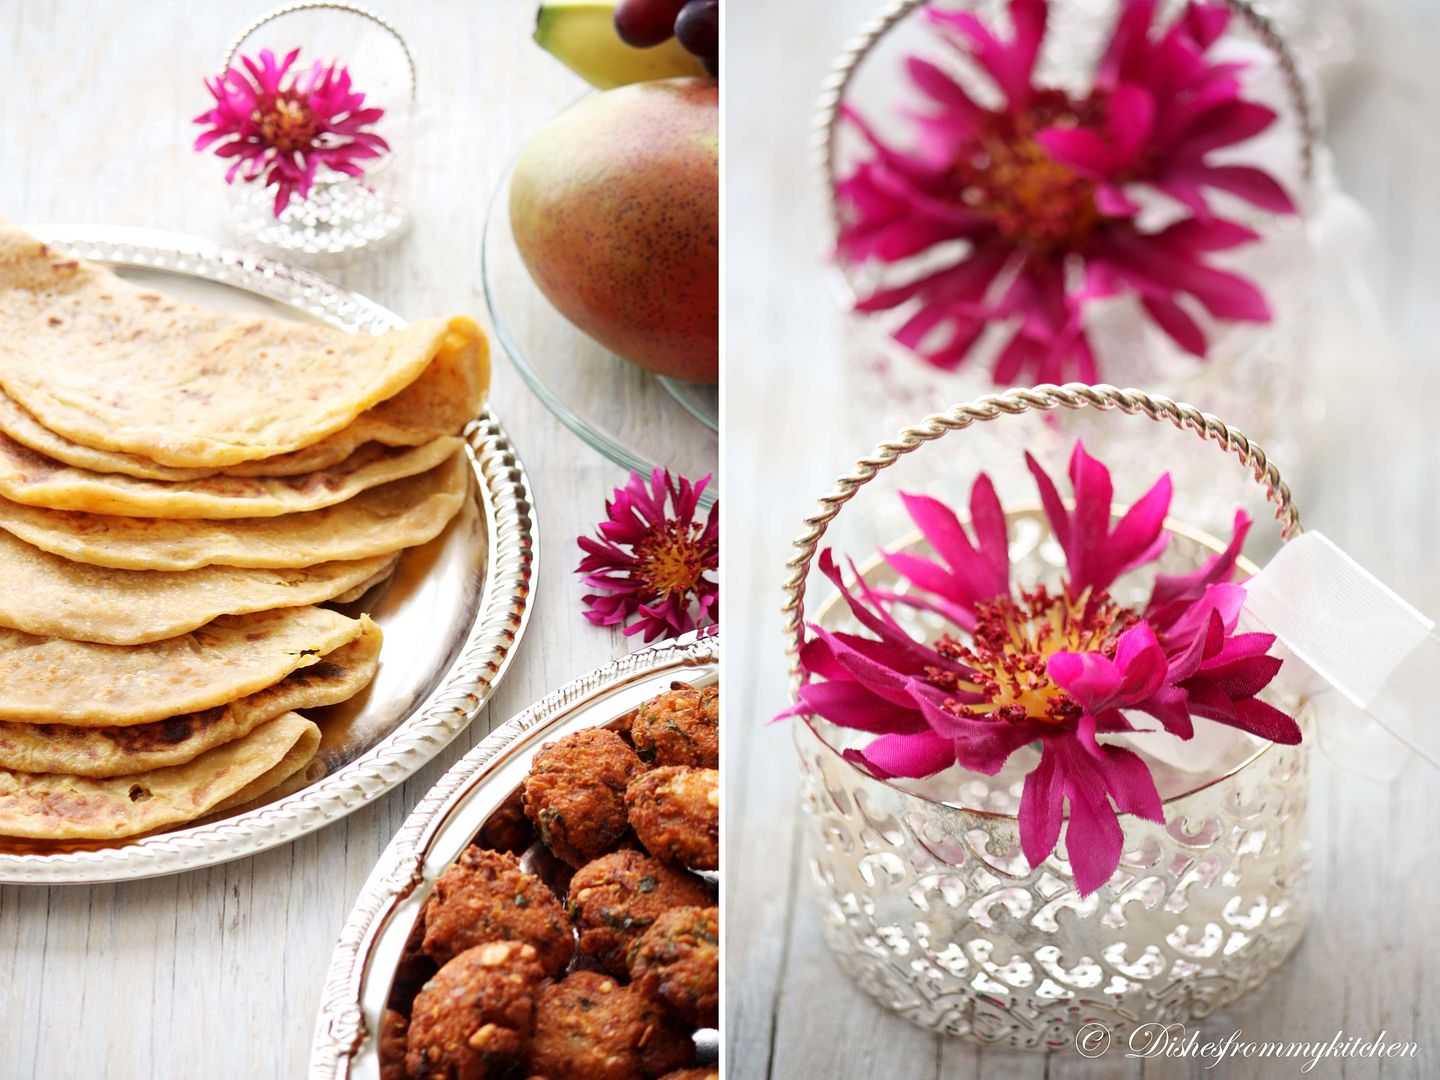
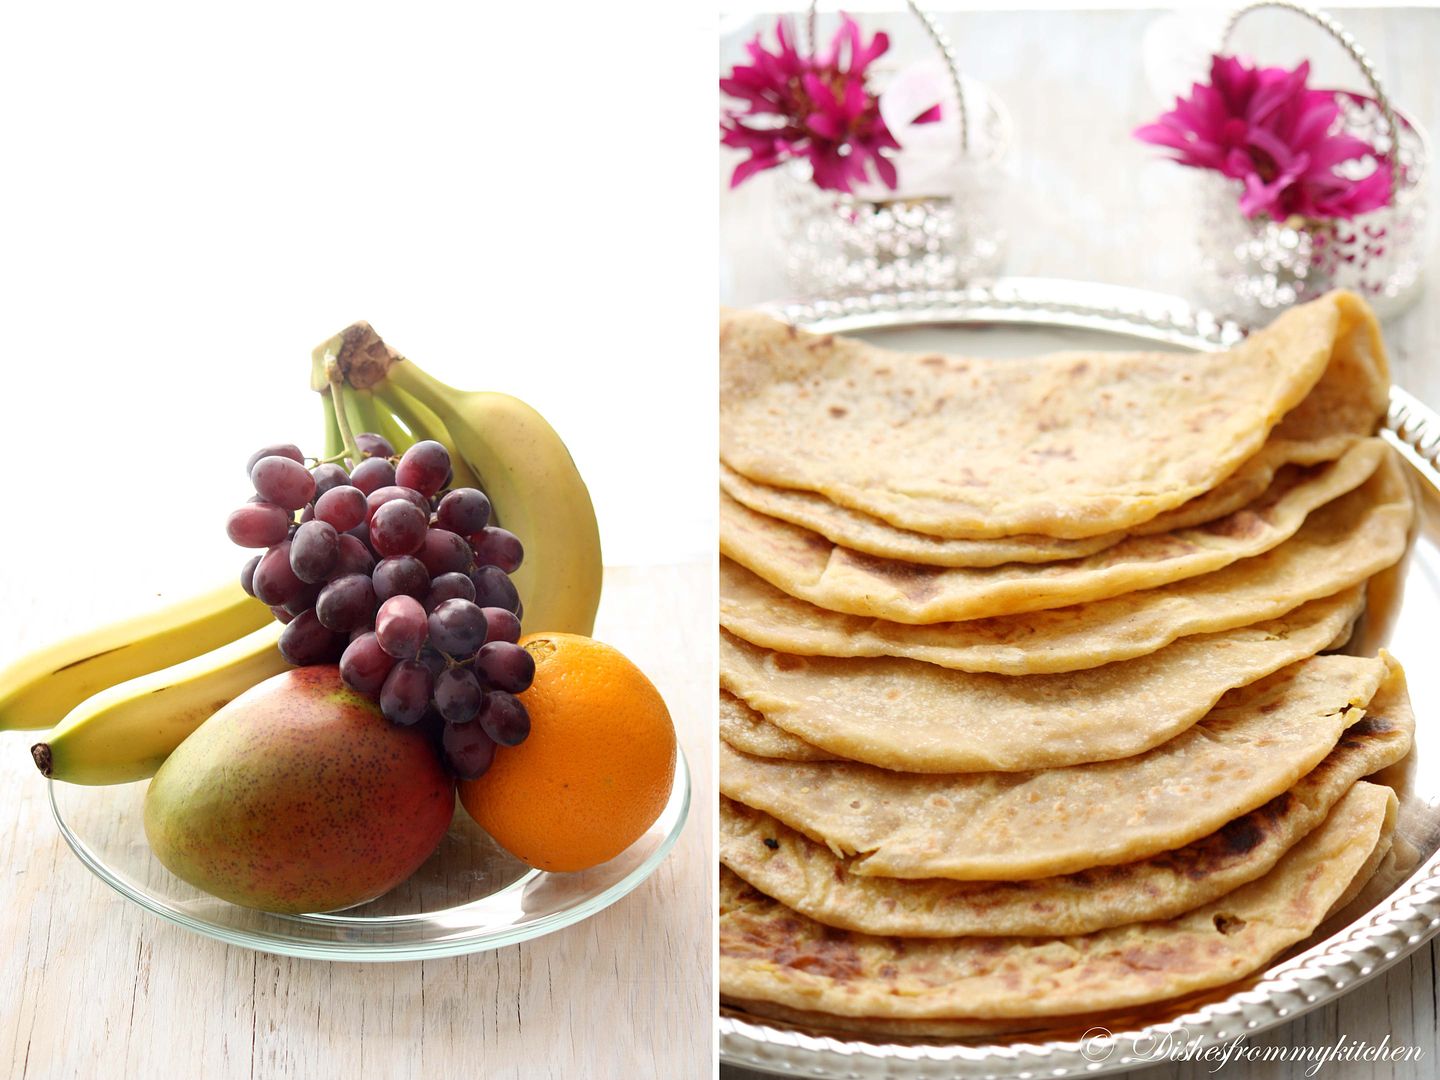
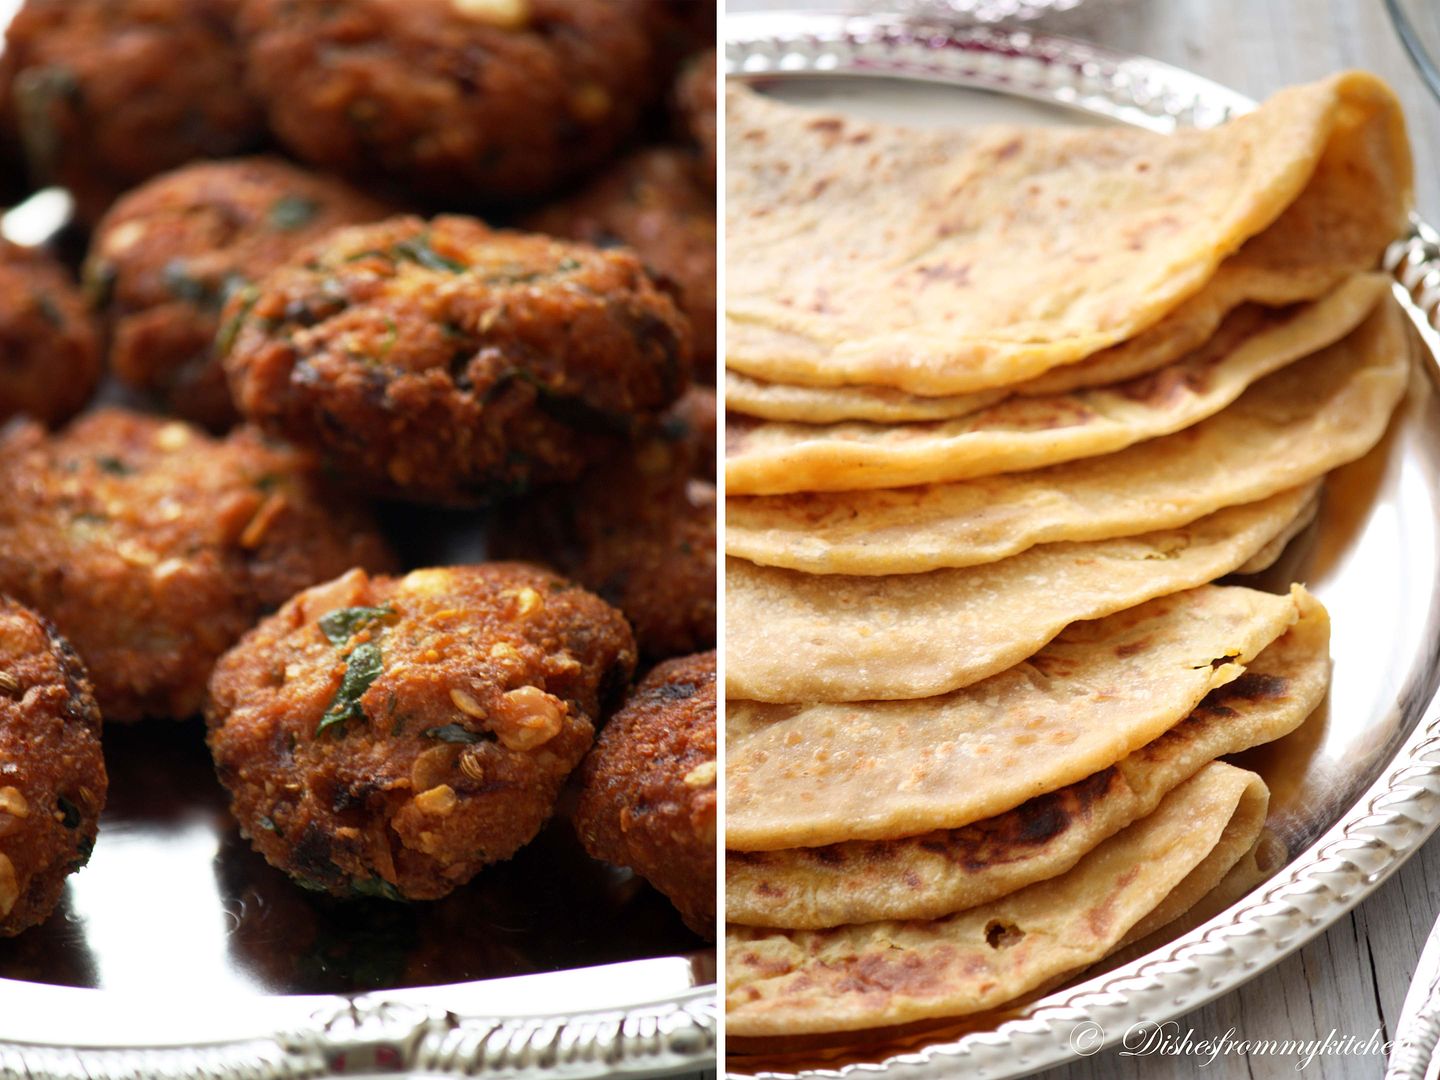
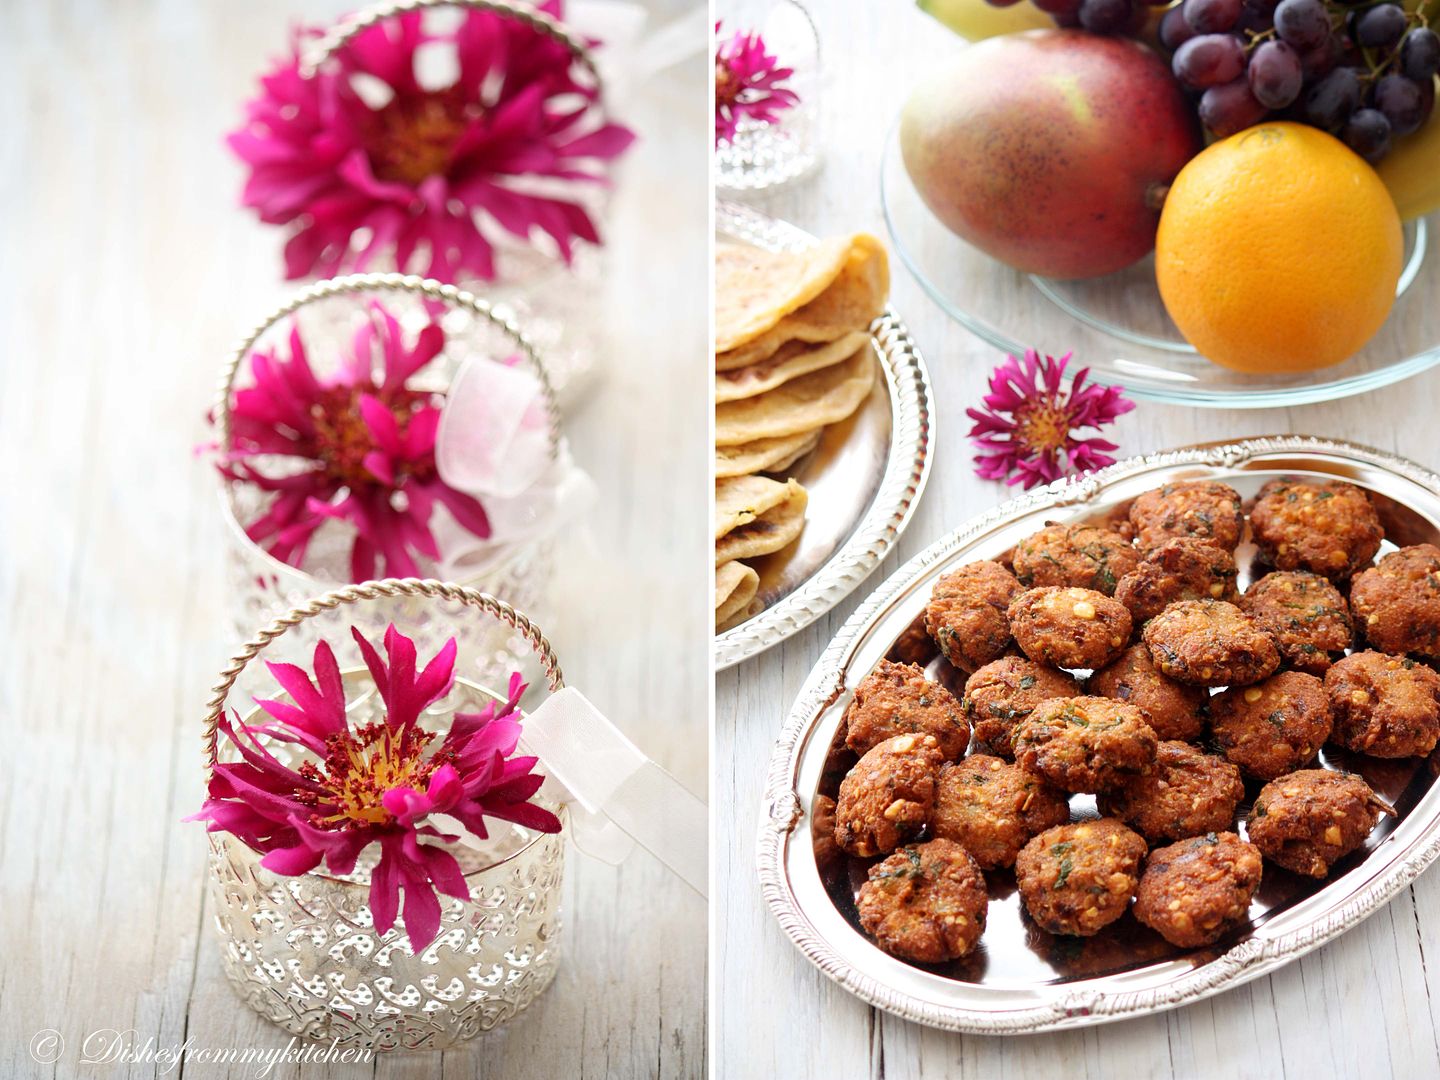
HAPPY UGADI TO ALL OF YOU !!! OBATTU AND VADA

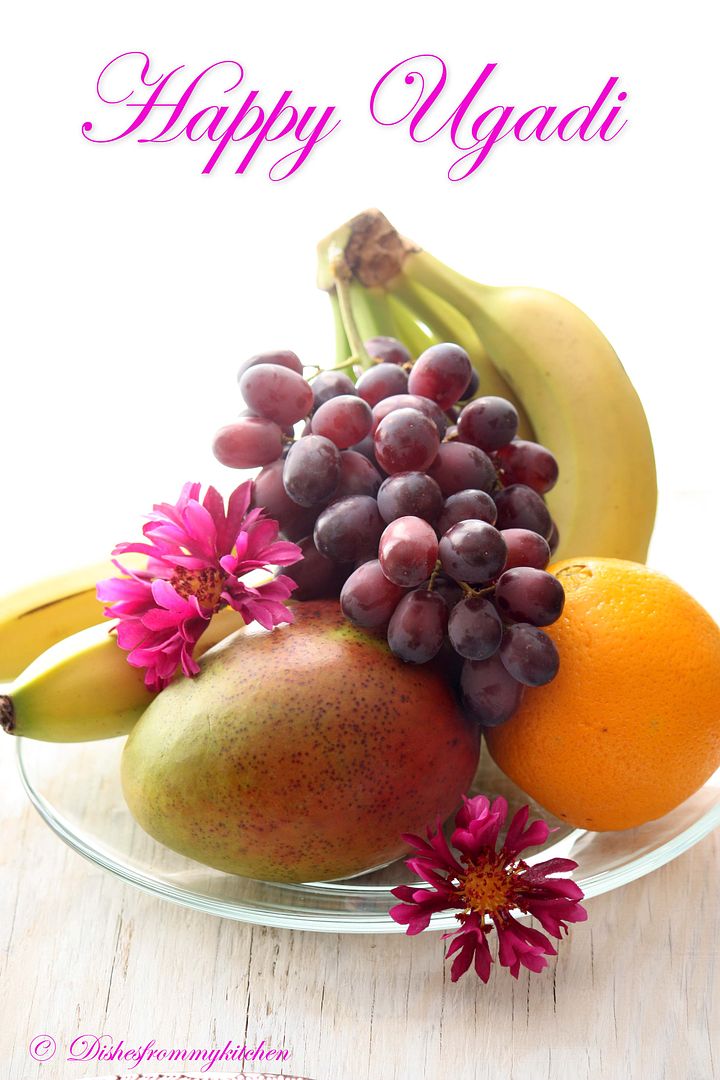
Wish you all Happy Ugadi !!!  Hope everyone had wonderful day celebrating India's victory as well as Ugadi Festival.   Here are few treats that are made for Ugadi.  Traditionally Ugadi Pachadi, Obattu (Poli, Bobbatlu, Holige, Puran poli), Garelu (vada) are made.  Ugadi Pachadi symbolizes the mixture of sadness, happiness, anger, fear, disgust, surprise.   


The special mixture has

Neem Buds/Flowers for its bitterness, signifying Sadness
Jaggery and ripe banana pieces for sweetness, signifying Happiness
Green Chilli/Pepper for its hot taste, signifying Anger
Salt for saltiness, signifying Fear
Tamarind Juice for its sourness, signifying Disgust
Raw Mango for its tang, signifying Surprise


Once again I wish all of you "Happy Telugu New Year".  Hope you all enjoy my virtual treat.


OBATTU

There are several varieties that can be used as the stuffing for obattu.  But today I am posting the Bengal gram and jaggery stuffing. 

The measurement yields 13 to 14 obattu (big size)

Outer cover:

Ingredients:

All purpose flour - 1/2 cup (You can fully use all purpose flour as well, some time I use mixture of both or fully APF too)
Wheat flour - 1 cup
Salt - 1/4 tsp
Oil - 3 tbsp
Water as needed

For stuffing:

Bengal gram dhal/channa dhal - 1 1 /2 cup
Jaggery - 2 cups
Cardamom - 10 (Powdered)
Coconut - 1/4 cup (optional, This time I did not use it, if you are using first fry it in the ghee then add dhal, followed by jaggery in the pan) 
Ghee - 1 tbsp

Some more ghee for roasting

Extra all purpose flour or Oil for dusting / patting the obattu.

Method:

1.  In a mixing bowl add all purpose flour, wheat flour, salt, warm oil, and mix well. 
2. Add water little by little and knead well.  The dough should be loose than the chapathi dough, it should be pliable.
3. Add little oil and cover and keep it aside for at least 5 hrs.

STUFFING :

Method:

1. Wash and soak the channa dhal in the water for 1/2 hr. Pressure cook the Bengal gram dhal with little turmeric and salt, by adding a cup of water.  Pressure cook up to 3 whistles.
2. Once it is cooled down, if there is any extra water drain, other wise mash it to fine paste using potato masher or food processor.
3. Now in a vessel add the jaggery with tbsp of water, switch on the flame, once the jaggery is melted strain and keep it aside.
4. Heat a heavy bottom vessel, add tbsp of ghee add the mashed dhal, strained jaggery, fry until the mixture thickens.
5. Switch off the flame add the powdered cardamom and keep it aside.  Let it cool, the mixture thickens some more when it is cooling.
6. Once it is cooled divide them to 13 to 14 equal size balls.


How to stuff:

1. Divide the dough to 13 to 14 equal size balls. The ball of the dough should be half size of the stuffing ball.
2. Using oil just make a small circle in the dough ball; keep the stuffing in the middle.
3. Close it as shown, press slightly with your palm.  Now dust it with the flour and roll it like a chappathi but take care not to give too much pressure while rolling, just roll softly.  If you’re using the poori press just apply the oil and press to the desired thickness.
 

4. Parallely heat the tawa.  When rolling is done put the rolled one on the tawa. When you start seeing the brown spots, add 1/4 tsp of ghee around and smear on the upper part, flip it over and do the same.


5. Cool them on the wire rack or plate.
6. Do the same with other balls.  And store them in the aluminium foil; this stays fresh for 3 to 4 days. In fridge up to 10 days.


How to serve:

1. When serving, just warm it in the microwave and serve with ghee.
2. You can also serve with milk (tastes awesome)

Note:

1. Since I wanted to do healthier version I used Wheat flour , but traditionally its done with Full all purpose flour or with Chiroti rawa + All purpose flour.  Sure will post when I get a chance of making this again.  
2.  The dough for the outer part should be loose than the chappathi dough, only then it result soft and fluffy obattu.  This really comes out very very soft like cotton.
3.If your using all purpose flour fully then reduce the amount of Jaggery to 1/2 cup.


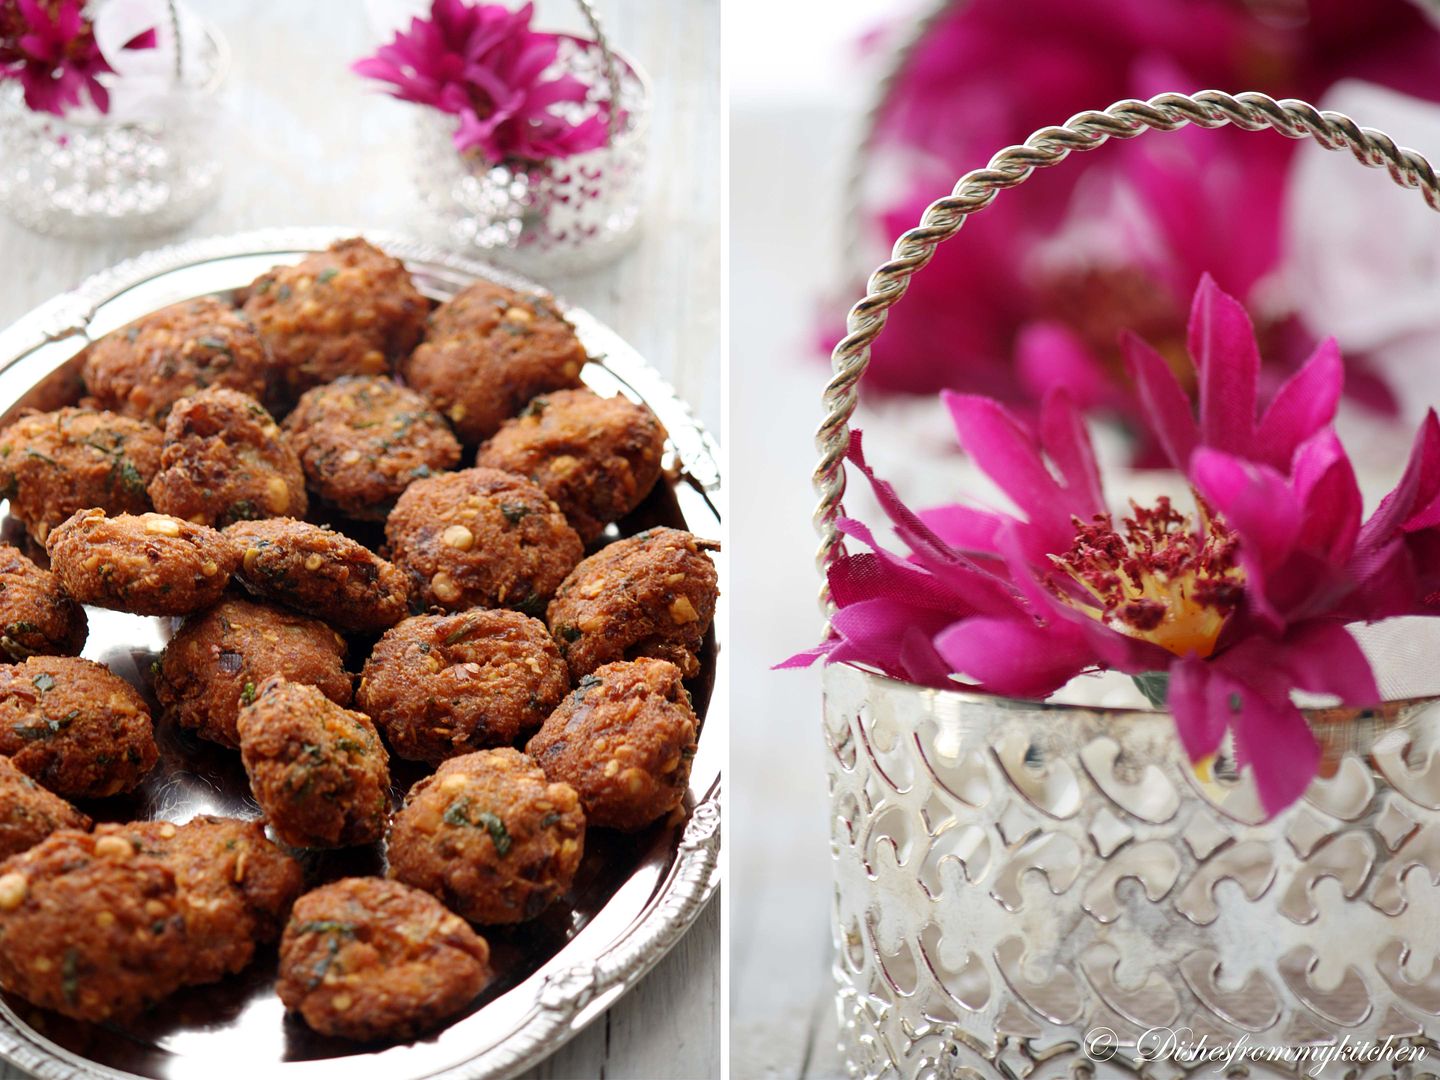
Paruppu vada/vadai or Masal vadai is a popular evening snack in southern part of India.  It is an appetizer which can be found everywhere ranging from a local tea shop to a hotel.    Enjoy making it in the comfort of your own home.  

CHANNA DHAL VADA/ PARUPPU VADA

This measurement yields 25 vadas small size


Ingredients:

Channa dhal - 1/2 cup
Yellow split peas - 1/2 cup (If this is not available, substitute with 1/2 cup of Channa dhal)
Green chilli - 4 to 5 sliced very very finely
Red  Chillies- 8 to 10
Saunf - 1/4 + 1/4 tbsp
Ginger - 1/2 inch piece (optional)
Garlic - 1 clove minced (optional)
Asafoetida - 1/4 tsp
Curry leaves - handful chopped
Big onion - 1 chopped very finely (or you can use 1/2 cup shallots chopped finely)
Cilantro - 1 cup chopped finely

Oil for deep frying
Salt


Method:

1.Soak both the dhals in the water for about 1 or 2 hrs.
2.Reserve Handful of dhal before grinding. Now grind the dhal with red chillies, asafoetida, ginger, 1/4 tbsp of saunf to a coarse paste.  Now add that reserved whole dhal.
3.Add salt, onion, curry leaves, green chilli, remaining 1/4 tbsp of whole saunf, cilantro.  Mix the vada batter until everything is blended well.
4.Heat oil in a heavy bottom vessel. To check if the oil is ready, add little batter to the hot oil.  If the batter comes up without sinking then the oil is ready for frying.
5.Take a small ball pat slightly and carefully drop them in hot oil, you can drop 6 to 7 depends on the size of vessel you use.
6.Now slightly reduce the flame, let it brown on one side, once it is done flip it over and let it brown on other side too.
7.Once it is done, drain it in a kitchen tissue to absorb excess oil.
8.Do the same with remaining batter.  Serve with Coconut Chutney or Ketchup!!!


Read more...


Page copy protected against web site content infringement by Copyscape

Visit Great Cooks Community
All recipes are on Petitchef