FREEZING FOOD - PART II
>> Thursday, September 21, 2017 –
Breakfast,
Cilantro chutney,
freeze home cooked food,
freeze meals,
freezer,
freezing,
freezing dinner,
Freezing food,
freezing method,
fridge,
frozen food,
ginger garlic paste,
lunch,
refrigerator
This is the part II of freezing food post. I had covered the Menu planning, Shopping
things for Menu, and Cooking Strategy in the Freezing Food Part I post. In this post, we will look at Cooking
Strategy, Packing and Freezing, Consuming the food.
I created this blog post by taking all your questions and
have answered them to my best in part I and Part II. If there is any question that I have not
covered in the post, I have answered it separately at the bottom of the
post. If you still have questions, please
do comment in my blog post.
Do check my Facebook (https://www.facebook.com/Dishesfrommykitchen/)
and Instagram (https://www.instagram.com/dishesfrommykitchen/?hl=en) for regular updates of day to day cooking and lunch boxes.
I am by no means
saying that you must do it the way I have shown here. Please try to understand and follow what
works for you. Test in small batches
before you do it for large portions.
Disclaimer: I am not an expert on freezing food or a
nutritionist. The outcome of freezing
food is dependent on various factors like temperature of the refrigerator,
temperature of the house, type of food etc.
Check Menu Planning and Shopping things for Menu in FREEZING FOOD PART I
1) Cooking Strategy
2) Packing and Freezing
3) Consuming the Food
1)
Cooking Strategy:
Shopping for Vegetables: Do the vegetable shopping the day before you
plan on cooking. The idea is not to
store the vegetables for long time before cooking.
Planning the cooking: Based on the time it takes for you to cook,
breakdown the items into manageable groups.
Also identify the common things needed for cooking all your dishes and
account for those to be done in one shot.
For example, ginger-garlic paste can be prepared in one shot. I prepared ginger-garlic paste and chutneys
before the other cooking.
I planned my cooking for 2 full days and broke the items accordingly.
Timing the cooking: Its best to do
the cooking and freezing closer to the date you start your trip, so that it reduces
additional days the food is going to be in the freezer.
Below are the variety of food items I cooked
Break Fast Items:
Break Fast Items: [Each was prepared for 5 servings]
|
Overnight Oats
|
Pesto Sandwich with grilled vegetables
|
Muffins
|
Banana Bread
|
Idly
|
Granola – Need not freeze (To be consumed with Yogurt and fresh
fruits)
|
Lunch Items:
Lunch Items: [Each was prepared for 5 servings]
|
Lemon rice, cauliflower, Green Gram/Whole Mung curry
|
Brown rice, Rajma/Red bean masala, Mixed vegetable dry curry using
carrot, beans and Green peas
|
Vegetable pulav, Channa/Garbanzo masala, Broccoli
|
Brown rice, Sambar, Beetroot dry curry, Eggplant dry curry
|
Tomato rice, Chayote dry curry
|
Buckwheat, Cabbage Green peas dry curry, Squash dhal/Lentil
|
Dinner Items:
Dinner Items: [Each was prepared for 5 servings unless
stated differently)
|
Two chutneys: Tomato chutney, Coriander/Cilantro chutney
|
Sambar
|
Chapathi
|
Channa masala (3 portion)
|
Paneer butter masala (3 portion)
|
Vegetable upma
|
Vegetable vermicelli upma
|
Pasta with vegetables
|
Quinoa with vegetables
|
Poha
|
Idly
|
2)
Packing and Freezing:
After cooking the food, it is important to properly fill the food into
the containers for freezing. First thing
is to portion the cooked food into portion sizes based on the number of
portions. It is important to wait for the cooked food to
cool to room temperature. Make sure you
don’t leave the food for longer than 2 hours after cooking. Fill the food into the freezer containers and
then store them into the freezer (before storing into freezer make sure the
food is cool, if you feel it is still warm put the boxes into the fridge until
it cools down and then transfer to the freezer).
*** Its best to freeze food when it is still fresh so that it tastes the
same way when it is defrosted.
*** Don’t put HOT food into the freezer as it messes up the internal
temperature of the freezer and ends up spoiling other things in the freezer
*** After you fill all the boxes into the freezer, open the freezer only
when needed. Frequently opening the
freezer is going to reduce the shelf life of the food.
To minimize wastage of food, plan and store the portion sizes based on
your individual needs. So that you have
the right amount per meal, the reason being that if there is unconsumed food it
cannot be re-freeze.
I froze the chutney by storing into the ice cube tray and covered them
with cling wrap. After it is solidified
unmold them and store into the freezer Ziploc bags.
For Sambar, I followed the same process as the chutney, but stored them
in small cups instead of ice cube trays.
*** Label the boxes with a sharpie before storing into the freezer. I labelled it with the name of the food item
stored.
I cling wrapped individual muffins/sandwiches and stored them in the
freezer bag. The banana bread I stored
them in individual freezer bag as per the serving quantity.
*** Do not choose breads that are very soft for the sandwiches, because
it will make the sandwich soggy.
*** Make sure there is no air in the freezer Ziploc bag after filling the
food. Also flatten the Ziploc bag after
storing the food, so that it freezes evenly and makes storage easy.
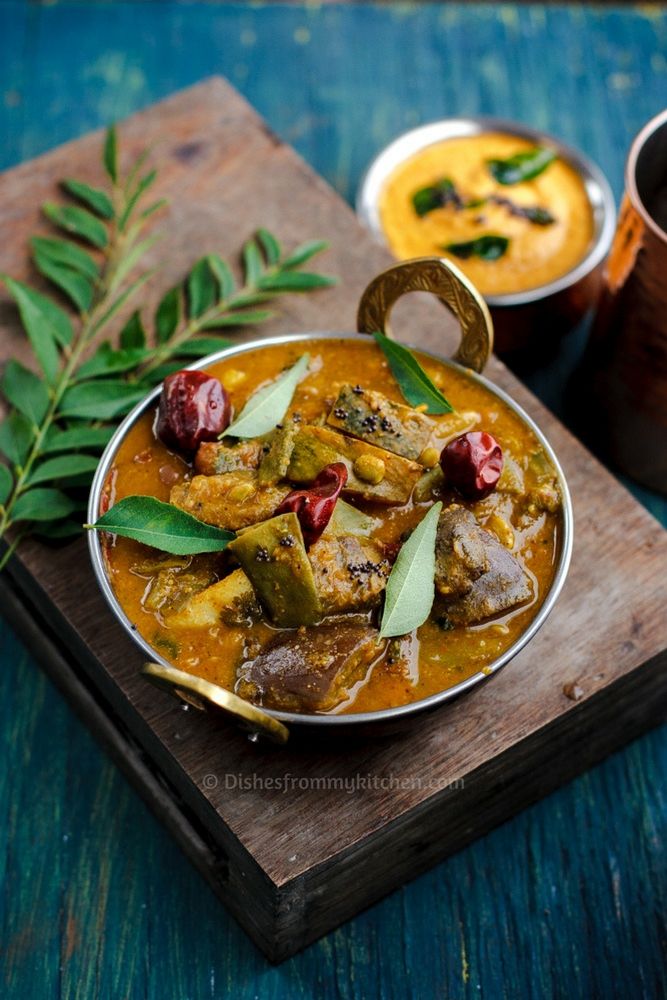
SAMBAR:
3)
Consuming the Food:
ATTENTION! Do Not re-freeze unconsumed food. It is important to plan your
consumption. If you plan to consume the
food for breakfast or lunch, take those boxes and put in the fridge the night
before going to bed. In the morning
after getting up take the breakfast box and put it outside the fridge and
microwave it before you eat.
Take the box for lunch from refrigerator 2 to 2.5 hours before consumption. When you get ready to eat, warm it in the
microwave.
You are ready for a scrumptious breakfast and lunch!
For dinner, take the box from the freezer in the morning and put it in
the fridge. Take the box from the fridge
2 to 2.5 hours before consumption.
Microwave before eating.
For
consuming the Chapathi, do it like a frozen Chapathi. I will try to share how to freeze Chapathi in
a future post.
For
idli, transfer the idli into a glass container and sprinkle few drops of water
on the idli before warming it. Close it
with a lid while warming in the microwave.
It is very important not to overheat any of the food stuffs, which will
make the food dry. You can warm for a
short period and check and determine if you need it to be warmed more.
Anything stored in freezer Ziploc, should be transferred to glass
container and covered before warming. If
the freezer boxes you use can be microwaved, then you can directly warm the box
in microwave. If not transfer the
contents to a glass container and warm it.
*** After warming and consuming it, if you have left over food DO NOT
REFREEZE or REFRIGERATE. It is best to
throw it away. This is what I follow.
Depending on the food/meal that should be consumed first Eg. Muffins,
Sandwich and Banana bread should be consumed first compared to Idli and other
breakfast foods.
I created a time table which says what to eat for breakfast, lunch and
dinner for the 30 days. The idea is to
spread out the foods so that it does not feel like a repetition of the same thing.
How to Organize in the freezer
I emptied the freezer for this purpose and stored the food. Make sure the label on the Ziploc/boxes faces
outwards. Group foods by Category like breakfast,
lunches, dinners, Chapathi, chutneys and Curries. You can also store the food in the chest
freezer if you have one. I stored them
in my refrigerator freezer. As I said I
did not had any plans on doing blog post on this so I did not take any pictures
of my freezer.
Questions on freezing food:
How long will I store these foods?
I kept it for 30 days and it worked for me. Beyond that, there are various factors which
play a part.
How do you freeze rice and defrost?
Portion size the cooked rice and freeze it. Defrost them when needed. Please refer to the post for more specific
details on the same.
Will the food still tastes same? For Example, lemon rice
that you have displayed in the picture
Yes, it tastes the same.
Can we freeze roti atta?
I have not done this.
Freezing means deep freeze or just refrigerating??
I freeze in the freezer compartment of the refrigerator.
Do you add any preservatives??
No.
Items like onion, coconut ... Will you add them yet food
will be fresh after freezing and heating?
Yes. I used onion and
frozen coconut in my dishes. I did not
have a problem.
Is the rice here half cooked?
The rice is fully cooked.
Make sure anything you cook is not mushy.
Can you let us know how to store Chapathi?
I will do it as a separate post.
Is oven mandatory for reheating; Are all the dishes are
fully cooked or require couple more steps before eating?
Yes, microwave is needed for reheating. All dishes are fully cooked and no additional
steps are needed. If you don’t have a
microwave, you can warm it on the stove top provided your items are frozen
individually.
Will food lose its nutritional value when frozen or refrigerated?
I am not a nutritionist, so I cannot answer your
question. Based on my research in the
Internet, I found that the nutritional value is not lost if cooked and frozen
correctly. Moreover, freezing is not a
regular activity in our house and it is only done very rarely based on
situations. The bottom line is freezing
home cooked food and eating is better than eating outside food for 3 times a
day for 30 days. You are welcome to do
your own research.
Considering Indian power cuts, would you suggest freezing? I
mean, can the food stay good with 2-3 hours of power cuts (it may get partially
thawed)?
Power cut is a big problem for freezing food. If you know power cuts will happen, then my
suggestion is not to freeze food.
Can we freeze almost everything we cook? Even the ones with
tomatoes as one of the ingredients?
I am not a specialist of freezing. I did my research on the things that I
planned to cook as to seeing if they can be frozen or not. Please do your research based on what you
plan to cook.
Yes, my dishes had tomatoes as ingredients.
I created this blog post by taking all your questions and
have answered them to my best in part I and Part II. If there is any question that I have not
covered in the post, I have answered it separately at the bottom of the
post. If you still have questions, please
do comment in my blog post.


