Search This Blog

EMPANADA GALLEGA - DARING BAKER'S CHALLENGE !

Patri of the blog, Asi Son Los Cosas, was our September 2012 Daring Bakers’ hostess and she decided to tempt us with one of her family’s favorite recipes for Empanadas! We were given two dough recipes to choose from and encouraged to fill our Empanadas as creatively as we wished!

An empanada is a stuffed bread or pastry baked or fried in many countries. The name comes from the Galician, Portuguese and Spanish verb empanar, meaning to wrap or coat in bread.  Empanadas are made by folding dough or bread around stuffing, which usually consists of a variety of meat, cheese, vegetables or fruits.  Empanadas trace their origins to Galicia and Portugal. In Galicia and Portugal, an "empada" is prepared similarly to a large pie which is then cut in pieces, making it a portable and hearty meal for working people.  Due to the Portuguese colonization of Brazil and a large number of Galician immigrants in Latin America, the empadas and empanadas gallegas has also became popular in those areas.  The dish was carried to Brazil and Indonesia by Portuguese colonizers, where they remain very popular, and to the Hispanic America and Philippines by Spanish colonizers. So each nation has its own variation of Empanadas and fillings.


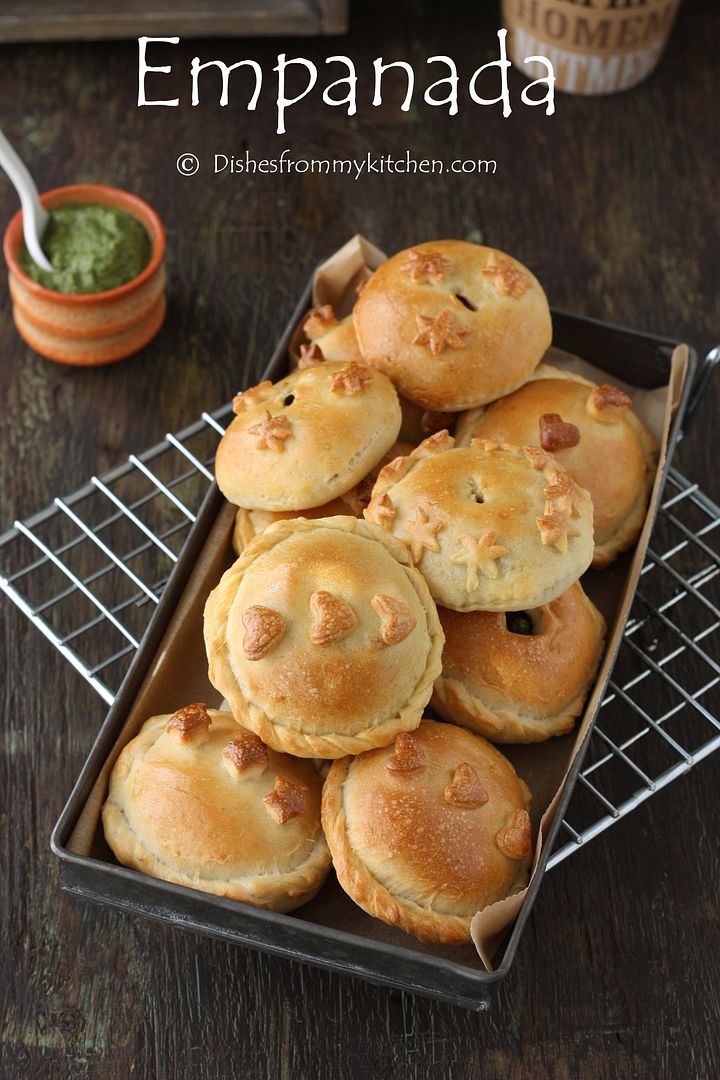
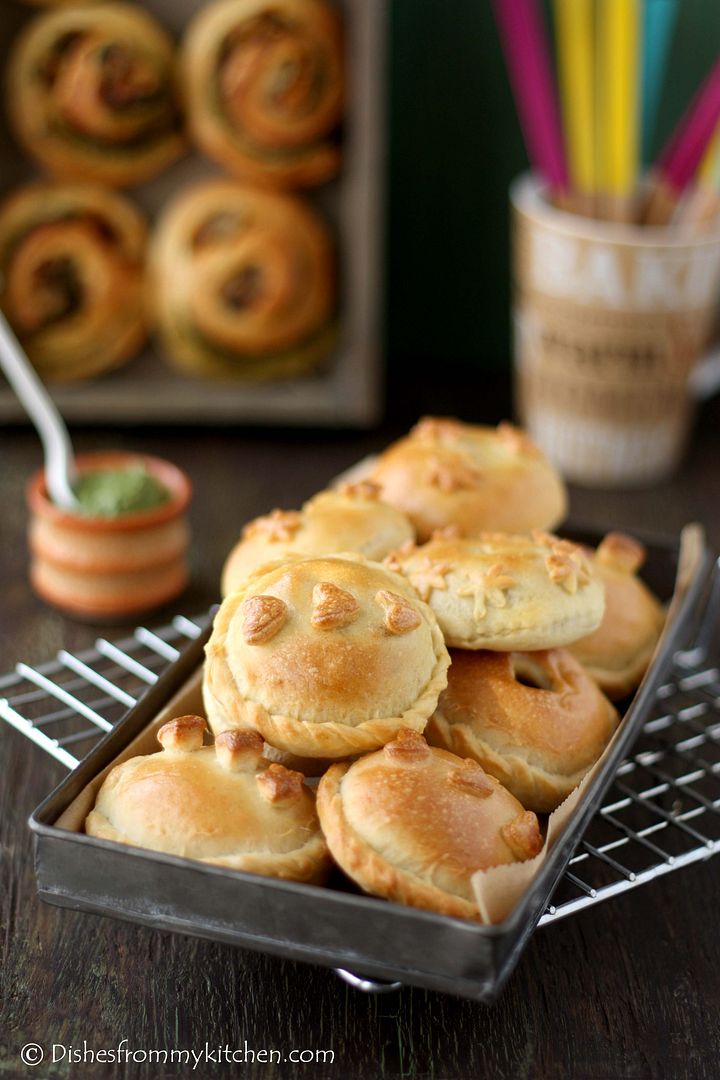
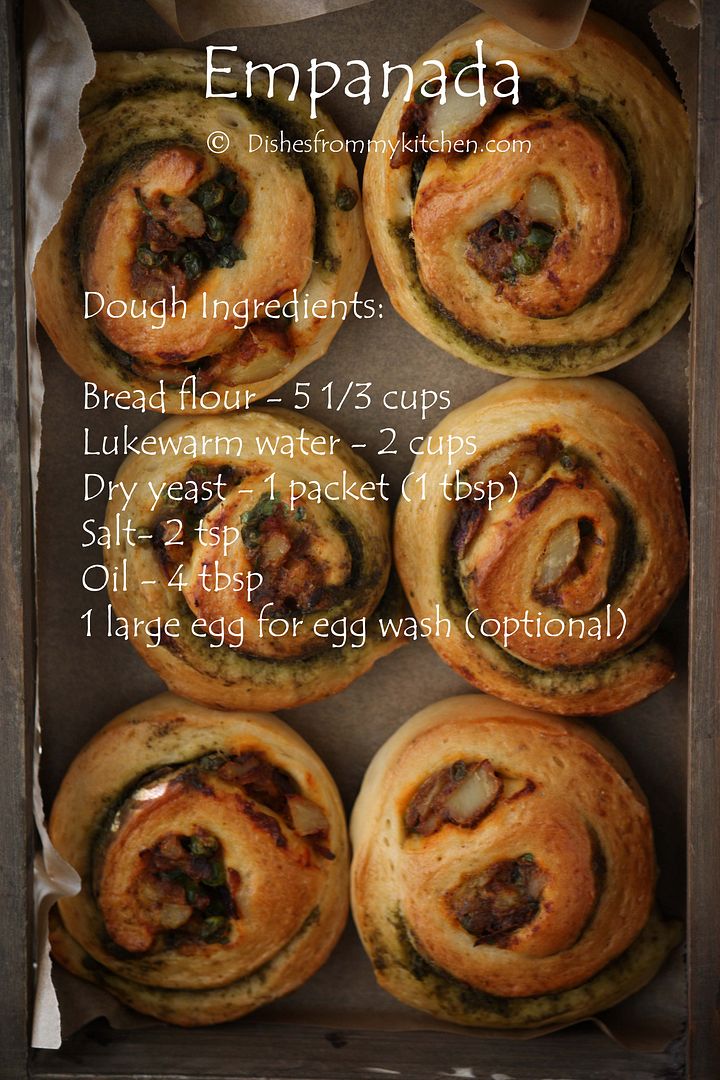
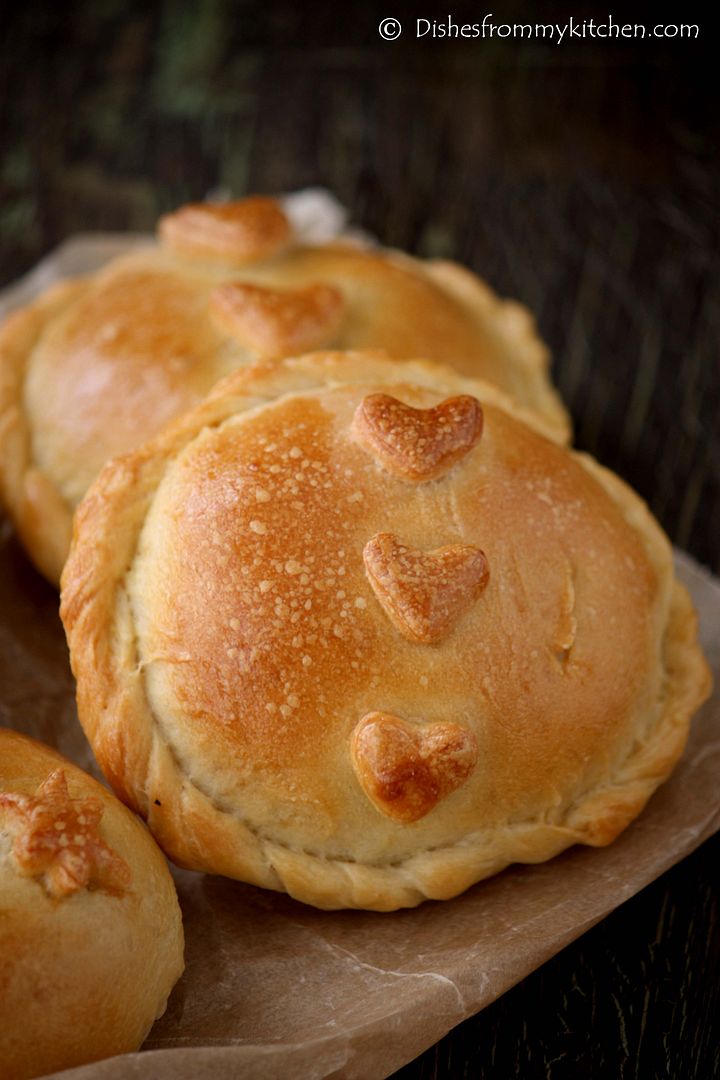
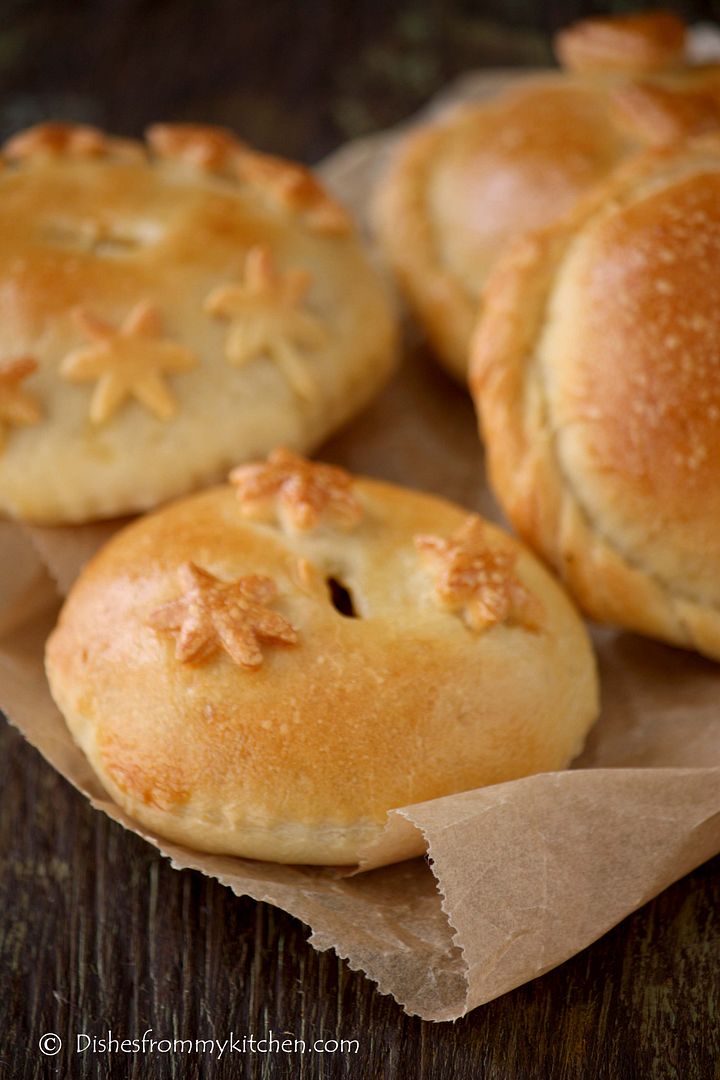
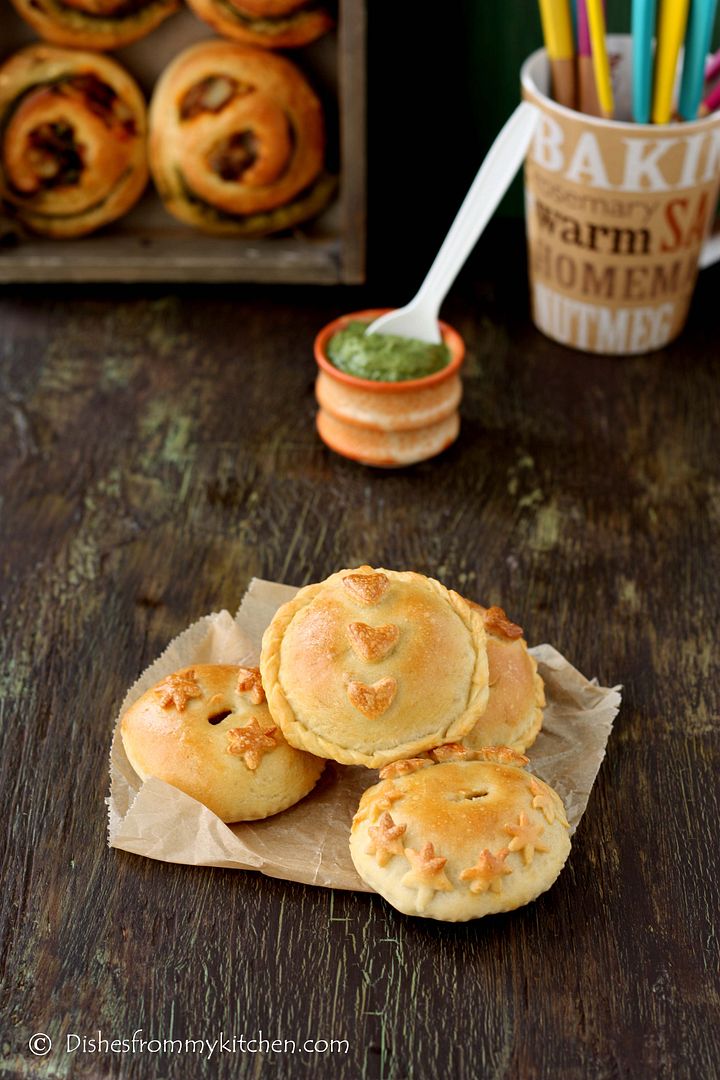
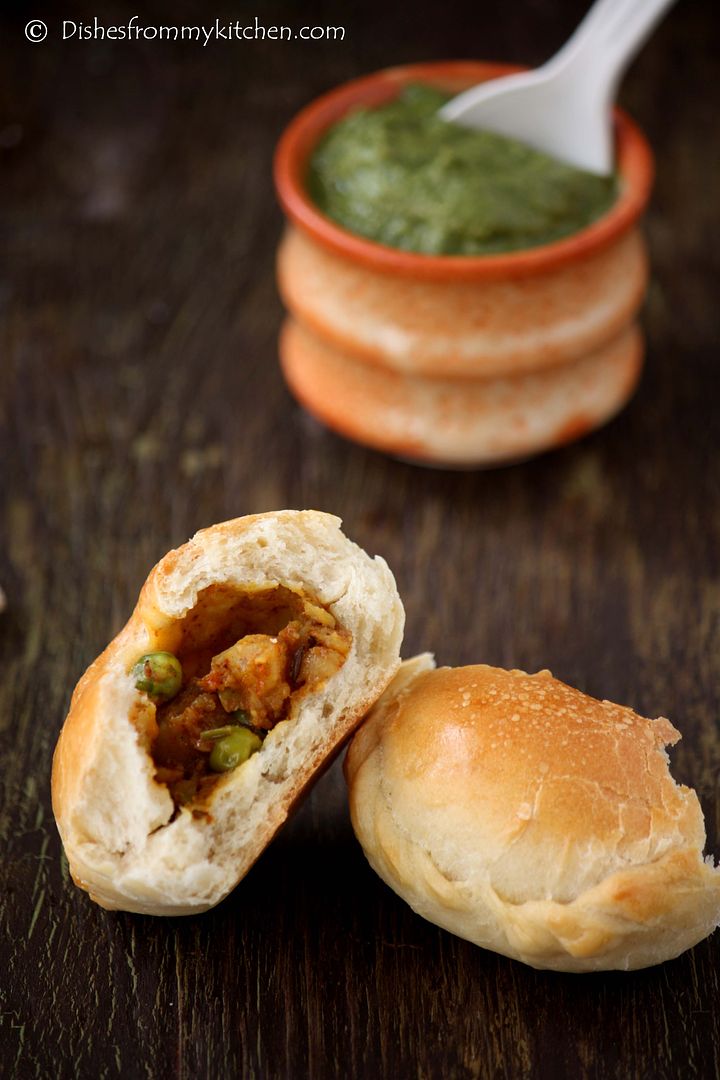
I filled my Empanadas with the mixture Potato, caramelized onion and green peas with some Indian spices.  It was absolutely delicious and thanks Patri for the great challenge.  But this time I was absolutely hurry in making everything. Here is last day work of Empanadas.


EMPANADA GALLEGA

Dough Ingredients:

Bread flour - 5-1/3 cups 
Lukewarm water - 2 cups (about 85°F/30ºC), approximately
Dry yeast - 1 packet (1 tbsp)
Salt- 2 tsp
Oil - 4 tbsp
1 large egg for egg wash (optional)


Dough Directions:

1. Measure out all the ingredients.
2. Shift the flour into a big bowl and make a well in the middle. Rub the yeast in with your fingers.
3. In a small bowl, mix the water and the salt.
4. Now, using your fingers or a wooden spoon, start adding the water and mixing it with the flour-yeast mixture. Keep on working with your fingers or spoon until you have added enough water and all the flour has been incorporated and you have a messy ball of dough.
5. On a clean counter top, knead the dough for approximately 10 minutes
6. You could do all the above using a stand mixer, in that case mix the ingredients with the paddle attachment until mixed and then switch to a dough hook and knead on low for about 6 minutes.
7. Clean and oil the big bowl you used for mixing and place the kneaded dough in it. Cover it with a napkin or piece of linen and keep it in a warm, draught-free place for approximately 40 to 50 minutes.
8. Once risen, turn the dough back into a floured counter and cut it in half. Cover one half with the napkin to prevent drying.
9. Spread the other half of the dough using a rolling pin. You can use a piece of wax paper over the counter; it will make it easier to move the dough around. Depending on the shape of your oven pan or cookie sheet, you will make a rectangle or a round.
10. Now, the thinness of the dough will depend on your choice of filling and how much bread you like in every bite. For your first time, make it about 3mm thin (about 1/10th of an inch) and then adjust from that in the next ones you make. But I love little bready so I made little thick.
11. If you are not interested in making like big whole pie like empanadas.  You can also make individual one as like I did.


For filling
 
Ingredients:

Potato - 3 medium sized (boiled, peeled, and mashed roughly)
Frozen Green peas - 1 1/2 cup (Microwave for 2 minutes)
Onion - 1 finely chopped
Cumin seeds - 1 tsp
Garam Masala powder - 2 tsp
Red chilli powder - 3 tsp
Turmeric powder - 1 tsp
Coriander leaves - 1/4 chopped finely chopped
Oil for sautéing the mixture - 1 tbsp
Salt to taste


Method:

1. Heat oil in the pan; add cumin seeds.
2. Add chopped onion, sauté until they are caramelized.
3. Add the garam Masala powder, turmeric and red chilli powder.
3. Now add the mashed potato and green peas. Mix until they are blended well with the masala mixture.
4. Add salt and coriander leaves. Mix everything well.
5. Let the mixture cool completely before you fill.

Assembling the empanada:  (This procedure is to make one big Empanada like a pie)

1. If you haven’t used wax paper, either lightly flour or line with wax paper your pan or tray.
2. Cover the base and sides with the dough. Using the rolling pin or a knife, cut the extra dough.
3. Place the filling, making sure it is cold and that the entire base is covered. Using a hot filling will make the bottom layer of the empanada become soggy. Be careful to avoid adding too much oil from the filling; try to make it as “dry” as possible.
4. Start preheating your oven to moderate 350°F/180ºC/gas mark 4.
5. Take the other half of the dough and spread it out to the same or less thinness of the base. You can use a piece of wax paper for this too. Take into account that this “top” dough needs to be smaller around than the bottom, as it only needs to cover the filling.
6. If not using wax paper, move carefully the top to cover the filling. If using wax paper, transfer the dough, turn upside down, cover the filling and gently peel off the wax paper.
7. Using your fingers, join bottom and top dough, when you have gone all the way around, start pinching top and bottom together with your thumb and index finger and turning them half way in, that way you end up with a rope-like border.
8. When you are finished, make a 1 inch hole in the middle of the top layer. This will help hot air exit the empanada while it’s baking without breaking the cover.
9. You can use left-over dough to decorate the empanada, using rounds, bows, lines… let your imagination flow and make it pretty!
10. Using a fork, prick the top layer or, using scissors, make snips that go all the way through the top layer.
12. In a small bowl, beat an egg and add a tbsp of cold water. With the pastry brush, paint the top of the empanada with the egg wash.
13. Place the empanada in the oven and bake for about 45 minutes. Check that the bottom part is done.


For Individual Empanada:

1. On a lightly floured surface, roll out the dough.
2. Using the circle cookie cutter or any other tool similar to it.  Cut few circles.
3. In one round disc, fill 1 1/4 tbsp of filling and place another circle on the top.
4. Seal the edges by pressing firmly. You can also use fork to seal the edges.
5. If you want to make a swirl pattern as I did, make swirls and decorate according to your liking.
6. In a small bowl, beat an egg with tbsp of cold water.
7. Brush the top of the empanada with the egg wash.
8.  Place in the oven and bake for about 25 to 30 minutes or until golden brown.

Enjoy the Empanada with hot coffee or tea!!!!

Read more...

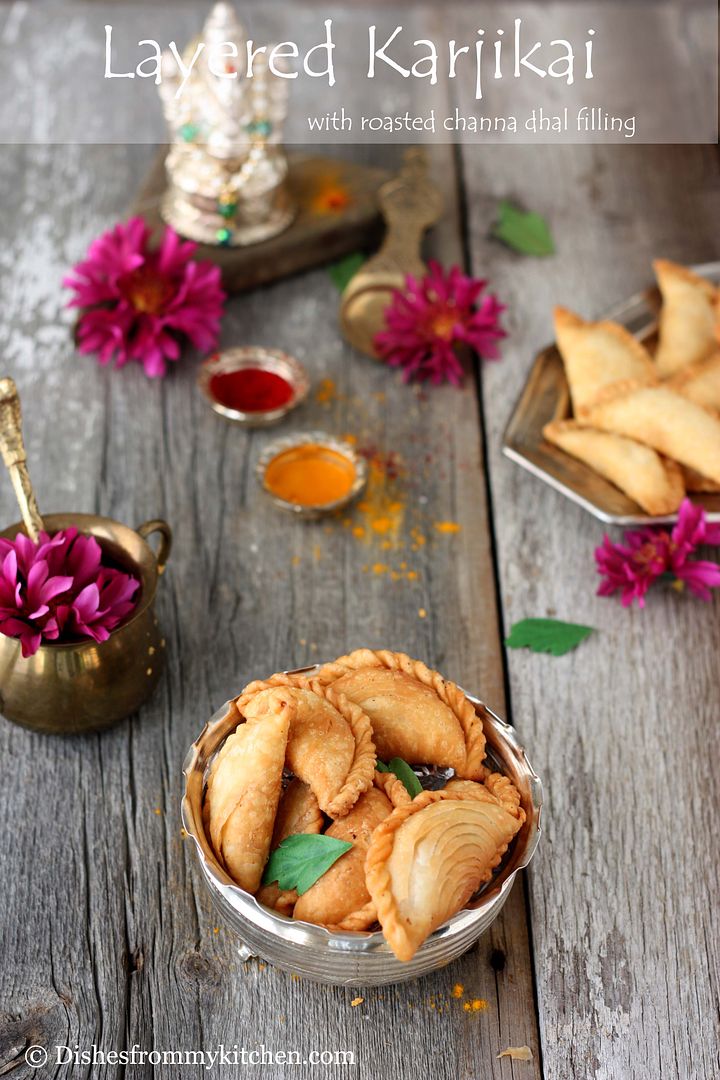
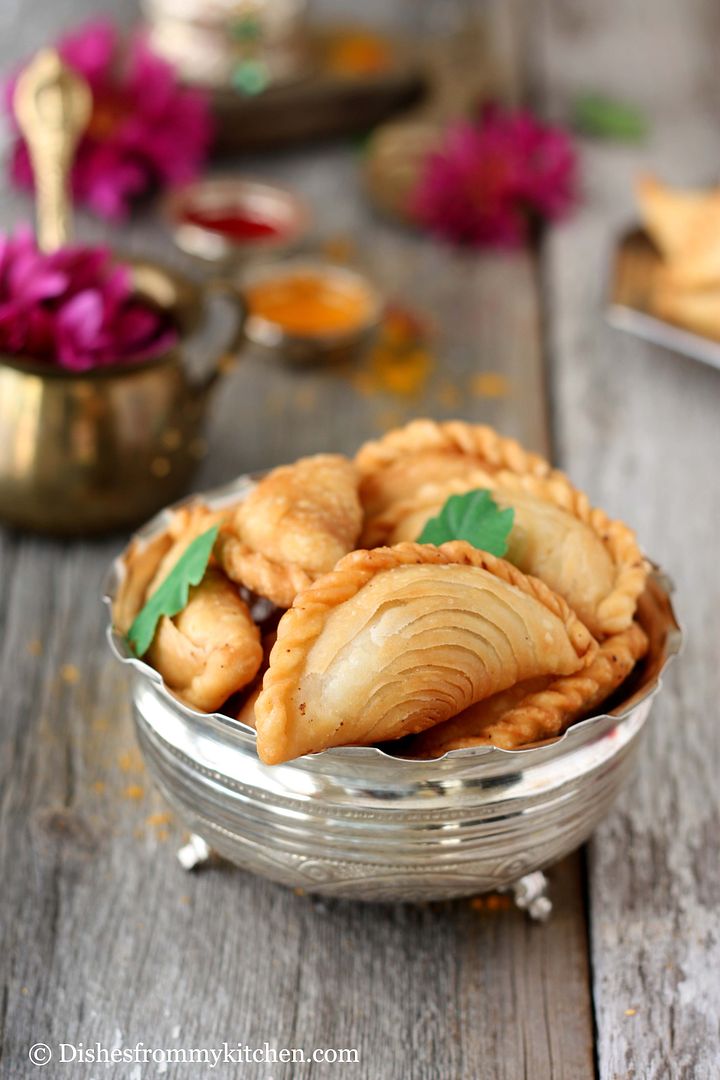
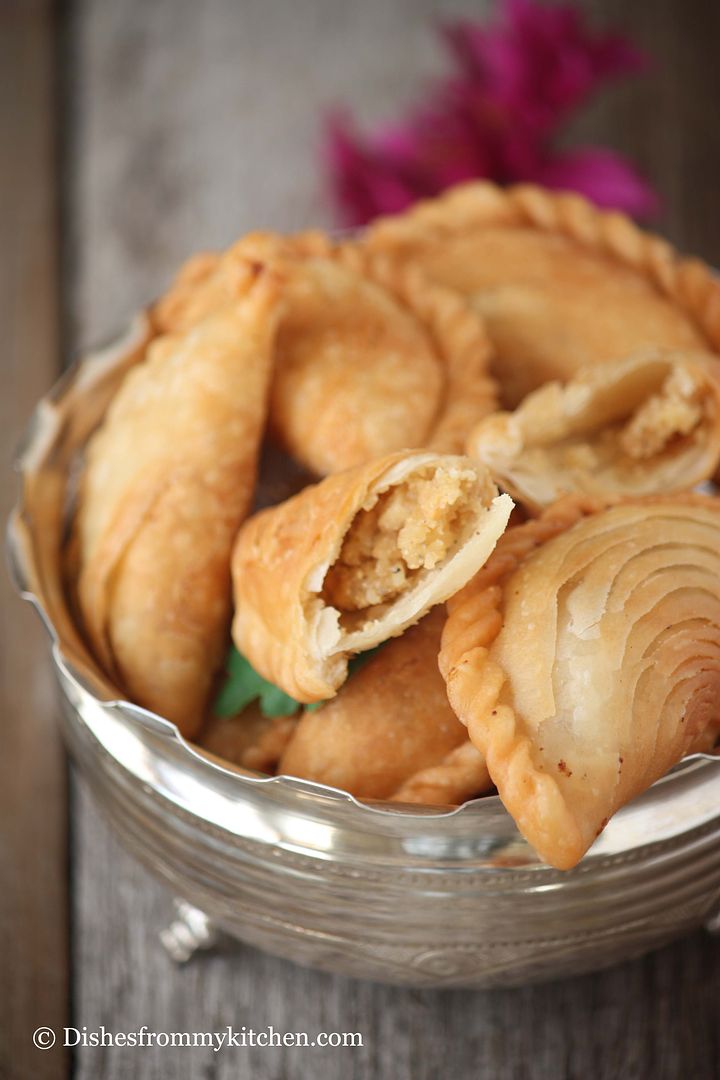
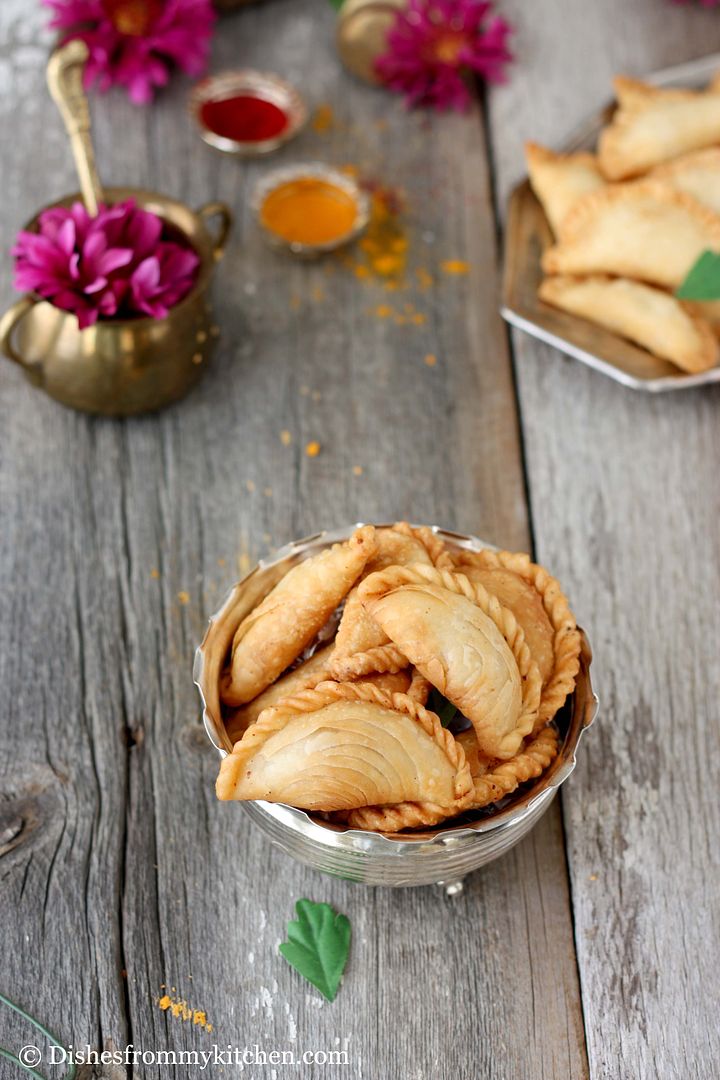
LAYERED KARJIKAI / KAJJIKAI (LAYERED DEEP FRIED DUMPLING) VINAYAKA CHAVITHI RECIPES II STEPWISE


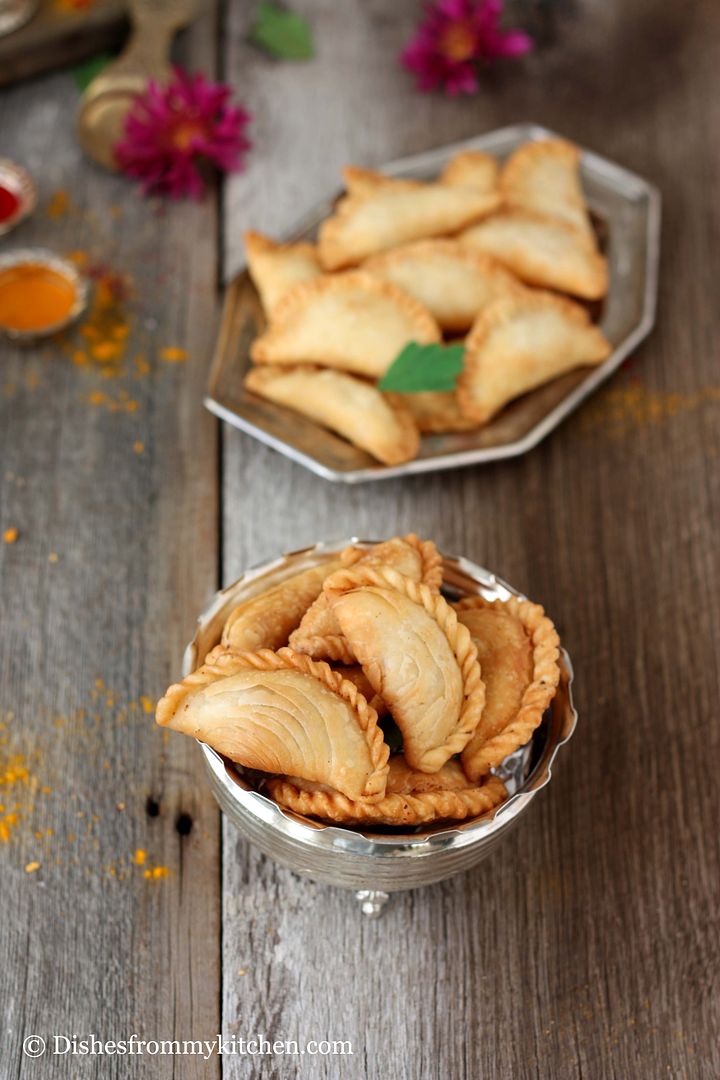
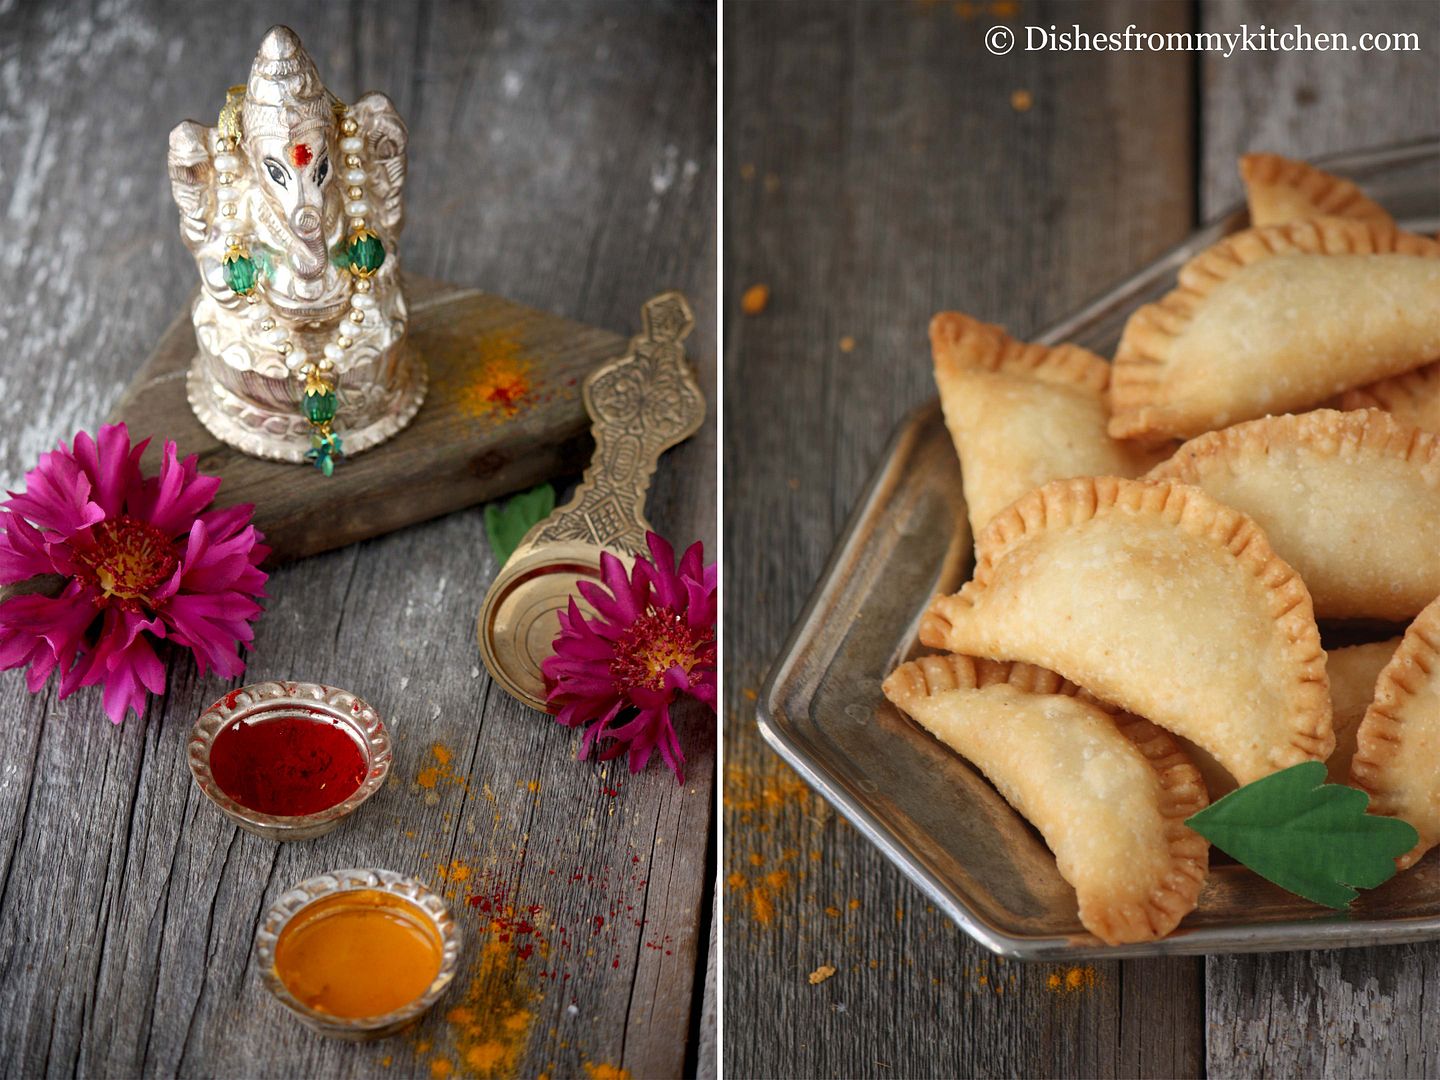
Karjikai/Karjikayi/Kajjikai/kajjikayalu is a traditional sweet prepared during diwali and Ganesh pooja. It is prepared by making small balls made out of all-purpose flour.  The small balls are rolled into thin puris and filled with a variety of fillings and deep fried.  This can be stored for even 20 days in an air-tight container and it stays fresh.  There are different variations in the filling and every one follows their family recipe or tweaks it according to their liking. Whatever the name and variation they are super delicious with light crispy layer and delicious sweet filling.  I bet you can't stop by eating one.  I made 2 types of Karjikai with different filling before the day of Vinayaka Chavithi. 


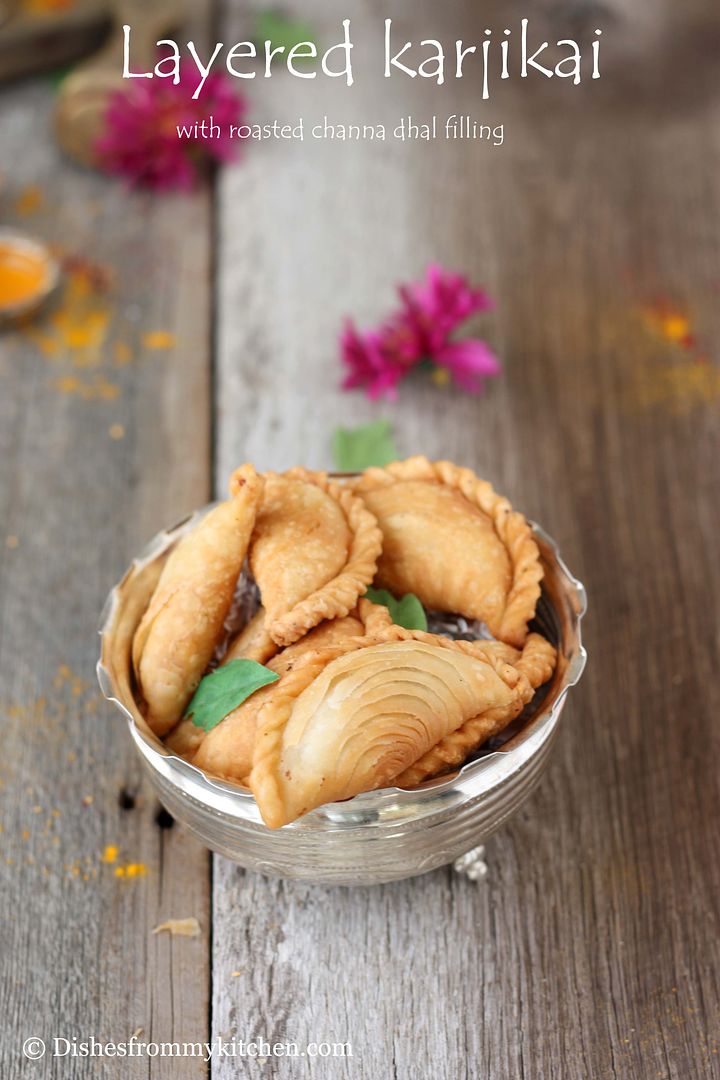
Here is the variation of usual Karjikai.  This is layered Karjikai which comes out super crispy and filled with Roasted Channa dhal (Pottu kadalai in Tamil).  You can also use any kind of filling according to your liking. Here are few which I have posted earlier


If you want to make plain Karjikai do take a look at this post KARJIKAI WITH COCONUT FILLING.

You can also play with different filling following the same procedure for outer wrapper. Make sure the filling is dry one so that you can store the sweet and enjoy...


LAYERED KARJIKAI / KAJJIKAI

Ingredients for outer wrapper:

All purpose flour - 1/2 cup
Rice flour - 1 tsp
Salt - a pinch
Oil for frying


Ingredients for filling:

Roasted Channa dhal (Pottu Kadalai) - 1/4 cup + 2 tbsp
Sugar - 1/4 cup + 2 tbsp
Cashews - 10 chopped finely
Cardamom powder - 1/4 tsp
Dry Coconut (grated) - 1/2 tbsp
Ghee - 1/4 tsp for frying the cashew nuts

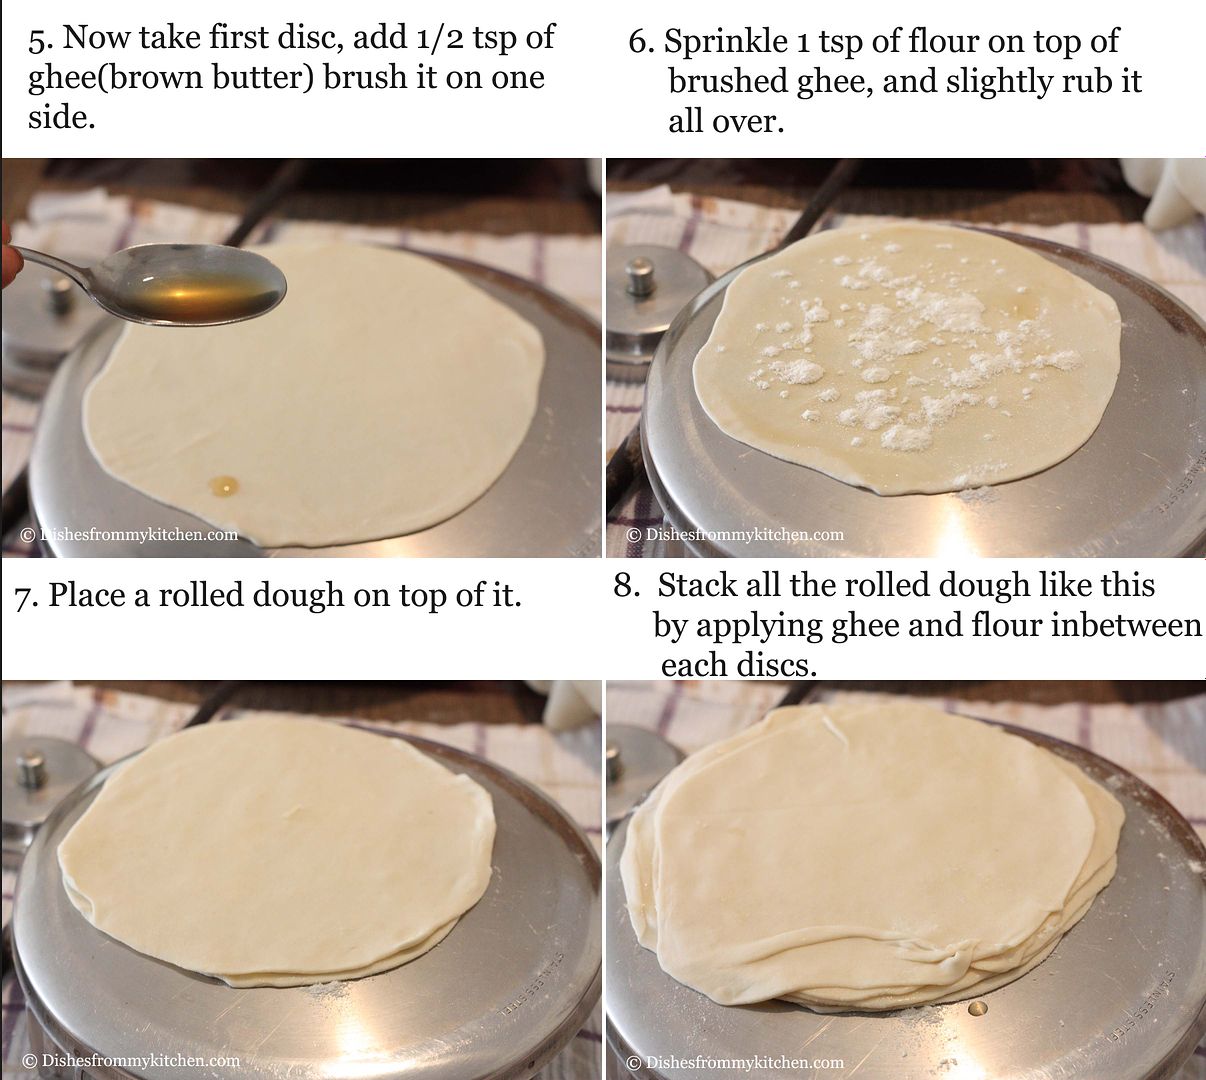
Extra ghee/brown butter and flour for brushing in-between each discs.
You need 1/2 tsp of ghee and 1 tsp of flour for each layer.

Method:

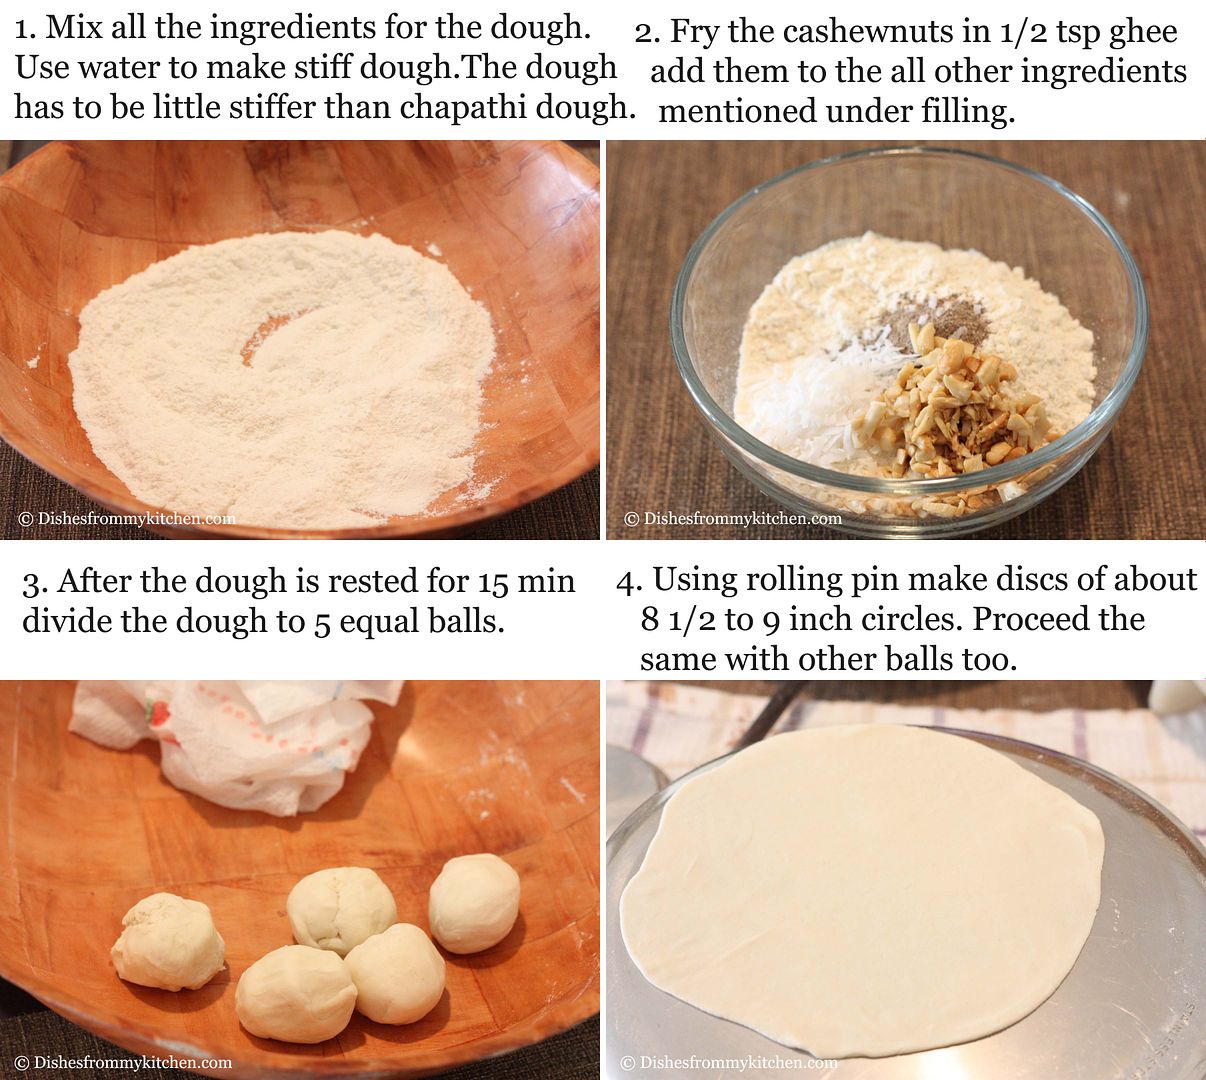
1. Powder the roasted gram and sugar together. Chop the cashews into small pieces.
2. Take a pan and tsp of ghee in it and roast cut cashews for few minutes until the cashews turn golden brown.
3. Mix all ingredients in a bowl.
4. The filling is ready. Keep this aside.


Method for rolling and filling:


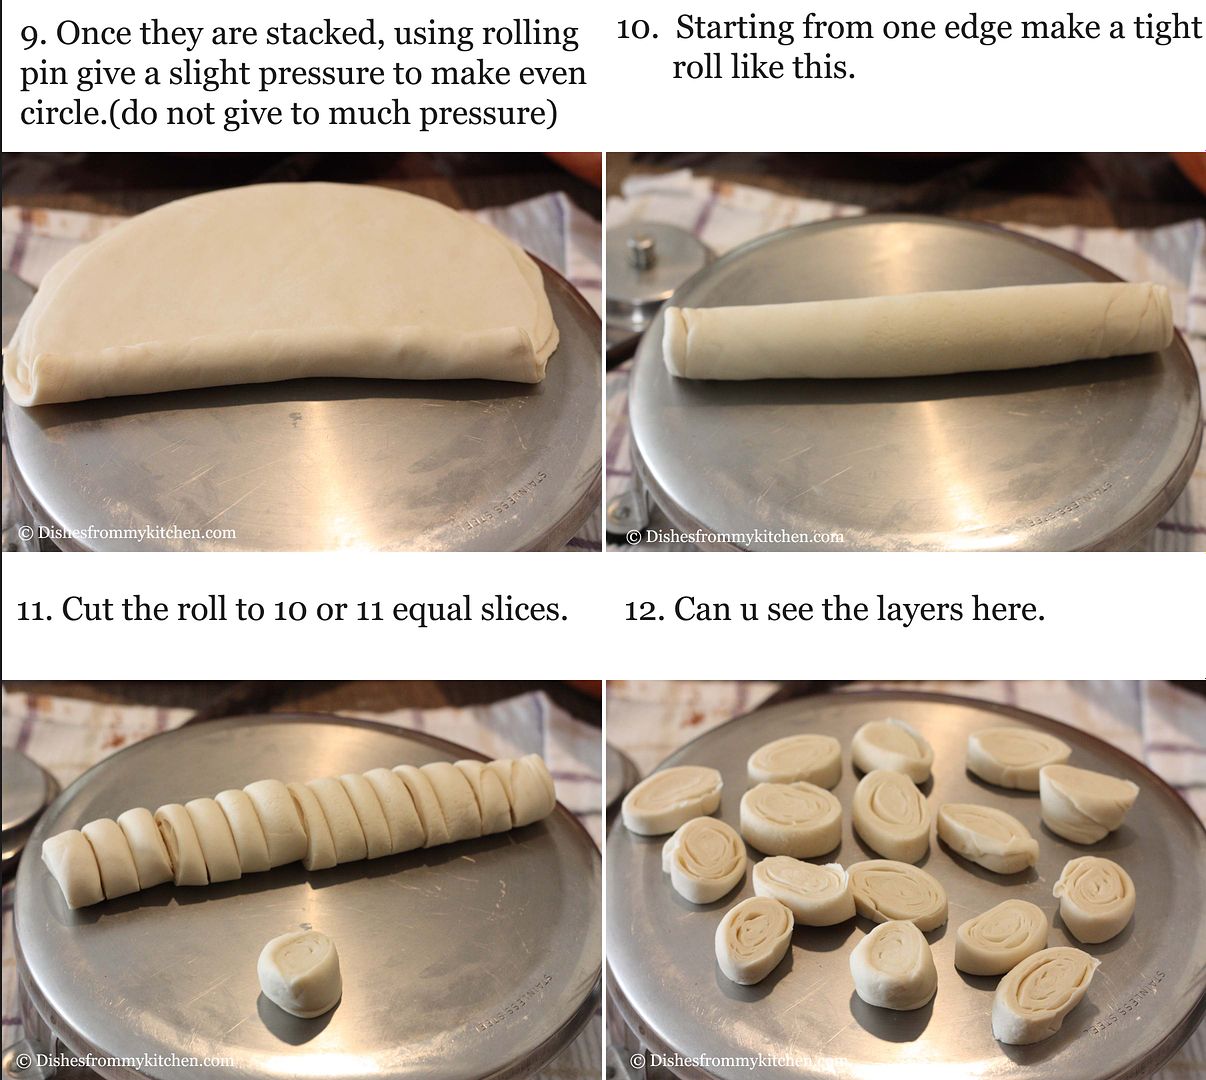
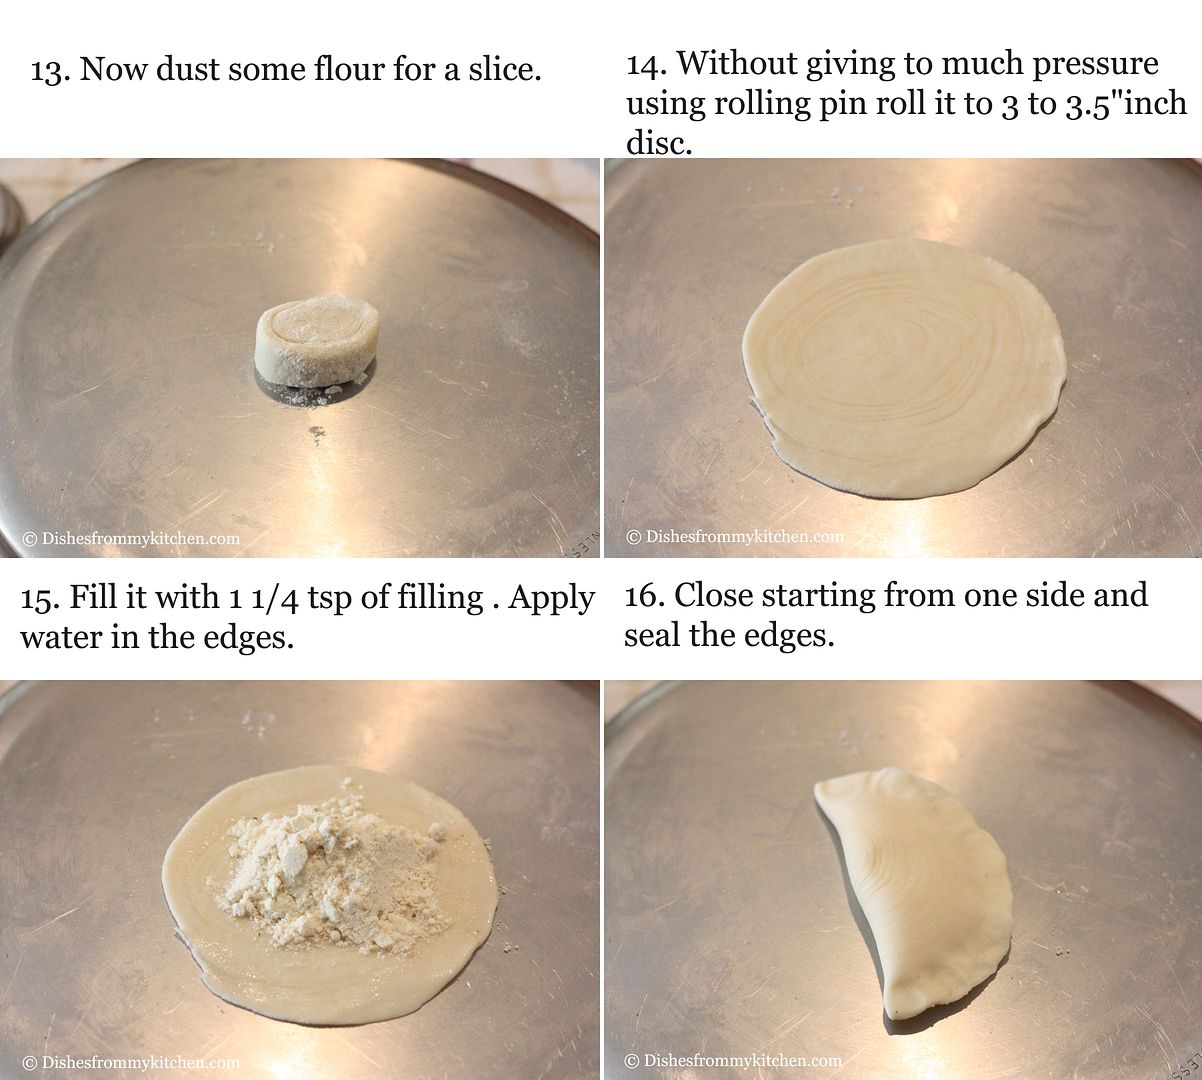
Note :
1. You can store the sweet in airtight container.  It stays good for 10 to 15 days.
2. You can also use rice flour instead of all purpose flour  for sprinkling inbetweet 2 layers of the rolled dough.  Personally I like to sprinkle all purpose flour(maida).

Enjoy !!!

Read more...

KARJIKAI / KAJJIKAI ( DEEP FRIED DUMPLING ) - VINAYAKA CHAVITHI RECIPES I - STEPWISE

I am little late in posting Vinayaka Chavithi recipes :)  I did not have much time to post them in detail.  Here is the celebration of Vinayaka Chavithi/Ganesh Pooja we did this year.  There is no need for an occasion to do this delicious treat, its perfect anytime of the year.  It is absolutely delicious as a coffee or tea time snack. 

Karjikai/Karjikayi/Kajjikai/kajjikayalu is a traditional sweet prepared during diwali and Ganesh pooja. It is prepared by making small balls made out of all-purpose flour.  The small balls are rolled into thin puris and filled with a variety of fillings and deep fried.  This can be stored for even 20 days in an air-tight container and it stays fresh.  There are different variations in the filling and every one follows their family recipe or tweaks it according to their liking. Whatever the name and variation they are super delicious with light crispy layer and delicious sweet filling.  I bet you can't stop by eating one.  I made 2 types of Karjikai with different filling before the day of Vinayaka Chavithi.  On the Vinayaka Chavithi day I made modak and seasoned bean with rice flour dumplings (Sundal with undrallu).  I hope y'all will enjoy this Karjikai.  As requested by everyone stay tuned for Layered fried dumplings with different filling....:)


KARJIKAI / DEEP FRIED DUMPLINGS
with coconut filling

Ingredients :

Ingredients for outer layer :

Maida/All purpose flour - 1/2 cup
Fine sooji/ Semolina - 1/8 cup
Rice flour - 1/2 tsp
Milk - 1/4 cup
Salt  - A pinch
Hot ghee or oil - 1/2 tbsp (I used Ghee/Brown butter)

For the filling: (Coconut filling)

Dry Coconut - 1/4 cup
Sugar - 1/4 powdered cup
Cashew nuts - 5 chopped finely  ( You can also use any nuts, dry fruits like raisins as well)
Poppy seeds - 1/2 tsp (slightly roasted in dry pan)
Cardamom a pinch


You also use these fillings for making Karjikai

1. Sesame Seed Jaggery filling
2. Roasted Channa dhal filling


Method :


Note :

1. You can store the sweet in airtight container.  It stays good for 10 to 15 days.

Read more...

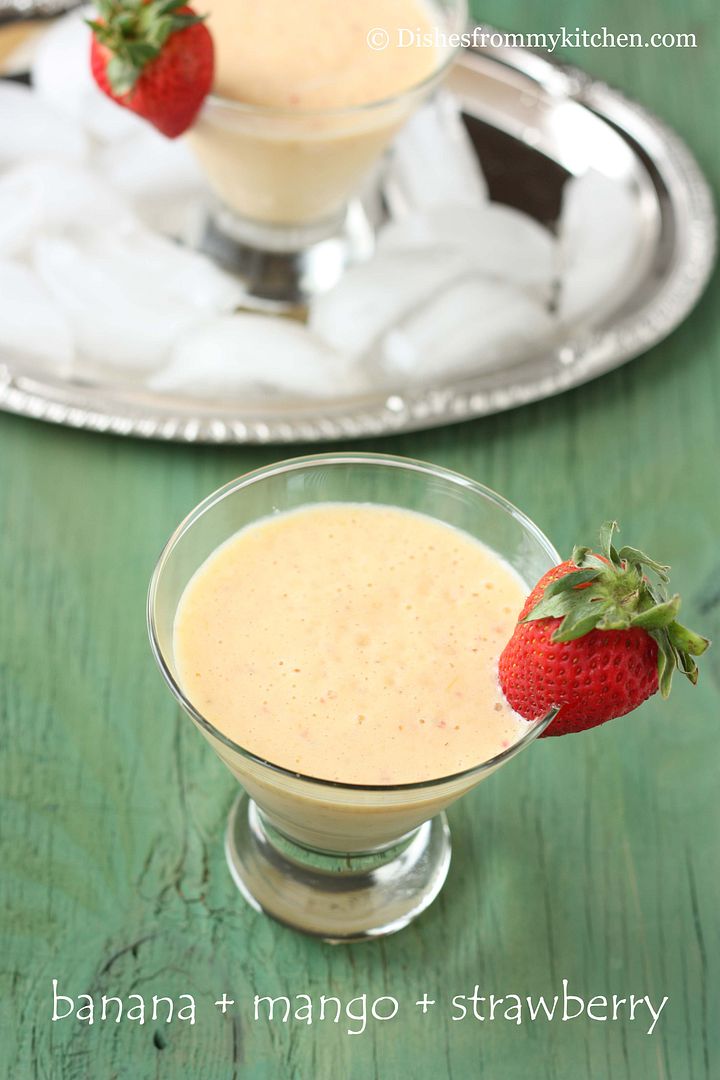
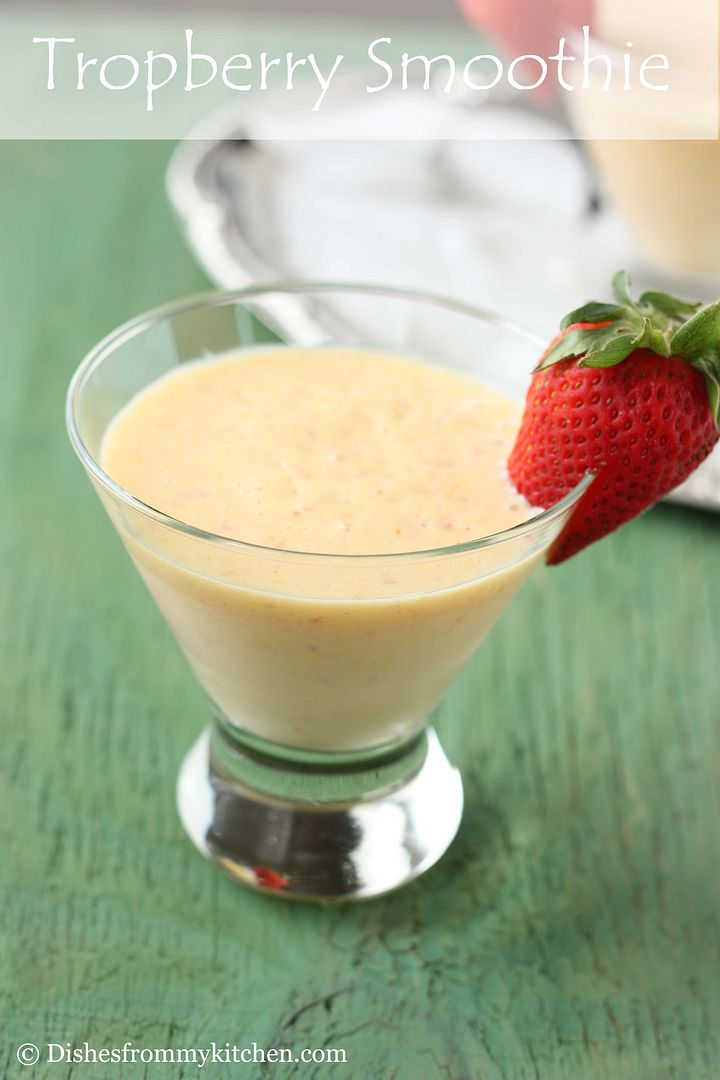
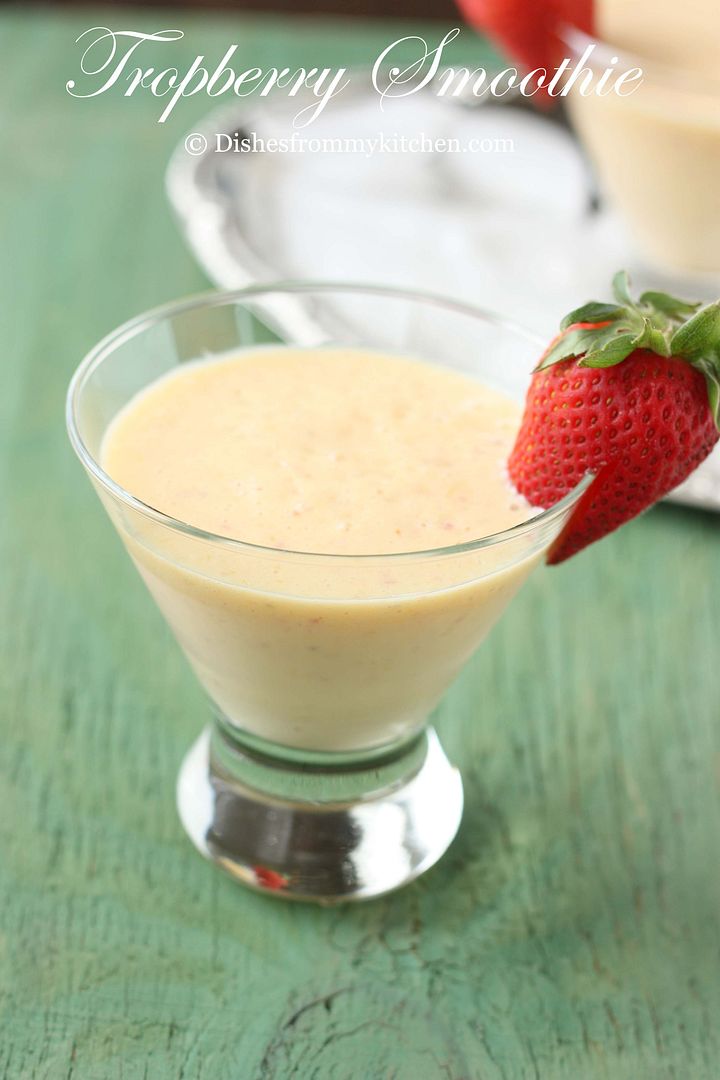
TROPBERRY SMOOTHIE - (TROPICAL FRUIT + BERRY SMOOTHIE )


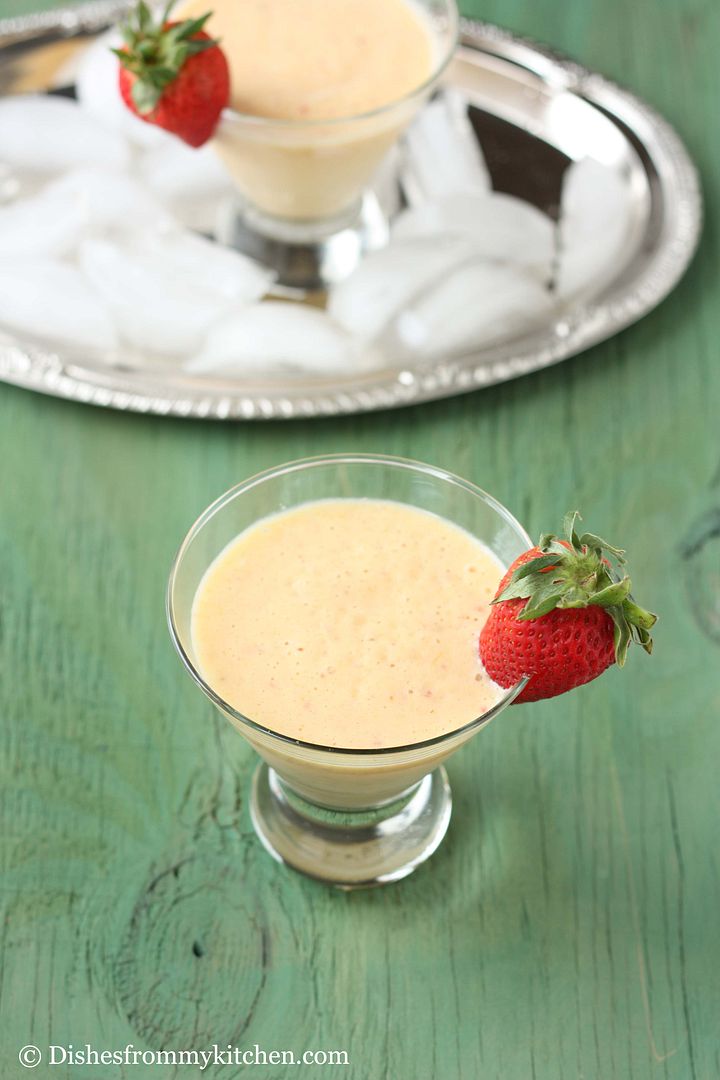
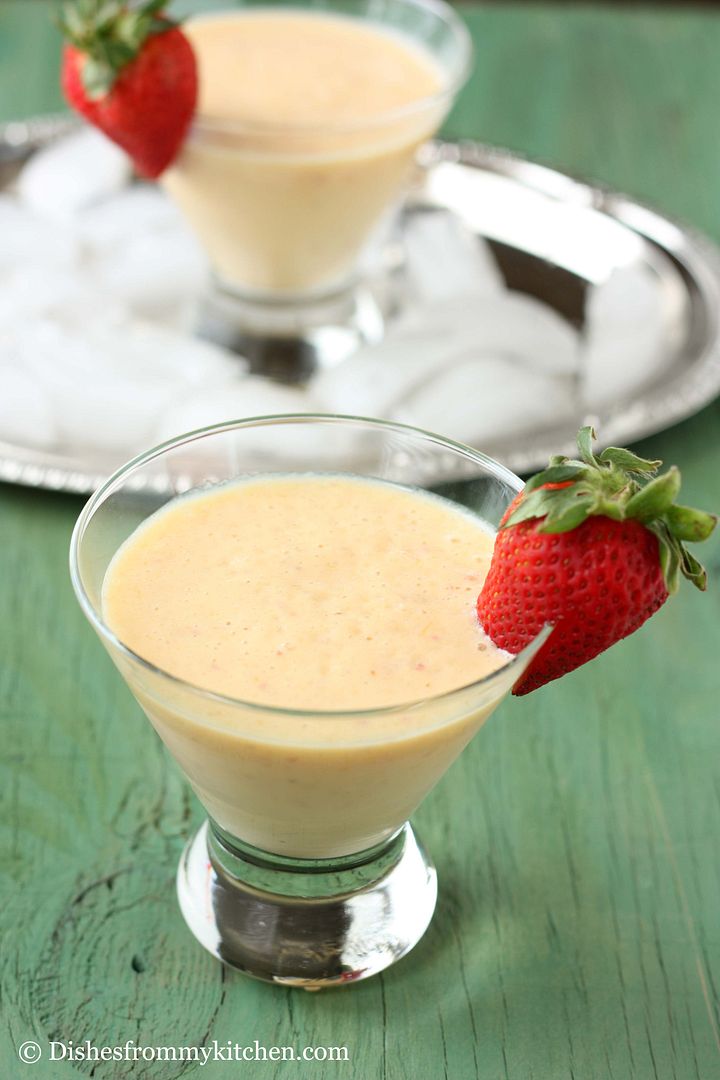
There is nothing like a delicious breakfast smoothie to help and give your body a real boost.   Go ahead try this smoothie with the blend of tropical fruits and strawberries. You will love this delicious and healthy fruit smoothie !!!


TROBERRY SMOOTHIE

Ingredients:

Banana sliced - 1/2 cup
Mango cubed - 1/2 cup
Strawberry - 4
Yogurt - 1 cup
Milk - 1/2 cup
Ice cubes - few


Method:

1. Blend all the above ingredients in the blender until they are smooth.
2. Serve Chilled....Silky smoothie is ready to start you day.


Note:

1. Since my banana and mango was super sweet I did not add any sweetener.  If you think it is not sweet enough add 1/2 tbsp of honey and blend it again.
2. If you think the smoothie is too thick for you add little extra milk according to your liking.
Serve chilled.

Read more...

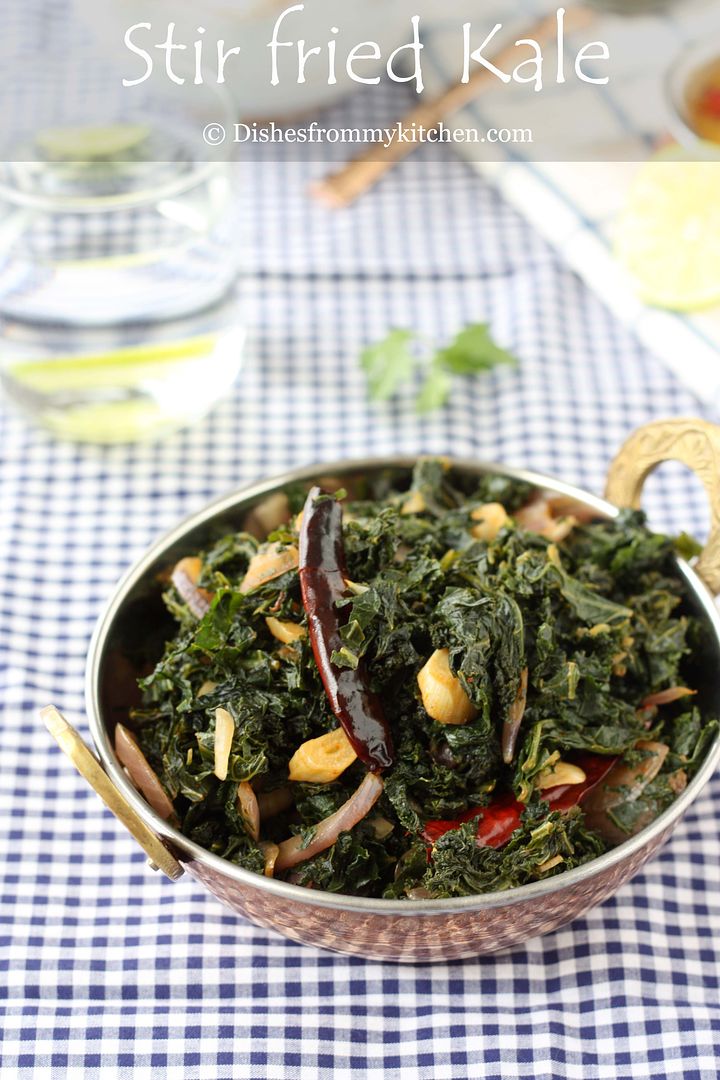
STIR FRIED KALE !!!! HEALTHY MEAL !!!

Kale is one of the healthiest vegetables and it can be prepared in many ways.  Since it has wonderful health benefits make sure to include them in your diet in healthier way like steaming the kale, adding them to soup, Salad etc.  There are several varieties of kale; these include curly kale, ornamental kale and dinosaur kale(Tuscan kale) which differ in taste, texture, and appearance.  The recipe which I am posting today is stir fried kale in which I have used curly kale. It is deep green in color which has a ruffle leaves with a lively pungent flavor and delicious bitter peppery qualities.  Again for this recipe you can use any variety of kale.  But personally for stir fries I love to use thick leaves which will retain it shape even when cooked with other Indian spices.

I do miss lot of Indian green leafy vegetables but this kale is a rescue.   I use kale as a substitute for the recipes I make using Indian greens.  You can also follow the same recipe for Swiss chard, Beet greens as well.

For healthy munching here try this KALE CHIPS which I have posted earlier.


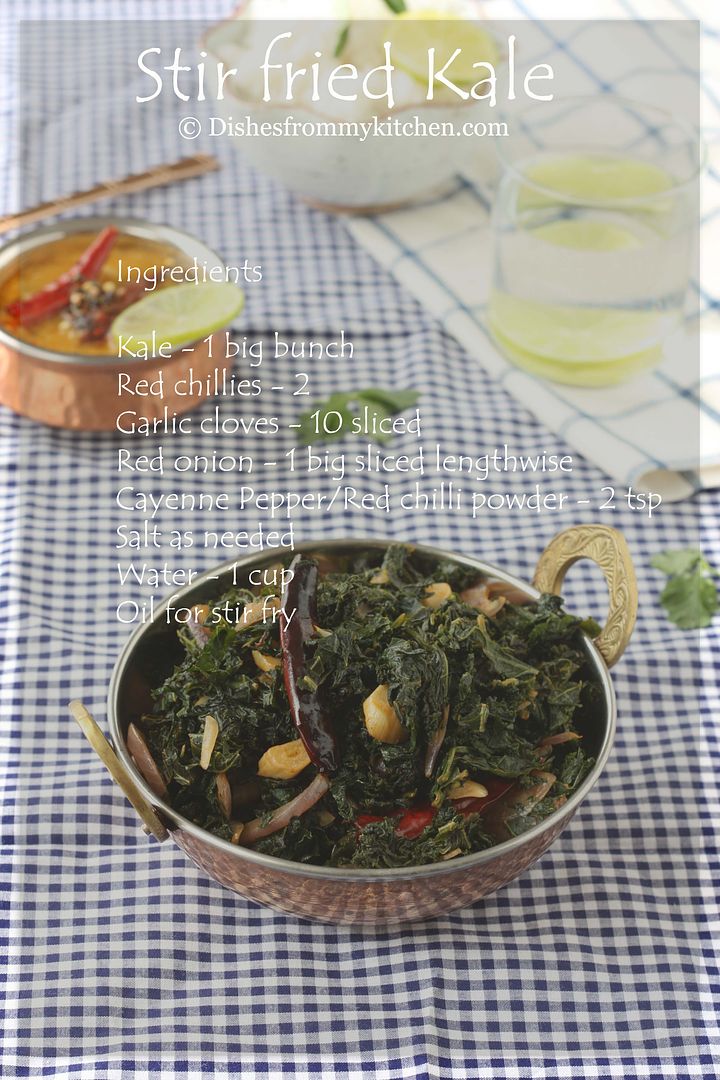
STIR FRIED KALE

Ingredients:

Kale - 1 big bunch
Red chillies - 2
Garlic clove - 10 sliced
Red Onion - 1 big sliced
Cayenne pepper/Red chilli powder - 2 tsp (Use according to your spice level)
Salt as needed
Water - 1 cup (You need 1 cup of water if the leaf is thick, if you choose tender variety of kale you need not use this much amount of water instead sprinkle with little water while sautéing.
Oil - 2 tsp (U can use any oil for this, I use Olive oil)

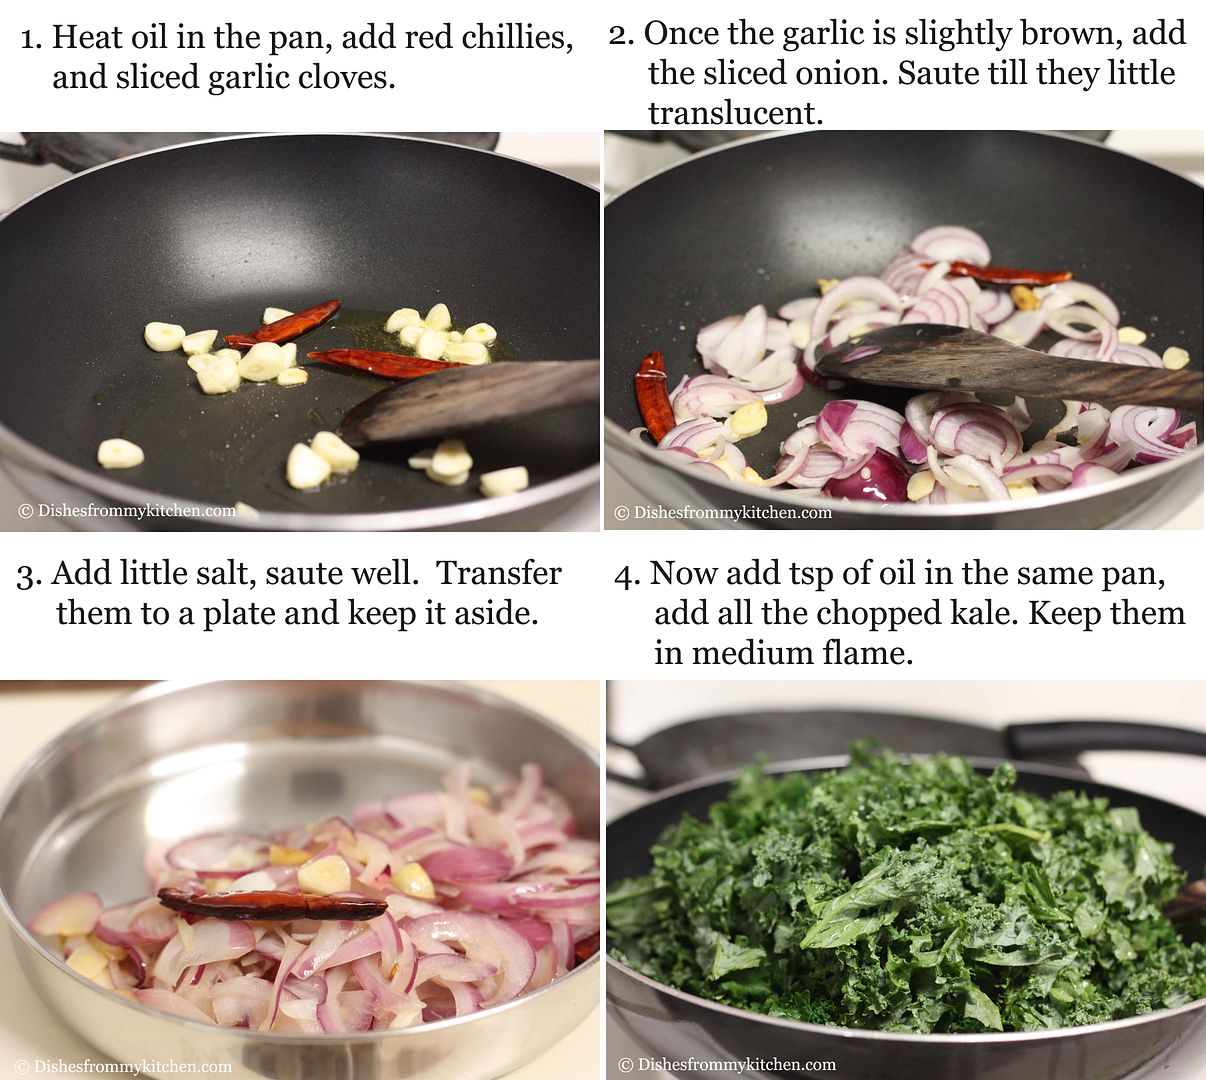
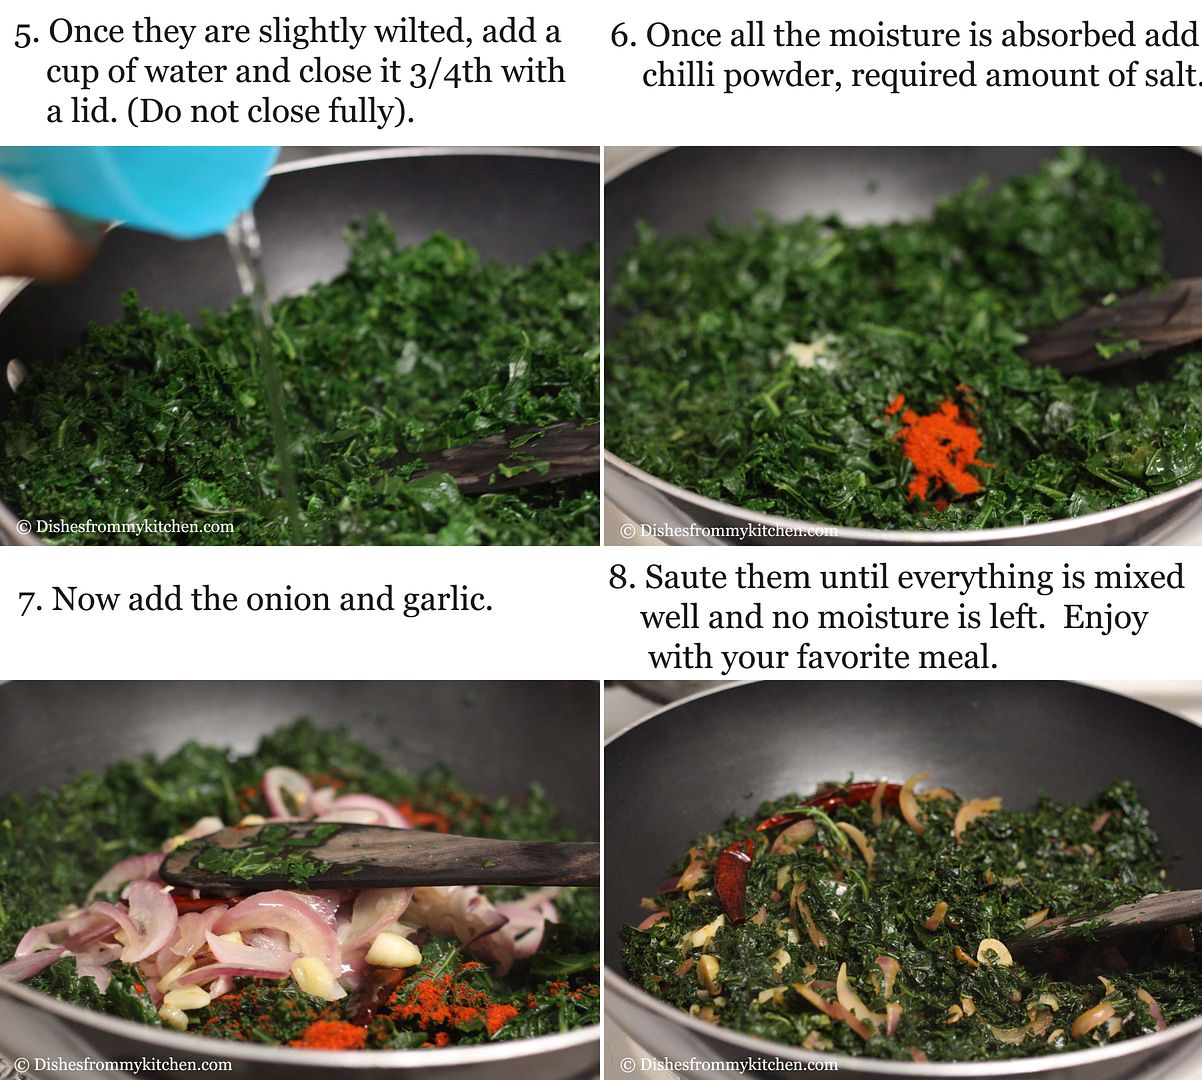
Before you proceed with the process make sure you clean it sufficiently as the curly corners can trap dirt and you will end up with bad experiences.  First strip the leaves from the tough stem.  Fill water in a big bowl and plunge the whole pile of kale into it, shake the leaves vigorously and let them sit for five minutes.  Remove the leaves from the water. Change the water and do the same couple of times and drain them in the colander.  Now chop the Kale to 1/4 inch pieces using knife and proceed with the recipe....

Method :


Note :


1.  You can also substitute red chilli powder with pepper powder.  Use according to your spice level.


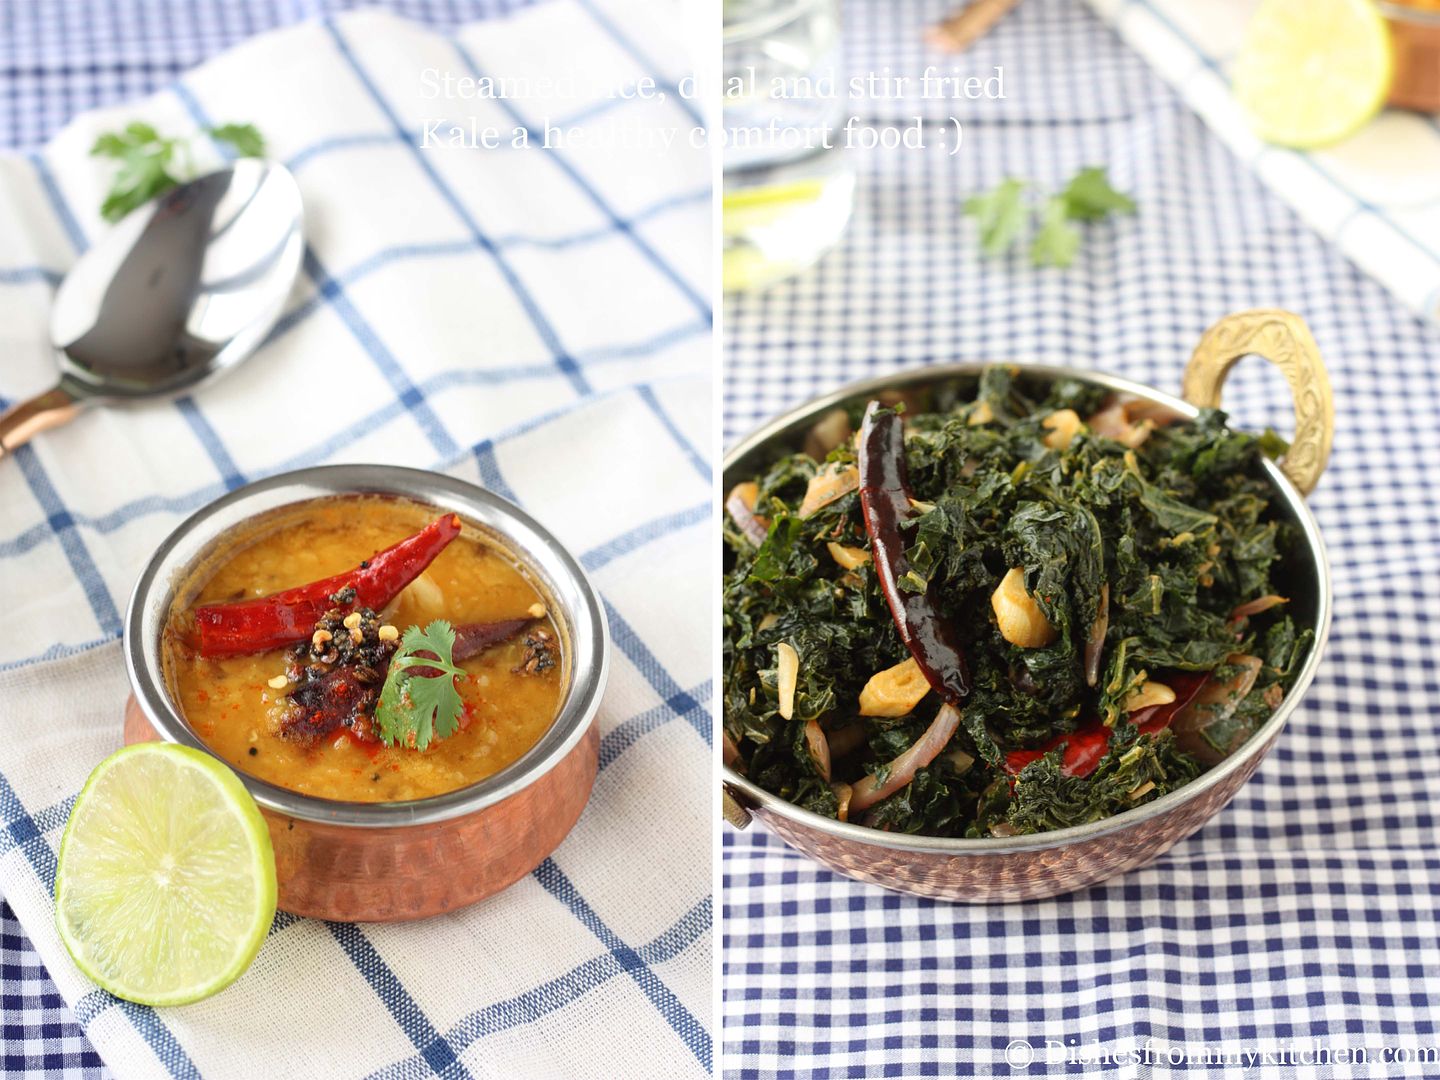
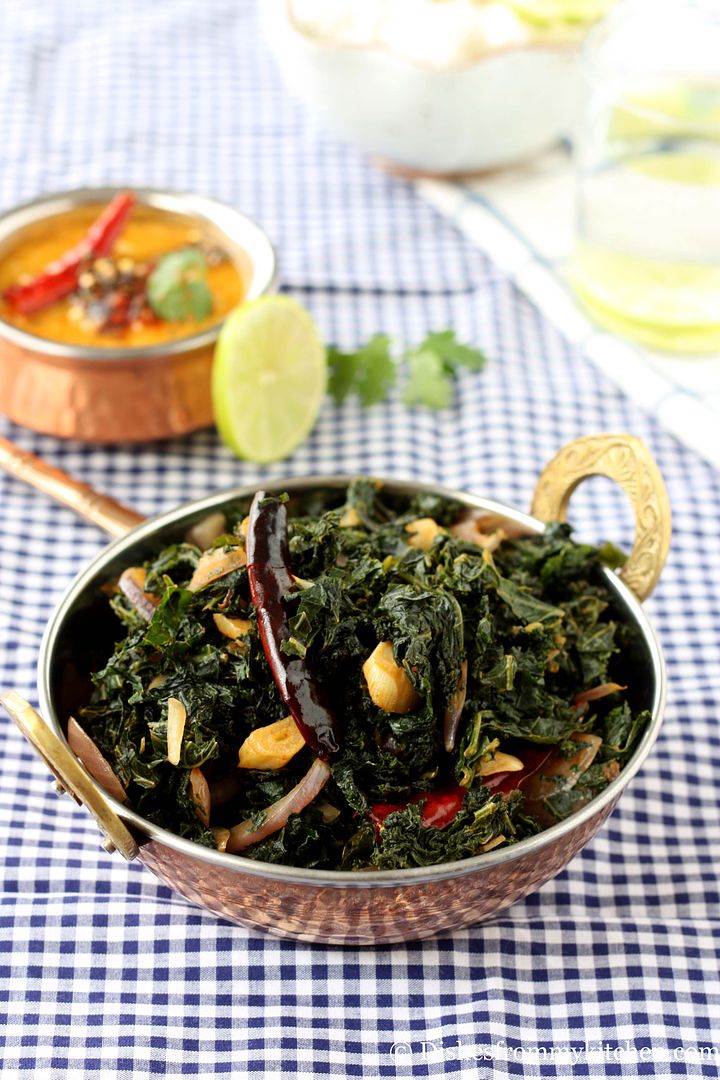
Enjoy Dhal, Steamed basmati rice with Stir fried kale along with little ghee (brown butter) !!!


Read more...

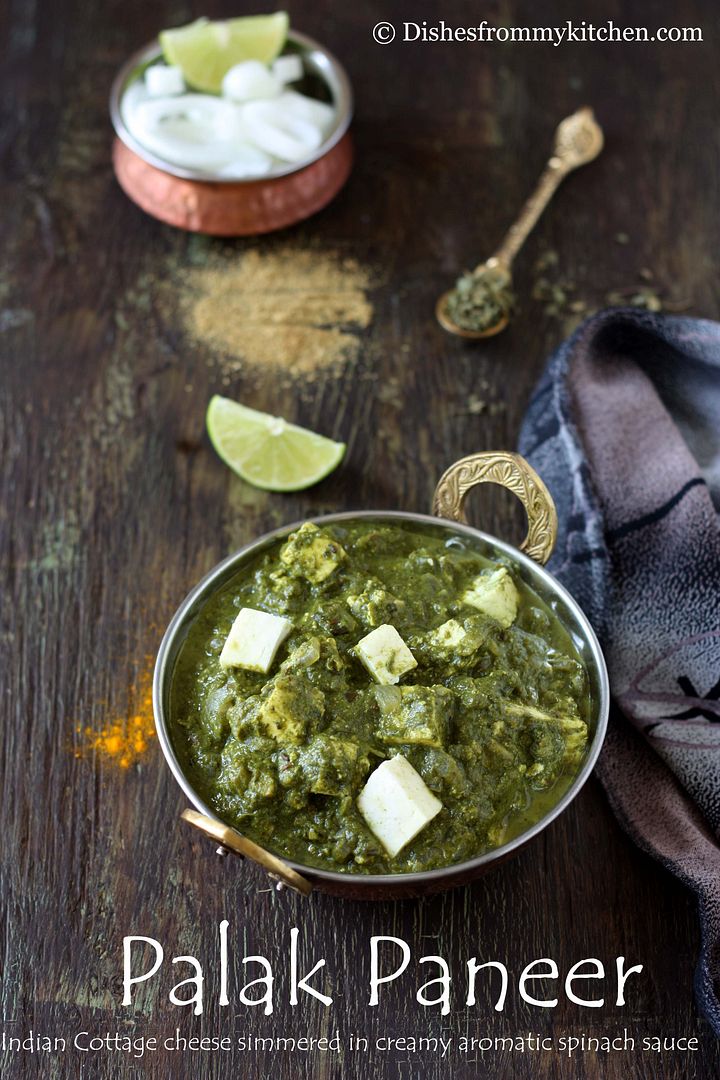
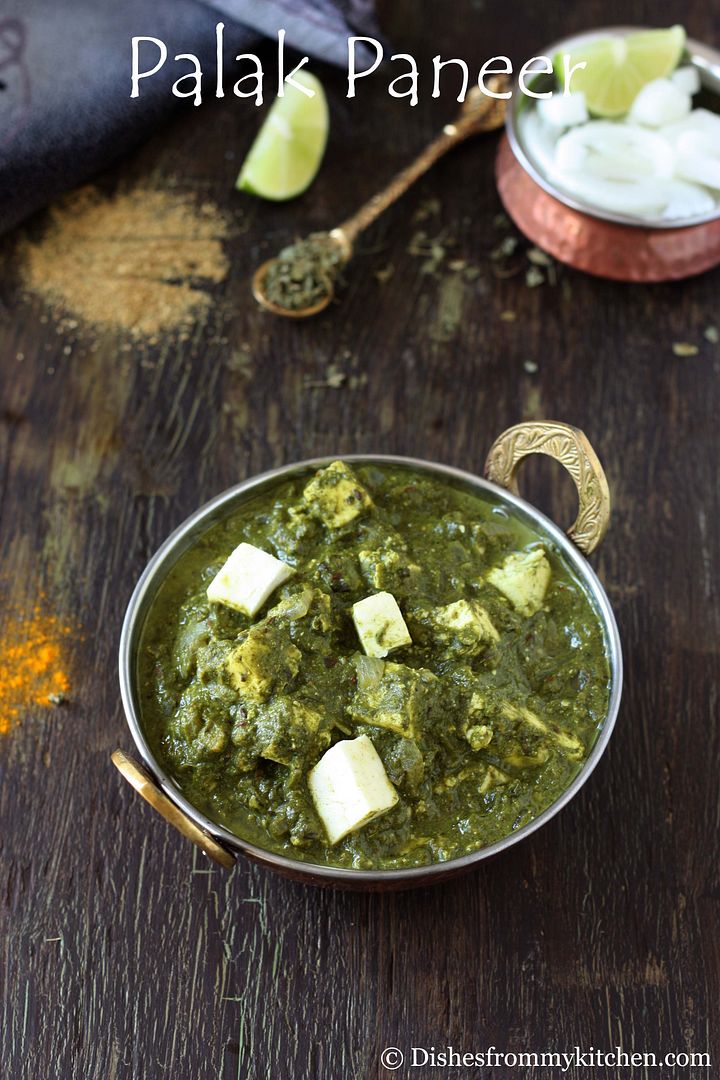
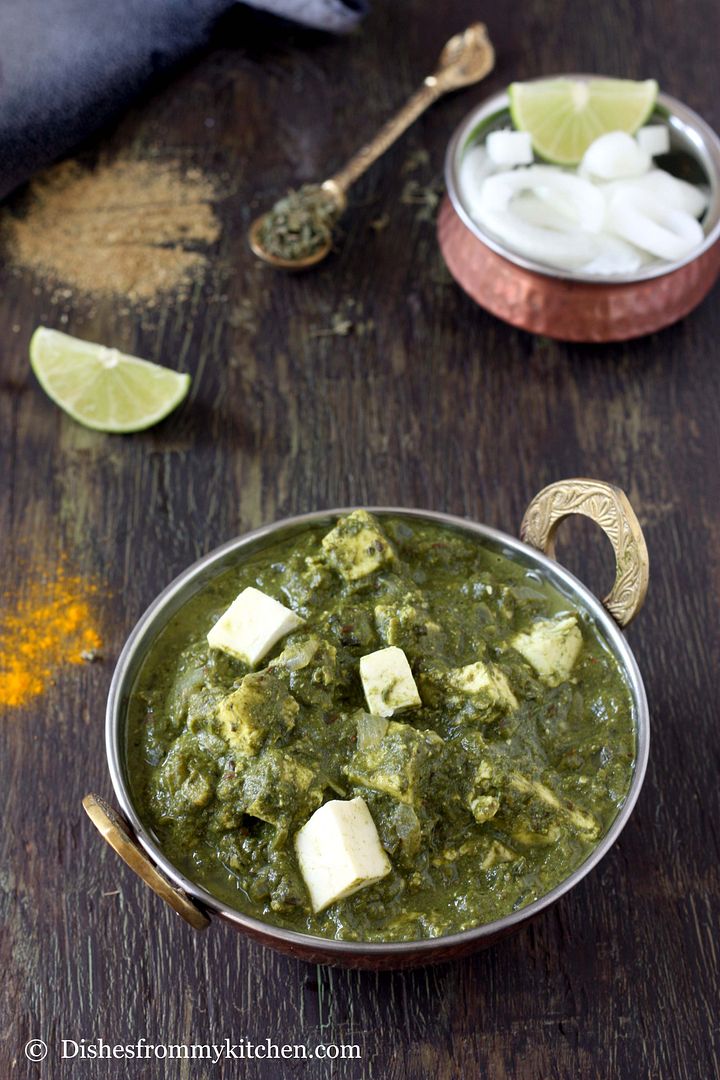
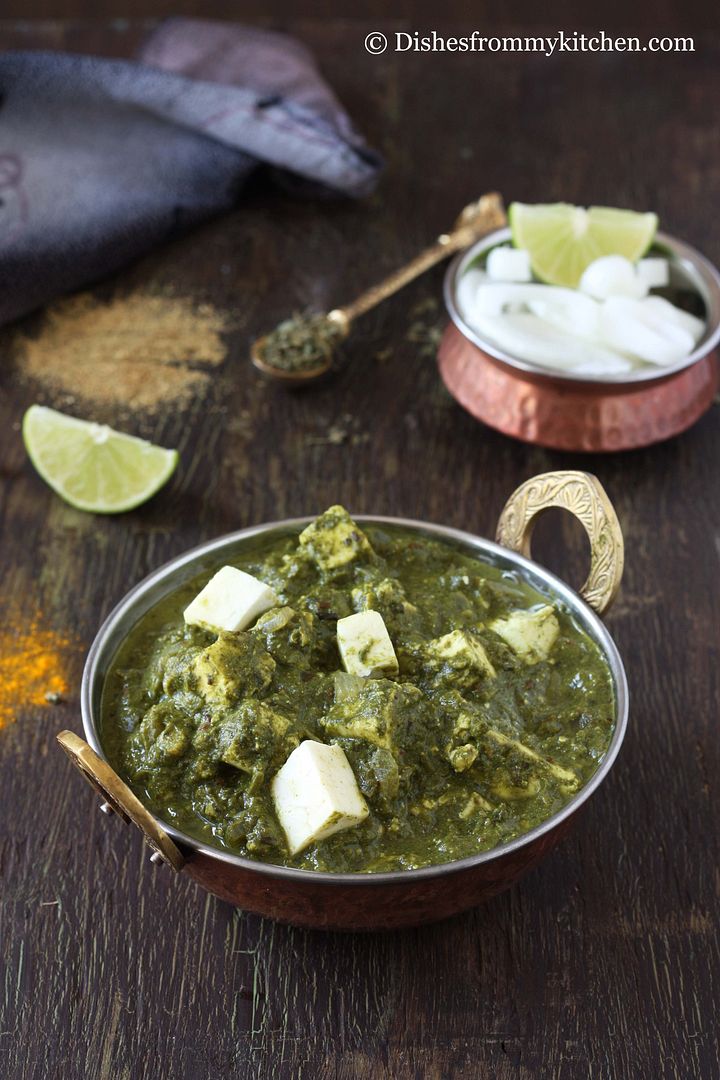
RESTAURANT STYLE PALAK PANEER - INDIAN CHEESE SIMMERED IN AROMATIC SPINACH SAUCE(VERSION II) !!!
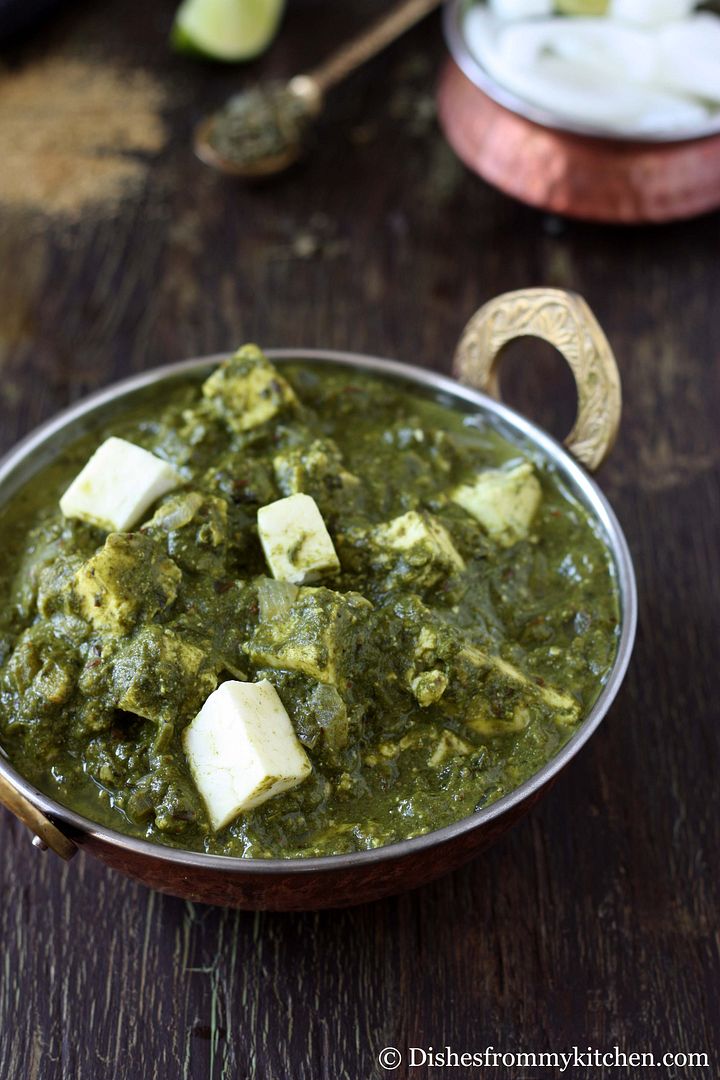
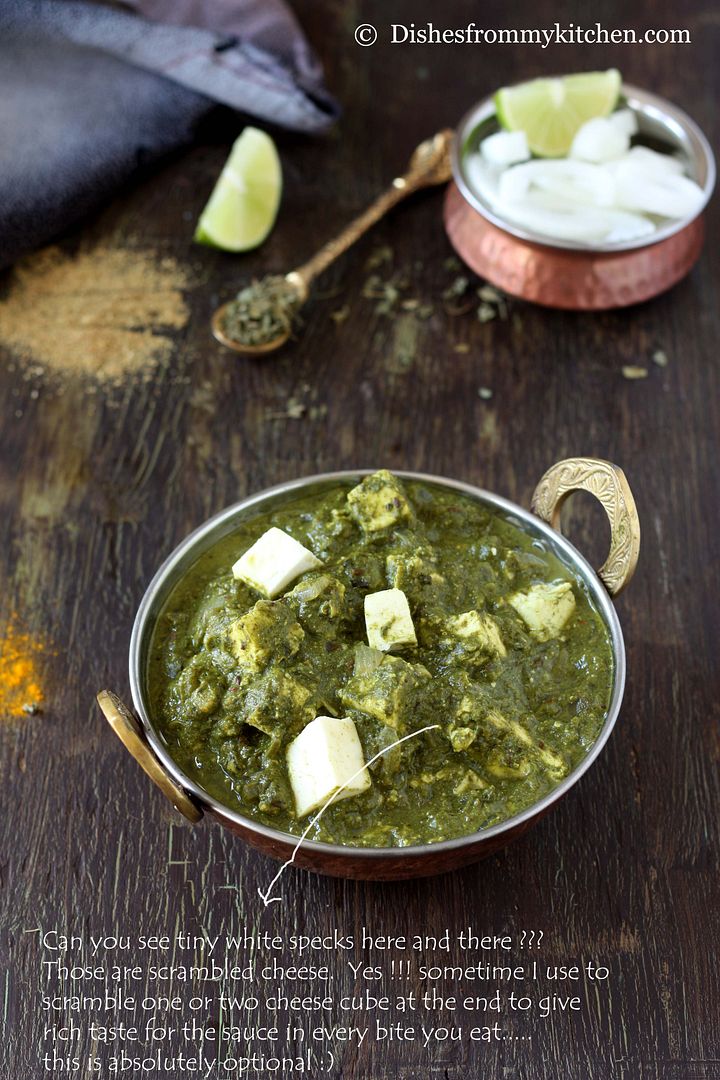
Palak paneer is a tasty restaurant dish which is famous throughout India and Pakistan.  It has Palak (Spinach) and Paneer which is Indian farmer's cheese made by curdling heated milk with lemon juice, vinegar or any other food acids.  This is basically thick curry sauce based on pureed spinach which is very aromatic.  It is absolutely heavenly when the cheese is simmered in the sauce and served with dollop of butter.  

It is a popular vegetarian dish and is mainly served with any Indian breads, pilaf/pulao or plain steamed Basmati rice.  It is very nutritious; I make it very often by substituting Paneer with Aloo (potato), Channa (Garbanzo), Baby corn or grilled corn kernels.  I do Spinach sauce in two ways one is by adding tomato to the Curry and another is without tomato.  When I am making it without tomato, to get the sour taste I add Amchoor powder (Dry Mango powder) along with lemon or lemon along with yogurt.  Either way it tastes very very delicious.


I have also posted the Palak Gravy with Grilled corn in which you can substitute corn with paneer to enjoy creamy and delicious Palak paneer (Version I with tomato).  

*  GRILLED CORN PALAK

Since I have posted this version already, I wanted to post the Palak Paneer Version II which has no tomato.

Do try both the versions and I am sure you will love Palak paneer both the ways :) Enjoy it with hot bread or rice.

Read my notes if you are in the mood to substitute the cream with Yogurt and Milk :)  This is a best way to eat Spinach for Kids/Adults who don’t eat or like Spinach.  Enjoy the restaurant style Palak paneer at home!!!!

PALAK PANEER (version II)


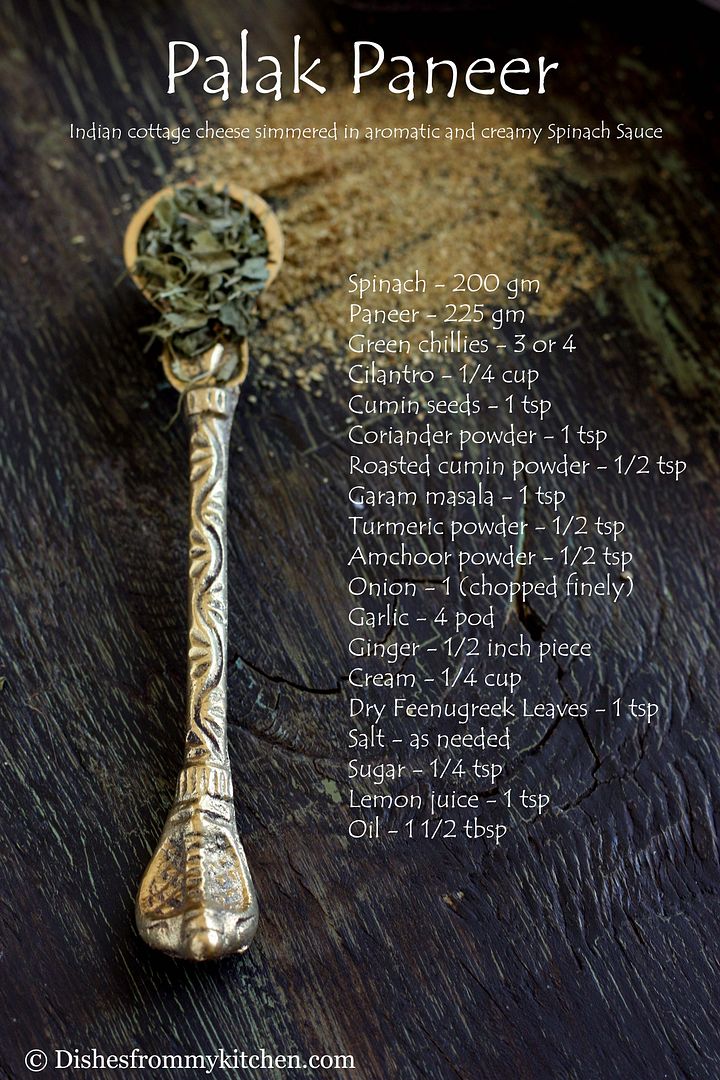
Ingredients:


Serves 2 or 3

Spinach - 200 Gm
Paneer - 225 Gm (cut to cubes)
Green chillies - 3 or 4
Cilantro - 1/4 cup
Cumin seeds - 1 tsp
Coriander powder - 1 tsp
Roasted cumin powder - 1/2 tsp
Garam masala - 1 tsp
Turmeric powder - 1/2 tsp
Amchoor powder - 1/2 tsp
Onion - 1 (chopped finely)
Garlic - 4 pod
Ginger - 1/2 inch piece
Cream - 1/4 cup (You can also substitute with 1/2 cup whole milk as well)
Dry Fenugreek Leaves(Kasoori Methi) - 1 tsp
Salt - as needed
Sugar - 1/4 tsp
Lemon juice - 1 tsp
Oil - 1 1/2 tbsp
Butter - 1 tbsp

Cut the Paneer in to cubes and put them in hot water.  Let them be in hot water until you add them to the sauce/gravy.  This process makes the paneer very soft and it just melts in the mouth.


Method:

1. Wash the spinach couple of times. Drain and keep it aside.
2. Sauté in the pan until they wilt (it takes a minute or so) or Microwave for 1 minute until it gets wilted. (make paste out of wilted spinach,coriander and green chilli after masala mixture is ready)


3. Make ginger and garlic paste.
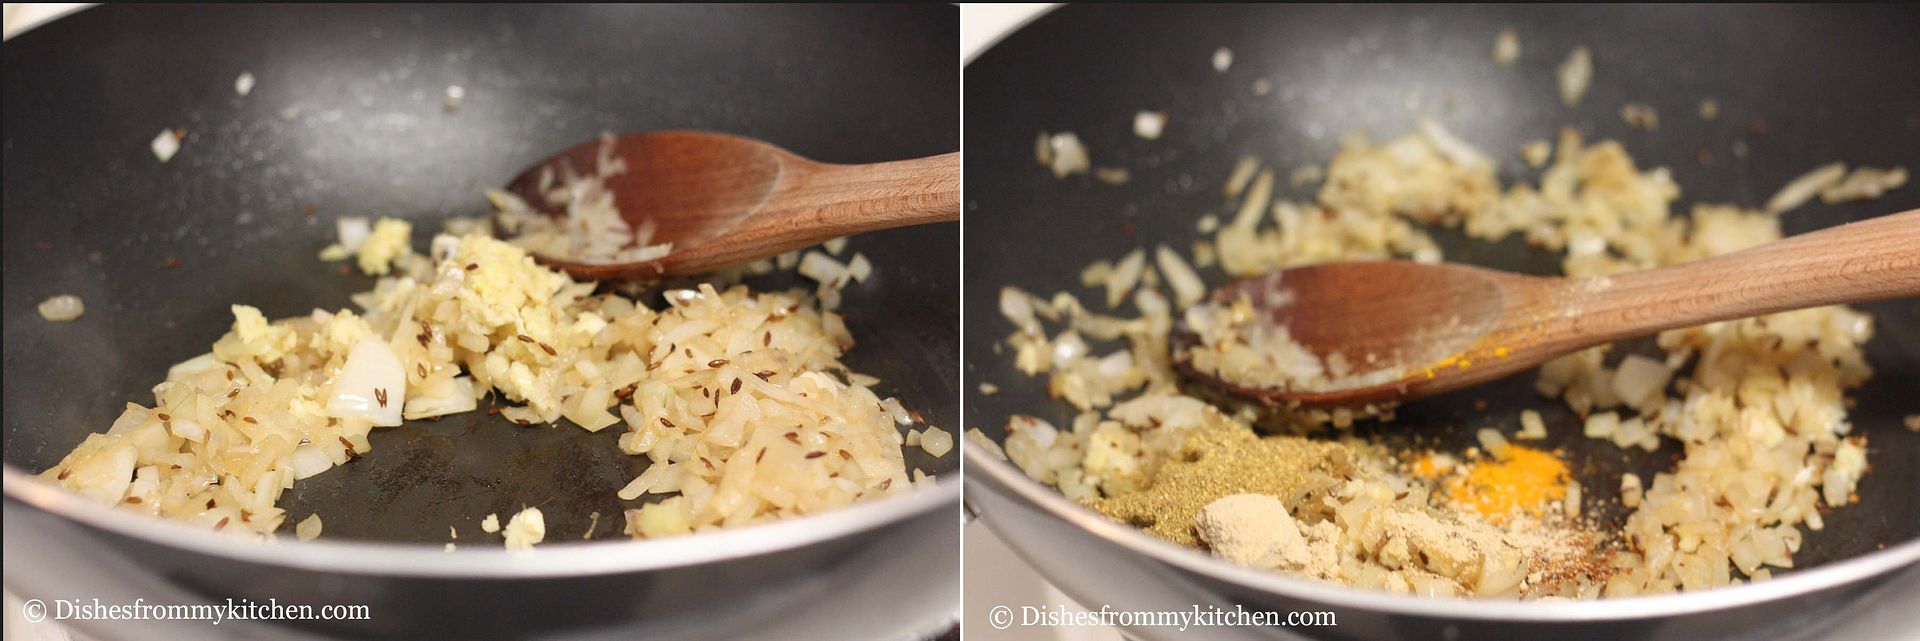
4. Heat oil in the pan, add the whole cumin once.
5. After the cumin stops spluttering, add Onion and sauté till they are slight golden brown.


6. Add the ginger and garlic paste, sauté till the raw aroma disappears.
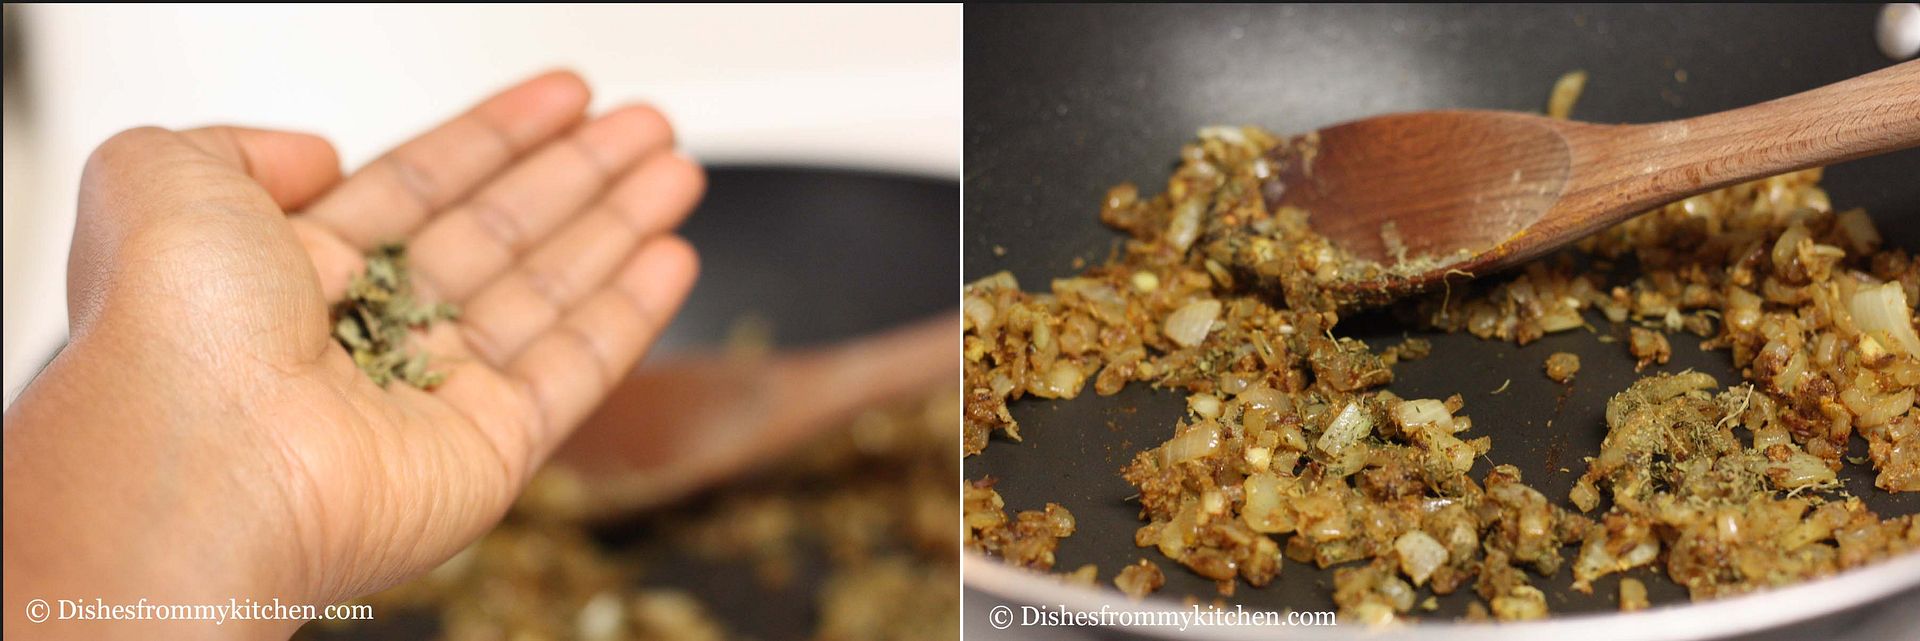
7. Now add the coriander powder, cumin powder, garam masala and turmeric powder.


8. Once they are blended well, add the Kasoori Methi by crushing in the middle of your palm.


9. Now grind the wilted spinach, coriander leaves and green chillies to into very smooth paste.
10. Now add the spinach puree to the masala mixture. Add little sugar to retain the green color of the mixture.
11. Add 1/2 to 3/4 cup of water and required salt.
12. Now add the cream, mix everything well and let it come to a boil. (Do not cook for long time; it only takes couple of minutes) 


13. Now remove the paneer from the hot water, gently squeeze to remove extra water and add to the spinach mixture.
14. Mix slightly until the paneer is coated well with the spinach sauce.  Switch of the flame.
15. Add the butter and  tsp of lemon juice.


Serve it hot with your favorite bread, Steamed basmati rice or any pilaf/Pulao....


Note:

1. Grind the spinach puree just before adding to the masala mixture, to retain the vibrant Green color.
2. Add the amount of lemon juice according to your sourness level.
3. Add the Lemon juice after switching off the flame, to enjoy the freshness.
4. You can substitute cream with thick yogurt.  If you do so, use 3 tbsp of thick yogurt and 2 tbsp of whole milk.  If you are adding Yogurt follow these steps..
     * Yogurt has to be added before the spinach puree is added to the masala mixture. 
     * Mix the masala mixture and yogurt, let them blend well and come to a boil. 
     * Now add the spinach puree and follow the other steps. 
     * Add the milk only after you switch off the flame. 
     * Mix everything until they are blended well. Then follow the steps from 13 to 15.
5. If you are calorie conscious you can always substitute cream with yogurt and Milk, also reduce the butter by 1/2 tbsp.

6. You can also add black salt instead of amchoor powder to get a dhaba taste palak paneer.

Read more...


Page copy protected against web site content infringement by Copyscape

Visit Great Cooks Community
All recipes are on Petitchef