Search This Blog

Showing posts with label daring challenge. Show all posts

CURRY LEAVES GARLIC BREAD - DARING BAKERS 2014

 Who knew breads could look as great as they taste?  Yes this month’s challenge is to take bread making a step further. Not only making make bread from scratch but to form it into beautiful forms.  I missed doing DB challenge for past few months due to my hectic schedule. I badly wanted to do this month's challenge. Due to time constraints, I was not able to do other designs which I had in my plan for doing in this challenge. I am happy that I am able to participate :):) The recipe for the challenge is sweet bread but with slight variation I made it into savory bread which came really well with beautiful aroma when baking.  I made curry leaves garlic bread, it tasted very flavorful and you can look at the pictures and virtually enjoy the taste.  Here is the recipe I did for this fun and delicious challenge. This is basic dough for any savory bread, you can substitute the flavors of your choice.


Beauty surrounded the Daring Bakers this month as our host, Sawsan, of chef in disguise, challenged us to make beautiful, filled breads.  Without any delay here goes the Recipe.... Do enjoy this flavorful and yummy bread !!!


CURRY LEAVES GARLIC BREAD

Ingredients:

For the dough

All purpose flour - 3 1/4 cups approximately
Warm water - 1/4 cup
Warm milk - 3/4 cup
Egg - 1 large
Butter, softened - 1/4 cup
Sugar - 1 tbsp
Salt - 2 tsp
Dry yeast - 2 tsp


Between the layers:
Butter - 2 tbsp
Curry leaves - 2 tbsp finely chopped
Garlic - 2 tbsp grated
Salt - 1 tsp (increase or decrease the salt depending on your spice powder)
Spicy Curry leaves powder - approximately 1 to 2 tbsp for sprinkling in between the layers ( This is absolutely optional, u can only use Curry leaves or any dried herbs etc. along with garlic and omit this Curry leaf powder, I wanted to do this flavor since I had it my Pantry)

For Garlic curry leaves spread:

Melt the butter in a small pan, add chopped curry leaves followed by grated garlic and switch of the flame.  Add tsp of salt and keep this butter mixture aside for brushing in between the layers.


Directions:

1. In a bowl whisk the egg with milk, water, sugar, butter and yeast. Set aside
2. In another bowl sift the flour with the salt.
3. Add the liquid ingredients to the dry ingredients and knead until you get a smooth dough.
Note: This recipe requires between 3-1/4 and 3-1/2 cups of flour depending on the weather, humidity and the flour brand. Start with 3-1/4 cups and if you feel that the dough is too soft, add the extra 1/4 cup
4. Place the dough in a bowl you have brushed with some oil and cover it with a wet cloth and leave it in a warm place to double
(If you are tight on time you can heat your oven to 390°F/200°C then turn it off and place your dough in a glass bowl and place it in the warm oven with the wet cloth covering the bowl)
5. Turn the dough out onto a lightly floured surface.
6. Divide the dough into 4 parts
7. Roll each part into a circle at least 20 cm (8 inch) in diameter
8. Brush the first layer with Garlic and curry leaves spread then sprinkle with Spicy curry leaves powder.
9. Place the second layer on the first layer repeat the brushing and sprinkling and then do the same with the third layer.


 10. Top with the fourth layer.
11. Using a knife make cuts that divide the dough circles into 8 triangles.
12. Make cuts that go 2/3 of the way in the middle of each triangle. The cuts should not reach the base of the triangle nor the tip as you can see in the picture.
13. Take the tip of each triangle and insert it into the cut you made and pull it from the underside.
14. Arrange the triangles on your baking sheet.
15. Pinch the two angles at the base of the triangle together.
Note: If you would like to add the little bread coil that you see in the center of the baked bread in the first picture, simply roll a piece of dough into a rope then form it into a little coil and place it in the center where the heads of the triangles meet
16. Brush the dough with milk.
17. Allow to rest for 15 minutes during which you would heat your oven to very hot 500°F/240°C/gas mark 9 (rack in the middle). (Go for the hottest your oven will do).
18. Bake for 5 minutes on very hot 460°F/240°C/gas mark 9, then lower the temperature to moderately hot 390°F/200°C/gas mark 6 and bake for 15-20 more minutes
19. Take it out of the oven and allow to cool for 5 minutes then transfer to a wire rick.


Note:

I made a wrong decision of baking my bread, based on the temperature specified in the recipe.  My oven turned out to be too hot for that temperature.  For my oven the right temperature is to bake at 350 F for about 30 to 40 minutes or until nice golden brown color. Ovens do differ greatly, so the time may differ. What you have to do is to bake it until, the under side is golden brown and the bread is baked all the way to the center. If on the other hand if the top is getting too dark, consider lowering the oven temperature and covering the top of the bread with foil to stop it from over browning  :( :(  But atleast I realized and reduced the temperature to low in the middle of my baking and ended up with delicious mouthwatering bread. Bake this bread the way you bake other breads. 

Read more...

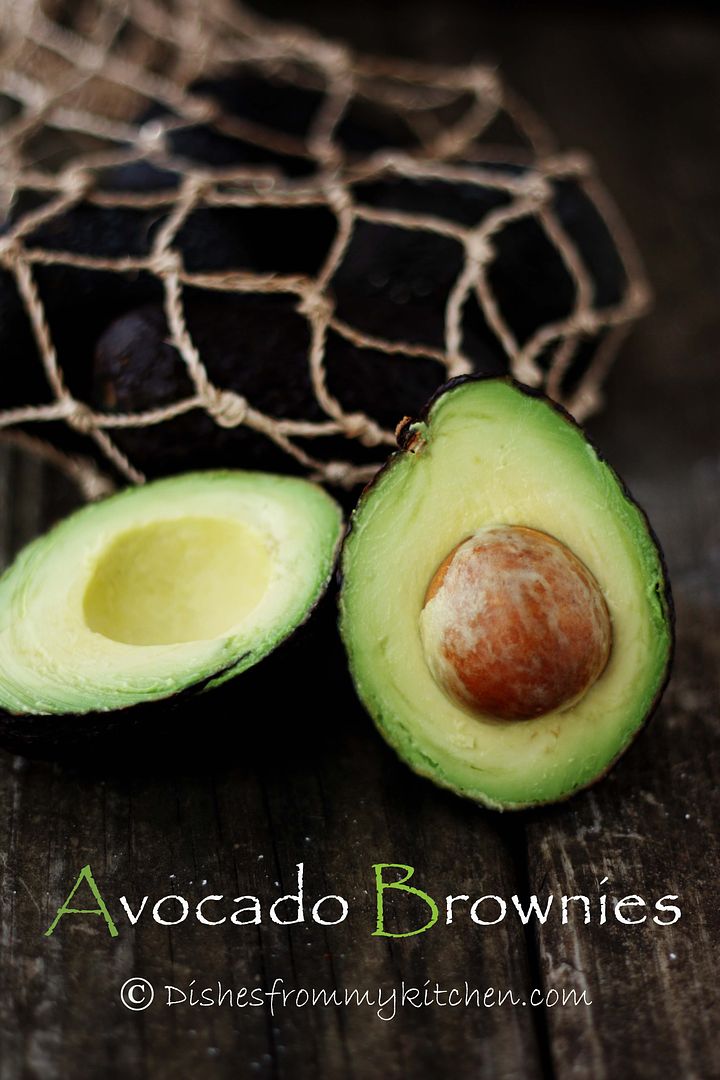
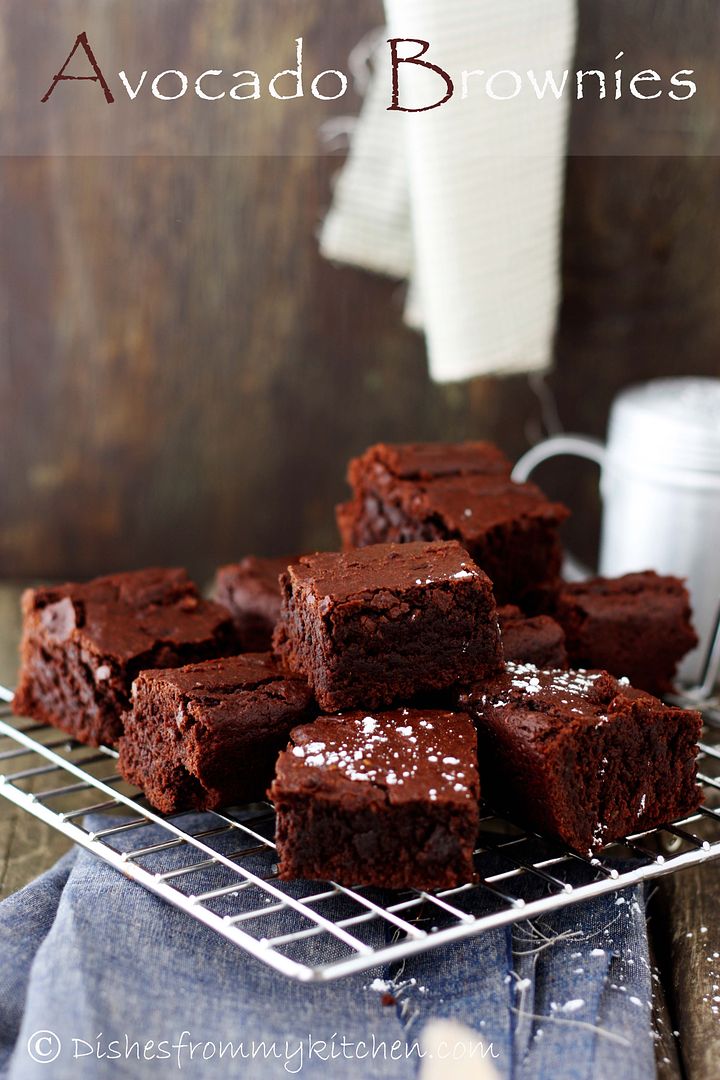
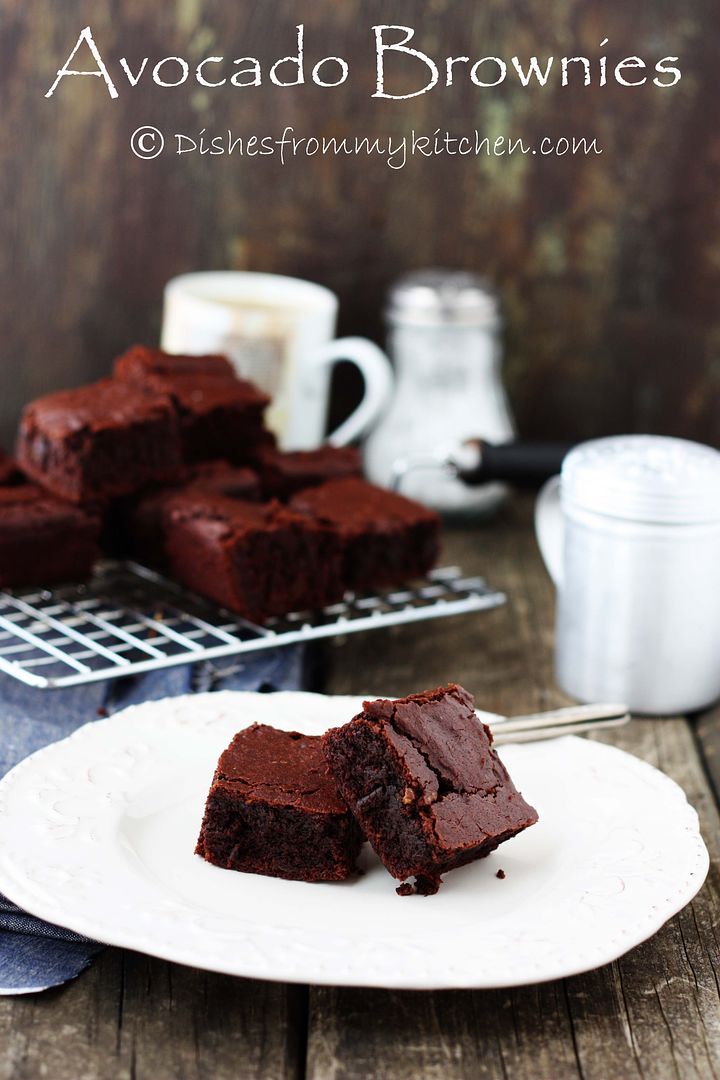
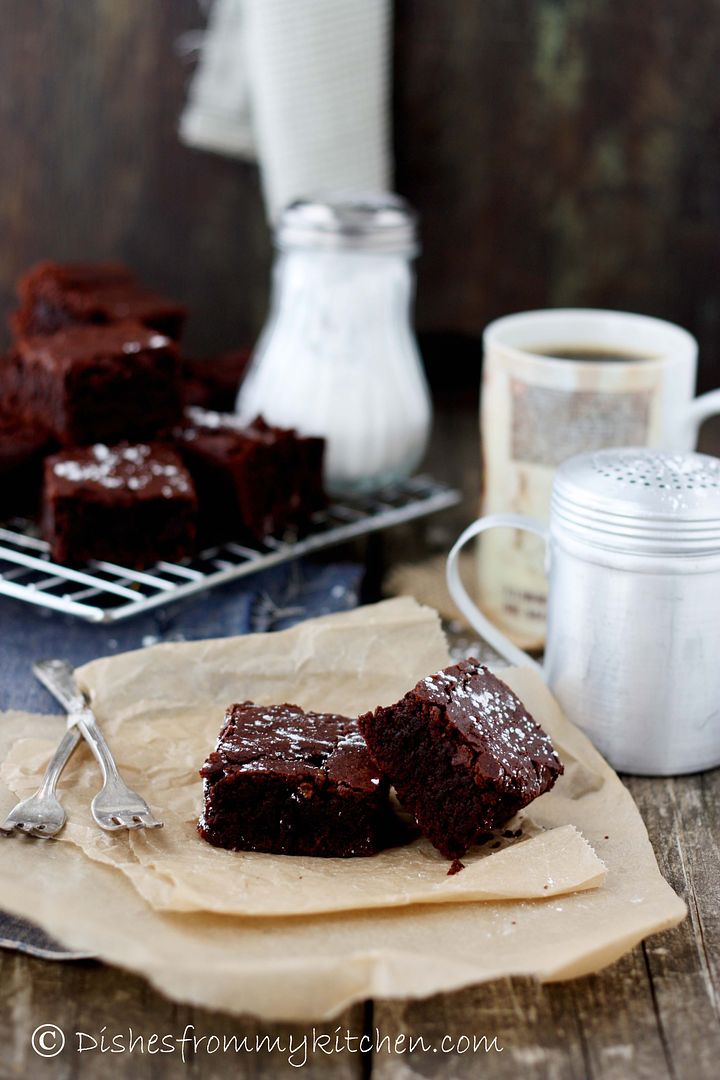
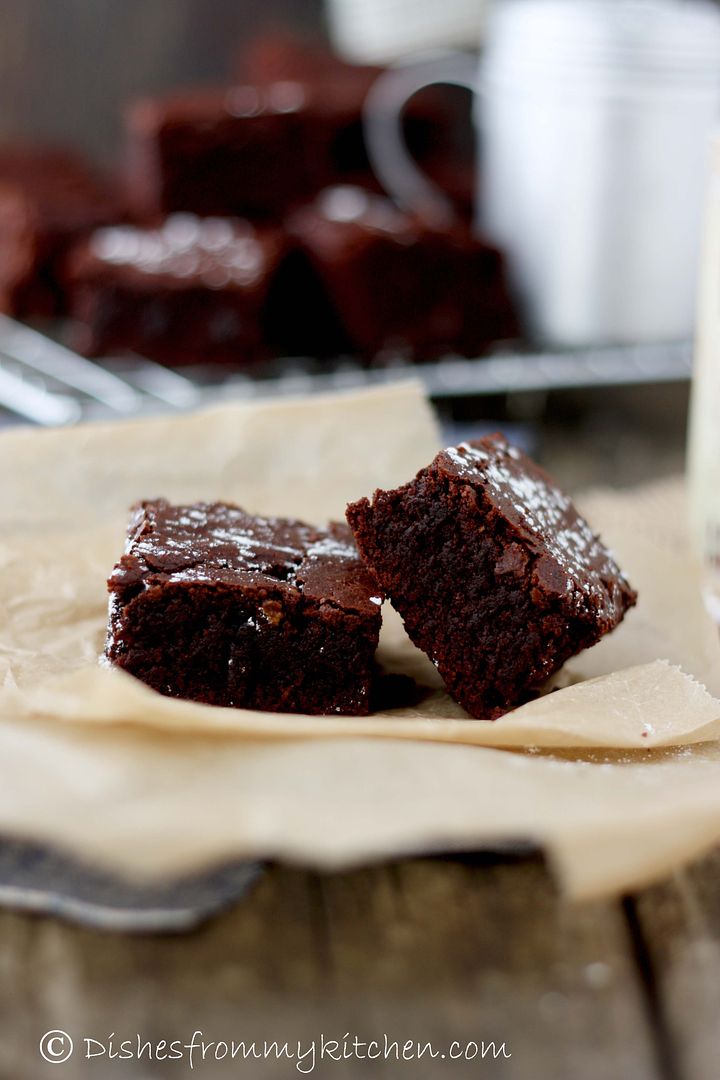
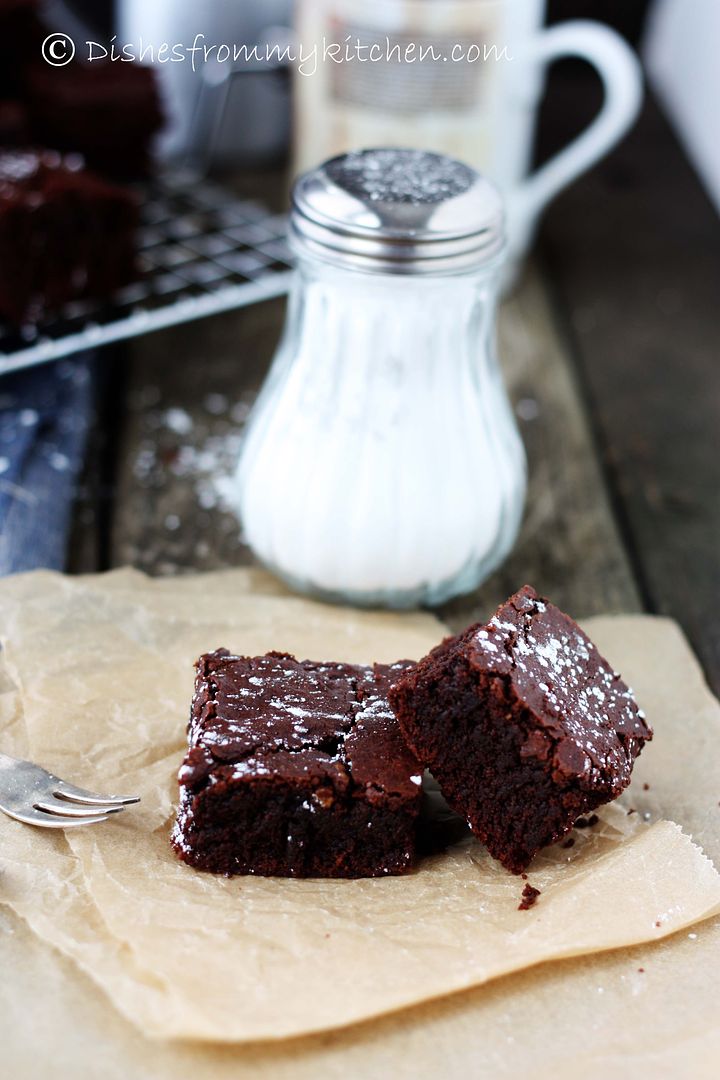
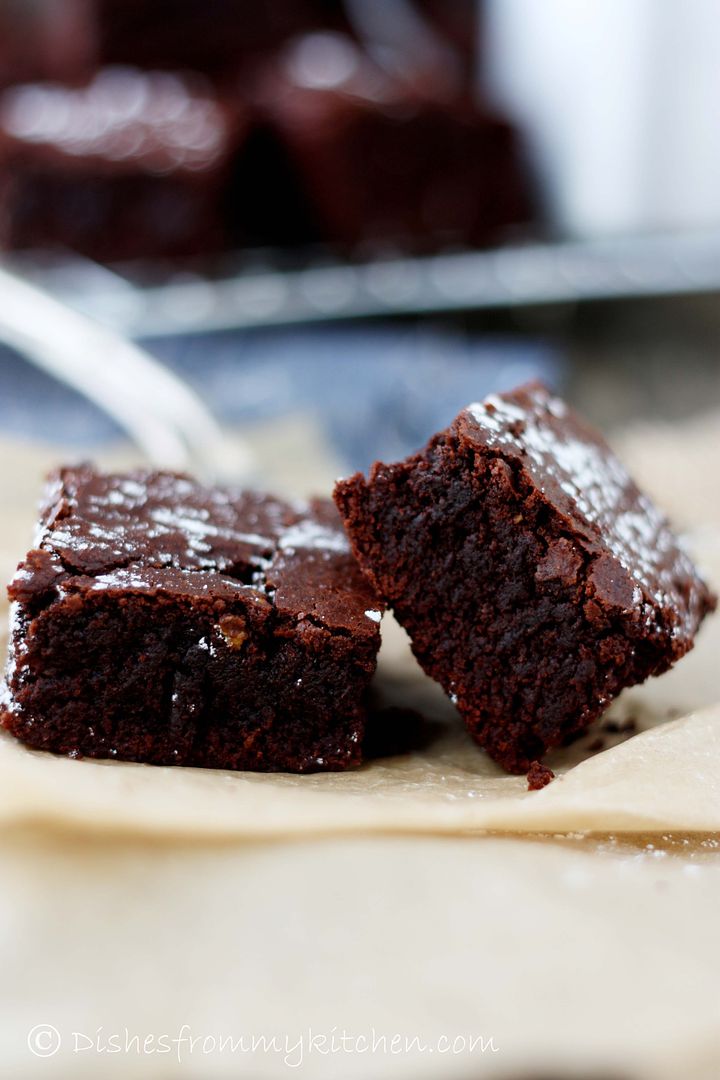
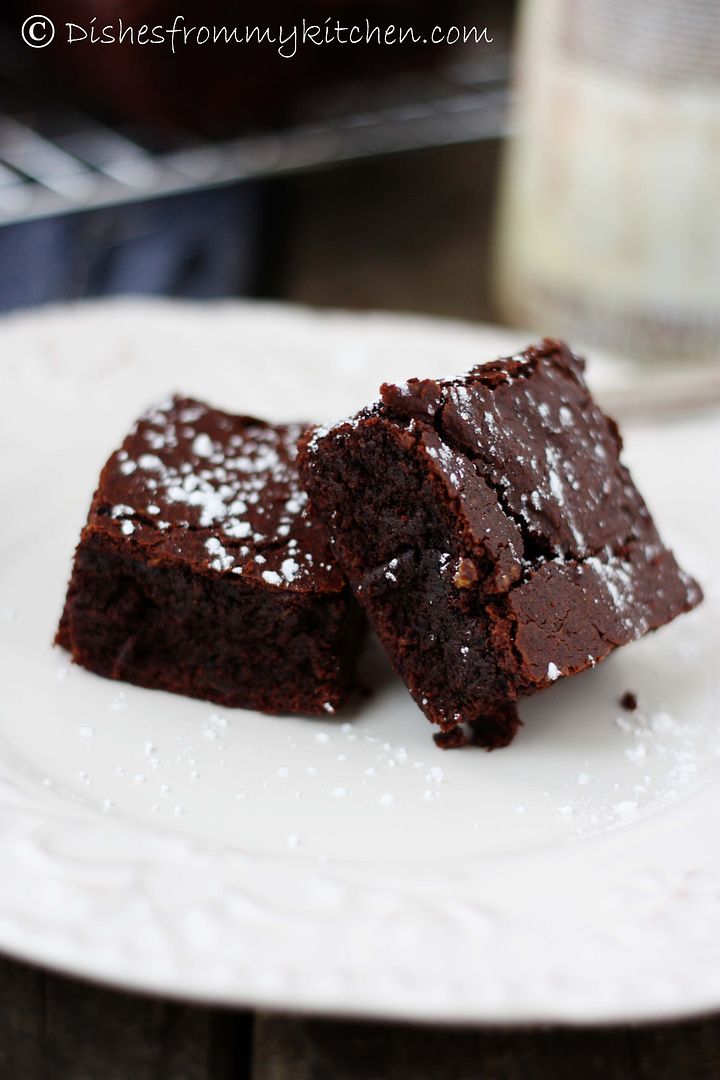
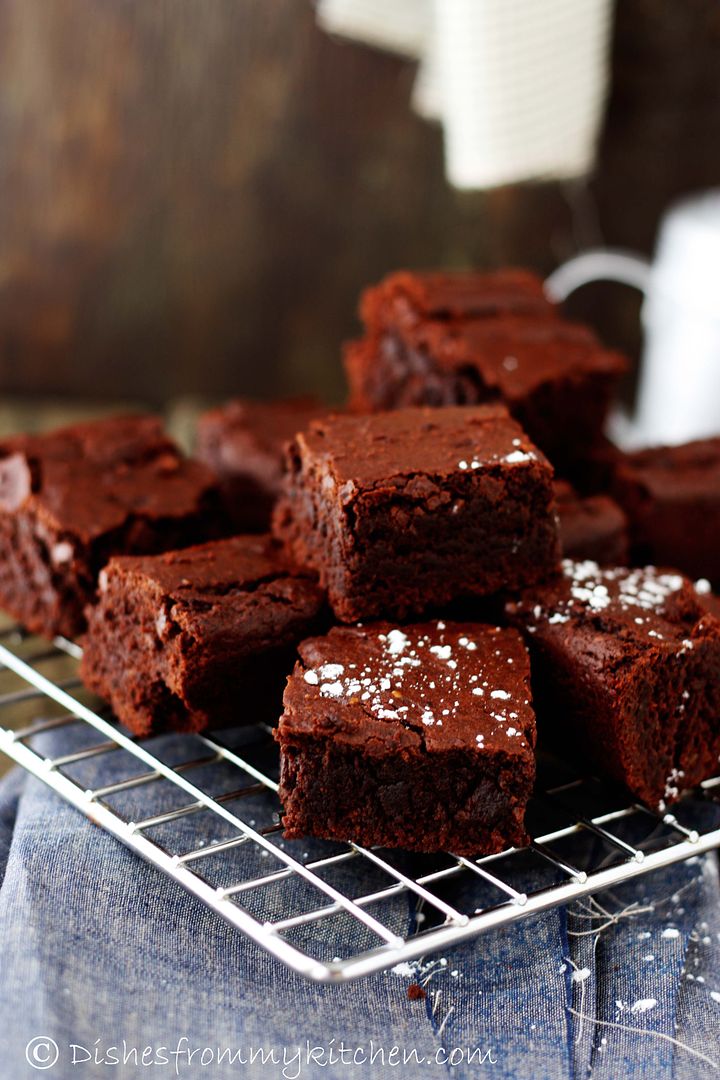
AVOCADO BROWNIES - TRULY FUDGY AND CHOCOLATEY !!! DARING CHALLENGE MARCH 2013!


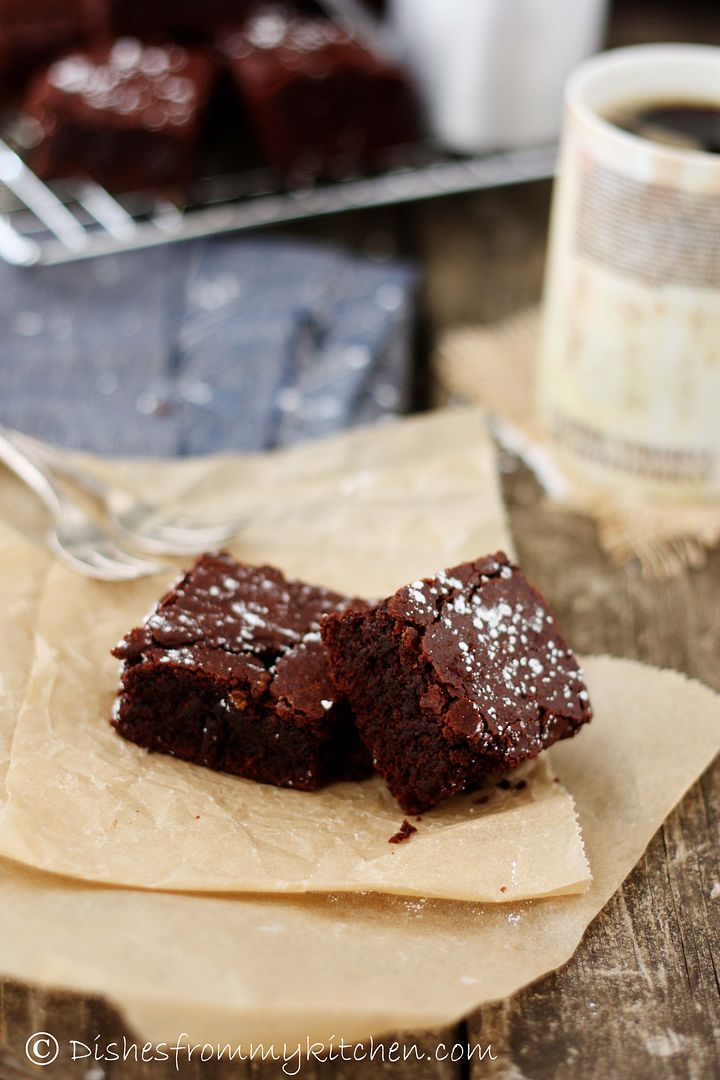
AVOCADO BROWNIES - EGGLESS


Ruth from Makey-Cakey was our March 2013 Daring Bakers’ challenge host. She encouraged us all to get experimental in the kitchen and sneak some hidden veggies into our baking, with surprising and delicious results!

So we need to get creative with hidden veggies by baking them into a sweet treat of our choice.  I came up with a Brownie made with Avocado.  Avocado with chocolate is a wonderful combination.  This is an awesome Brownie which is very fudgy, very chocolatey, with very less butter and has great texture and taste.  To top it all, people will not find difference between this Brownie and the normal brownie unless you tell them.  You can indulge in this guilt free because it has very less butter in this.  Also this brownie becomes a healthy brownie because of the Avocado.   You can substitute the Avocado with banana if you don’t have Avocado [The taste will slightly differ if you use banana, the banana flavor will come into play].  


AVOCADO BROWNIES - EGGLESS


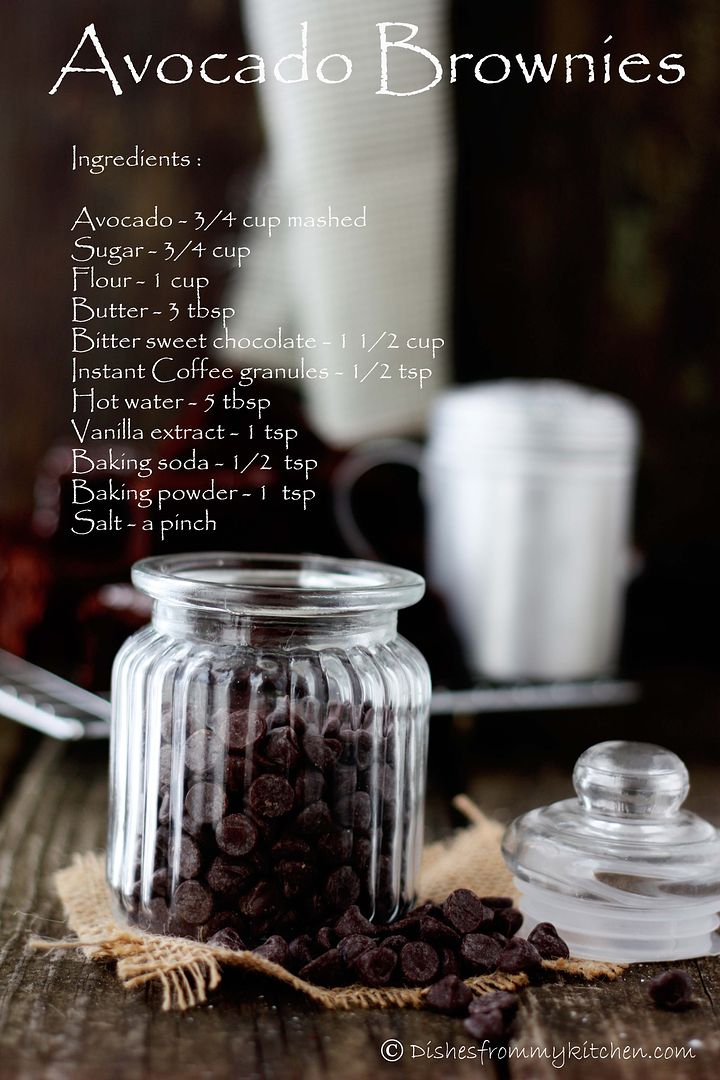
Ingredients:


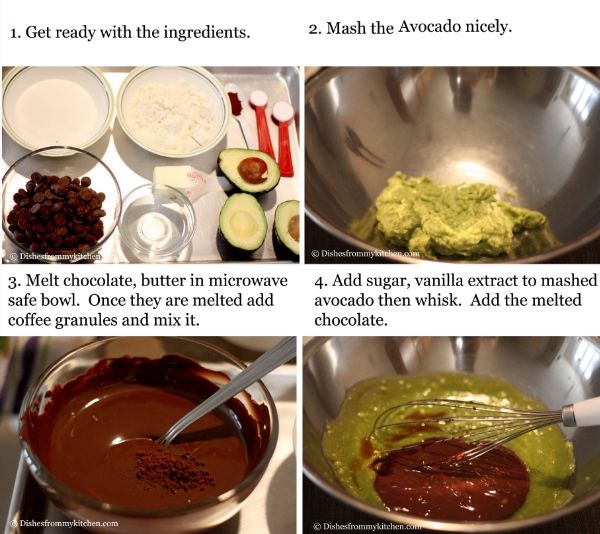
Avocado - 3/4 cup mashed (1 1/2 avocado mashed well)
Sugar - 3/4 cup
Flour - 1 cup
Butter - 3 tbsp
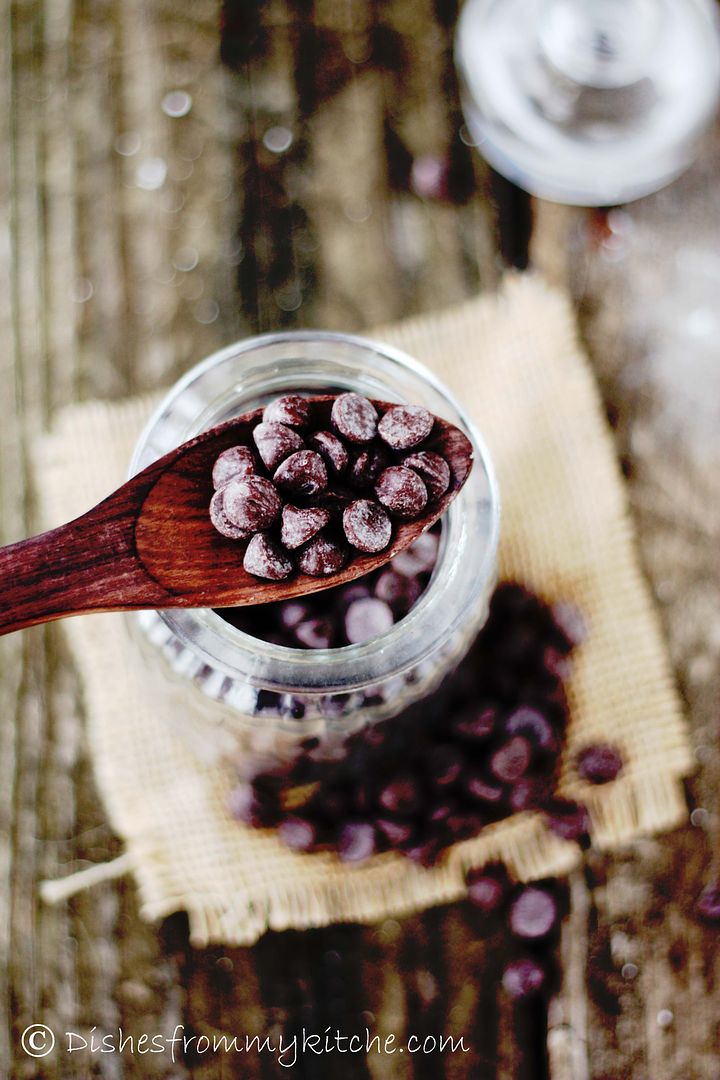
Bitter sweet chocolate - 1 1/2 cup
Instant Coffee granules - 1/2 tsp
Hot water - 5 tbsp
Vanilla extract - 1 tsp
Baking soda - 1/2 tsp
Baking powder - 1 tsp
Salt - a pinch


Method:

1. Preheat oven to 350 f.
2. Sieve all the dry ingredients.
3. In a microwaveable bowl add chocolate chips and butter. Microwave till they are melted by stirring every 1 minute.
4. Add the coffee granules to the melted chocolate and mix.
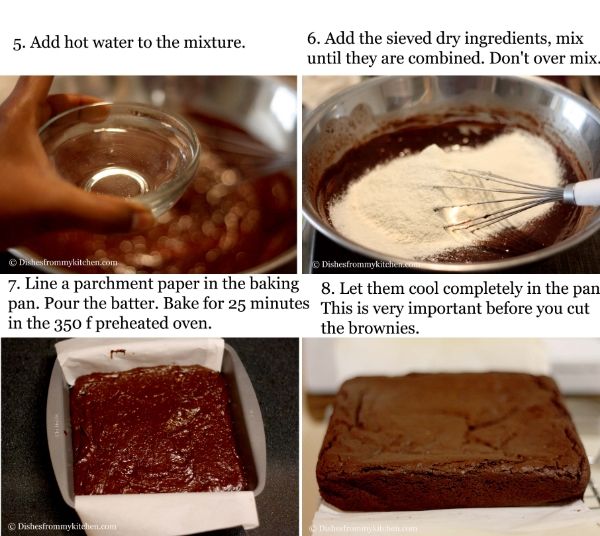
5. In a bowl add sugar, mashed avocado, vanilla, melted chocolate mixture and hot water one by one.  Whisk the mixture till they are well blended.
6. Add the dry ingredients to wet ingredients. Stir until well combined.  Don't over mix.
7. Pour the mixture in the 8 by 8 inch pan and even the surface.
8. Bake brownies to 25 minutes or a toothpick inserted in the center will come out either clean or with only a few crumbs clinging to it.
9. Leave the brownies in the pan until it is completely (this is a must) cooled.  This is very important to get neat squares.
10. Even you can refrigerate for an hour to get pretty squares. (this is very important)


Note :

This avocado brownie is truly very chocolaty and fudgy.
They taste very much tastier the next day.
You can also add Walnuts or chocolate chips of your choice.
You can substitute avocado with mashed banana or Apple sauce(Home made or store bought)
You can also frost this brownies with chocolate ganache, your favorite frosting or even serve it with ice cream or simple whipped cream.


Read more...

EMPANADA GALLEGA - DARING BAKER'S CHALLENGE !

Patri of the blog, Asi Son Los Cosas, was our September 2012 Daring Bakers’ hostess and she decided to tempt us with one of her family’s favorite recipes for Empanadas! We were given two dough recipes to choose from and encouraged to fill our Empanadas as creatively as we wished!

An empanada is a stuffed bread or pastry baked or fried in many countries. The name comes from the Galician, Portuguese and Spanish verb empanar, meaning to wrap or coat in bread.  Empanadas are made by folding dough or bread around stuffing, which usually consists of a variety of meat, cheese, vegetables or fruits.  Empanadas trace their origins to Galicia and Portugal. In Galicia and Portugal, an "empada" is prepared similarly to a large pie which is then cut in pieces, making it a portable and hearty meal for working people.  Due to the Portuguese colonization of Brazil and a large number of Galician immigrants in Latin America, the empadas and empanadas gallegas has also became popular in those areas.  The dish was carried to Brazil and Indonesia by Portuguese colonizers, where they remain very popular, and to the Hispanic America and Philippines by Spanish colonizers. So each nation has its own variation of Empanadas and fillings.


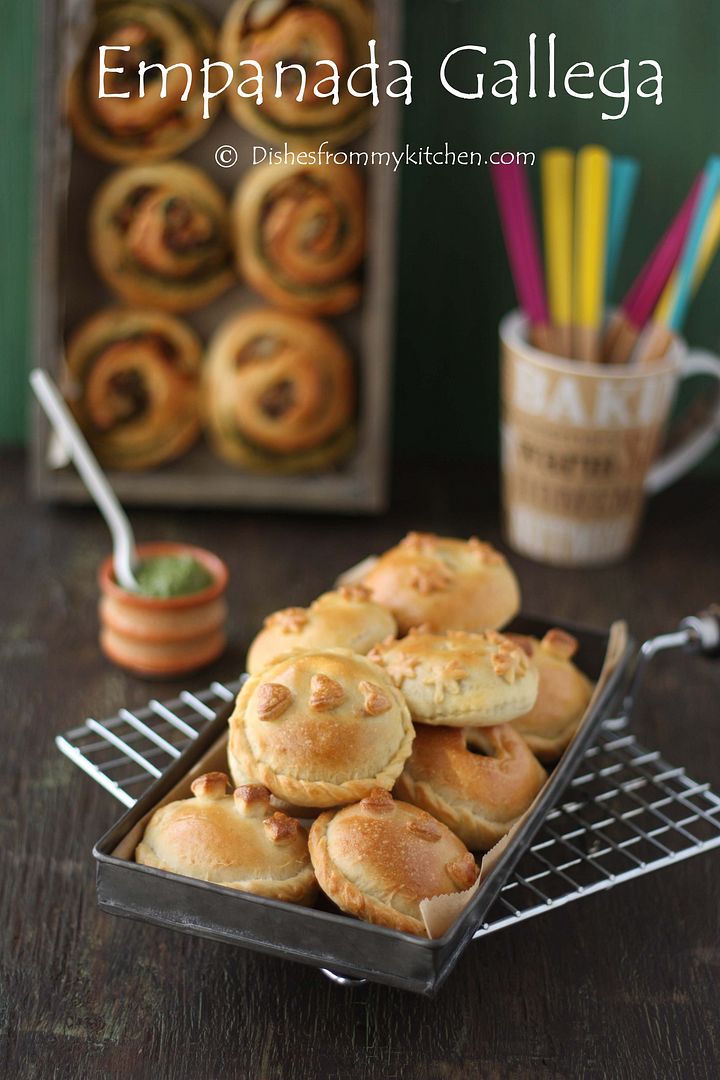
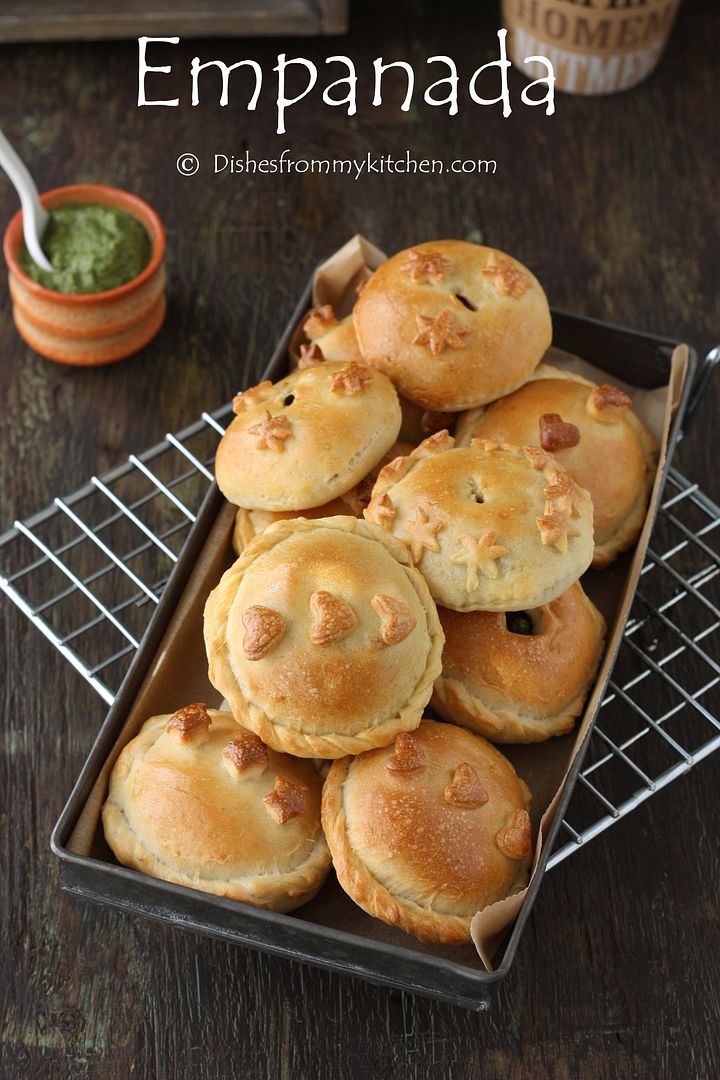
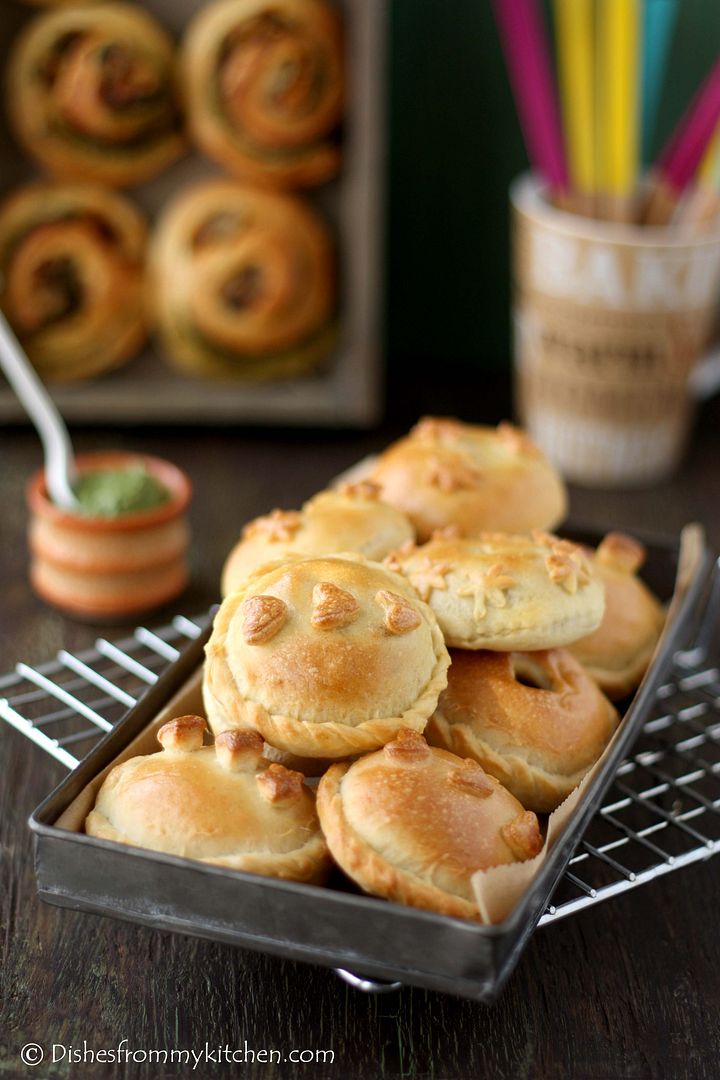
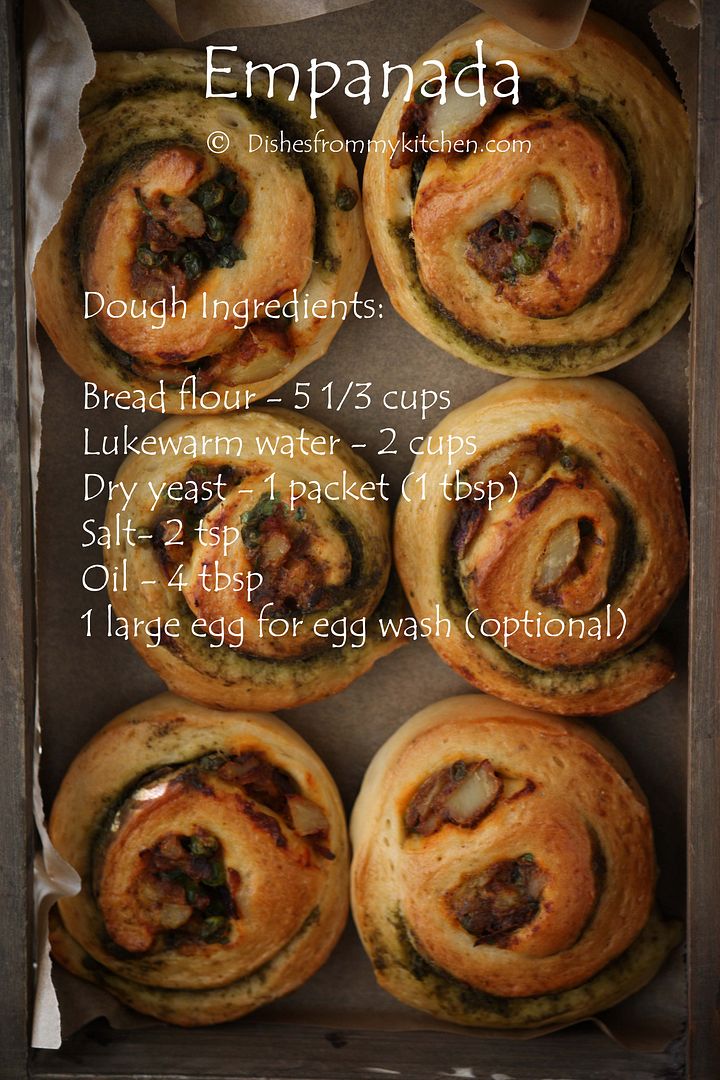
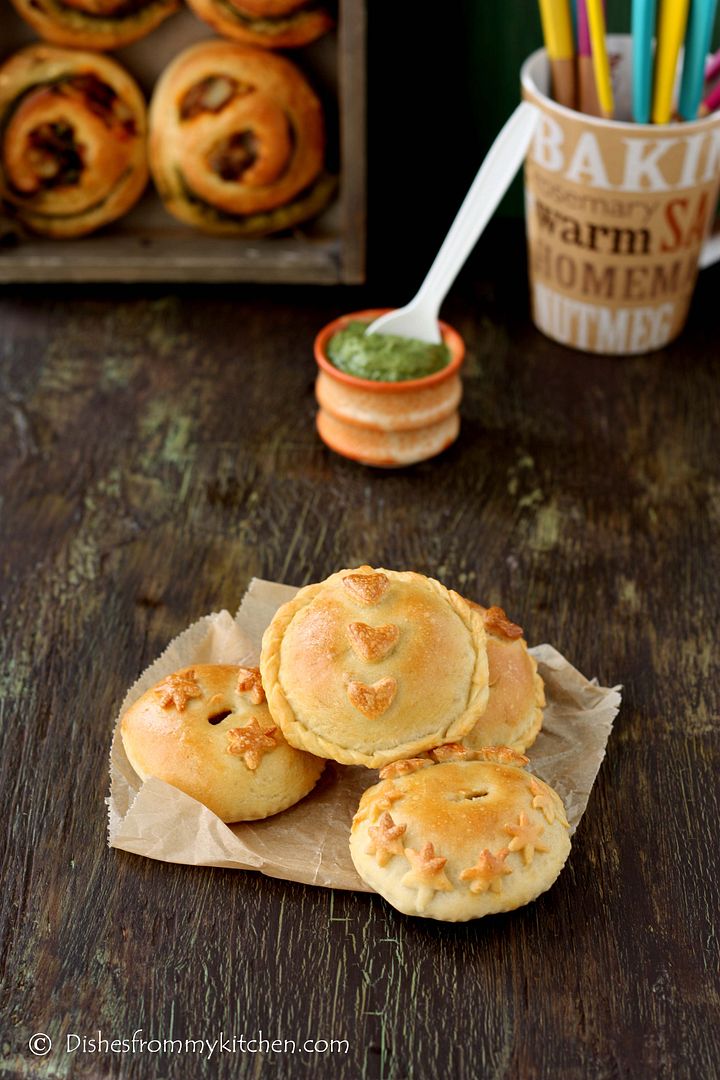
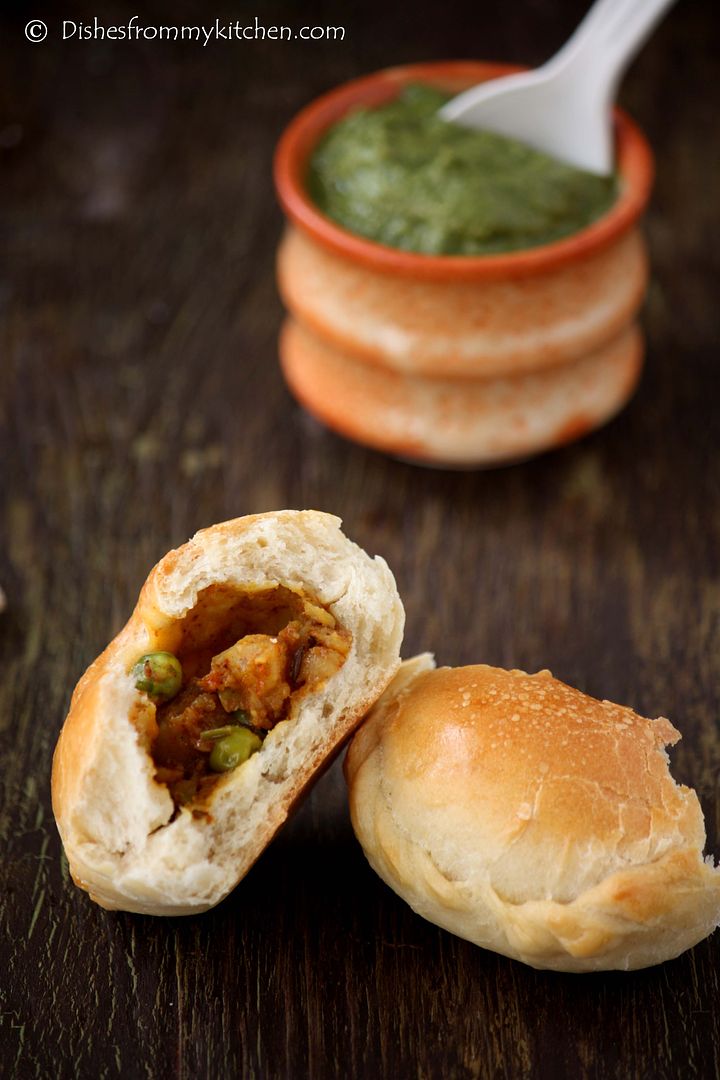
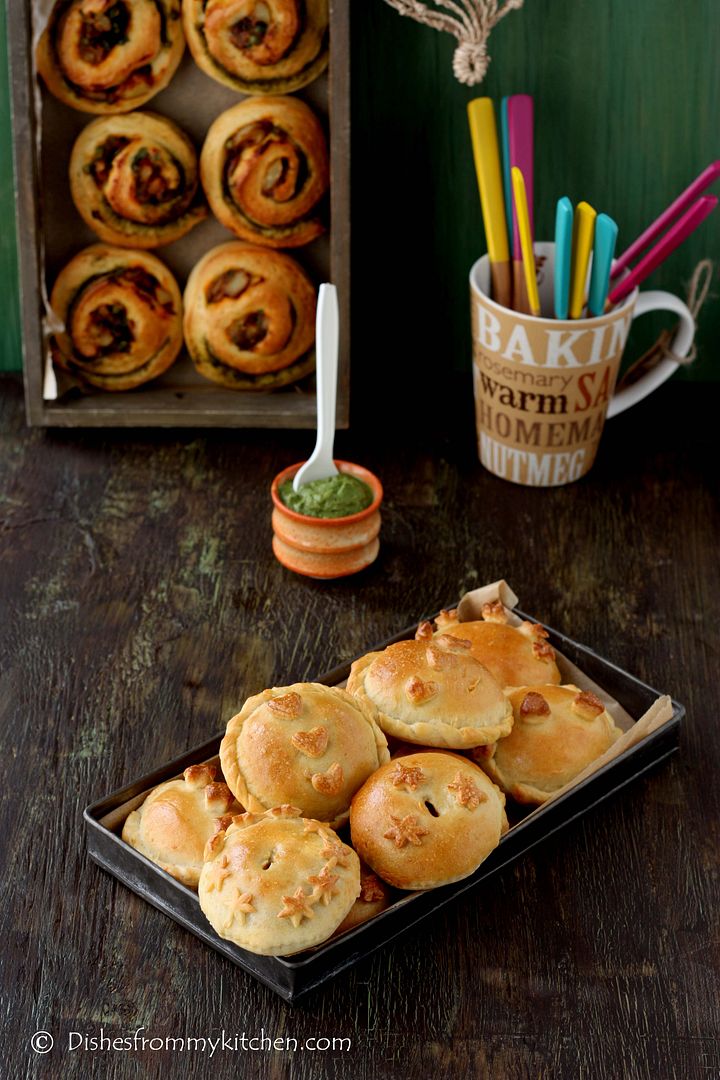
I filled my Empanadas with the mixture Potato, caramelized onion and green peas with some Indian spices.  It was absolutely delicious and thanks Patri for the great challenge.  But this time I was absolutely hurry in making everything. Here is last day work of Empanadas.


EMPANADA GALLEGA

Dough Ingredients:

Bread flour - 5-1/3 cups 
Lukewarm water - 2 cups (about 85°F/30ºC), approximately
Dry yeast - 1 packet (1 tbsp)
Salt- 2 tsp
Oil - 4 tbsp
1 large egg for egg wash (optional)


Dough Directions:

1. Measure out all the ingredients.
2. Shift the flour into a big bowl and make a well in the middle. Rub the yeast in with your fingers.
3. In a small bowl, mix the water and the salt.
4. Now, using your fingers or a wooden spoon, start adding the water and mixing it with the flour-yeast mixture. Keep on working with your fingers or spoon until you have added enough water and all the flour has been incorporated and you have a messy ball of dough.
5. On a clean counter top, knead the dough for approximately 10 minutes
6. You could do all the above using a stand mixer, in that case mix the ingredients with the paddle attachment until mixed and then switch to a dough hook and knead on low for about 6 minutes.
7. Clean and oil the big bowl you used for mixing and place the kneaded dough in it. Cover it with a napkin or piece of linen and keep it in a warm, draught-free place for approximately 40 to 50 minutes.
8. Once risen, turn the dough back into a floured counter and cut it in half. Cover one half with the napkin to prevent drying.
9. Spread the other half of the dough using a rolling pin. You can use a piece of wax paper over the counter; it will make it easier to move the dough around. Depending on the shape of your oven pan or cookie sheet, you will make a rectangle or a round.
10. Now, the thinness of the dough will depend on your choice of filling and how much bread you like in every bite. For your first time, make it about 3mm thin (about 1/10th of an inch) and then adjust from that in the next ones you make. But I love little bready so I made little thick.
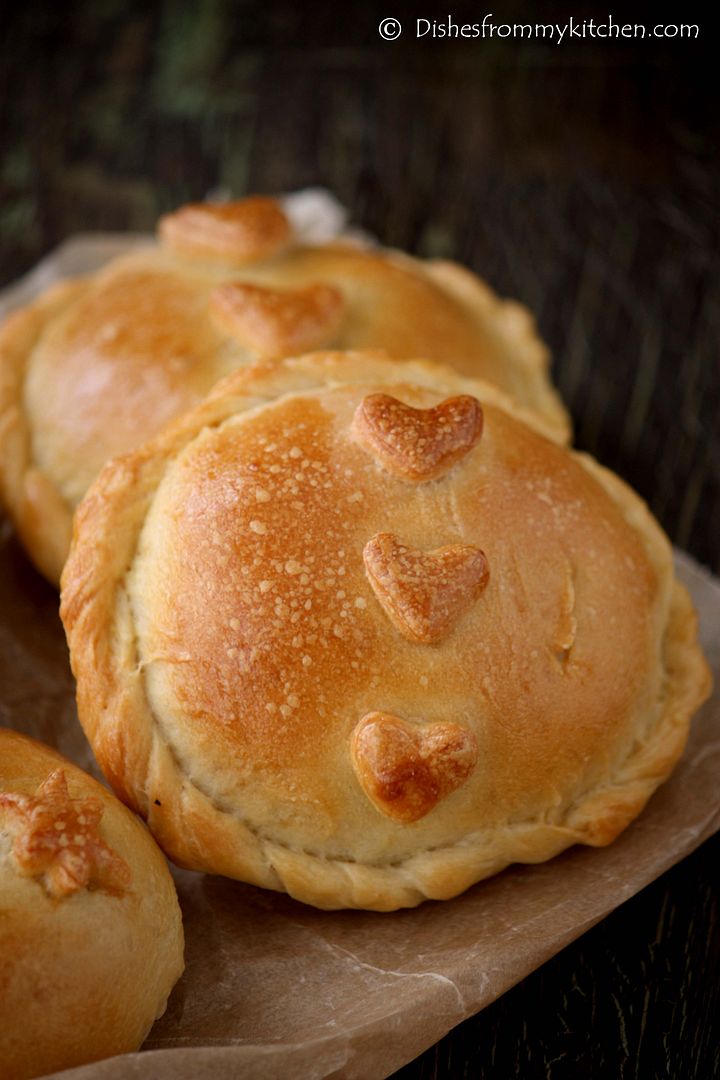
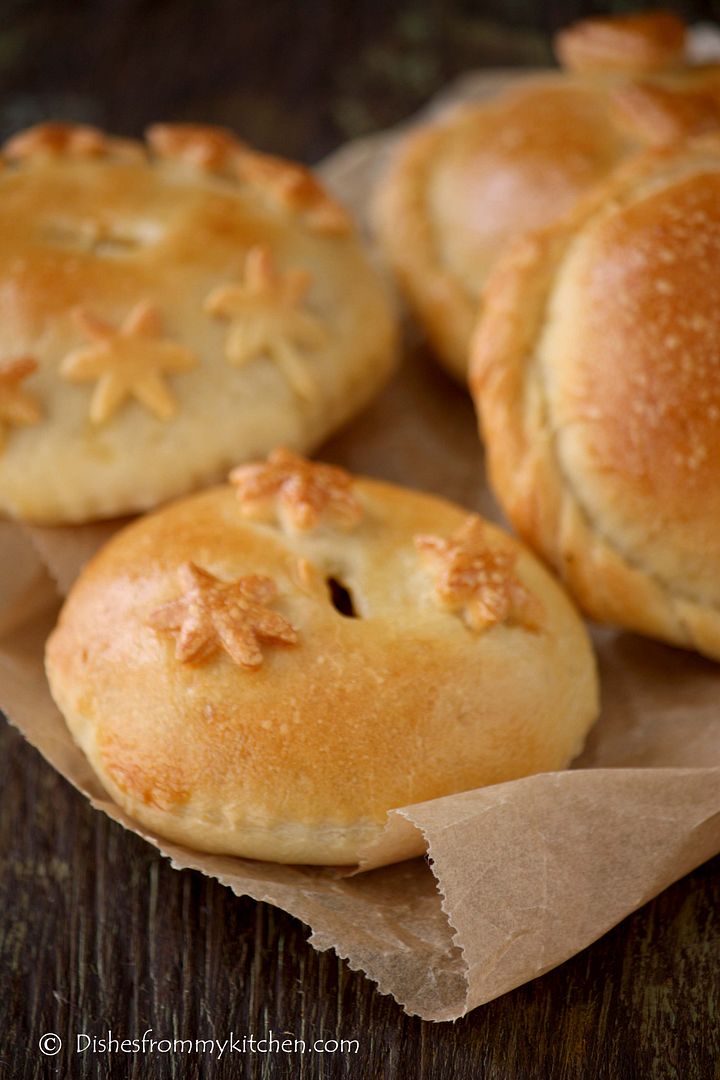
11. If you are not interested in making like big whole pie like empanadas.  You can also make individual one as like I did.


For filling
 
Ingredients:

Potato - 3 medium sized (boiled, peeled, and mashed roughly)
Frozen Green peas - 1 1/2 cup (Microwave for 2 minutes)
Onion - 1 finely chopped
Cumin seeds - 1 tsp
Garam Masala powder - 2 tsp
Red chilli powder - 3 tsp
Turmeric powder - 1 tsp
Coriander leaves - 1/4 chopped finely chopped
Oil for sautéing the mixture - 1 tbsp
Salt to taste


Method:

1. Heat oil in the pan; add cumin seeds.
2. Add chopped onion, sauté until they are caramelized.
3. Add the garam Masala powder, turmeric and red chilli powder.
3. Now add the mashed potato and green peas. Mix until they are blended well with the masala mixture.
4. Add salt and coriander leaves. Mix everything well.
5. Let the mixture cool completely before you fill.

Assembling the empanada:  (This procedure is to make one big Empanada like a pie)

1. If you haven’t used wax paper, either lightly flour or line with wax paper your pan or tray.
2. Cover the base and sides with the dough. Using the rolling pin or a knife, cut the extra dough.
3. Place the filling, making sure it is cold and that the entire base is covered. Using a hot filling will make the bottom layer of the empanada become soggy. Be careful to avoid adding too much oil from the filling; try to make it as “dry” as possible.
4. Start preheating your oven to moderate 350°F/180ºC/gas mark 4.
5. Take the other half of the dough and spread it out to the same or less thinness of the base. You can use a piece of wax paper for this too. Take into account that this “top” dough needs to be smaller around than the bottom, as it only needs to cover the filling.
6. If not using wax paper, move carefully the top to cover the filling. If using wax paper, transfer the dough, turn upside down, cover the filling and gently peel off the wax paper.
7. Using your fingers, join bottom and top dough, when you have gone all the way around, start pinching top and bottom together with your thumb and index finger and turning them half way in, that way you end up with a rope-like border.
8. When you are finished, make a 1 inch hole in the middle of the top layer. This will help hot air exit the empanada while it’s baking without breaking the cover.
9. You can use left-over dough to decorate the empanada, using rounds, bows, lines… let your imagination flow and make it pretty!
10. Using a fork, prick the top layer or, using scissors, make snips that go all the way through the top layer.
12. In a small bowl, beat an egg and add a tbsp of cold water. With the pastry brush, paint the top of the empanada with the egg wash.
13. Place the empanada in the oven and bake for about 45 minutes. Check that the bottom part is done.


For Individual Empanada:

1. On a lightly floured surface, roll out the dough.
2. Using the circle cookie cutter or any other tool similar to it.  Cut few circles.
3. In one round disc, fill 1 1/4 tbsp of filling and place another circle on the top.
4. Seal the edges by pressing firmly. You can also use fork to seal the edges.
5. If you want to make a swirl pattern as I did, make swirls and decorate according to your liking.
6. In a small bowl, beat an egg with tbsp of cold water.
7. Brush the top of the empanada with the egg wash.
8.  Place in the oven and bake for about 25 to 30 minutes or until golden brown.

Enjoy the Empanada with hot coffee or tea!!!!

Read more...

Armenian Challenge !!! - Daring Baker's April 2012


The Daring Bakers’ April 2012 challenges, hosted by Jason,were two Armenian standards: Nazook and Nutmeg cake. Nazook is a layered yeasted dough pastry with a sweet filling, and nutmeg cake is a fragrant, nutty coffee-style cake.

Nazouk or Nazook is a crisp and buttery, sweet but not too sweet. This pastry is a traditional favorite among Armenians. It goes well with coffee or tea, or even hot chocolate. 

A little on this pastry's background: Jason’s aunt Aida tells that other Armenians eat Nazook, but they might call it “Gata” (Gata is what Persian-Armenians reserve for a specific type of round cake).  Armenians prepare it usually around the time of Easter, and it is eaten for 40 days through Ascension.


Next is Armenian Nutmeg cake, this is a wonderful and delectable coffee cake with crunchy base, soft and moist sponge and topped with walnuts. The key flavor of the cake is Nutmeg.  Absolutely I loved both the cake and pastry.  I really enjoyed making them.  Thanks for this wonderful challenge Jason :)


NAZOOK OR NAZOUK
Yields 40 pieces


Ingredients for the Pastry dough:

All-purpose flour - 3 cups (sifted)
Active dry yeast - 2½ tsp
Sour cream - 1 cup
Softened butter (room temperature) - 1 cup

Ingredients for the Filling:

All-purpose flour - 1 1/2 cup (sifted)
Sugar - 1 1/2 cup
Softened butter - 3/4 cup (room temperature)
Vanilla extract - 2 tsp
Cinnamon powder - 2 tsp (I added extra)

Wash:
1-2 egg yolks (for the wash; alternatively, some yogurt, egg whites, or a whole egg)


Method:

Make the Pastry Dough:

1. Place the sifted flour into a large bowl.
2. Add the dry yeast, and mix it in.
3. Add the sour cream, and the softened butter.
4. Use your hands, or a standing mixer with a paddle attachment, to work it into dough.
5. If using a standing mixer, switch to a dough hook. If making manually, continue to knead for about 10 minutes, or until the dough no longer sticks to the bowl or your hands. If it remains very sticky, add some flour, a little at a time.
6. Cover the dough and refrigerate for 3-5 hours, or overnight if you like.

Make the filling:

7. Mix the flour, sugar, and the softened butter in a medium bowl.
8. Add the vanilla extract.
9. Mix the filling until it looks like clumpy, damp sand. It should not take long. Set aside.


Make the Nazook:

10. Preheat the oven to moderate 350°F/175°C/gas mark 4.
11. Cut the refrigerated dough into quarters.
12. Form one of the quarters into a ball. Dust your working surface with a little flour.
13. Roll out the dough into a large rectangle or oval. The dough should be thin, but not
transparent.
14. Spread 1/4 of the filling mixture across the rolled-out dough in an even layer. Try to spread the filling as close as possible to the edges on the short sides, but keep some of pastry dough uncovered (1 inch/2.5 cm) along the long edges.
15. From one of the long sides, start slowly rolling the dough across. Be careful to make sure the filling stays evenly distributed. Roll all the way across until you have a long, thin loaf.
16. Pat down the loaf with your palm and fingers so that it flattens out a bit (just a bit).
17. Apply your egg yolk wash with a pastry brush.
18. Use your crinkle cutter (or knife) to cut the loaf into 10 equally-sized pieces. Put onto an ungreased cookie sheet.
19. Place in a preheated moderate oven for about 30 minutes, until the tops are a rich, golden brown.
20. Allow to cool and enjoy

ARMENIAN NUTMEG CAKE


Ingredients:

Milk - 1 cup
Baking soda - 1 tsp
All-purpose - 2 cups
Baking powder - 2 tsp
Brown sugar, firmly packed - 2 cups
Butter - 3/4 cup (preferably unsalted, cubed)
Walnut pieces -1/2 cup you may need a little more
Ground nutmeg - 1 to 1 1/2 tsp (5 to 7 ½ ml) (5 to 8 gm) (try to grate it fresh yourself; the aroma is enchanting)
Egg - 1


 Method:

1. Preheat your oven to moderate 350°F/175°C/gas mark 4.
2. Mix the baking soda (not baking powder; that's for the next step) into the milk. Set it aside.
3. Sift together the flour and the baking powder into a large bowl. One sift is fine
4. Add the brown sugar. Go ahead and mix the flour and brown sugar together.
5. Toss in the cubed butter.
6. Mash the butter with a fork into the dry ingredients (you can also use your fingers if you want). You'll want to achieve a more-or-less uniform, tan-colored crumbly mixture.
7. Take HALF of this resulting crumbly mixture into your spring form (9”/23cm) pan. Press a crust out of it using your fingers and knuckles. It will be easy.
8. Crack an egg into a mixer or bowl.
9. Toss the nutmeg in with the egg.
10. Start mixing slowly with a whisk attachment and then increase to medium speed, or mix with a hand whisk if you're doing it manually. Once it's mixed well and frothy (about 1 minute using a standing mixer, or about 2-3 minutes of vigorous beating with a whisk), pour in the milk and baking soda mixture. Continue to mix until uniform.
11. Pour in the rest of the crumbly mixture. Mix that well, with either a paddle attachment, or a spatula. Or continue to use the whisk; it won't make much of a difference, since the resulting batter is very liquidy.
12. Pour the batter over the base in the spring form pan.
13. Gently sprinkle the walnut pieces over the batter.
14. Bake in a preheated moderate oven for about 30-40 minutes. You'll know it's done when the top is a golden brown, and an inserted toothpick comes out clean.
15. Allow to cool in the pan, and then release. Enjoy!


An Even Easier Way...if you have a Food Processor

1. Preheat your oven to moderate 350°F/175°C/gas mark 4.
2. Mix the baking soda (not baking powder) into the milk. Set aside.
3. Put the flour, baking powder, and the brown sugar into your food processor. Pulse until uniformly mixed.
4. Toss in the cubed butter. Pulse until uniformly mixed into tan-colored crumbs.
5. Pour HALF of the crumbs into your spring form (9”/23cm) pan. Press out a crust using your fingers and knuckles.
6. Crack the egg into the food processor with the rest of the crumbs still in it.
7. Grate 1 to 1-1/2 teaspoon of nutmeg. Toss that into the food processor, too. Pulse until well-incorporated.
8. Pour in the milk and baking soda mixture. Continue to mix until a slightly lumpy tan batter is formed.
9. Pour the batter over the crust in the spring form pan.
10. Gently sprinkle the walnut pieces over the batter.
11. Bake in a preheated moderate oven for 30-40 minutes. Its ready when the top is golden brown, and when it passes the toothpick test (comes out clean).
12. Cool the cake in the pan, and then dig in. Yum yum!

Note:

1.  I baked the Armenian nutmeg cake extra 15 minutes in my oven covering with the foil to avoid darkening.  So check your cake after 30 minutes and decide whether you have to bake for few more minutes.
2. For the perfect and neat slices cool the cake completely this is very important.  But I did not do it though :)  I was very eager to taste the cake :)

Both the cake and pastry was so delicious!!! I hope you all enjoyed the post as much as we enjoyed eating them :):)

Freezing/Storage Instructions/Tips: Nazook will keep in an airtight container at room temperature for a couple of weeks, and the Armenian nutmeg cake will keep (covered) at room temperature for 2-3 days. Both taste even better still warm from the oven.
Allow to cool completely before attempting to freeze. Nazook will freeze best if put in a freezer bag with all the air squeezed out. Armenian Nutmeg Cake will also freeze fairly well if completely sealed. Both can be frozen for up to 3 months.

Read more...


Page copy protected against web site content infringement by Copyscape

Visit Great Cooks Community
All recipes are on Petitchef