Search This Blog

Showing posts with label Baked Foods. Show all posts

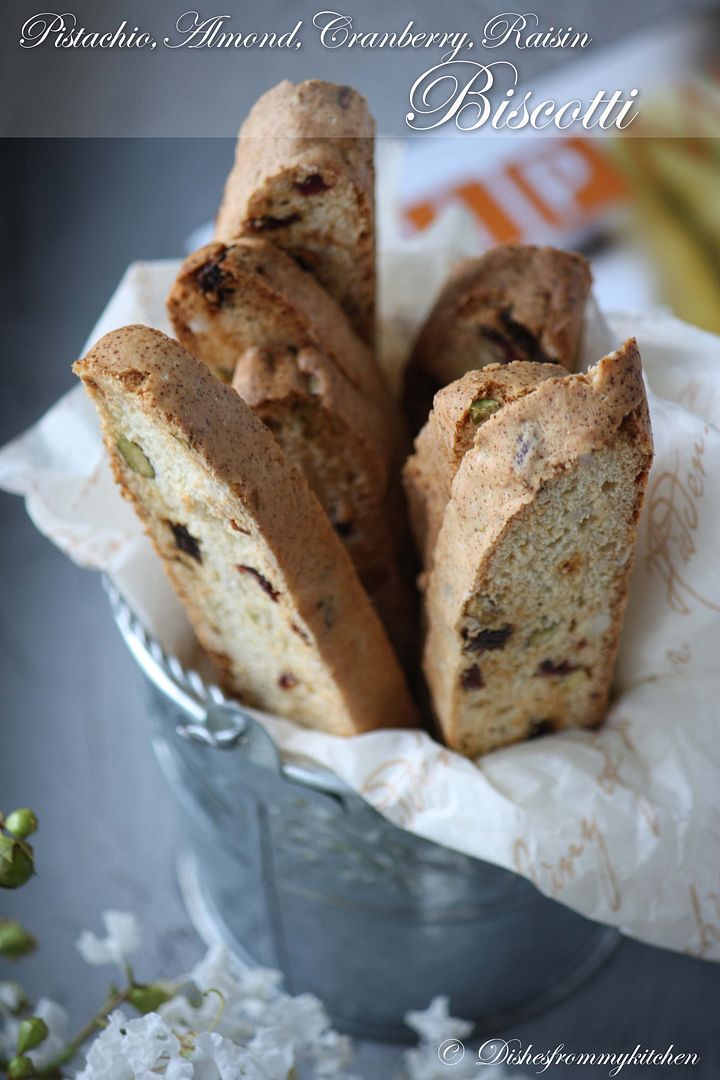
BISCOTTI - ITALIAN DELICACY FOR SWEET PUNCH


Hope everyone had wonderful weekend.  This time I am doing pretty late post for Sweet punch :(  Anyway here is an Italian Delicacy.  I used to make them for my Kid snack box for school and now its here for sweet punch this time..... Before proceeding with the recipe, I just wanted to let you know I have opened a Face book fan page for my space as I don't want to mix both personal page and the fan page.  I would love to have your likes for my page :) Here is the link for Facebook Fan page Dishesfrommykitchen, you can also scroll down this page and see the like button in the right hand side you can do it there as well.  Thanks for everyone who already liked it :)  
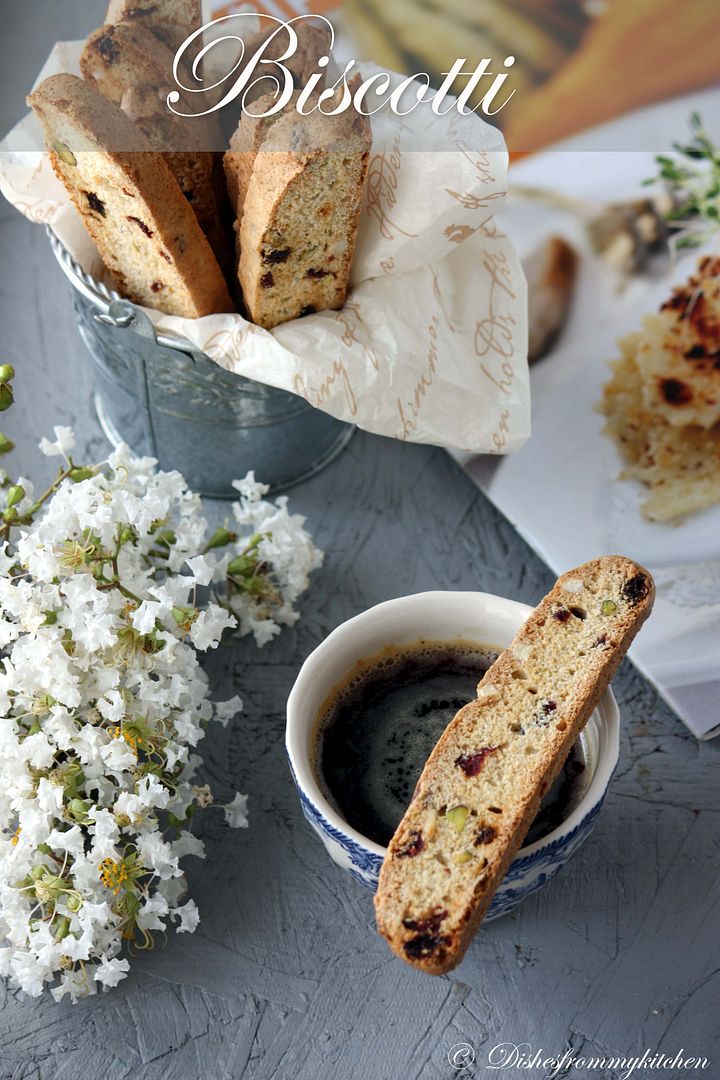


Here is the brief about Biscotti....

Biscotti more correctly known as biscotti di Prato (English: biscuits of Prato), also known as cantuccini, are a twice-baked cake originating in the Italian city of Prato. The cakes are large almond biscuits, made dry and crunchy through cutting the loaf of dough while still hot and fresh from baking in the oven."Biscotti" is the only traditional name, which in the Italian language is the plural form of biscotto. The word originates from the medieval Latin word biscoctus, meaning "twice-cooked/baked."

Most European countries have adopted their own version of biscotti: English - rusks, French - biscotte and croquets de Carcassonne, Germans - zwieback, Greeks - biskota and paxemadia, Jewish - Mandelbrot, and Russians - sukhariki.

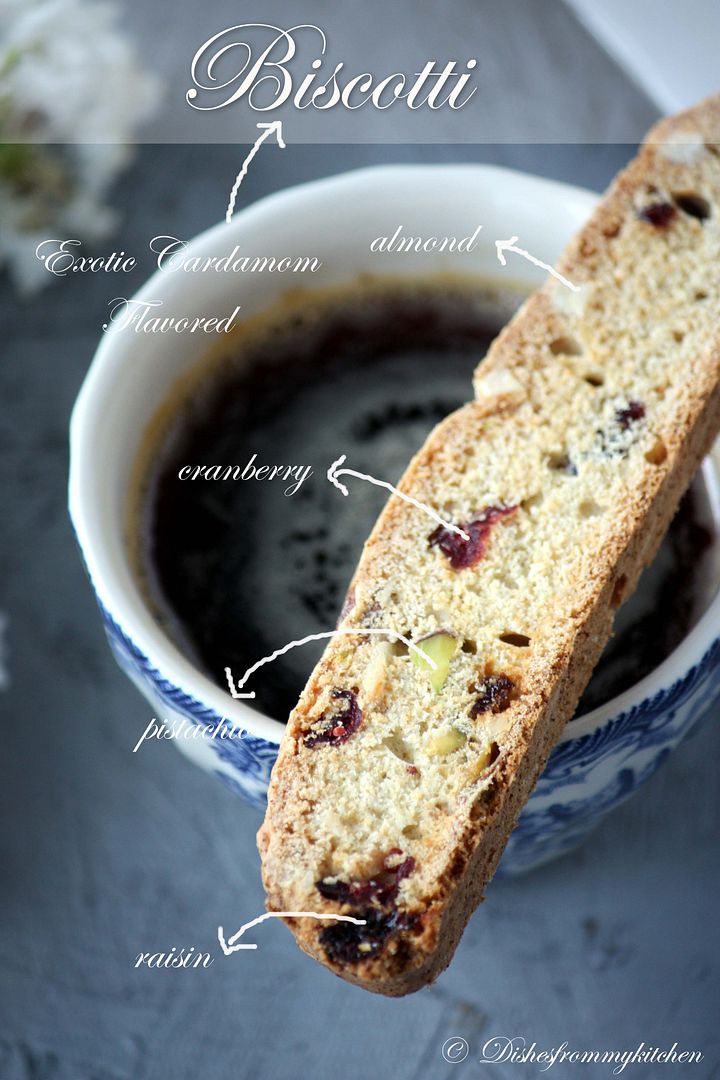
Adapted from joyofbaking with slight changes of Fruit and nuts measurement with Exotic cardamom flavor !!!

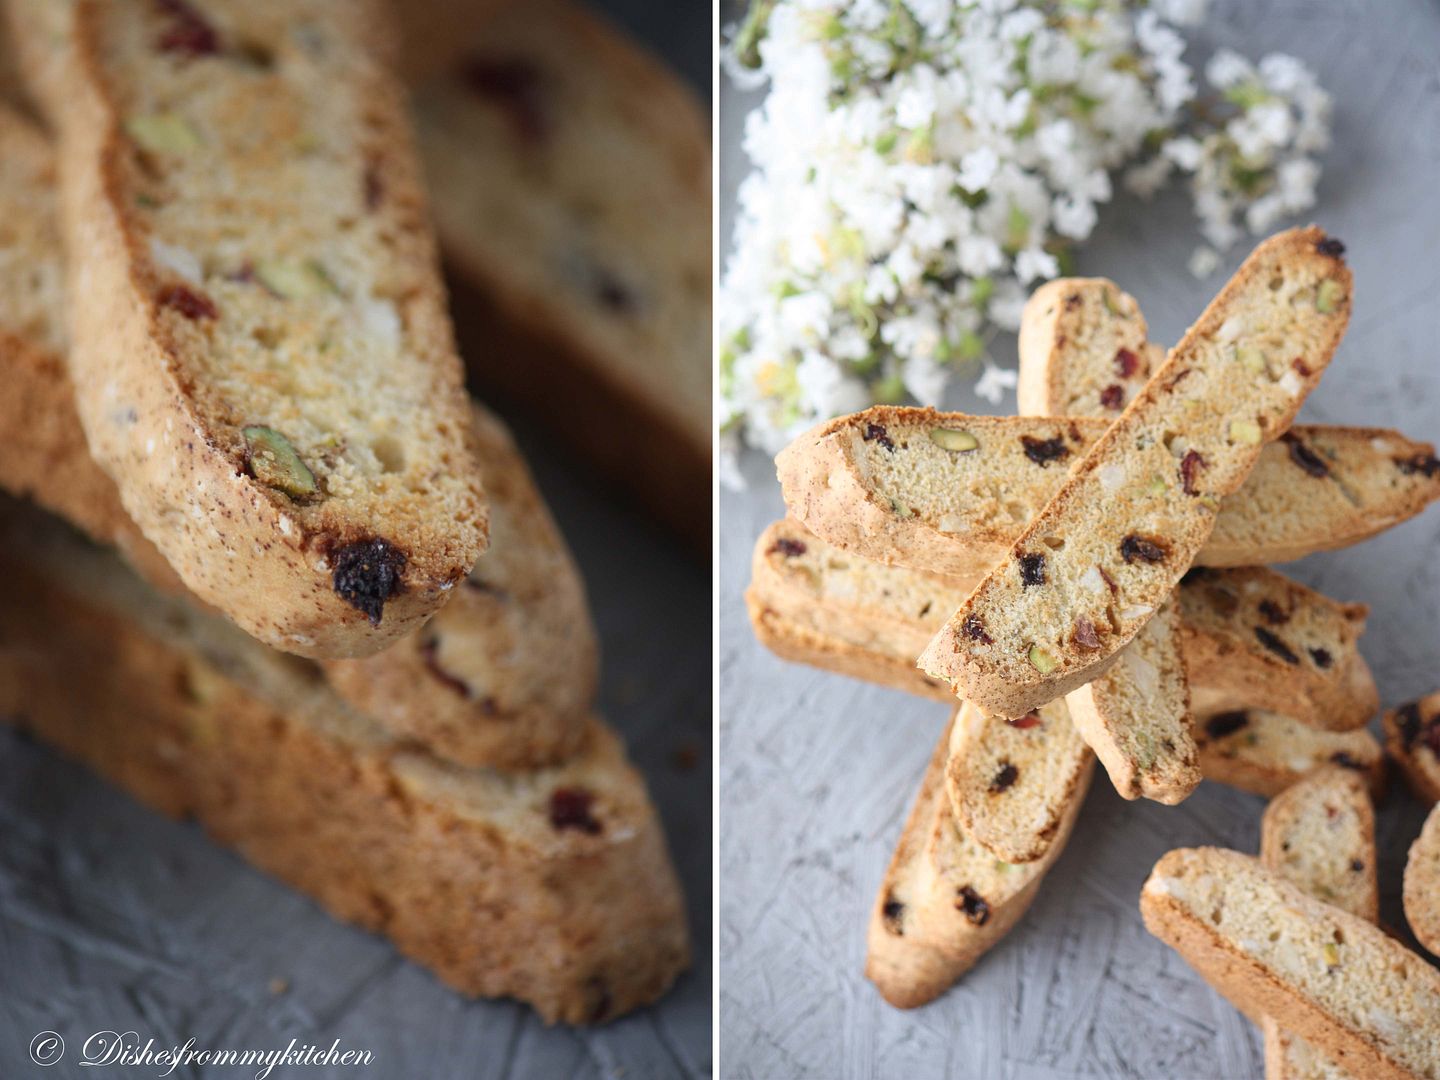
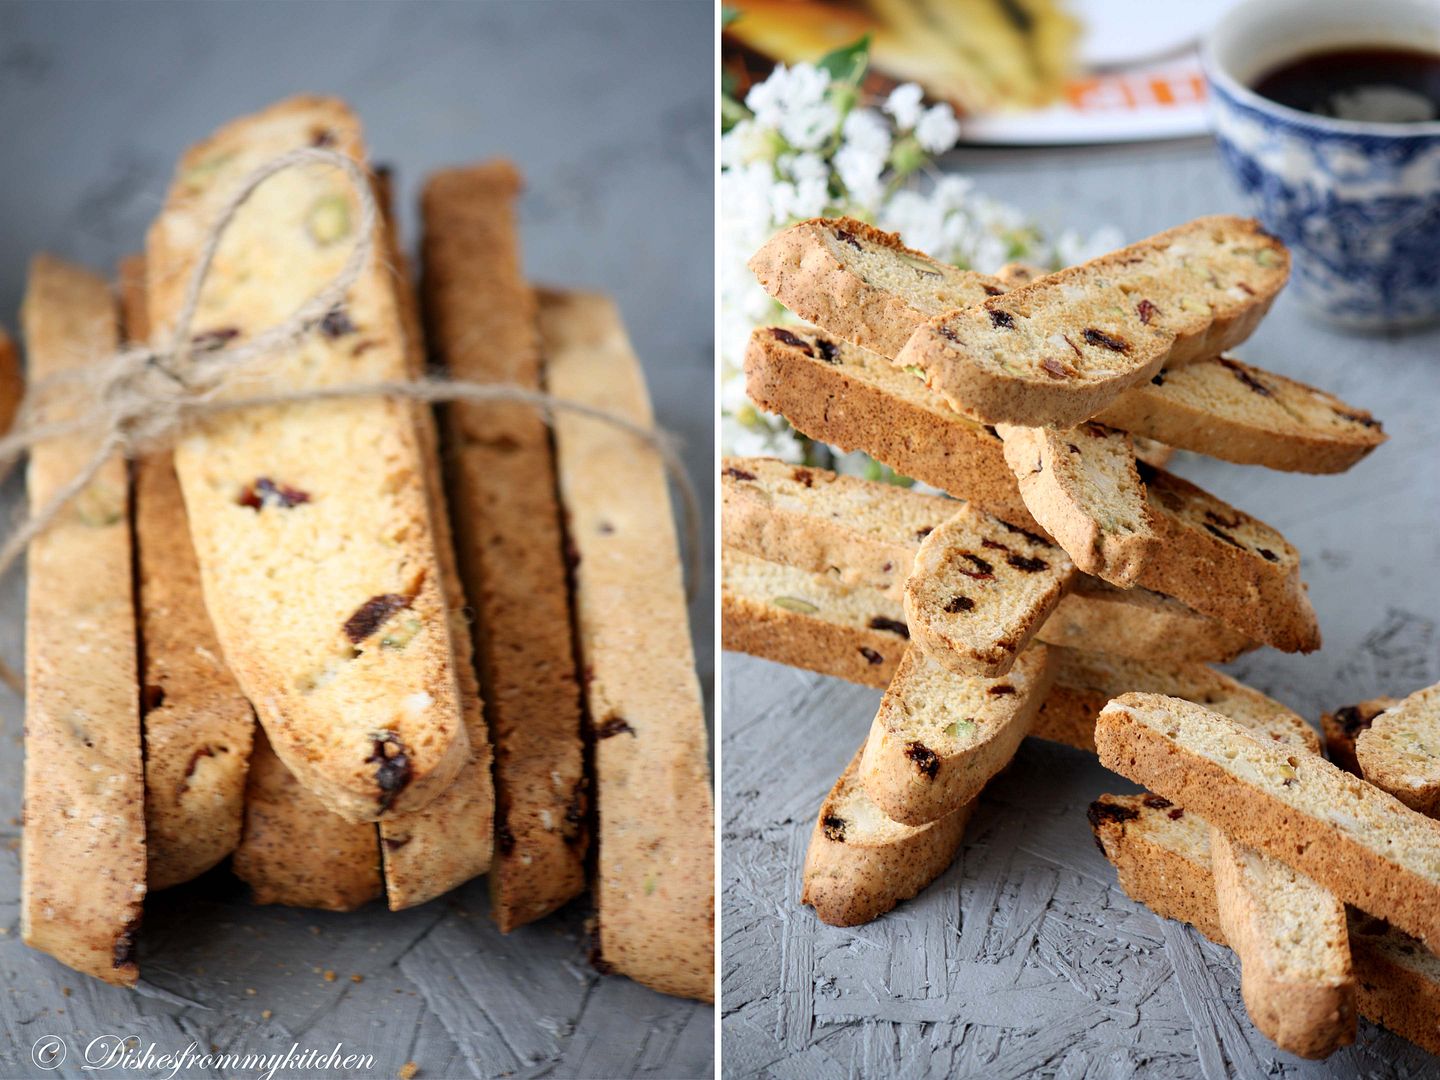
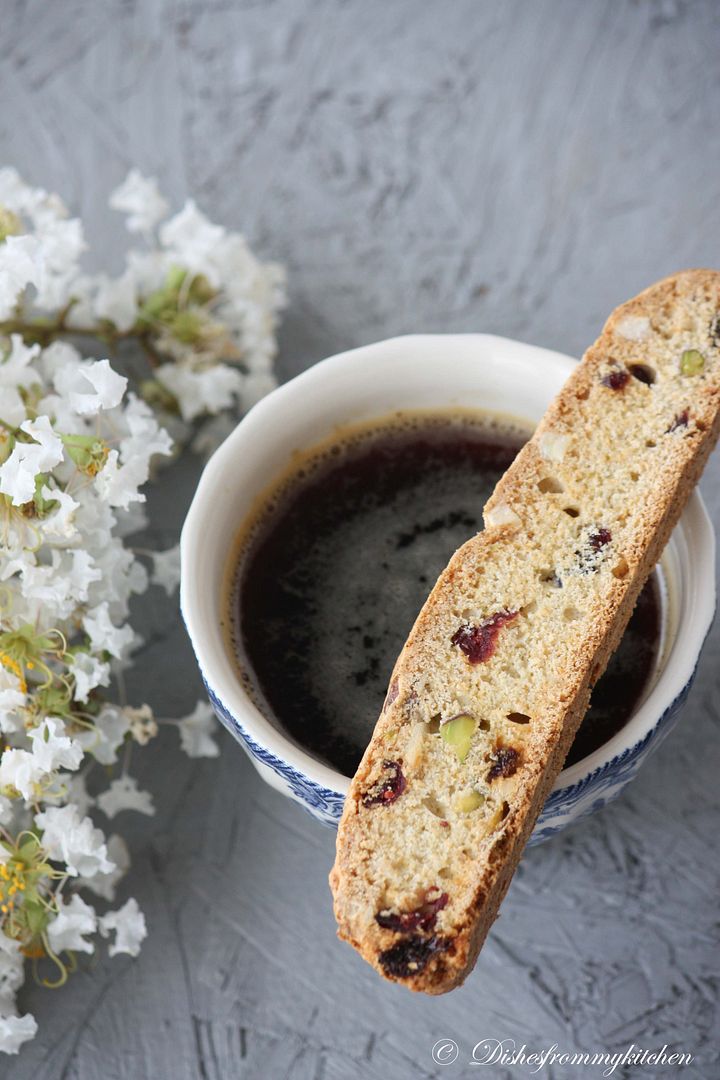
Cranberry Raisins Almond Pistachio Biscotti

Ingredients:

Granulated white sugar - 2/3 cup (135 grams)
Eggs - 2 large
Vanilla extract - 1 teaspoon pure (I used 1/4 tsp of powdered cardamom)
Baking powder - 1 teaspoon
Salt- 1/4 teaspoon
All-purpose flour - 1 3/4 cups (245 grams)
Unsalted pistachios - 1/4 cup (30 grams) shelled,  coarsely chopped
Blanched almonds - 1/4 cup (30 grams) shelled, coarsely chopped
Dried cranberries- 1/4 cup (40 grams)
Raisins - 1/4 cup (40 grams) 


Method :

1. Preheat oven to 350 degrees F (177 degrees C) and place the oven rack in the center of the oven. Line a baking sheet with parchment paper. Set aside.
2.In the bowl of your electric mixer (or with a hand mixer), beat the sugar and eggs on high speed until thick, pale, and fluffy (about 5 minutes).  (When you slowly raise the beaters the batter will fall back into the bowl in slow ribbons.)  At this point beat in the vanilla extract or Cardamom powder.  In a separate bowl, whisk together the flour, baking powder and salt.  Add to the egg mixture and beat until combined.  Fold in the chopped pistachios and cranberries.


3.Transfer the dough to your parchment lined baking sheet and form into a log, about 12 inches (30 cm) long and 3 1/2 inches (9 cm) wide.  You may have to dampen your hands to form the log as the dough is quite sticky. Bake for 25 minutes, or until firm to the touch. Remove from oven and let cool on a wire rack for about 10 minutes.
4.Reduce oven temperature to 325 degrees F (165 degrees C).  Transfer the log to a cutting board and cut into 3/4 inch (2 cm) slices, on the diagonal.  Place the biscotti, cut side down, on the baking sheet.  Bake for about 10 minutes, turn slices over, and bake for another 10 minutes or until golden brown.  Remove from oven and let cool.  Store in an airtight container. 


Read more...

COFFEE CHOCOCHIP MUFFIE

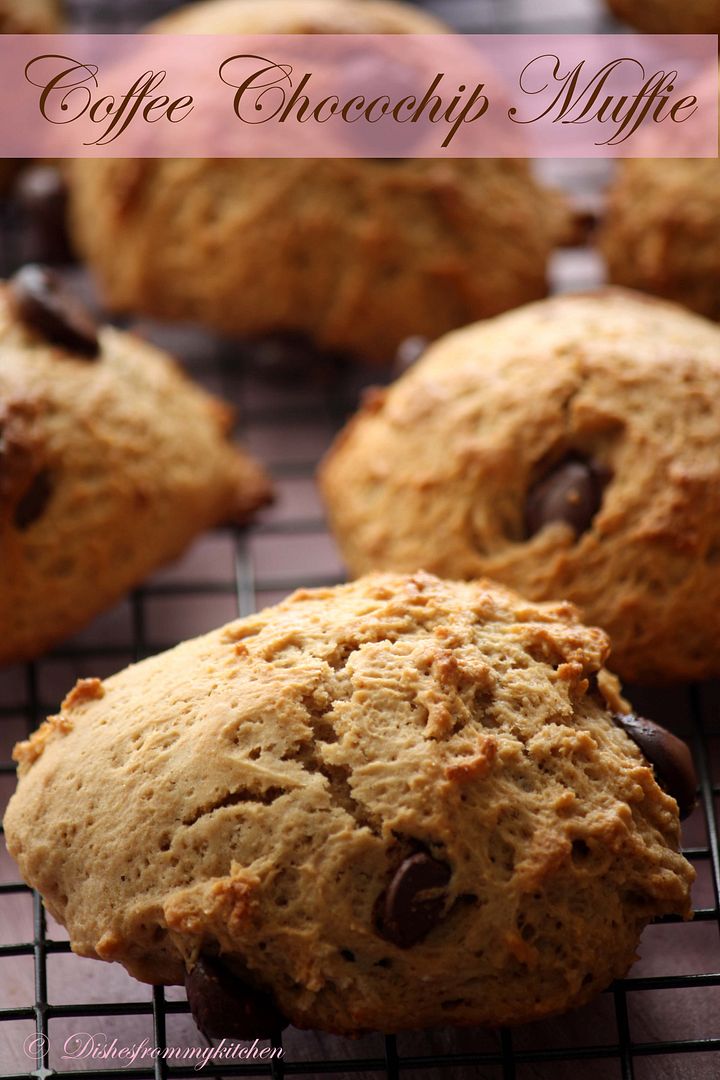
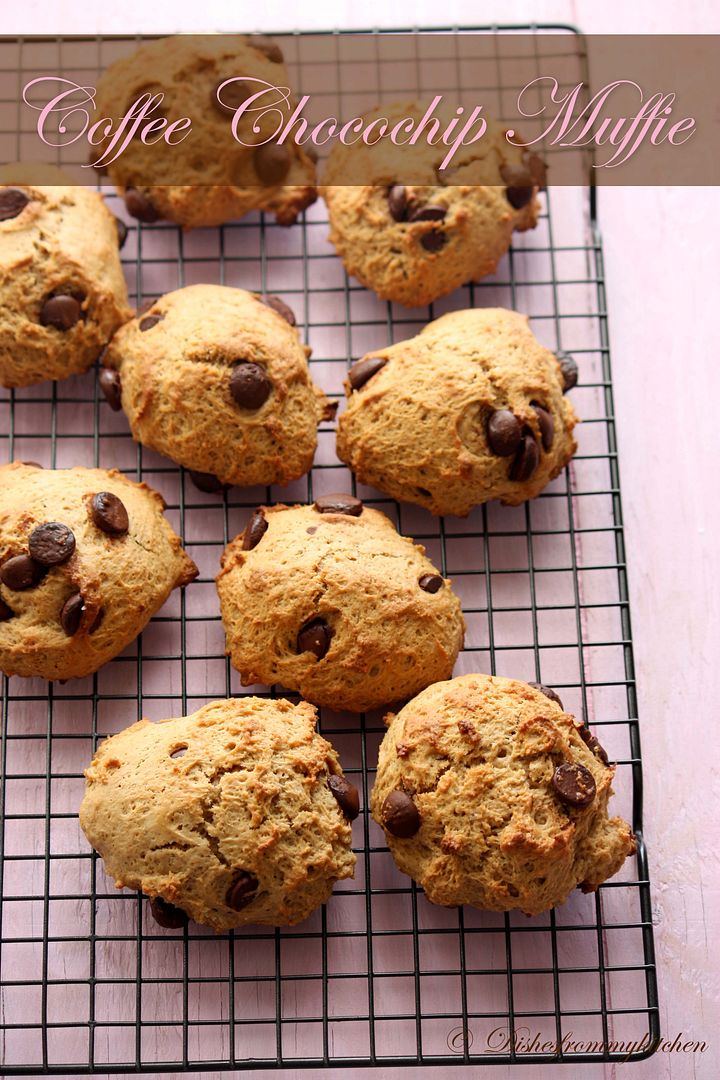
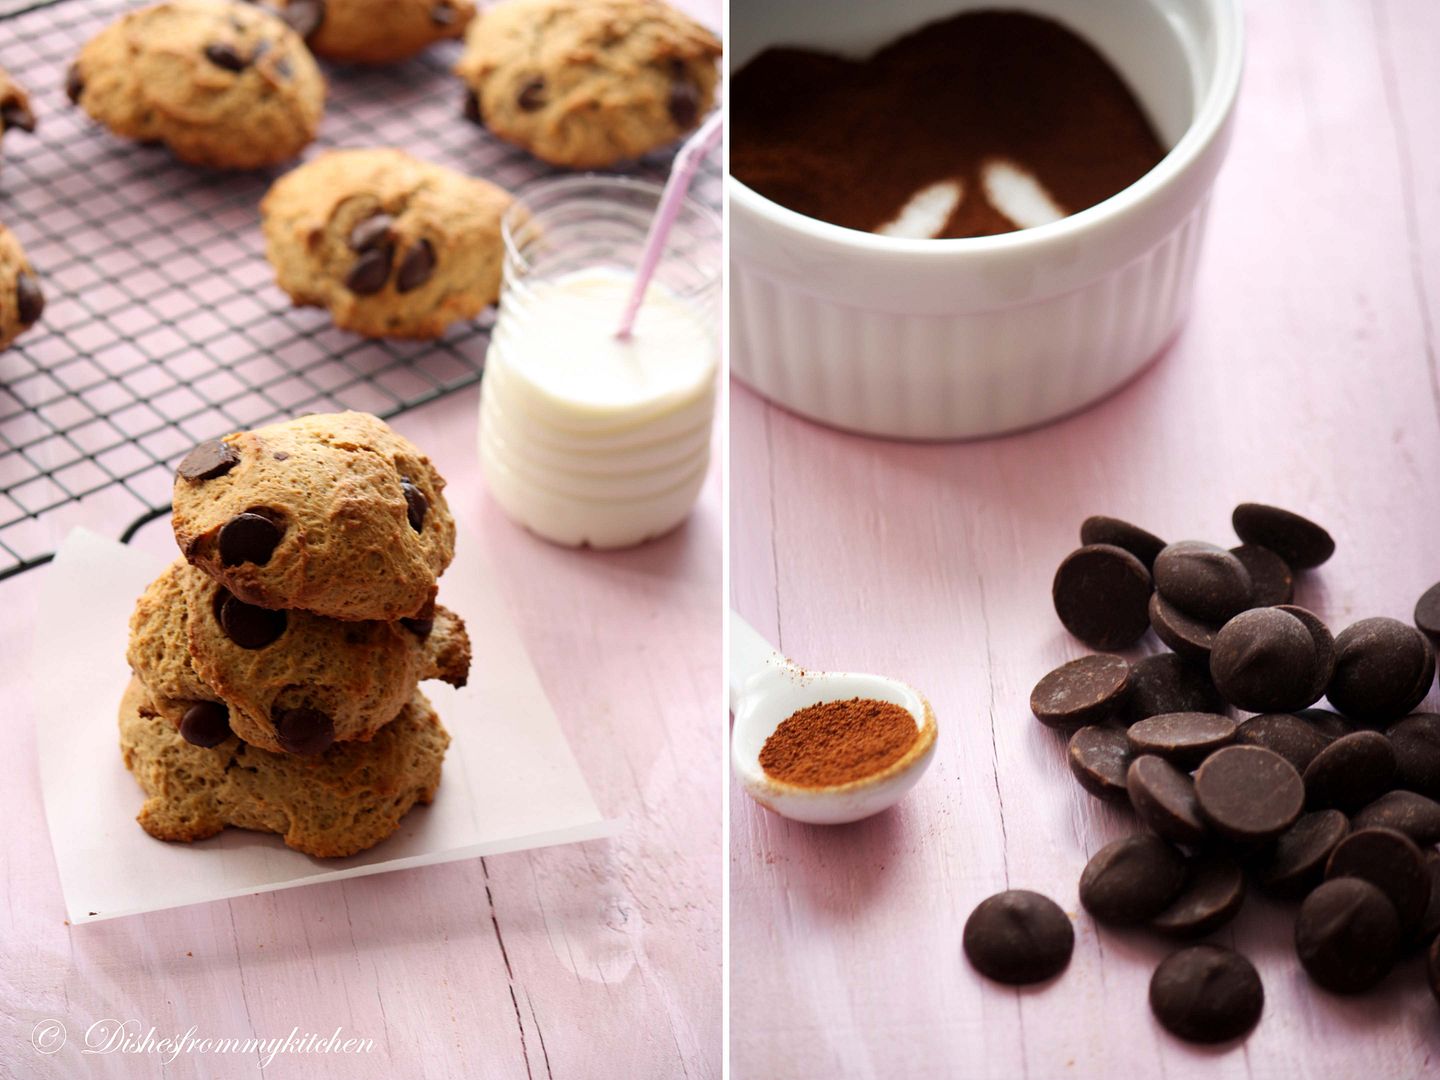
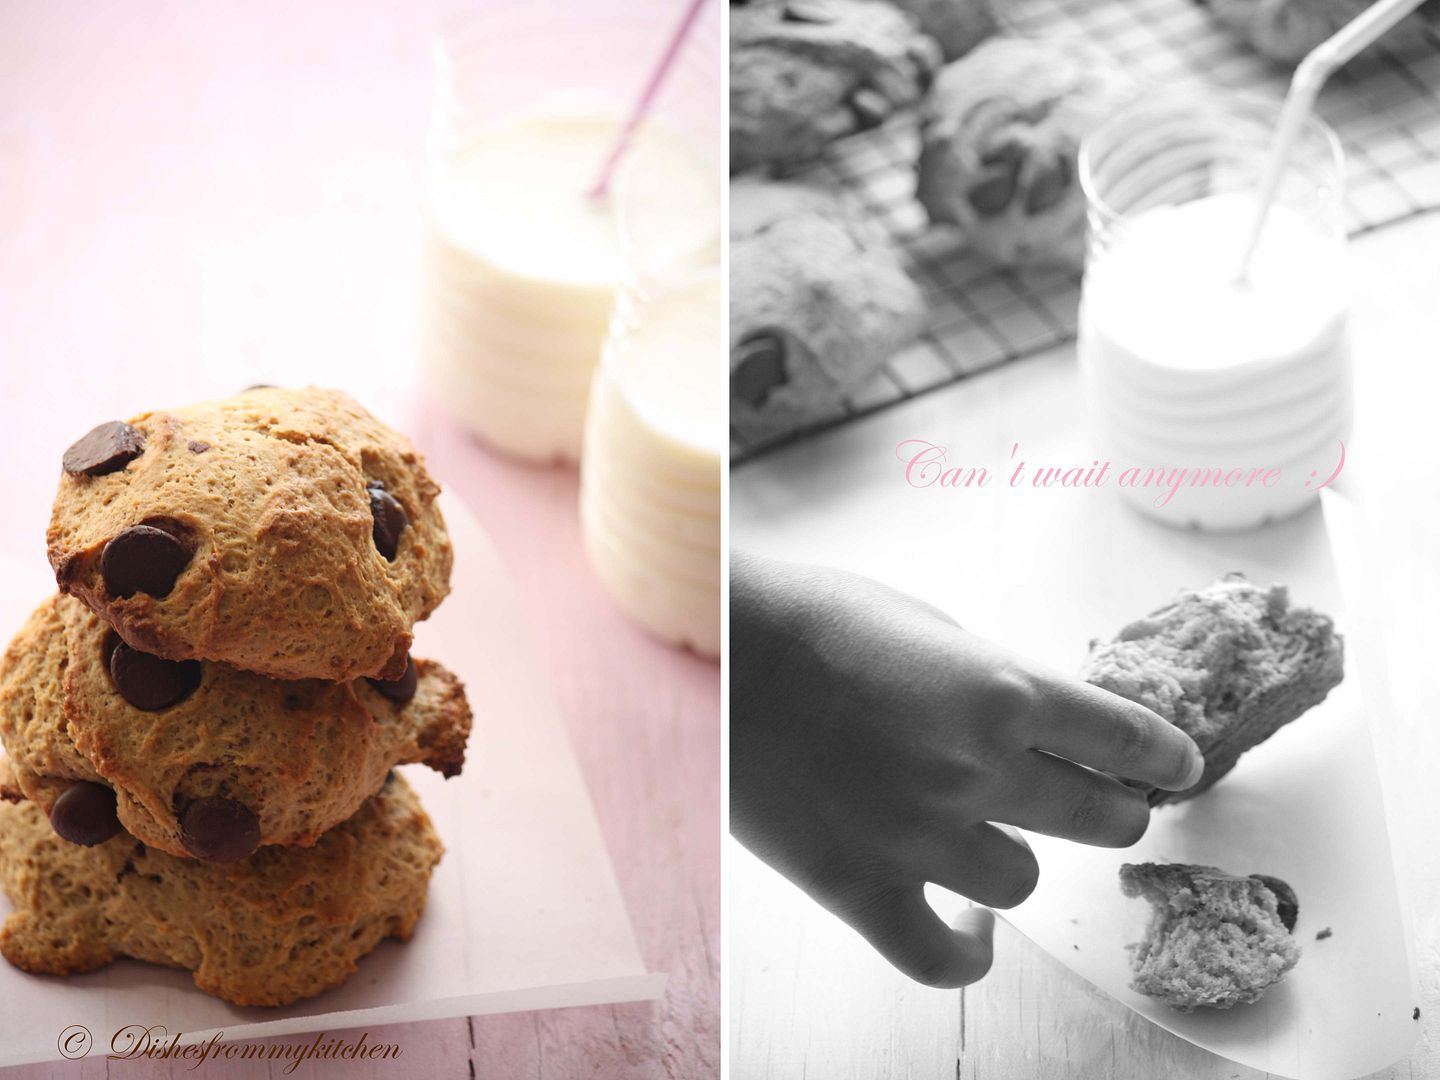
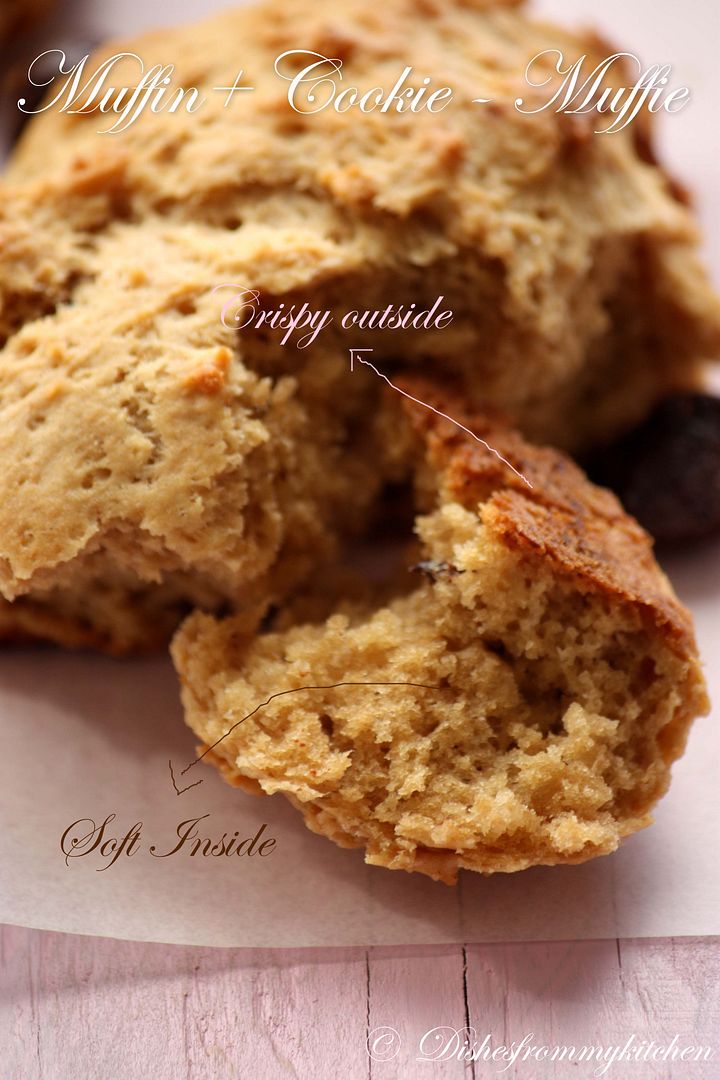
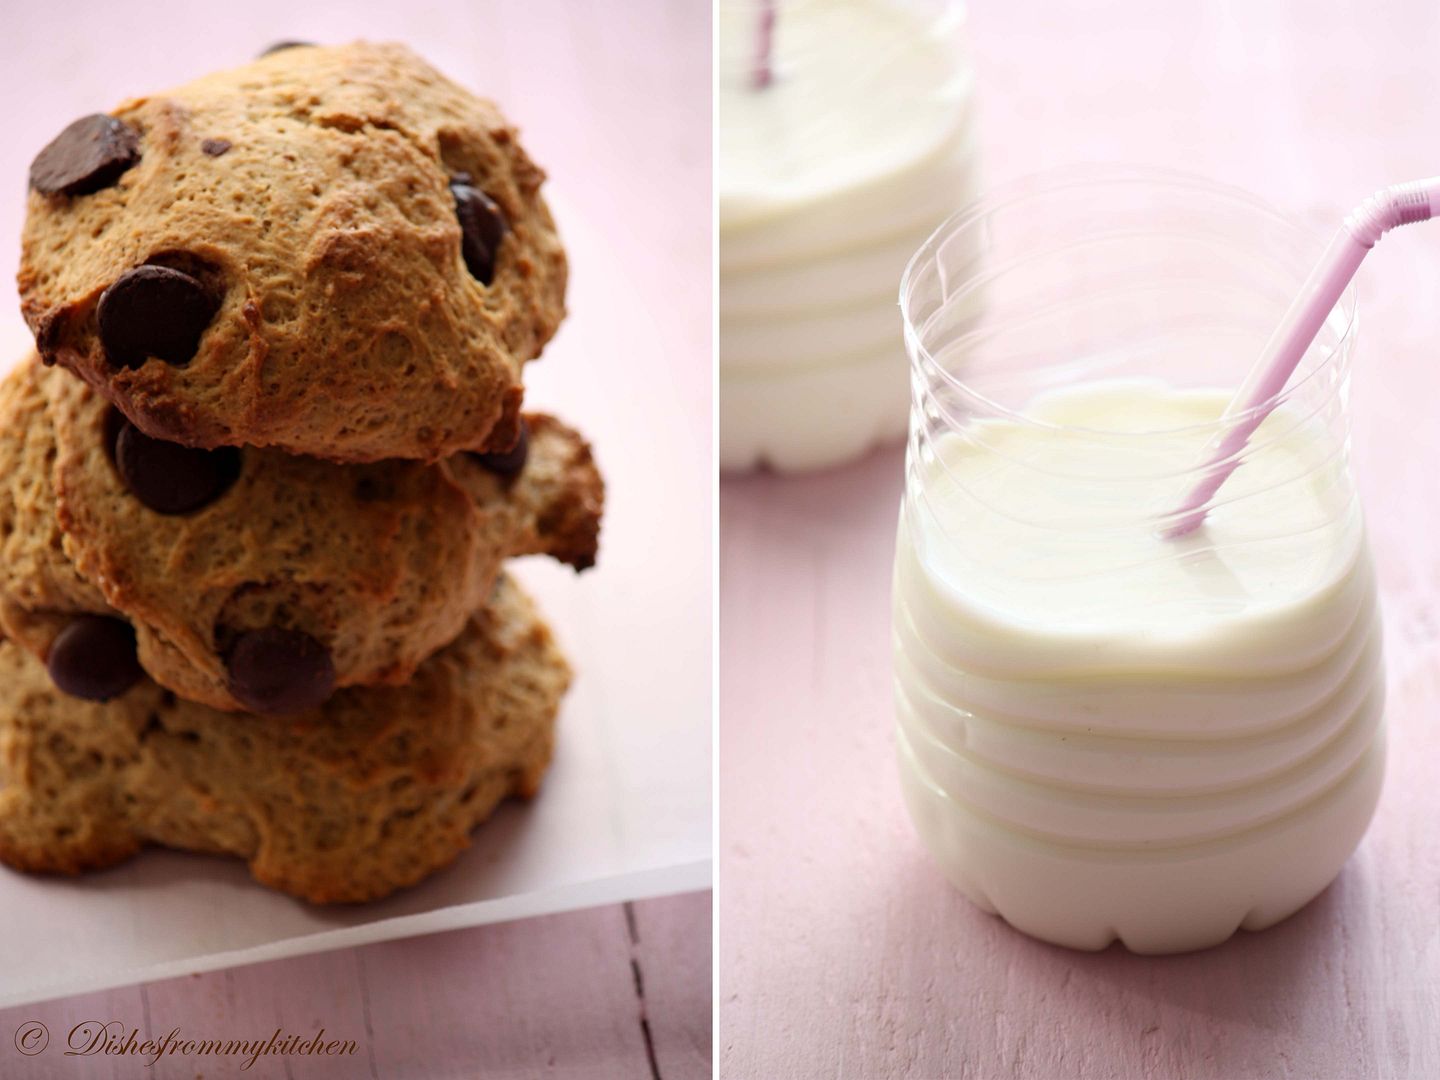
Muffie, do you wonder what it is??? Here is the formula Muffin+ Cookie -> Muffie.  This has muffin texture inside and outside is crisp like cookie.  I have tried few other muffies too.. will post it when possible.  This is lovely combination of Coffee and Chocolate.  Who doesn't love chocolate and coffee in the morning or as a snack in the evening ?  These are perfect brunch Muffies, as well as  tea time snack.   The best part is this has no butter and no egg.  I promise you that the flavor of coffee with bite of chocolate chip absolutely yumm:) that you will enjoy throughly with a glass of cold milk.  Have a dip here....


COFFEE CHOCOCHIP MUFFIE

I made big muffies.. its just upto your choice.  Sometime I make small bite size muffies too.  Only the oven timings varies.


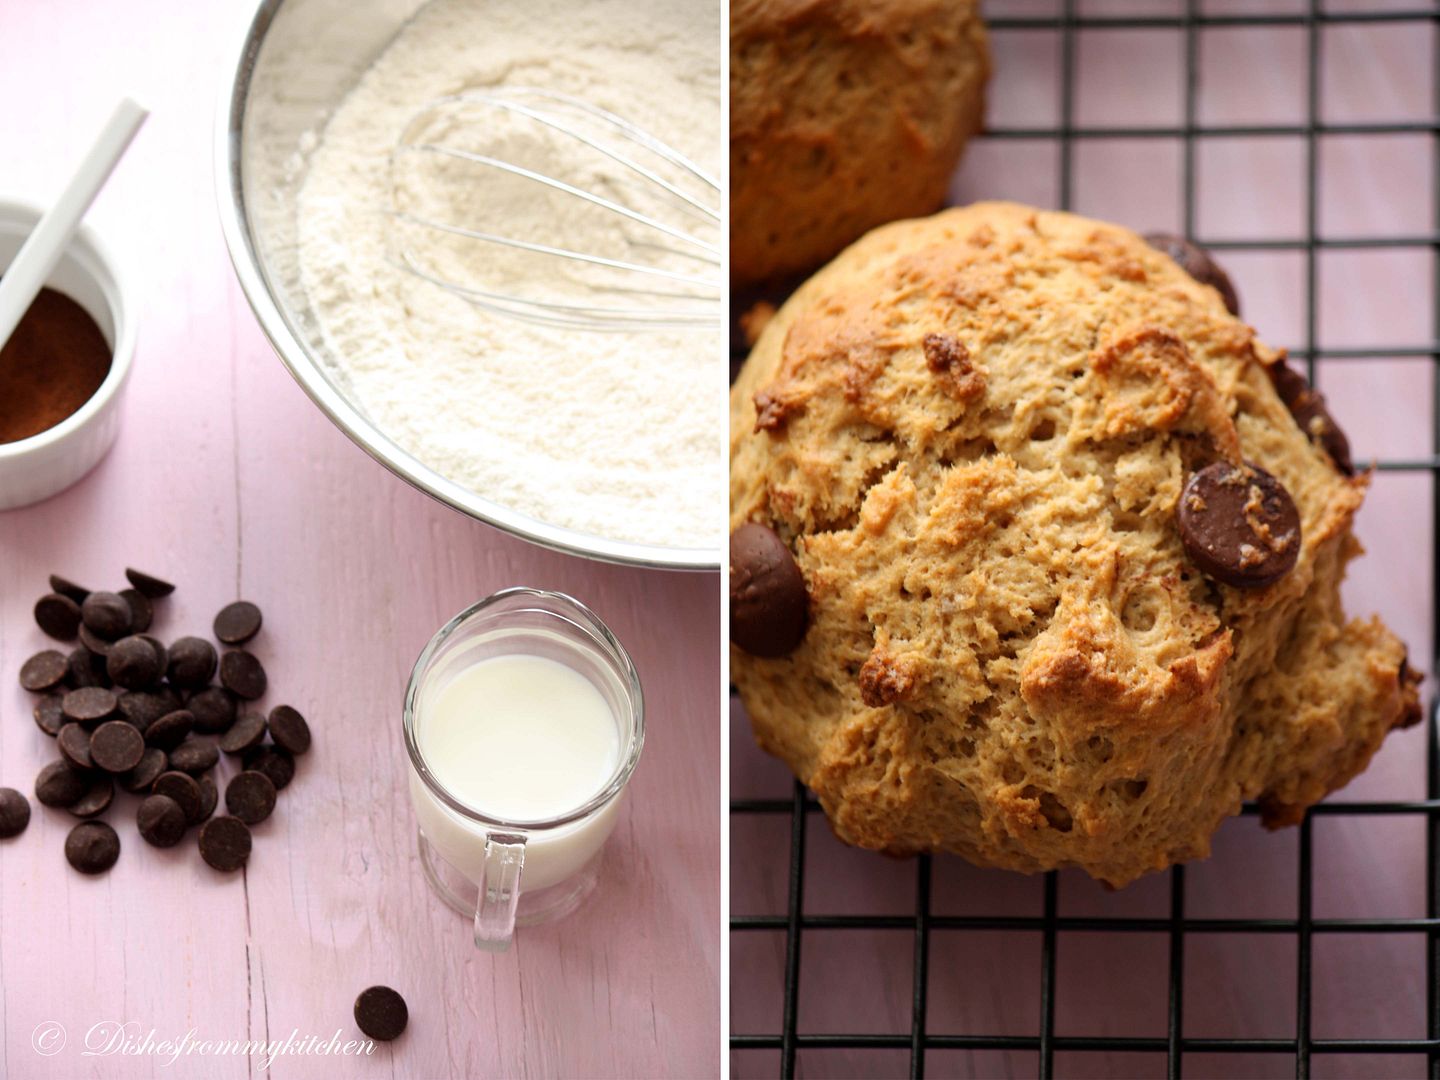
Ingredients :

This yields - 110 to 12 muffies

All purpose flour - 2 cup
Sugar - 1/2 cup ( This is not so sweet, since we are using more chocochip that was good enough for us, but if you want really sweet add 1 tbsp extra)
Canola oil - 1/2 cup
Chocolate chip or chunks ( semi sweet ) - 1/2 cup
Instant Coffee granules - 1 heaped tbsp
Vanilla extract - 1 tsp
Milk - 1 cup (room temperature) ( 1 tbsp extra if the batter is too thick for mixing)
Apple cider Vinegar - 1 tsp ( you can use white vinegar too)
Baking powder - 1 tbsp
Salt - 1/2 tsp


Method :

1. Preheat the oven to 375° F.  Line the tray with the parchment.
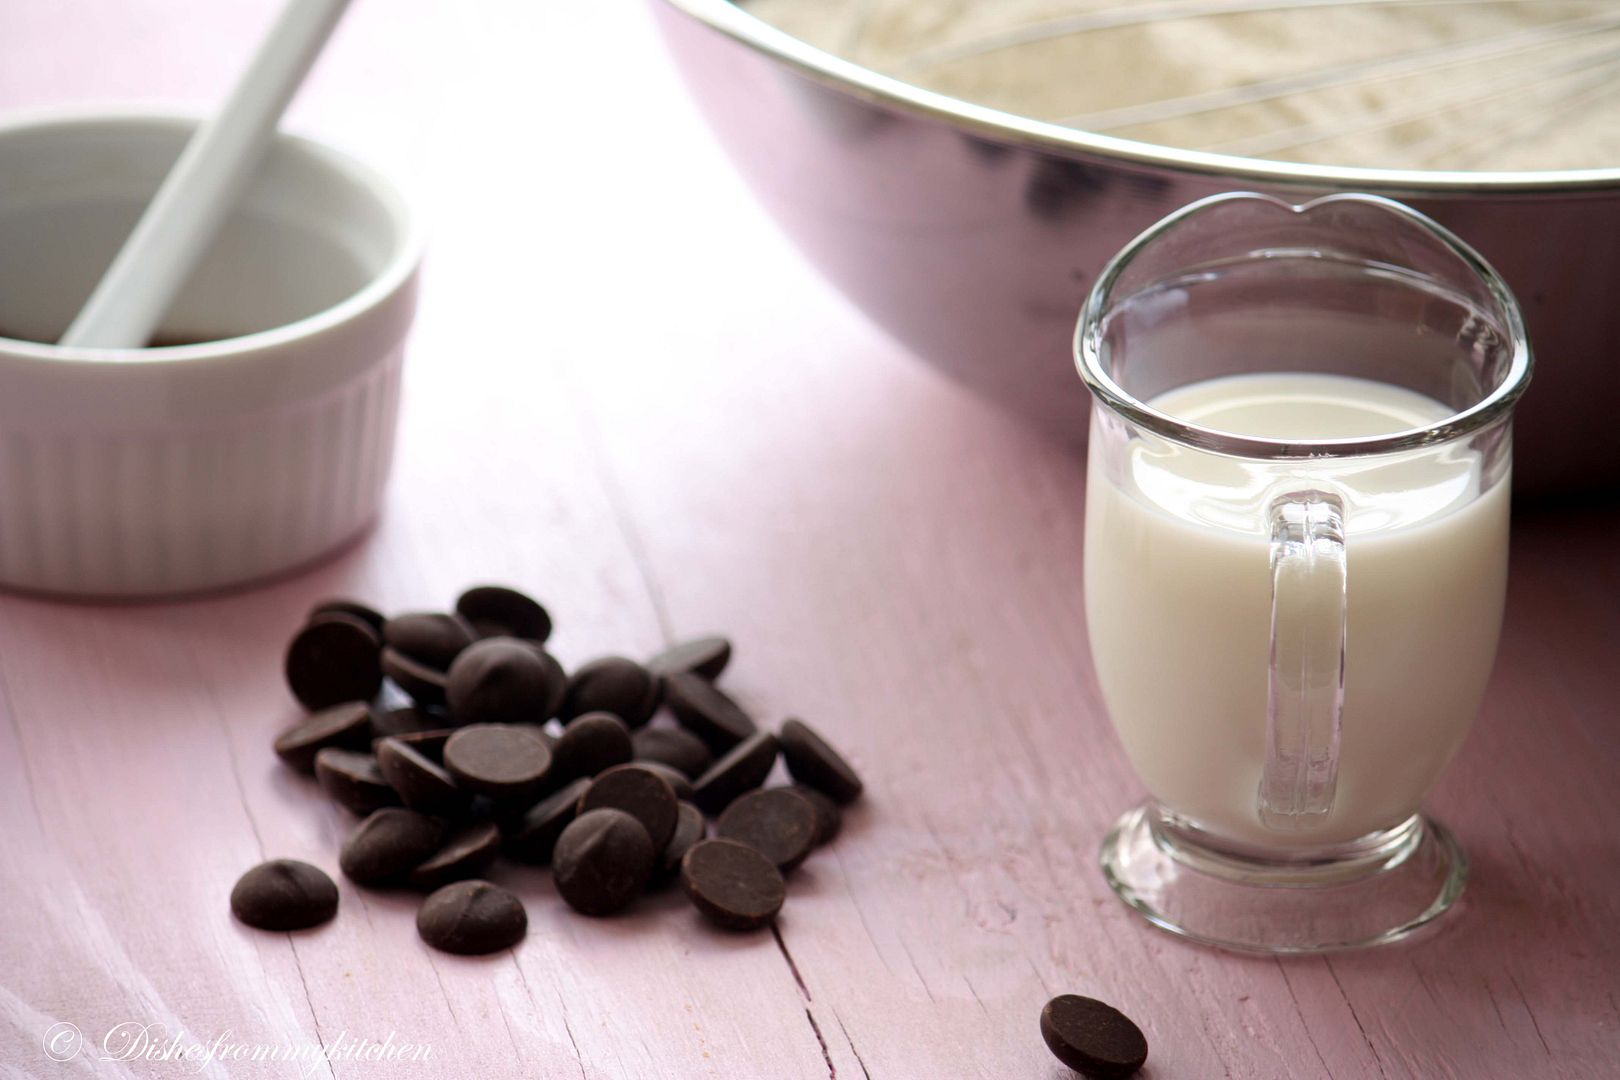
2.Measure 1/2 cup of milk. Stir in the coffee granules, mix to dissolve.
3.Stir in the rest of the milk with vinegar and keep aside.
4. In a large mixing bowl, stir together the flour, sugar, baking powder and salt.
5. Mix well with the whisk, Now in the centre of the flour mixture, make a well.
6. Add the milk mixture, milk vinegar mixture, oli and vanilla.
7.Mix togetheruntil the batter is just moistened.
8. Don't overmix it. Now fold the chocolate chip or chunks.
9. Use the ice cream scoop and scoop it in the parchment sheet.
10. Leaving gap between each muffie.  Bake it for 20 to 25 minutes. (Mine was ready in 20 minutes)
11. It should be nice golden color in the bottom and the top.
12. Immediately transfer to the cooling rack.
13. You can store in the plastic airtight container.


Note:

1.You can also refrigerate for 2 to 3 days too.  When needed just keep in the preheated oven for 5 minutes.
2. If your making small muffies you can just bake for 10 to 15 minutes.  But keep an eye on them.

Enjoy the Yummilicious Muffie with a cup of milk !!!


Read more...

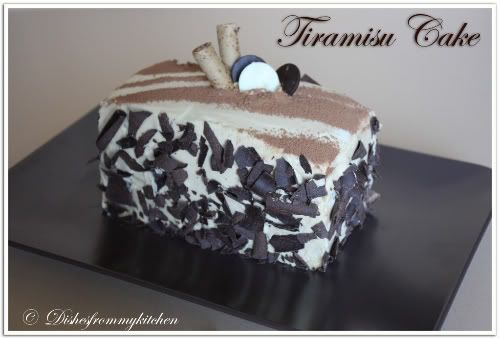
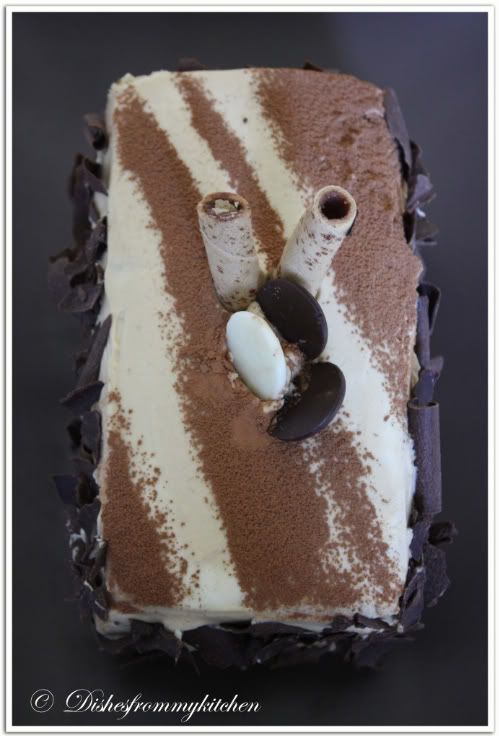
TIRAMISU CAKE - FIRST SWEET PUNCH


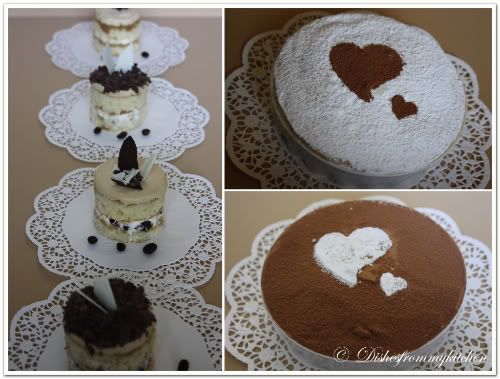
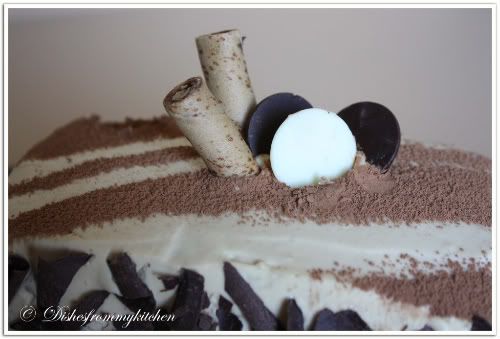
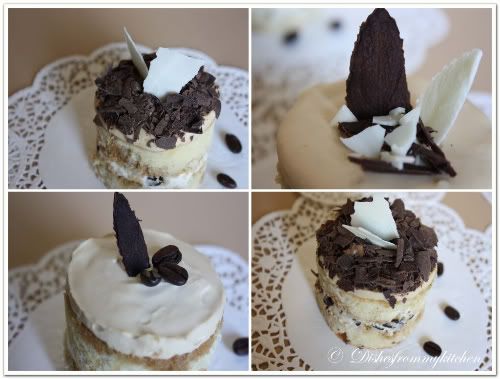
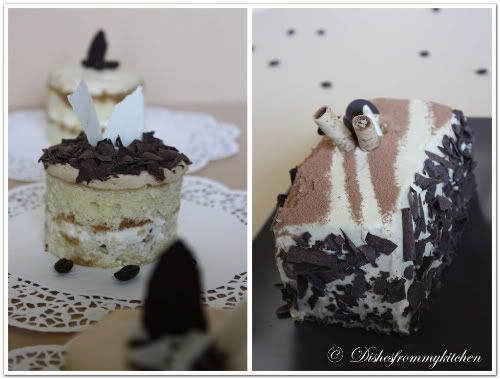
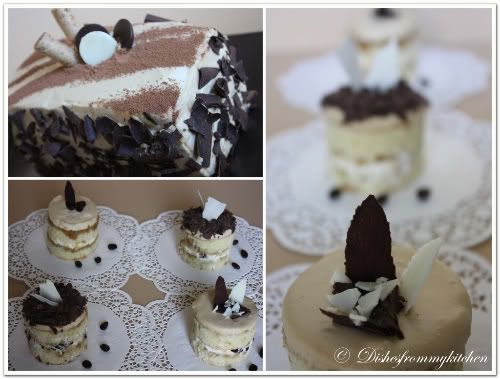
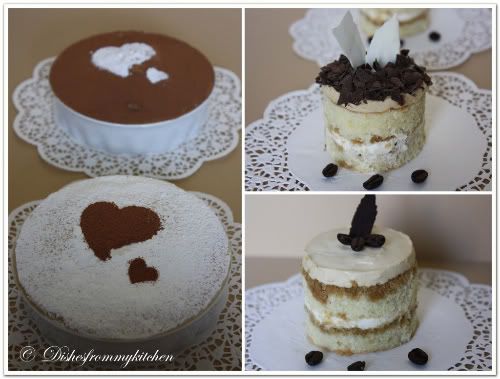
I am very much excited to post my first Sweet Punch challenge hosted by three wonderful girls Ria, Divya and Maria. For the first sweet punch  it is Dorie Greenspan's Tiramisu Cake. I really enjoyed doing this Tiramisu cake which is one of my favourite cake. I exactly followed the same recipe, the outcome was fabulous. I made 1 small block of cake and 4 cakelettes and arranged the leftover sponge and mascarpone in a pie dish dusted with icing sugar and cocoa powder. The mascarpone used in this recipe is home made which I always love more than store bought one. Here comes my First punch !!!!!!!!!!!


TIRAMISU CAKE


Baking: From My Home to Yours by Dorie Greenspan

For the cake layers:


2 cups cake flour
2 teaspoons baking powder
1/8 teaspoon baking soda
1/4 teaspoon salt
1 1/4 sticks (10 tablespoons) unsalted butter, room temperature
1 cup sugar
3 large eggs
1 large egg yolk
1 1/2 teaspoons pure vanilla extract
3/4 cup buttermilk


For the espresso extract:


2 tablespoons instant espresso powder
2 tablespoons boiling water


For the espresso syrup:


1/2 cup water
1/3 cup sugar
1 tablespoon amaretto, Kahlua, or brandy


For the filling and frosting:


1 8-ounce container mascarpone (store-bought or homemade)
1/2 cup confectioners’ sugar, sifted
1 1/2 teaspoons pure vanilla extract
1 tablespoon amaretto, Kahlua, or brandy
1 cup cold heavy cream
2 1/2 ounces bittersweet or semisweet chocolate, finely chopped, or about 1/2 cup store-bought mini chocolate chips
Chocolate-covered espresso beans, for decoration (optional)
Cocoa powder, for dusting


Getting ready:


1. Center a rack in the oven and preheat the oven to 350 degrees F.
2. Butter two 9×2 inch round cake pans, dust the insides with flour, tap out the excess, and line the bottoms of the pans with parchment or wax paper.
3. Put the pans on a baking sheet.


To make the cake:


1. Sift together the cake flour, baking powder, baking soda, and salt.
2. Working with a stand mixer, preferably fitted with a paddle attachment, or with a hand mixer in a large bowl, beat the butter on medium speed until soft and creamy.
3. Add the sugar and beat for another 3 minutes. Add the eggs one by one, and then the yolk, beating for 1 minute after each addition. Beat in the vanilla; don’t be concerned if the mixture looks curdled. Reduce the mixer speed to low and add the dry ingredients alternately with the buttermilk, adding the dry ingredients in 3 additions and the milk in 2 (begin and end with the dry ingredients); scrape down the sides of the bowl as needed and mix only until the ingredients disappear into the batter. Divide the batter evenly between the two pans and smooth the tops with a rubber spatula.
4. Bake for 28 to 30 minutes, rotating the pans at the midway point. When fully baked, the cakes will be golden and springy to the touch and a thin knife inserted into the centers will come out clean. Transfer the cakes to a rack and cool for about 5 minutes, then run a knife around the sides of the cakes, unmold them, and peel off the paper liners. Invert and cool to room temperature right-side up.


To make the extract:


1. Stir the espresso powder and boiling water together in a small cup until blended. Set aside.


To make the syrup:


Stir the water and sugar together in a small saucepan and bring just to a boil. Pour the syrup into a small heatproof bowl and stir in 1 tablespoon of the espresso extract and the liqueur or brandy; set aside.


To make the filling and frosting:


Put the mascarpone, sugar, vanilla, and liqueur in a large bowl and whisk just until blended and smooth.


Working with the stand mixer with the whisk attachment or with a hand mixer, whip the heavy cream until it holds firm peaks. Switch to a rubber spatula and stir about one quarter of the whipped cream into the mascarpone. Fold in the rest of the whipped cream with a light touch.


To assemble the cake:


If the tops of the cake layers have crowned, use a long serrated knife and a gentle sawing motion to even them. Place one layer right-side up on a cardboard round or a cake plate protected with strips of wax or parchment paper. Using a pastry brush or a small spoon, soak the layer with about one third of the espresso syrup. Smooth some of the mascarpone cream over the layer – user about 1 1/4 cups – and gently press the chopped chocolate into the filling. Put the second cake layer on the counter and soak the top of it with half the remaining espresso syrup, then turn the layer over and position it, soaked side down, over the filling. Soak the top of the cake with the remaining syrup.


For the frosting, whisk 1 to 1 1/2 tablespoons of the remaining espresso extract into the remaining mascarpone filling. Taste the frosting as you go to decide how much extract you want to add. If the frosting looks as if it might be a little too soft to spread over the cake, press a piece of plastic wrap against its surface and refrigerate it for 15 minutes or so. Refrigerate the cake too.
With a long metal icing spatula, smooth the frosting around the sides of the cake and over the top. If you want to decorate the cake with chocolate-covered espresso beans, press them into the filling, making concentric circles of beans or just putting some beans in the center of the cake.


NOTE :


Refrigerate the cake for at least 3 hours (or for up to 1 day) before serving – the elements need time to meld.
Just before serving, dust the top of the cake with cocoa.


Home Made Mascarpone

Adapted from Vera's Baking Obsession


Ingredients:

500 ml whipping (36 %) pasteurized (not ultra-pasteurized), preferably organic cream 1 tbsp fresh lemon juice

Preparation:

1. Bring 1 inch of water to a boil in a wide skillet. Reduce the heat to medium-low so the water is barely simmering.
2. Pour the cream into a medium heat-resistant bowl, then place the bowl into the skillet. Heat the cream, stirring often, to 190 F. It will take about 15 minutes of delicate heating.

3. Add the lemon juice and continue heating the mixture, stirring gently, until the cream curdles. Do not expect the same action as you see during ricotta cheese making. All that the whipping cream will do is become thicker, like a well-done crème anglaise. It will cover a back of your wooden spoon thickly. You will see just a few clear whey streaks when you stir.

4. Remove the bowl from the water and let cool for about 20 minutes. Meanwhile, line a sieve with four layers of dampened cheesecloth and set it over a bowl. Transfer the mixture into the lined sieve. Do not squeeze the cheese in the cheesecloth or press on its surface (be patient, it will firm up after refrigeration time).

5. Once cooled completely, cover with plastic wrap and refrigerate (in the sieve) overnight or up to 24 hours.

Read more...

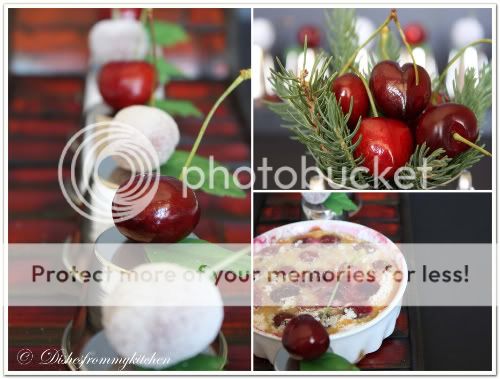
CLAFOUTIS - A BAKED FRENCH DESSERT


Clafoutis
, sometimes in Anglophone countries spelled clafouti, is a baked french dessert of black cherries arranged in a buttered dish and covered with a thick flan like batter. The clafoutis is dusted with powdered sugar and served lukewarm.

This is totally easy and wonderful dessert or breakfast. You can make this clafoutis with any Berries, Pear, Apple or any of your favourite fruits. You can serve this clafoutis hot, in room temperature or even cold. I personally like warm. It is soooooo delicious and one good thing about this is no butter except that we use for greasing the dish. Mmmmmmm go ahead and enjoy my Clafoutis here.....


CLAFOUTIS

Ingredients :

Whole milk - 1 1/4 cups
Sugar - 1/2 cup
Eggs - 3
vanilla Extract - 2 tsp
Flour - 1/3 cup
Almond flour - 3 tbsp
pinch of salt
Cherries Pitted - 2 cups
Melted butter - 1 tbsp for greasing the dish
Icing sugar - Just for dusting


Method :

1) Preheat your oven to 350 f. Butter the inside of a medium-sized baking dish you can use glass or ceramic too. Place the cherries in the dish.
2) Beat the eggs and the 1/3 cup of granulated sugar in the bowl of an electric mixer until light and fluffy.
3) Add the flours and whisk until just combined and no lumps.
4) Pour over cherries and bake at 350 for 30 minutes.
5) Sprinkle remaining sugar over the custard and return to the oven for 10-15 minutes. Serve warm by dusting icing sugar.


Note :


1. The Clafoutis will puff up in the oven and sink back once it is cooled.
2. Since we use cherries in this recipe the water from them oozes out so baking time will be more compared to other fruits.
3.If you are using other fruits like pear reduce the baking time by 10 minutes or bake until the custard is set.
4.You can use cream instead of whole milk for rich taste or half whole milk and half cream. Either ways it taste good.


Read more...

MAPLE WALNUT BARS OR SQUARES

I am posting the maple pecan bars substituted with walnuts. Since I had so much walnuts I did with those. You can use any nuts or mixture of nuts for this. Even you can line with fresh fruits and nuts. Will post the lemon bars soon with same shortbread crust... So yummy. You can serve these bars with scoop of ice cream seriously so tasty.. Here goes the recipe.


U need 8x8" pan lining with parchment paper

Ingredients :

Shortbread Crust :

All purpose flour - 1 1/2 cup
Brown sugar - 2 tbsp
Salt - 1/2 tsp
Powdered sugar - 1/3 cup
Butter - 1 1/4 stick at room temperature
Egg - 1 (optional)
Baking powder - 1/4 tsp


Method :

1. Cream the butter and sugar in the mixer.
2. Sieve the flour and baking powder together.
3. Add to the butter mixer. Add salt.
4. Add the egg and mix well using the dough hooks or the paddle.
5. If the dough is not tight add tbsp of flour again.
6. Now spread the dough in the tin evenly using the fingers.
7. Preheat the pan to 350 degree and bake for 10 minutes or so till very slight brown in color and well set.


For the filling :

Butter - 7 oz
Sugar - 1/2 cup
Maple Syrup - 2 tbsp or u can use honey instead
Whole milk or Heavy cream - 1/2 cup
Brown sugar - 3/4 cup
Lemon rind - 2 tsp
Toasted walnuts or pecans - 3 cups(chopped into two)


Method :

1. Bring the butter and sugar to a slow simmer.
2. Once it is melted add the heavy cream, syrup and cook for 5 minutes. Now add the toasted nuts and lemon rind stir for a while for another 3 minutes or so.
3. Now pour over the baked crust.
4. Bake again in 350 degree for another 20 minutes or until set well.
5. Once cooled cut to desire shapes. Enjoy with scoop of ice cream. I promise u will be out of the world.

Read more...

BLACK FOREST PASTRY


Black forest cake is a perfect addition to your dessert menu. Chocolate sponge filled with fresh cream cherries and topped with rich chocolate which is so good and melt in your mouth. The method goes like this.


Ingredients(1) :


For Chocolate Sponge:


All purpose flour - 50gm
Sponge cakemix - 110gm
Cocoa - 15gm
Water - 5tbsp
Egg yolks - 4
Any vegetable oil - 5tbsp
Pinch of salt


Beat the above ingredients manually.


Ingredients (2) :


Egg whites - 4
Sugar - 100gm
cream of tartar - 1/2 tsp


Method:


1. Take 10 inch round tin. Line tin with greaseproof paper.Preheat oven at 180 degree Centigrade.
2. Sieve flour with Cocoa.
3. Add in ingredient (1) and mix well.
4. Beat ingredient (2) until stiff.
5. Fold in ingredient (1) mixture into ingredient (2) in one direction lightly.
6. Pour into prepared tin.
7. Bake for 30 minutes
8. Check the cake by inserting toothpick or skewer if it comes out clearly cake is done.
9. Cool in wired rack or stand completely.


Note :


Ovens temperature may varies for different brands so check 8th test after 30 minutes.


Ingredients :


For Filling:


Dark sweet cherries - 1 tin
Corn flour- 1 tbsp
Water- 1tbsp for mixing cornflour
Sugar - 2 tbsp
Whipping Cream - 300 gm
Rum - 1 tsp (optional)
Red cherries- as needed for decorating
Cooking chocolate - 200 gm
Dark cherries syrup - 100ml
(which is in tin of dark cherries)


Method:


1. Boil the cherries syrup with the sugar and thicken with flour. Pour in sweet cherries. Leave to cool.
2. Slice the cake into two pieces horizontally.
3. Mix whipping cream and rum beat at high speed until peaks are formed.
4. Spread a little whipping cream onto one slice of the sponge, then spread the cherries on top. Cover with the other piece of cake.
5. Spread the whole cake with cream, chocolate shavings on the top and sides, then decorate the cherries onto the cake.
6. Chill in the refrigerator.


Note :


Chocolate shavings can be done using vegetable peeler and keep in refrigerator until ready to decorate

Read more...


Page copy protected against web site content infringement by Copyscape

Visit Great Cooks Community
All recipes are on Petitchef