Search This Blog

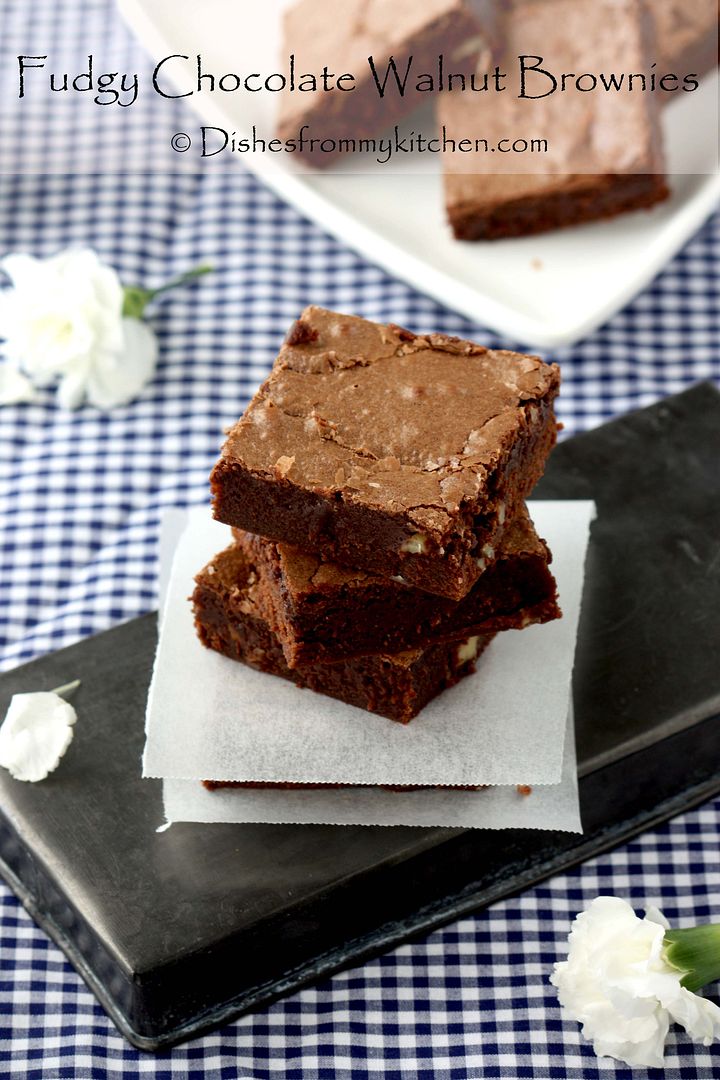
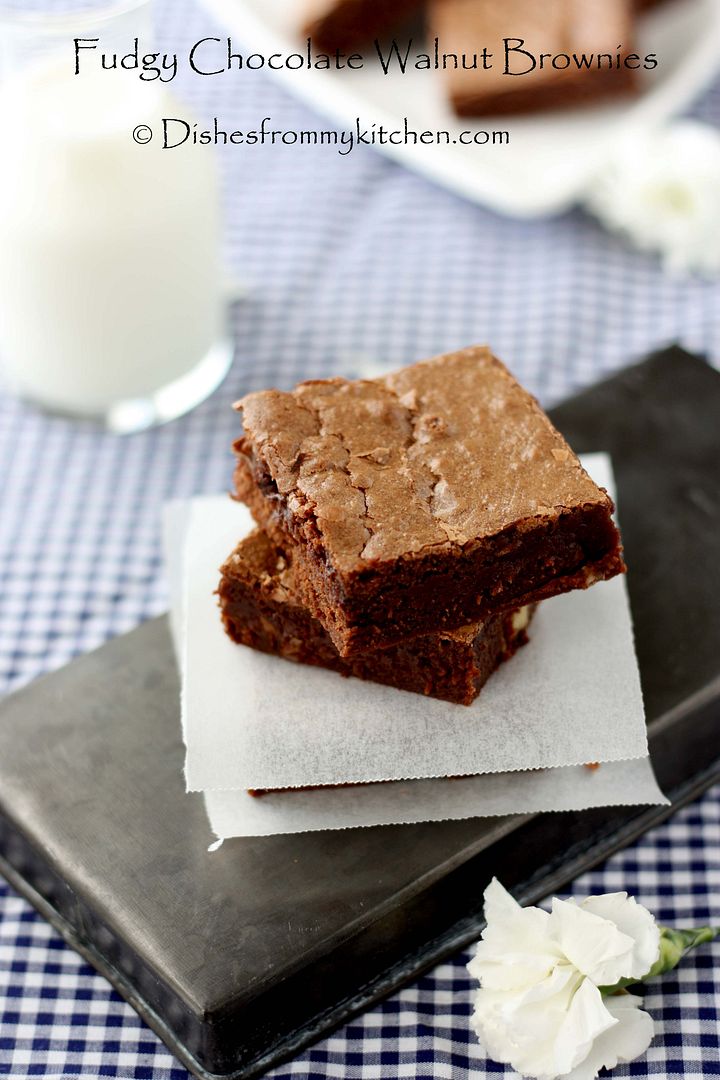
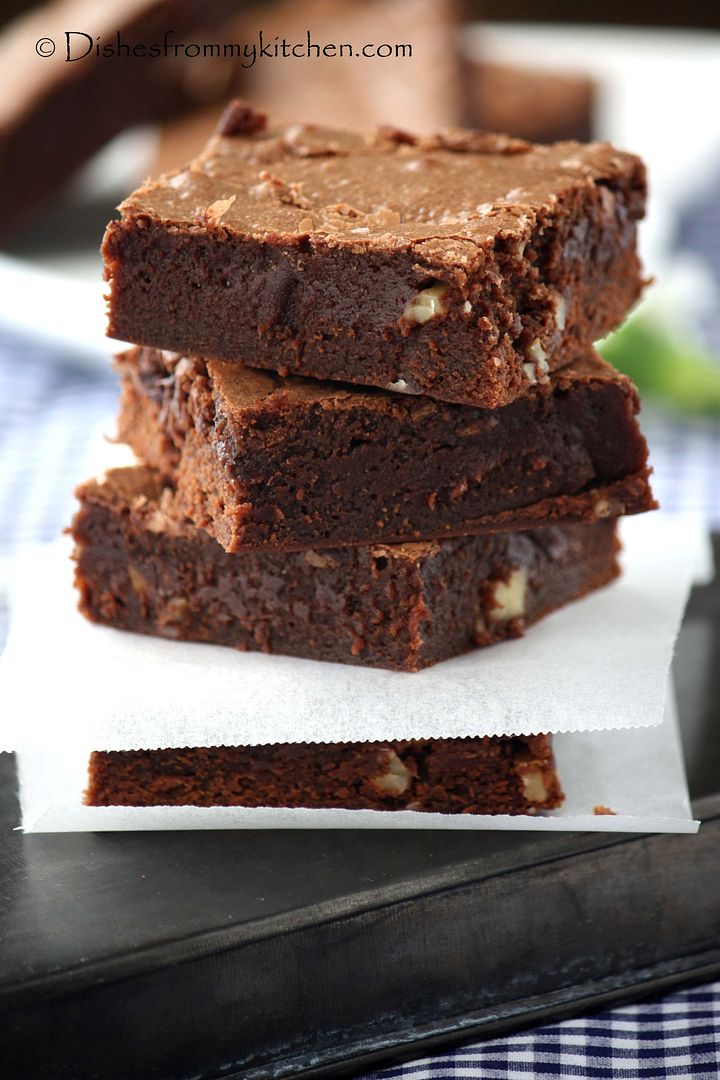
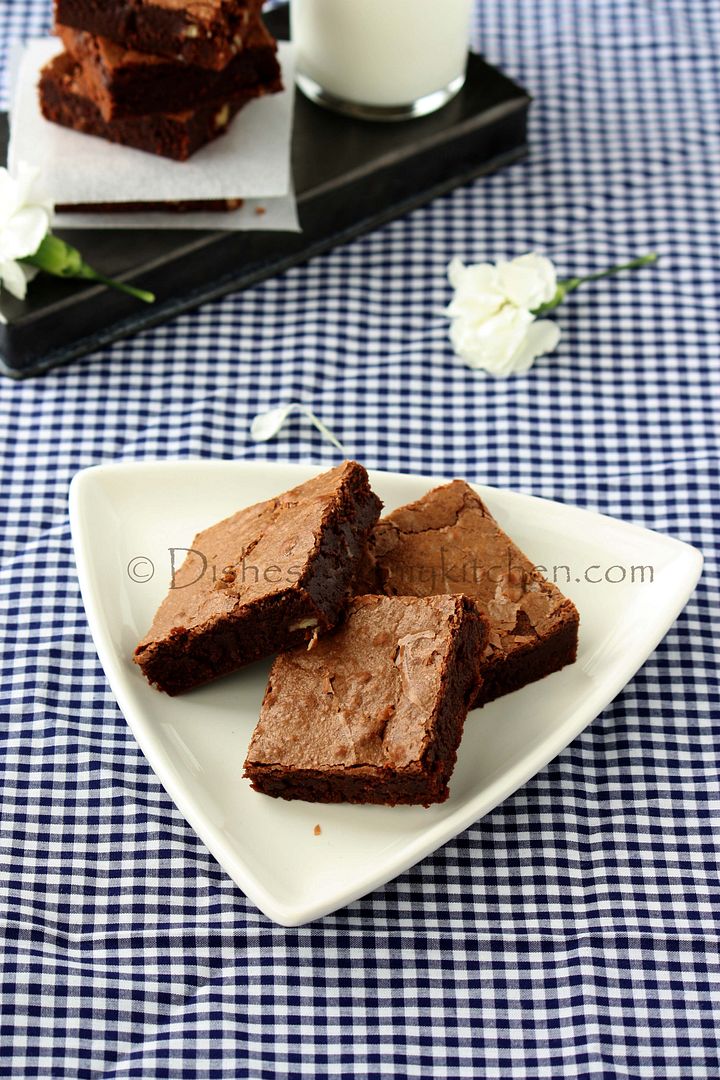
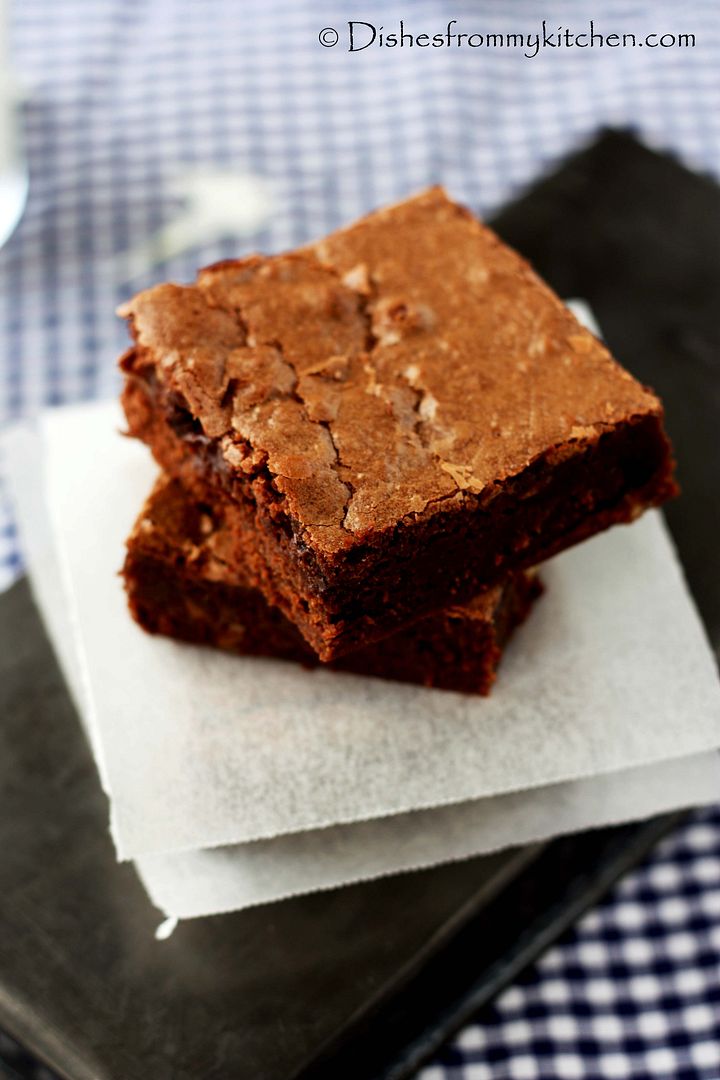
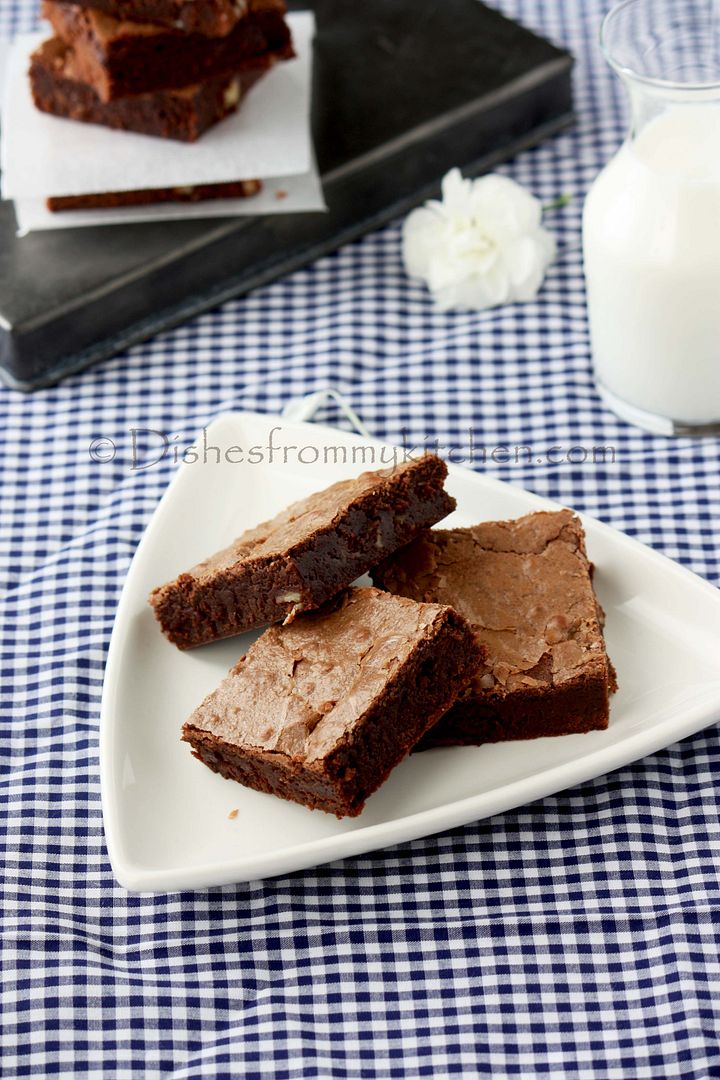
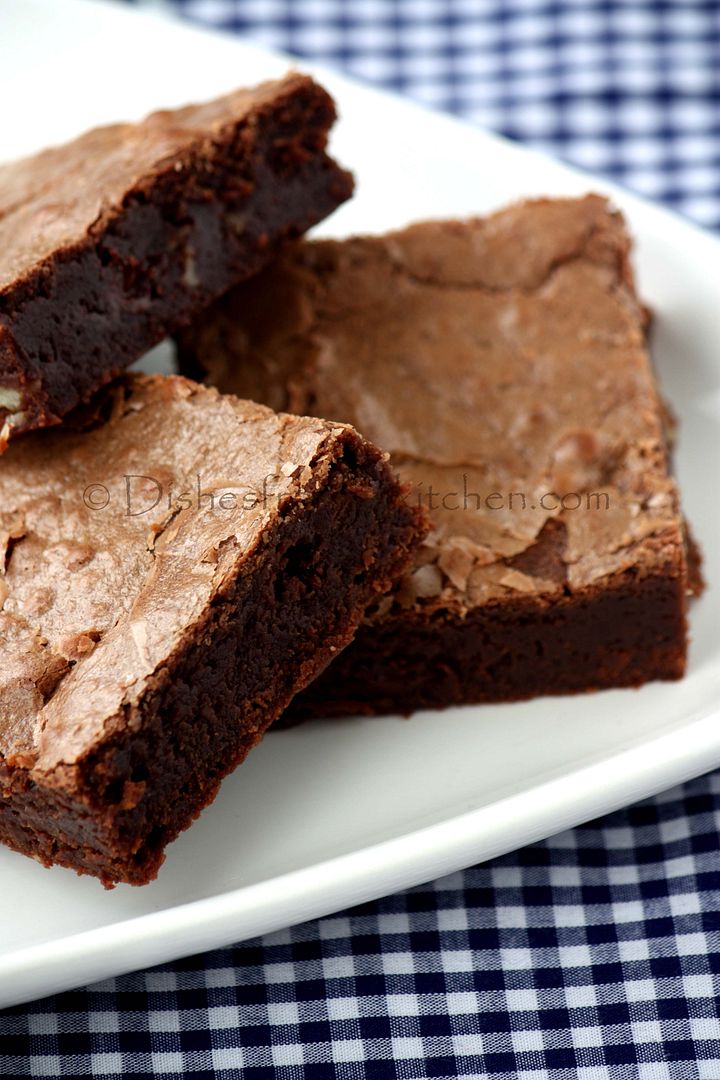
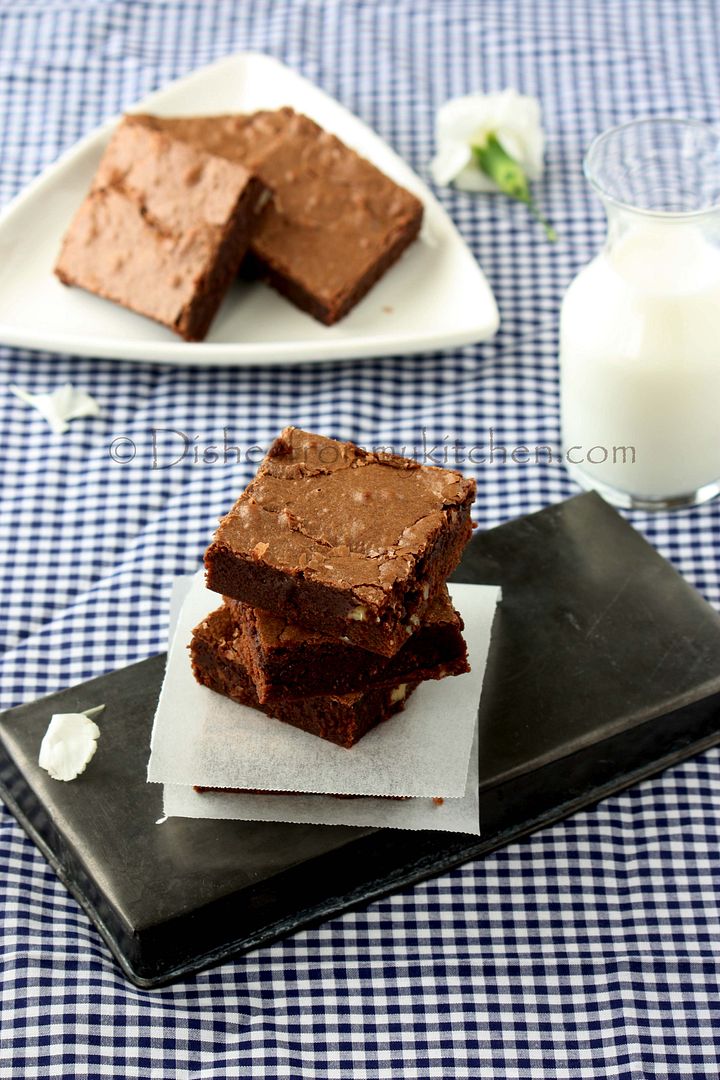
FUDGY CHOCOLATEYYYYY WALNUT BROWNIES !!!


This post was lying in my draft for so long period... must say it’s been a year ago I took this picture.  When I was clearing the picture folders, I happened to see this one and few other pictures which I will post in the following week.


Coming to the recipe, I have few go to recipes for brownies and this is the one of them.  If you want a fudgy brownie then here is quick post for you guys... Enjoy!!!


FUDGY CHOCOLATE WALNUT BROWNIES


Ingredients:


All purpose flour - 1 cup

Semi Sweet chocolate chips - 1 cup (Use good quality chocolate)

Cocoa powder - 2 tbsp

Eggs - 3

Butter - 1 1/2 sticks

Sugar - 1 cup

Vanilla extract - 2 tsp

Salt - 1/2 tsp

Walnut - 1/4 cup chopped (optional)


Method:


1. Preheat oven to 325 F.

2. Grease and dust a 9 inch or 8 inch square baking pan.

3. Melt butter and chocolate together in double boiler.

4. Now stir in cocoa powder until dissolved.

5. Whisk together sugar, eggs, vanilla and salt in a bowl.

6. Now whisk egg mixture into chocolate mixture. Do not over whisk.

7. Add the flour and whisk until they are nicely incorporated. Add the walnuts.

6. Pour brownie batter into prepared pan and bake for 30 - 40 minutes, or until a toothpick inserted into the middle of the pan come out barely clean. Cool.


Note:


1. Do not over whisk or mix the batter, mix until they are nicely incorporated.

Read more...

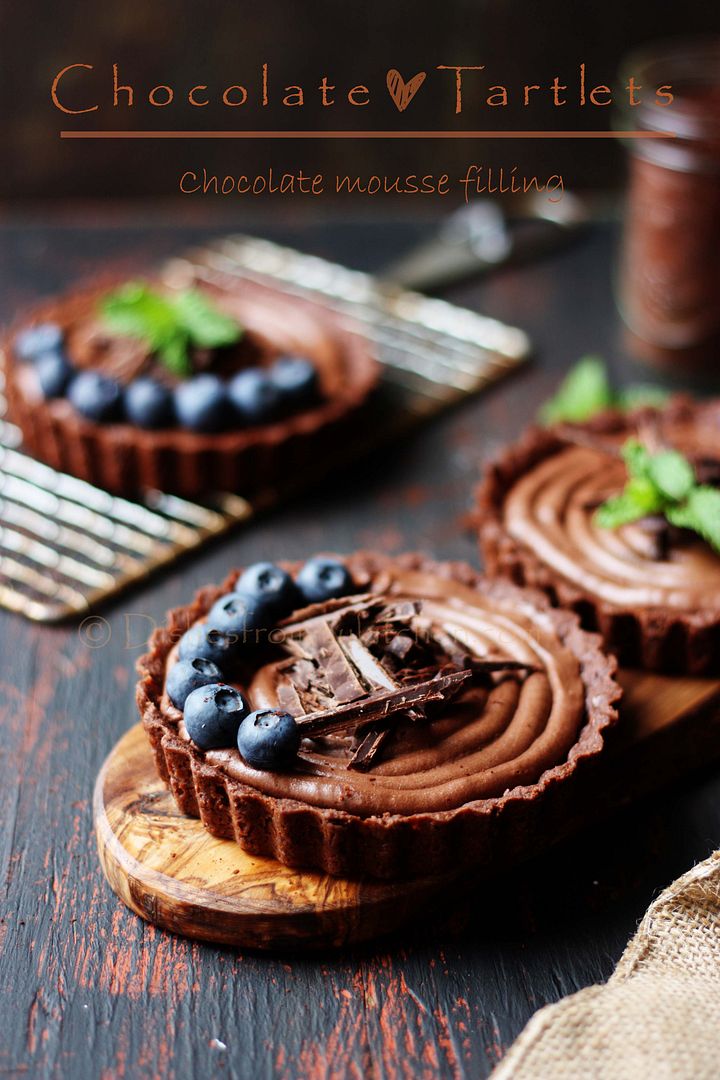
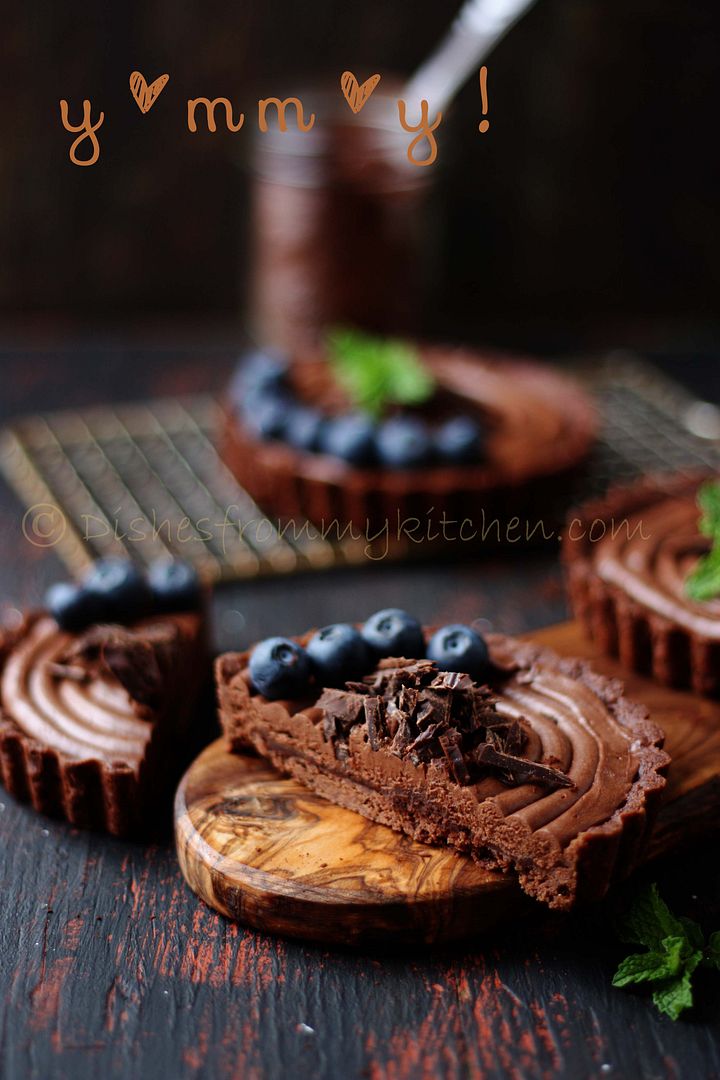
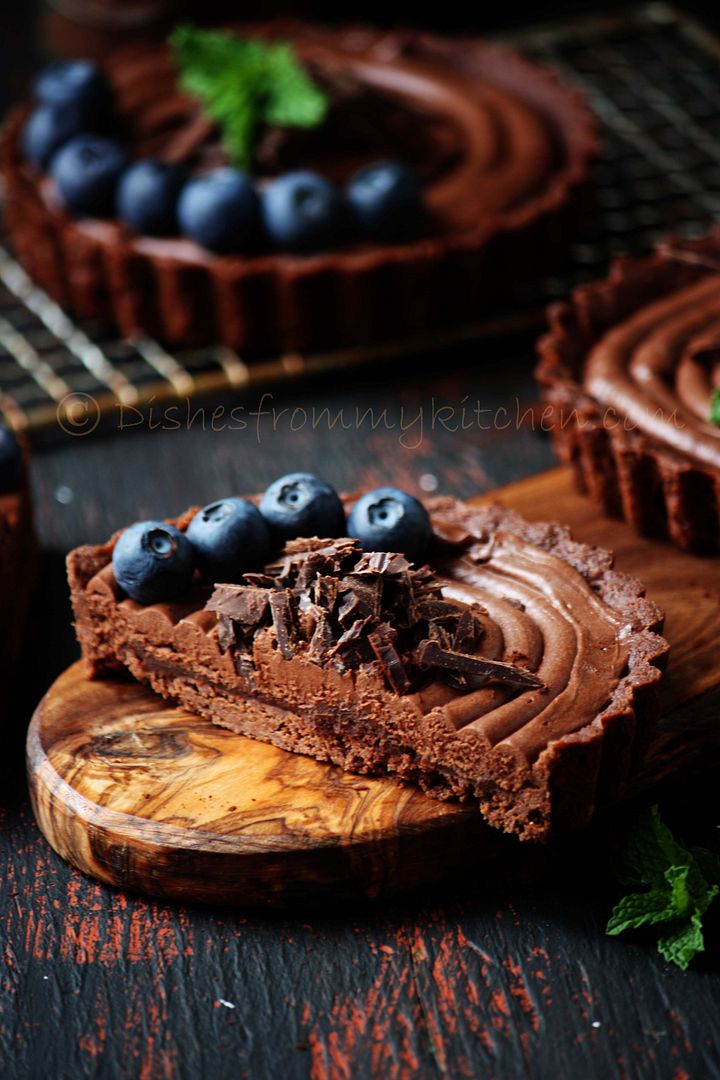
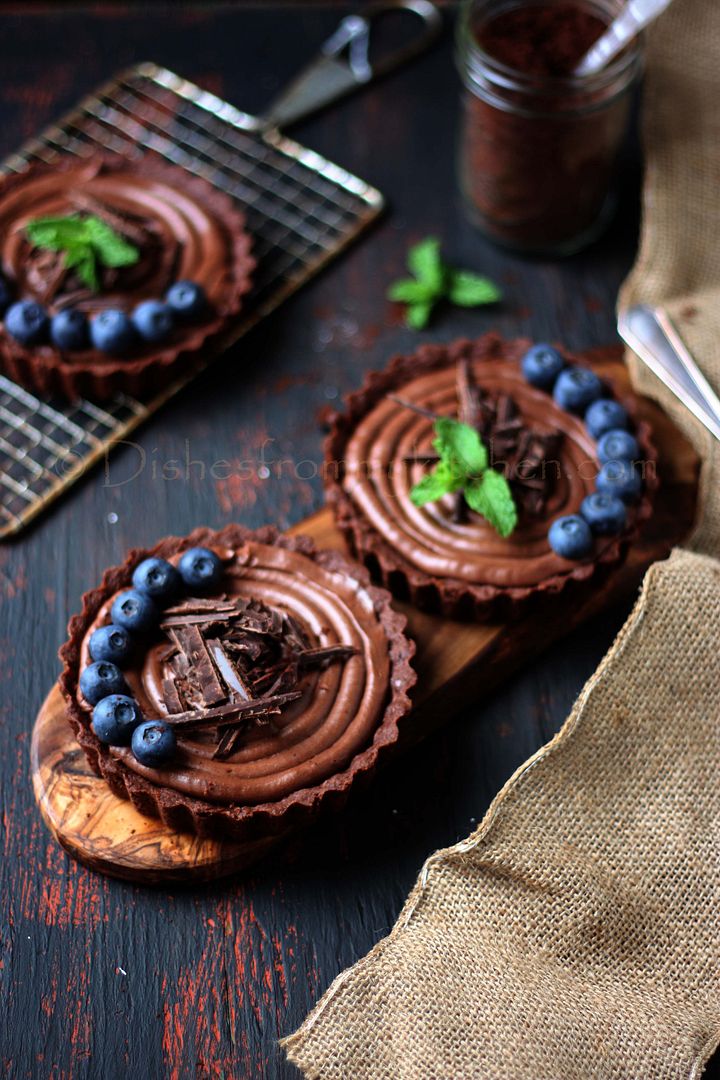
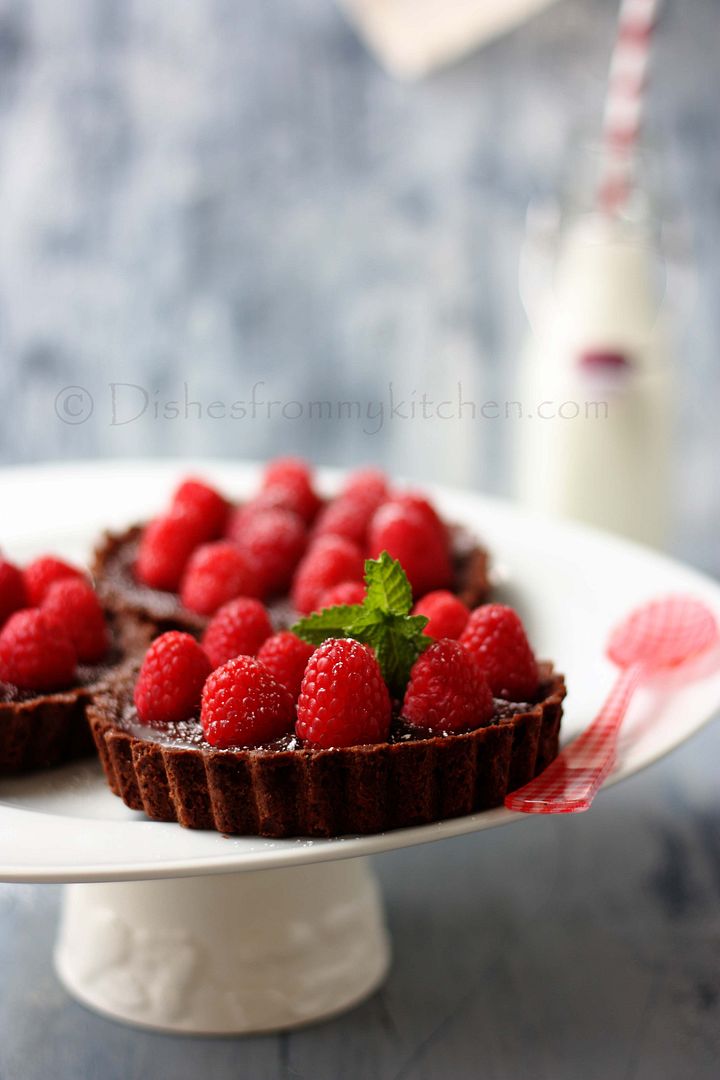
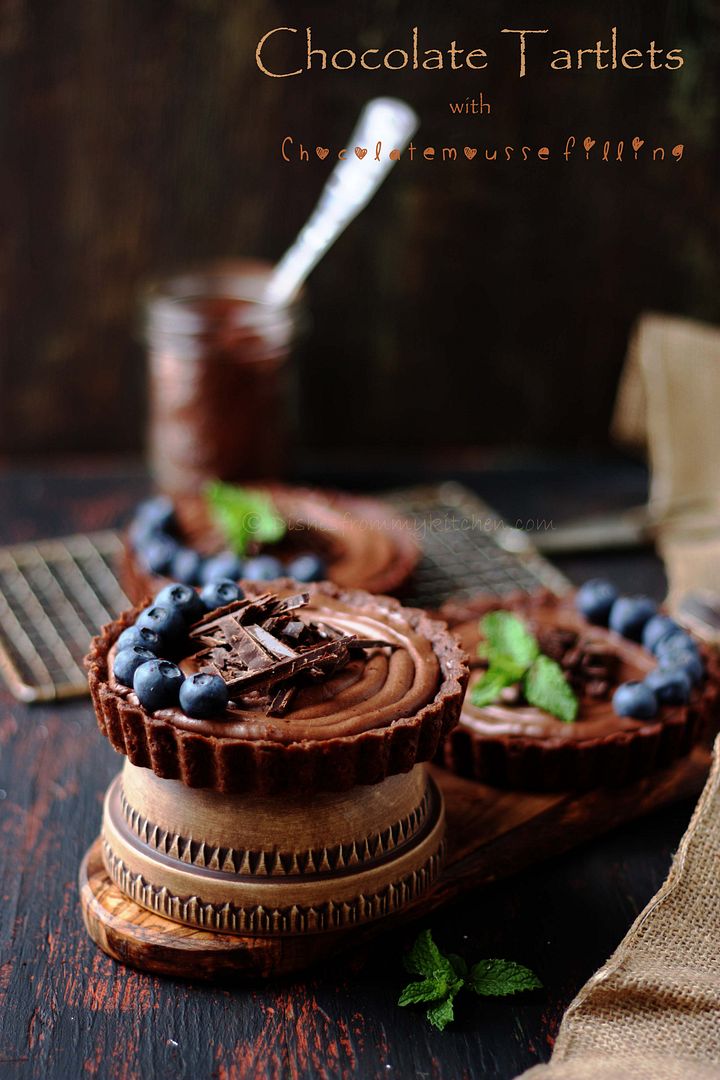
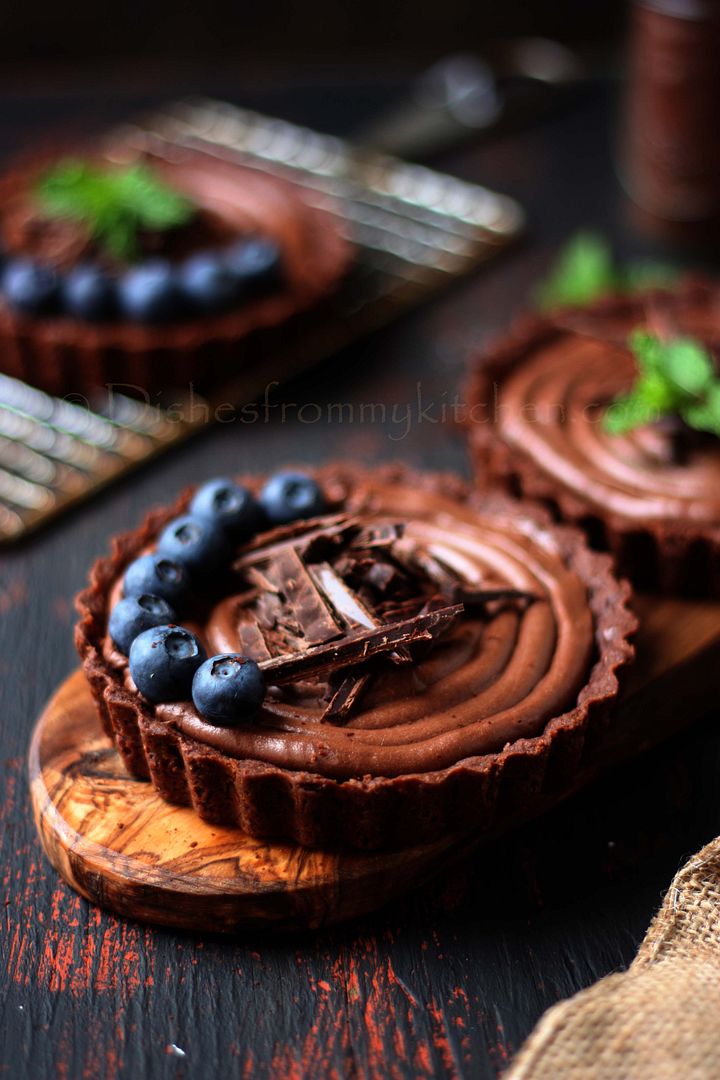
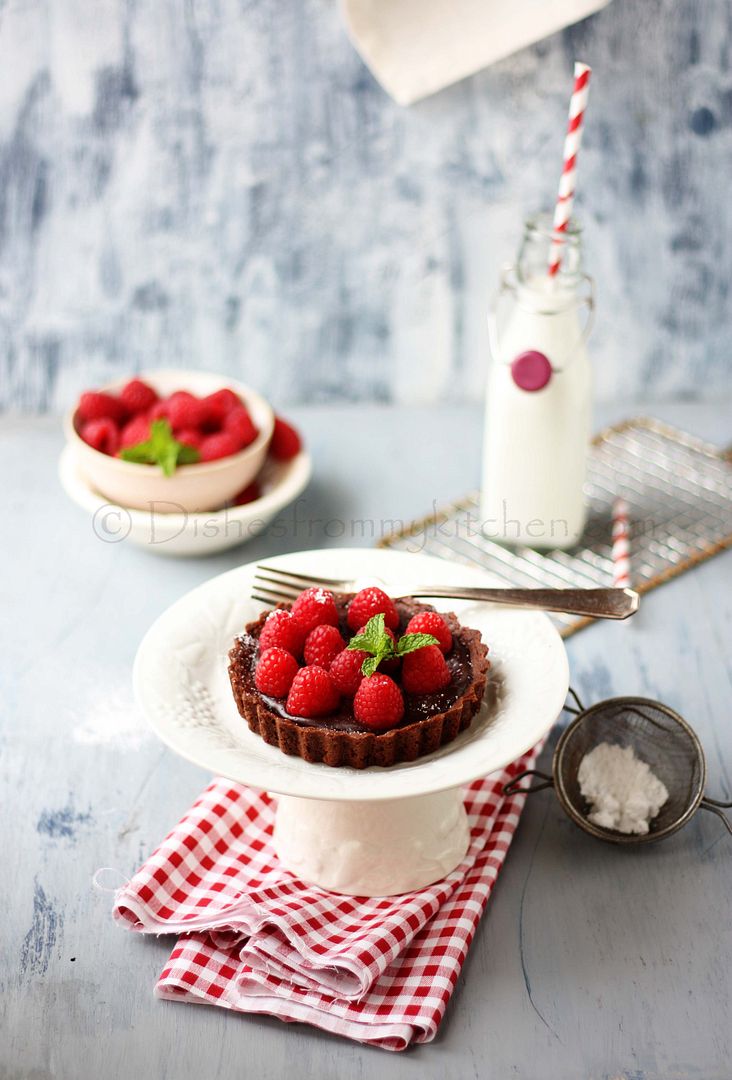
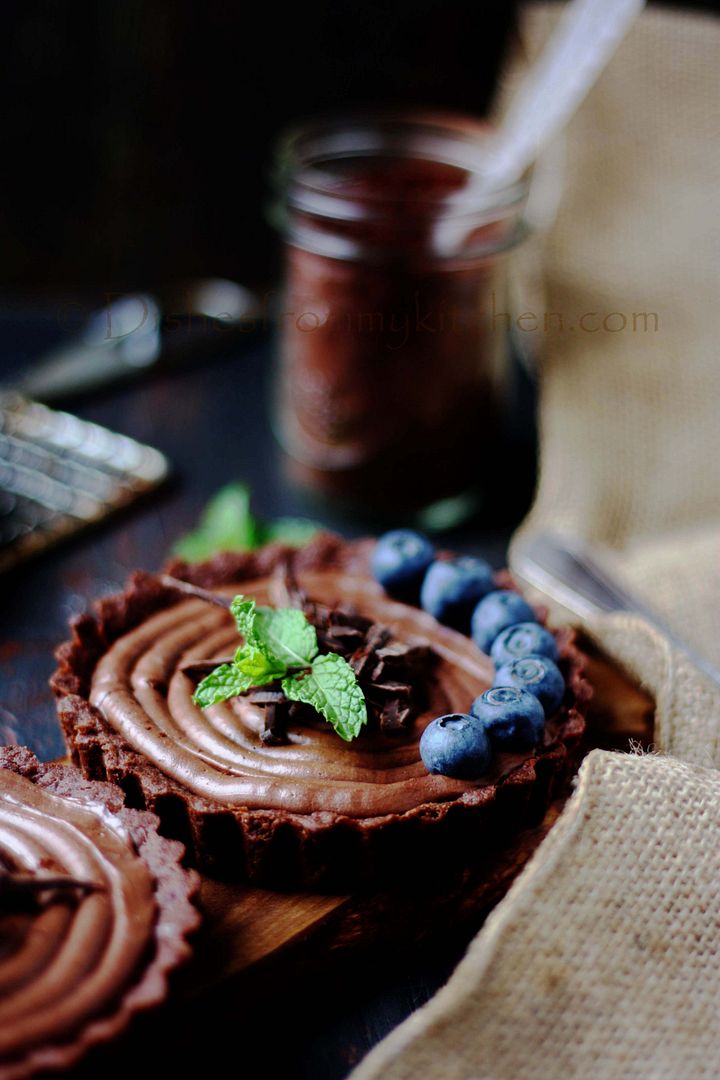
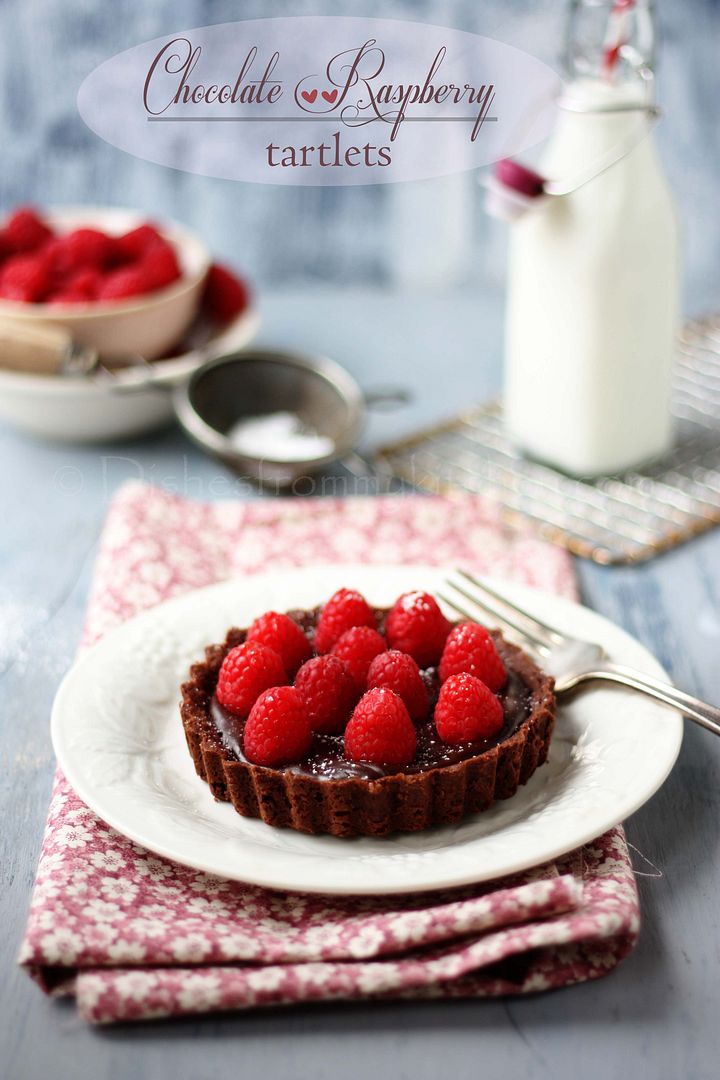
EGGLESS CHOCOLATE TARTLETS WITH 2 DIFFERENT FILLINGS - DARING CHALLENGE JUNE 2013


Hi All, it’s been sometime since I did a blog post.  The summer vacation is keeping me busy with my kid.  Even though I am cooking a lot during holidays, I don't have time to blog on those.  I do post the food I prepare on my Facebook page.  I felt the urge to do this post for "Daring Bakers".  There has been a lot of recipe requests after looking at the pictures in my Facebook page.  I will post those recipes in my blog soon.


Rachael from pizzarossa was our lovely June 2013 Daring Bakers’ host and she had us whipping up delicious pies in our kitchens! Cream pies, fruit pies, chocolate pies, even crack pies! There’s nothing like pie!  If you are looking for plain buttery shells here is one which I have posted before.

CROSTATA - FRANGIPANE PLUM FILLING


CHOCOLATE TARTLETS

Ingredients:

CHOCOLATE CRUST

Cake Flour - 1 1/2 cups
Butter - 3/4 cup
Sugar - 6 tbsp
Unsweetened Cocoa - 6 tbsp
Salt - a pinch


Method:

1. Combine the butter, sugar and salt in a food processor.  Process until blended.
2. Add the cocoa and process until smooth.
3. Add the flour and pulse until the mixture is crumbly but can be pinched to hold together.
4. Divide the dough into six equal pieces, flatter each piece into a disk.  Wrap them in a plastic wrap.
5. Refrigerate for at least 1 hour or overnight.
6. Remove one piece of dough at a time from the refrigerator and roll it into a 6 inch circle between two sheets of plastic wrap.
7. If the dough gets too soft, refrigerate until firm before continuing.
8. Remove the top sheet of the plastic wrap; invert the dough circle over a 4 1/2 inch nonstick tartlet pan with a removable bottom.
9. Keeping the plastic Wrap on top, press the dough onto the bottom and sides of the pan.
10. Repeat with the remaining dough to make six tartlet shells.
11. Refrigerate for at least 30 minutes.
12. Preheat the oven to 375 F.
13. Prick the bottoms of the tartlet shells all over with a fork.
14. Bake for 12 to 15 minutes or until the dough looks dry.
15. Allow to cool completely.


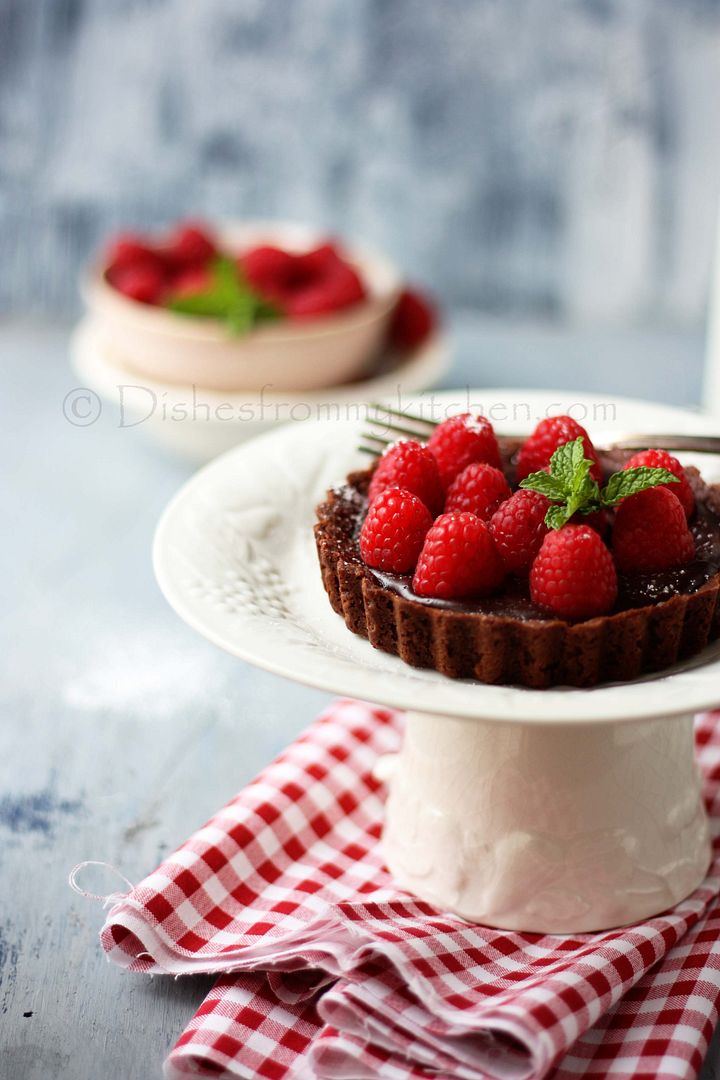
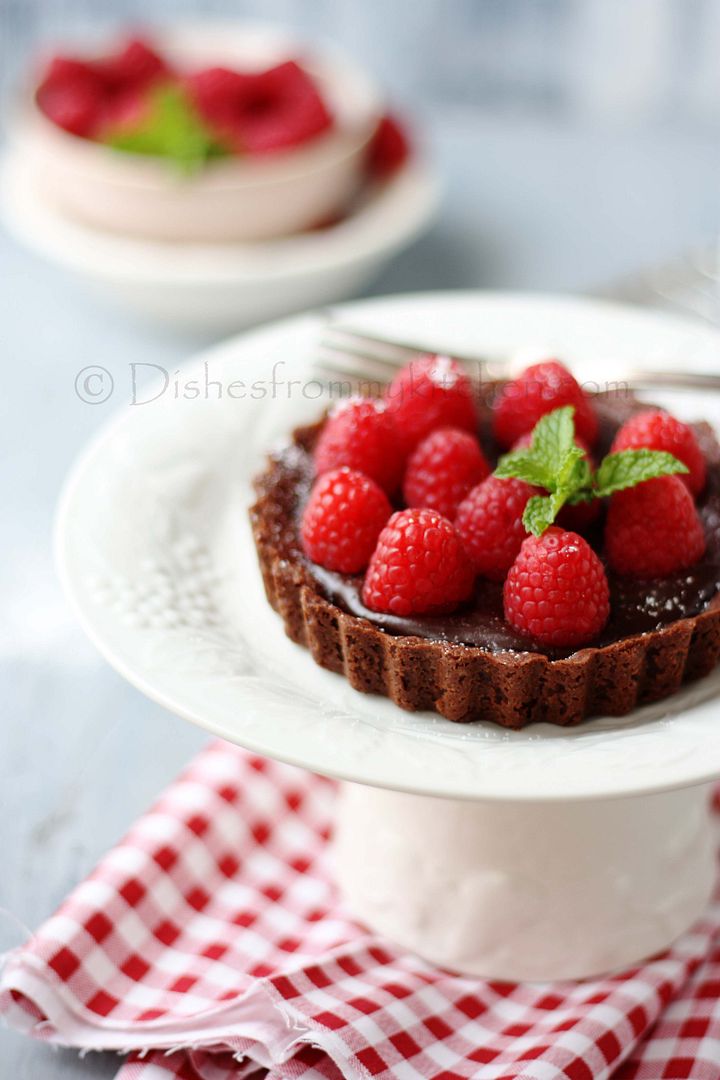
The tart shell recipe and chocolate filling topped with raspberries is minimally adapted from Ghirardelli.
 
I made to 2 types of filling for the tartlets
1. Chocolate mousse filling
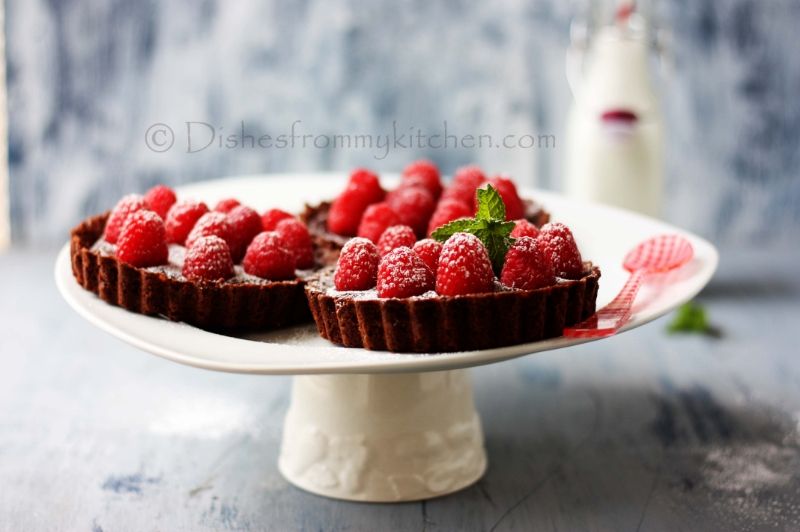
2. Chocolate filling topped with Raspberry


CHOCOLATE MOUSSE FILLING 

This measurement is for 3 tartlets.


Ingredients:

Heavy cream - 1/2 cup
Semi-sweet chocolate chip or chunks - 3 1/2 Oz

Method:


1. Bring cream to a simmer in a medium saucepan over medium heat. Remove from heat.
2. Coarsely chop chocolate in a bowl.  Add simmered cream (hot) to the chopped chocolate.
3. Let it stand until softened.
4. Whisk until smooth.
5. Place in a larger bowl of cold water or ice cubes and let it stand, stirring occasionally, until cool.
6. Whisk just until mixture forms soft peaks.  Evenly distribute among cooled crusts just by spoon or using piping bag as I have done swirls.
7. Garnish with chocolate chunks or fruits of your choice.

Refrigerate till you serve. Bring to room temperature 15 minutes before you serve.


CHOCOLATE FILLING TOPPED WITH RASPBERRY

This measurement is for 3 tartlets.

Ingredients:

Heavy cream - 1/2 cup
Semi-sweet chocolate - 7 oz
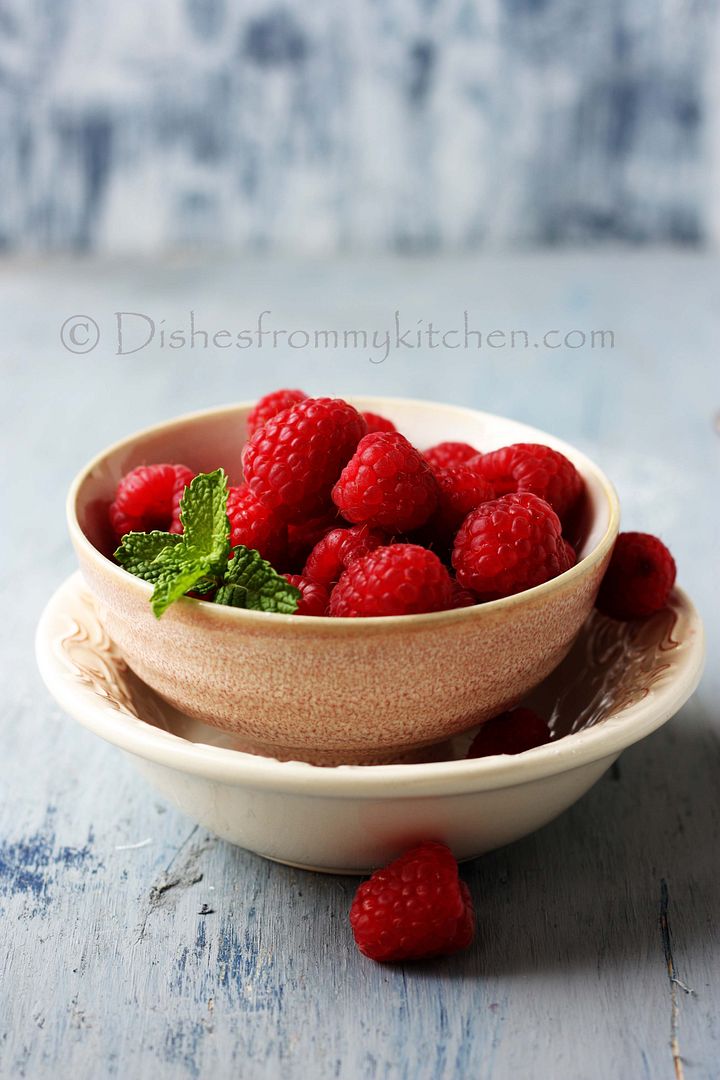
Raspberry for garnishing 


Method:

1. Simmer the cream in a medium sauce pan.
2. Remove from the heat and add the chocolate.
3. Let it sit for a few minutes to allow the chocolate to melt, and then whisk gently until smooth.
4. Cool to room temperature.
5. Pour 1/3 cup of the chocolate mixture into each tartlet shell.
6. Refrigerate the tartlets at least 1 hour until the filling is firm.
7. Arrange the raspberries and dust with powdered sugar when you are ready to serve.


Read more...

EGGLESS BUTTERLESS WHOLE WHEAT GRANOLA MUFFIN !


The fresh aroma of the home made granola is great and it feels satisfying to eat the granola made by you at home.  Everybody loves Muffins for breakfast or as a snack, the only thing is about the calorie part of it.  So here is whole wheat muffin with the home made Granola.  Its healthy and absolutely "NO BUTTER” and "NO EGG " in this muffin.  Muffin made with whole wheat flour is healthy; it’s a great way to eat everyday without guilt.  This whole wheat muffin has nutty taste, the texture is not too dense and it will be absolutely moist even after two days.  It is best for breakfast or a midday snack.  Topping the muffin with home made granola or nuts add a lot of taste and crunch to the muffin. 

If you are interested in trying out this recipe do read the notes for variation, as in this recipe adding nuts, fruits etc are endless.  You can make the muffin the way you like.  Most importantly I have added one secret ingredient Cornflour which gives nice texture to this muffin.  I hope you will try it out and enjoy as much as we enjoy them.  This is my foolproof recipe for healthy muffin.  You can also make this vegan just by substituting buttermilk with some sour juices. Even if you do not have Granola you can make this muffin, see my notes for substitutions.

When I posted the picture on my facebook page, lot of friends asked for this recipe.  Here you 
go……  


GRANOLA MUFFIN

Ingredients:

Whole wheat flour - 2 cups (You can also use regular atta that we use to make for chapatti)
Corn flour - 2 tbsp
Brown Sugar - 3/4 cup
Oil - 1/3 cup (Usually I use mixture of coconut oil + any flavorless oil)
Baking powder - 1 tsp
Baking soda - 1/2 tsp
Cinnamon powder - 3/4 tsp
Vanilla extract - 1 tsp
Salt - 3/4 tsp
Butter milk - 1 1/2 cup
Homemade granola - 1 cup + few for topping (you can also use store bought granola)
Walnuts - 1/4 cup chopped


Method:

1. Take wheat flour in a bowl remove 2 tbsp of flour and add 2 tbsp of Cornflour into that.  Whisk it till they are mixed well.
2. Whisk together all of the dry ingredients, including the granola in the same bowl.
3. In a bowl, whisk together all the liquid ingredients including brown sugar.
4. Pour the liquid ingredients into the dry ingredients, stirring just to combine. Do not over mix it.
5. Put the big scoop of the batter into the prepared muffin cups nearly full.
6. Sprinkle the top of the muffins with granola or any nuts or dry fruits of your choice.
7. In the preheated 375 F oven bake the muffins for 16 to 18 minutes or until a toothpick inserted into the middle muffins comes out clean.
8. This yields about 11 to 12 muffins of regular size.  Since I made little bigger it gave 8 muffins and the baking time was about 20 minutes.
9. Remove the muffins from the oven and transfer them to the cooling rack.  Serve warm or at room temperature with glass of milk.


Notes:

1. If you want to make a vegan muffins just substitute the buttermilk with orange juice or any other fruit juices which are little sour.
2. You can add any nuts of your choice or even dried coconut too.
3. If you do not have granola you can also add toasted oats + nuts+ dried fruits combination which measures 1 cup.
4. Since my home made granola already has sugar I have added 3/4 cup of brown sugar, but if you are following the 3rd step of my notes increase the sugar to 1 cup.
5. You may need to add couple of tbsp of water to the batter if it is too thick as this depends on the quality of the flour we use.
6. You can also add chopped apple, banana to the batter if you want.


Enjoy making healthy muffin!!!  Combinations are endless !!!

Read more...

SAVARIN / BABA AU RHUM - DARING BAKERS 2013

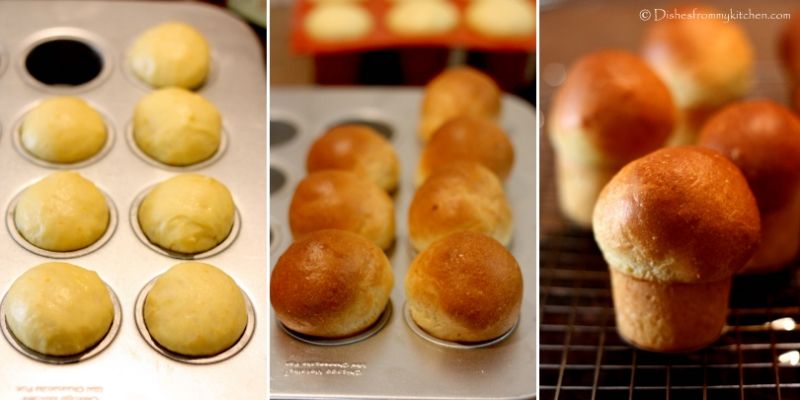
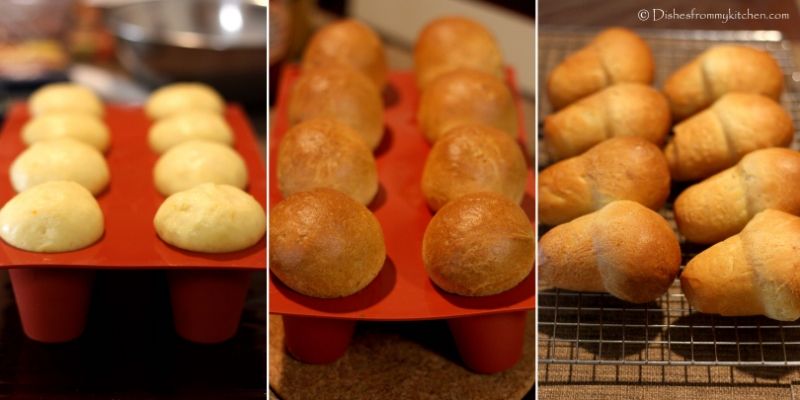
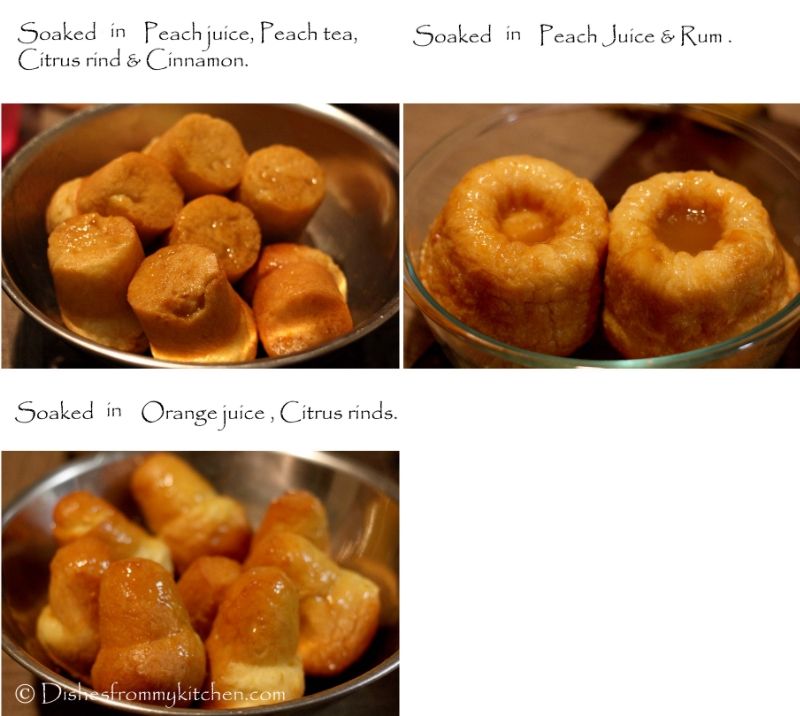
Thanks for the wonderful challenge Natalia... I thoroughly enjoyed it because, during our recent trip to Naples we enjoyed eating so much of Baba au rhum and we all loved it a looooot.  From that time I was planning to do this, atleast I had a chance to do it for the challenge... For the sponge I followed the recipe you have provided and it was so perfect,  came out airy, soft and the texture was so good that the liquid soaked up very well. Made three different shapes of Baba/Savarin and soaked with different combination of syrup. Filled with Crème Patisserie and whipped cream. Decorated with Fruits...

Natalia of Gatti Fili e Farina challenges us to make a traditional Savarin, complete with soaking syrup and cream filling! We were to follow the Savarin recipe but were allowed to be creative with the soaking syrup and filling, allowing us to come up with some very delicious cakes!


What is Savarin ??


Savarin: A yeasted cake made with the same dough as Rum Baba which has its controversial origins in the Polish Babka.  Apparently, in the eighteen century the recipe traveled with the exiled Polish king Stanislas who once soaked a dried Babka in an alcoholic solution creating what is now known as Baba au Rhum. The original Babka (Christian version) is often baked in a tall ring mold but it is in the Julien brothers’ Patisserie in 1844 that it was baked in the classic Savarin mold (which takes its name from the eclectic lawyer, politician and gastronome Jean Anthelme Brillat-Savarin).  It is said that baba cake was brought to Paris and France by the King of Poland.  King Stanislas Leszczyunska was the father-in-law of King Louis XV of France, when he was exiled to Lorraine.  According to one legend, he found the customary kouglopf too dry and dipped it in sweet wine.  He was so delighted that he named the cake after his hero Ali Baba from his favorite book, A Thousand and One Nights.  Later, his chef refined the sweet bread by using brioche dough and adding raisins to the recipe..  The cake was then called, "Baba."  Years later, Baba traveled to Naples by some unknown French cook, where it is still one of the most popular treat: o’ Babbà!  "Baba cake is called "Bakka" in Poland and "Father's Cake" in Turkey.  Some say the word BABA in French means, "falling over dizzy,"  World renowned Chef Alain Ducasse serves baba au rhum as a signature dessert at his Michelin restaurants...

Whether it is Savarin or Baba, it tastes sooooooo good which is topped or filled with different creams or custards and decorated with fruits, candied fruits and so on.


Photograph which I took during my Naples Trip :)


SAVARIN

Servings: 8/10

Ingredients:

Bread flour - 2 1/2 cups (350 gm)
Water, lukewarm - 2 tablespoons (30 ml)
Eggs - 6 (320 gm) large at room temperature, separated
Instant yeast - 1½ tsp (4 gm)
Sugar - 4 tsp (20 gm)
Butter - 1/3 cup (75 gm) butter at room temperature
Orange and lemon zest (optional) - 1 tbsp (15 gm)
Salt - 1 tsp (6 gm)
Butter - ¼ cup (55 gm) for greasing the work surface, hands, dough scraper & baking pan


Method:

SPONGE

In small bowl mix 2 tablespoons lukewarm water, 3 tbsp (25 gm) flour and yeast , cover with cling film and let rise 60 minutes.

DOUGH

1. After 30 minutes put the egg whites in the mixer bowl and start working with the paddle at low speed adding flour until you have soft dough that sticks to the bowl (about 2 cups or 270 gm) and work until it comes together, cover with cling film and let rest 30 min
2. Add the sponge to the mixer bowl along with a tablespoon of flour and start mixing at low speed (if you wish to add the zests do it now).
3. When it starts pulling away from the sides of the bowl, add one yolk and as soon as the yolk is absorbed add one tablespoon of flour.
4. Add the second yolk, sugar and as soon as the yolk is absorbed add one tablespoon of flour.
5. Increase the speed a little.
6. Add the third yolk, salt and as soon as the yolk is absorbed add one tablespoon of flour.
7. Keep on adding one yolk at the time and the flour saving a tablespoon of flour for later.
8. Mix the dough until it is elastic and makes threads.
9. Add the butter at room temperature and as soon as the butter is adsorbed add the last tablespoon of flour.
10. Keep on mixing till the dough passes the window pane test.
11. Cover the dough with cling film and let it proof until it has tripled in volume for 2 to 3 hours.
12. You can prepare the Pastry cream now if you chose to use it, and refrigerate it.
13. While you wait prepare your baking pan buttering it very carefully not leaving too much butter on it.
14. Grease your dough scraper, your hands and your work surface and put the dough on it and fold with the Dough Package Fold two or three times around (5 folds twice or three 
times). Cover with cling foil and let it rest 15 minutes on the counter.
15. Turn the dough upside down and with the help of your buttered dough scraper shape your dough in a rounded bun.
16. Make a hole in the center with your thumb and put it in the prepared pan.
17. Cover with cling film and let it rise in a warm spot until the dough reaches the top of the pan (about 1 hour).
18. Pre-heat oven to 340°F/170°C/gas mark 3.
19. Bake the Savarin for about 40 minutes until the top is golden brown. (My mini versions took 20 minutes for baking)
20. Meanwhile prepare the Syrup.
21. When the Savarin is done take it out of the oven and let it cool.  Carefully remove out of the pan.
22. You have two choices now: you can immerse it in syrup right now or you can let it dry out (so it will lose some of his moisture that will be replaced by the syrup) and soak it later on.
23. To immerse it in syrup it is a good idea to place it in the mold you baked it and keep adding ladles of syrup until you see it along the rim of the pan. Alternatively you can just soak it in a big bowl keeping your ladle on top of it so it doesn’t float. Once the Savarin is really well soaked carefully move it on a cooling rack positioned over a pan to let the excess syrup drip
24. The soaked Savarin gains in flavor the next day
25. Whatever you decide the day you want to serve glaze it and fill the hole with your filling of choice and decorate it. You can serve the Savarin with some filling on the side
26. Enjoy it!


Peach Flavored Syrup (For Soaking the sponge)

For the above mini versions of Baba or Savarin I needed this amount of syrup to soak them up nicely.

Ingredients:

Peach tea - 1 1/2 cup
Peach juice - 3 cup
Water - 1 1/2 cup
Sugar - 1 1/2 cup
I used zest of 1 orange
One cinnamon stick
Good quality Rum - 1/2 cup (optional)


Method:

1. Combine tea, water, sugar, lemon zest and cinnamon stick and bring to a boil.
2. Let boil 5 minutes and remove from the stove.
3. When cooled a bit add the peach juice and good quality rum if using.
4. Use this syrup for soaking.


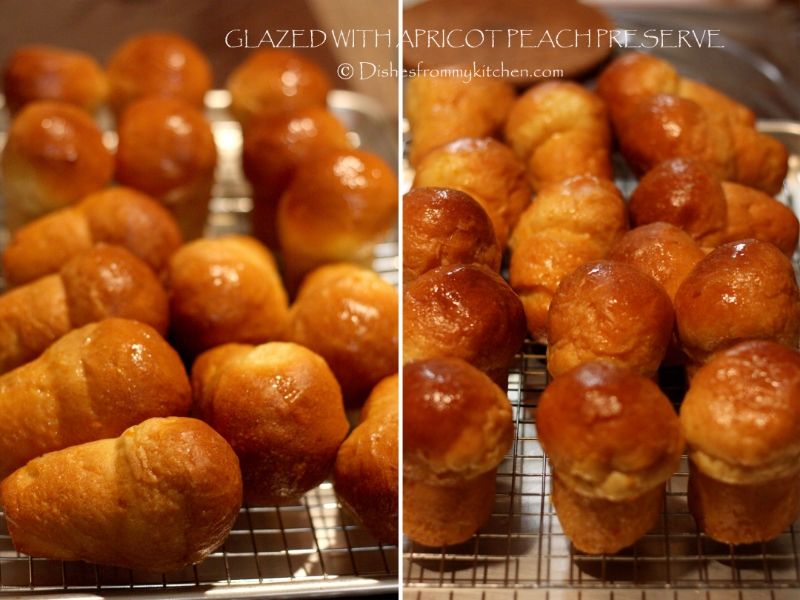
For Glaze :
Ingredients :

2 tablespoons (30 ml) apricot Jam
2 tablespoons water
 

Method :

1.In a saucepan mix jam and water and warm up.
2.When the savarin is cool and soaked brush it with the glaze.


Crème Patisserie & Whipped cream

Ingredients:

Milk - 500 ml
Butter - 20 g
Sugar - 100 g
Egg yolk - 100gm (Approximately 5 to 6 eggs)
All purpose flour - 50 gm
Vanilla extract - 1/2 tbsp
Heavy cream - 400 ml
Sugar - 3 tbsp
Gelatin - 1 tsp
Water for Gelatin - 1 tbsp


Note:

Prepare the pastry cream for the filling in advance.

Method:

1. Mix egg yolk and ¾ of sugar in a pan until perfectly smooth.
2. Add the sifted flour to the egg yolk and mix again.
3. Add the remaining sugar together with the butter to the milk (in a large saucepan) and bring it to a boil.
4. Now pour half of the hot milk into the bowl with the egg / sugar. Stir and then return the mixture back into the large saucepan.
5. Keep heating and stirring until the mixture comes to a boil and thickens. Remove from heat and add vanilla extract.
6. You’re finished when you see big bubbles in the Pastry cream.
7. Pour the hot pastry cream onto a baking pan or another shallow pan, so it cools down quickly.
8. The pastry cream that we need in a moment to mix with the whipped cream should be at room temperature.
9. Put the gelatin powder in small microwavable glass and add a tbsp of cold water.
10 Then, set aside.
11. Add the sugar to the heavy cream and whip until it forms soft peaks. Then, whisk by hand until it forms stiff peaks.
12. Dissolve the gelatin in the microwave.
13. Mix the gelatin and a little pastry cream in a bowl. Add the remaining pastry cream and mix well.
14. Reserve 1/2 of the whipped cream for decorating or topping and mix other half with the pastry cream that is in room temperature.
15. Fold in the whipped heavy cream in two steps into pastry cream until they are blended well.


ASSEMBLING :

Glaze the the soaked sponge, cut them to 3/4 th horizontally, fill it with Crème Patisserie and top it with whipped cream.  Garnish with the fruits and serve chilled.


Read more...


Page copy protected against web site content infringement by Copyscape

Visit Great Cooks Community
All recipes are on Petitchef