EMPANADA GALLEGA - DARING BAKER'S CHALLENGE !
>> Thursday, September 27, 2012 –
bolani,
brazilian pastel recipe,
daring challenge,
dinner rolls,
empada,
empanada,
empanada gallega,
empanada with vegetarian filling,
pastel,
pastry,
potato filling for buns,
savory pastry,
spain empanada
Patri of the blog, Asi Son Los Cosas, was our September 2012 Daring Bakers’ hostess and she decided to tempt us with one of her family’s favorite recipes for Empanadas! We were given two dough recipes to choose from and encouraged to fill our Empanadas as creatively as we wished!
An empanada is a stuffed bread or pastry baked or fried in many countries. The name comes from the Galician, Portuguese and Spanish verb empanar, meaning to wrap or coat in bread. Empanadas are made by folding dough or bread around stuffing, which usually consists of a variety of meat, cheese, vegetables or fruits. Empanadas trace their origins to Galicia and Portugal. In Galicia and Portugal, an "empada" is prepared similarly to a large pie which is then cut in pieces, making it a portable and hearty meal for working people. Due to the Portuguese colonization of Brazil and a large number of Galician immigrants in Latin America, the empadas and empanadas gallegas has also became popular in those areas. The dish was carried to Brazil and Indonesia by Portuguese colonizers, where they remain very popular, and to the Hispanic America and Philippines by Spanish colonizers. So each nation has its own variation of Empanadas and fillings.
An empanada is a stuffed bread or pastry baked or fried in many countries. The name comes from the Galician, Portuguese and Spanish verb empanar, meaning to wrap or coat in bread. Empanadas are made by folding dough or bread around stuffing, which usually consists of a variety of meat, cheese, vegetables or fruits. Empanadas trace their origins to Galicia and Portugal. In Galicia and Portugal, an "empada" is prepared similarly to a large pie which is then cut in pieces, making it a portable and hearty meal for working people. Due to the Portuguese colonization of Brazil and a large number of Galician immigrants in Latin America, the empadas and empanadas gallegas has also became popular in those areas. The dish was carried to Brazil and Indonesia by Portuguese colonizers, where they remain very popular, and to the Hispanic America and Philippines by Spanish colonizers. So each nation has its own variation of Empanadas and fillings.
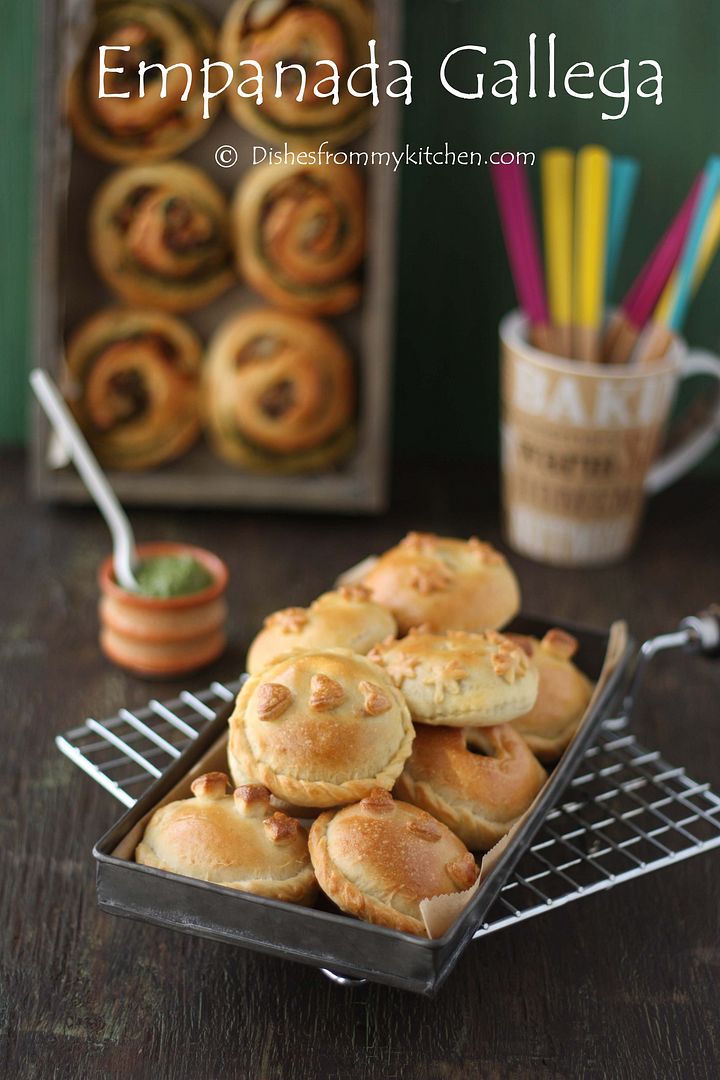
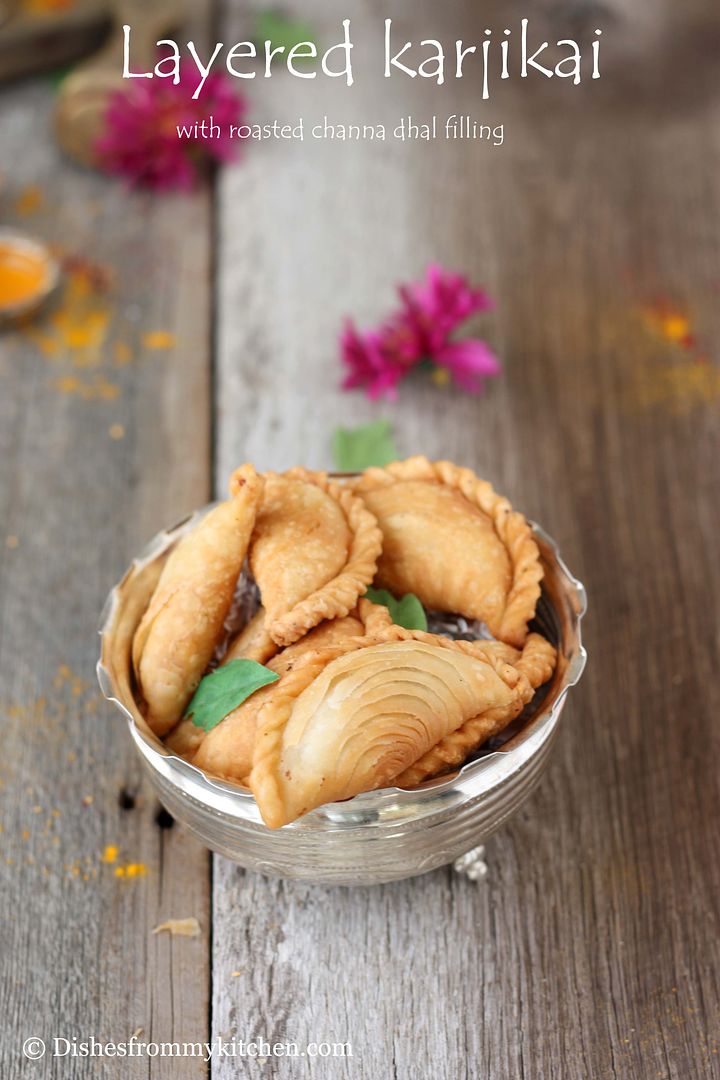
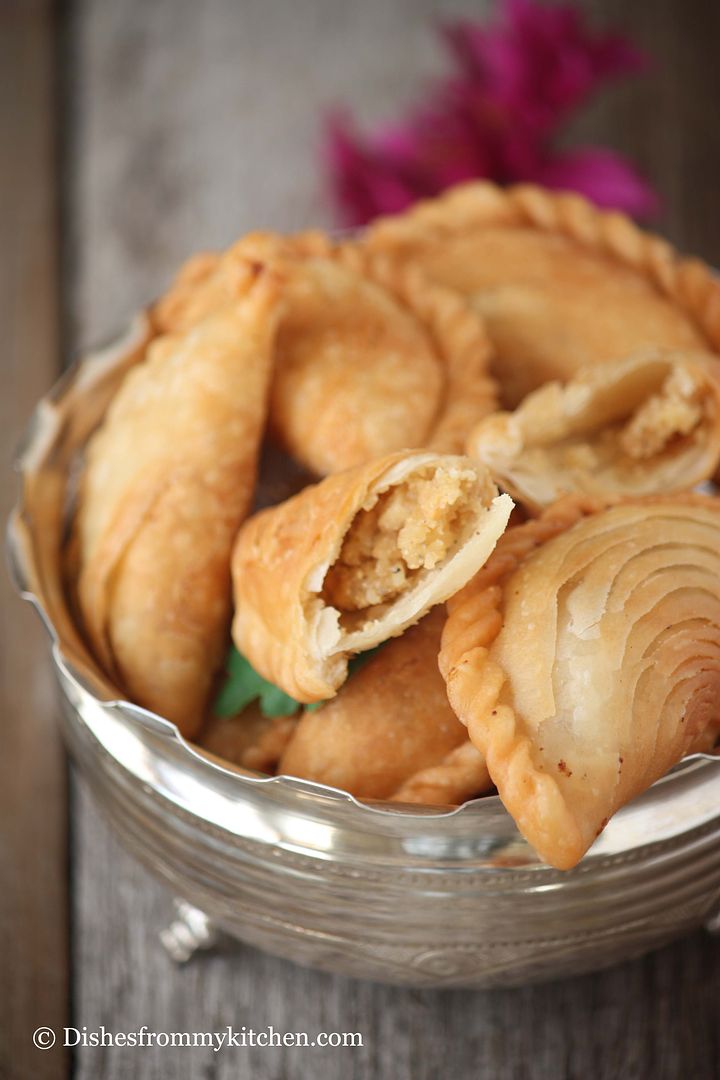
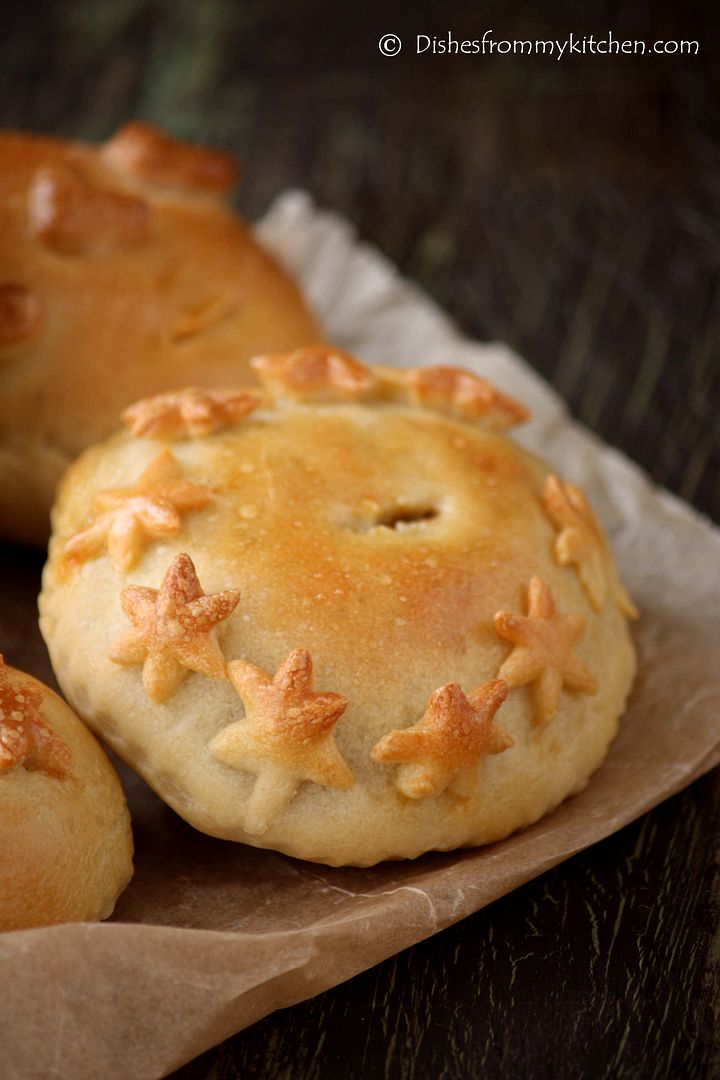
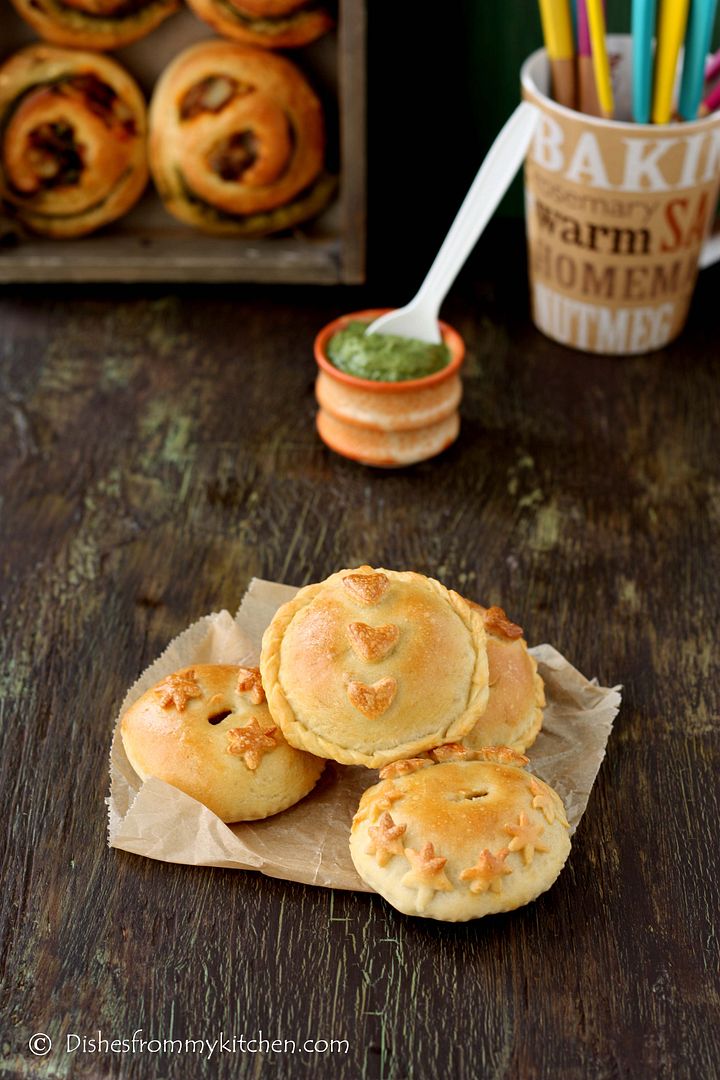
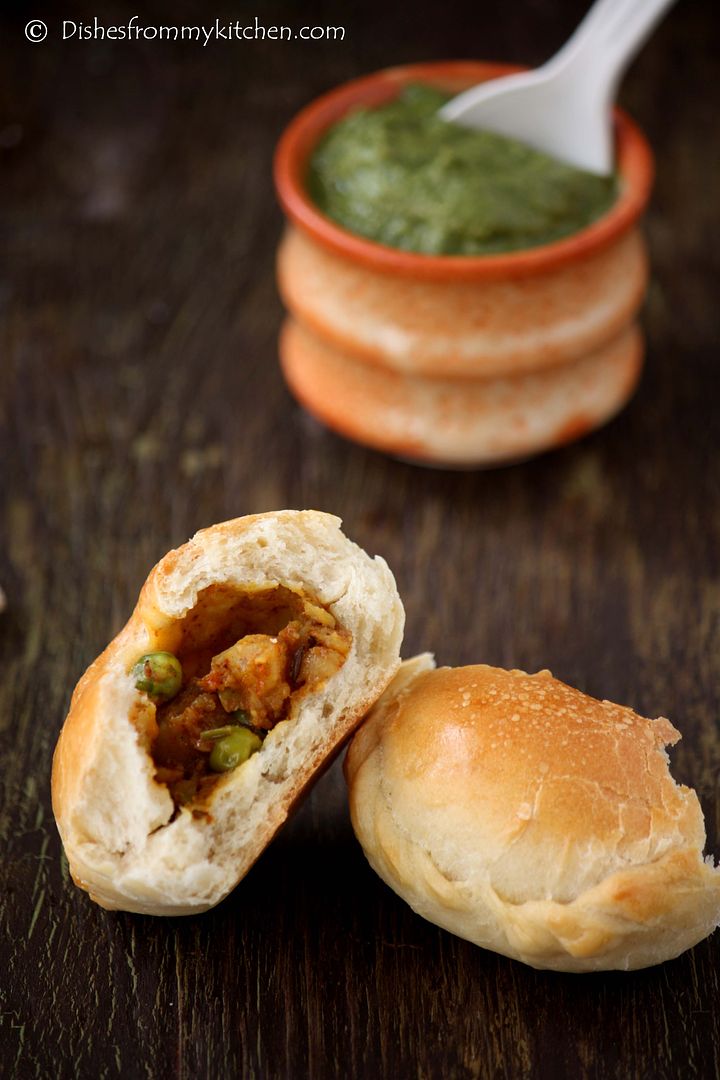
I filled my Empanadas with the mixture Potato, caramelized onion and green peas with some Indian spices. It was absolutely delicious and thanks Patri for the great challenge. But this time I was absolutely hurry in making everything. Here is last day work of Empanadas.
EMPANADA GALLEGA
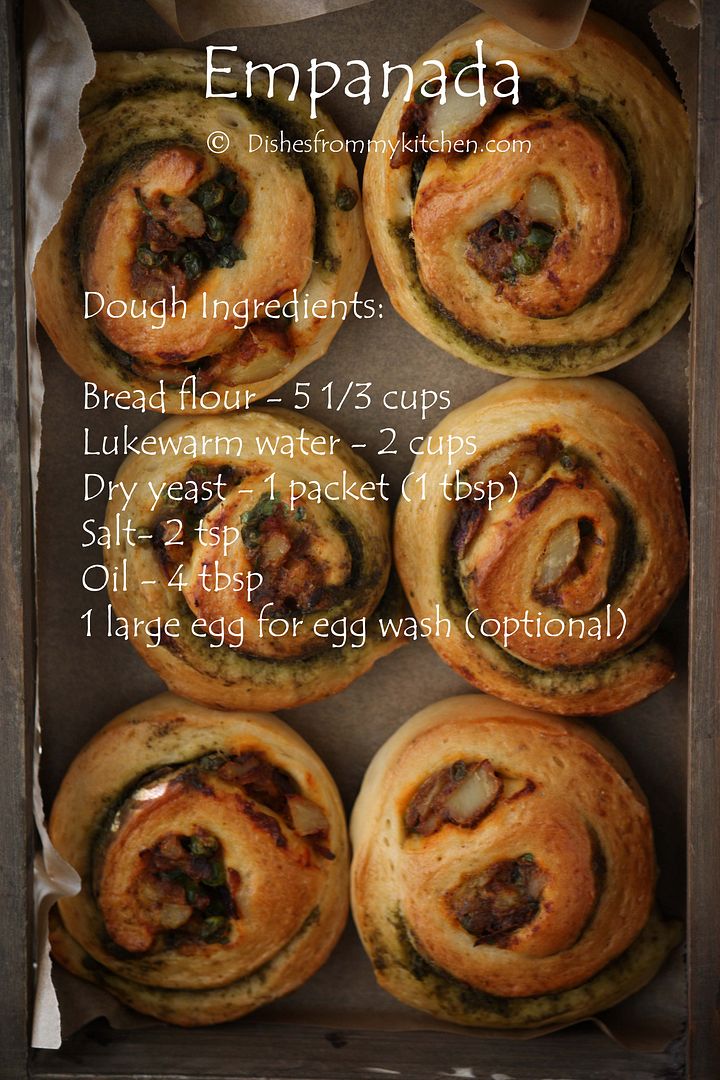
Dough Ingredients:
Bread flour - 5-1/3 cups
Lukewarm water - 2 cups (about 85°F/30ºC), approximately
Dry yeast - 1 packet (1 tbsp)
Salt- 2 tsp
Oil - 4 tbsp
1 large egg for egg wash (optional)
Dough Directions:
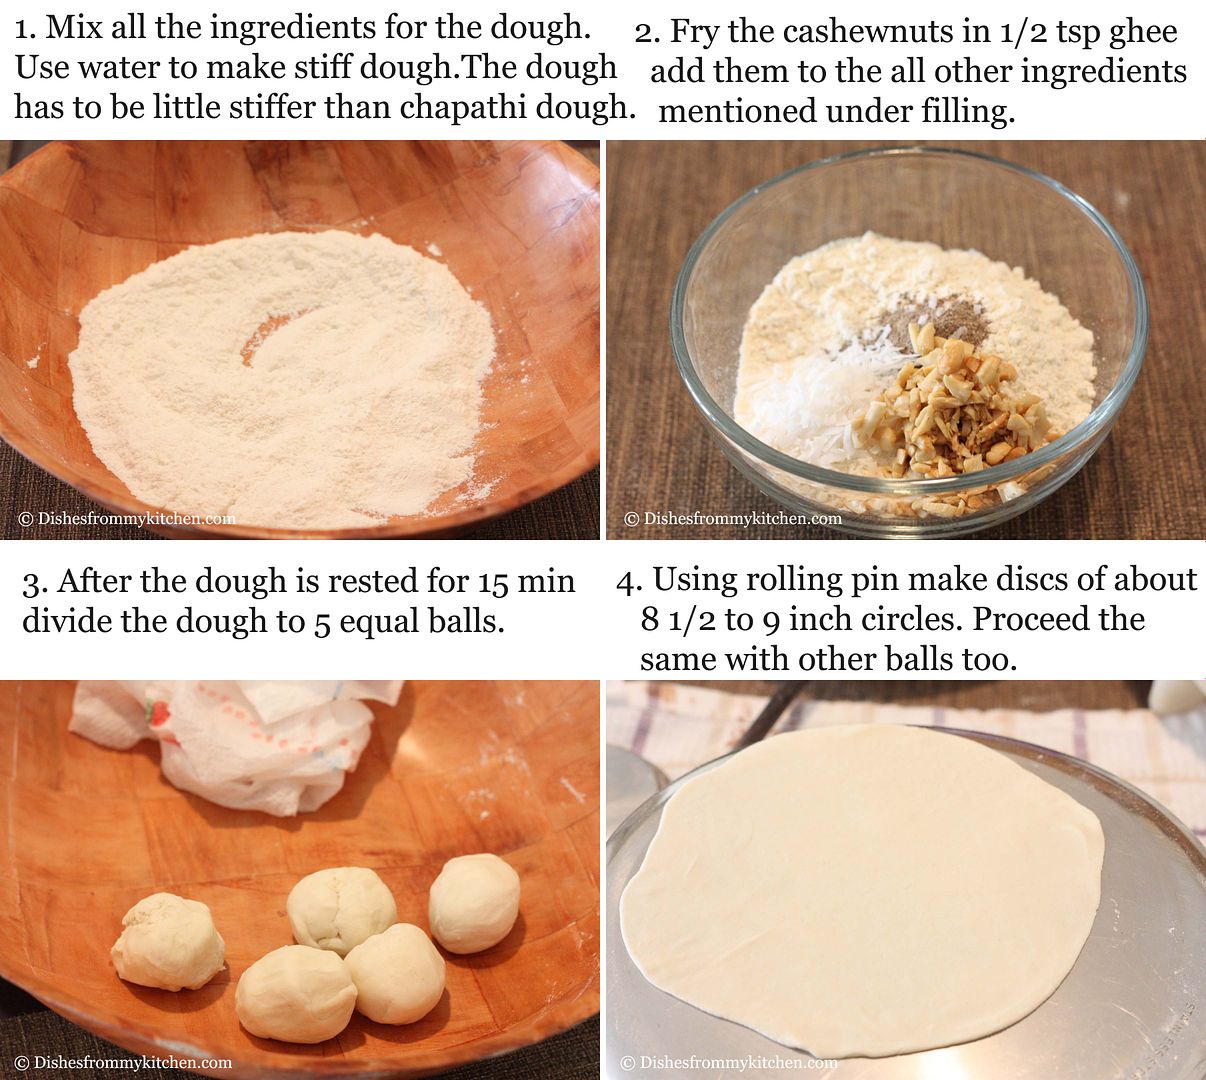
1. Measure out all the ingredients.
2. Shift the flour into a big bowl and make a well in the middle. Rub the yeast in with your fingers.
3. In a small bowl, mix the water and the salt.
4. Now, using your fingers or a wooden spoon, start adding the water and mixing it with the flour-yeast mixture. Keep on working with your fingers or spoon until you have added enough water and all the flour has been incorporated and you have a messy ball of dough.
5. On a clean counter top, knead the dough for approximately 10 minutes
6. You could do all the above using a stand mixer, in that case mix the ingredients with the paddle attachment until mixed and then switch to a dough hook and knead on low for about 6 minutes.
7. Clean and oil the big bowl you used for mixing and place the kneaded dough in it. Cover it with a napkin or piece of linen and keep it in a warm, draught-free place for approximately 40 to 50 minutes.
8. Once risen, turn the dough back into a floured counter and cut it in half. Cover one half with the napkin to prevent drying.
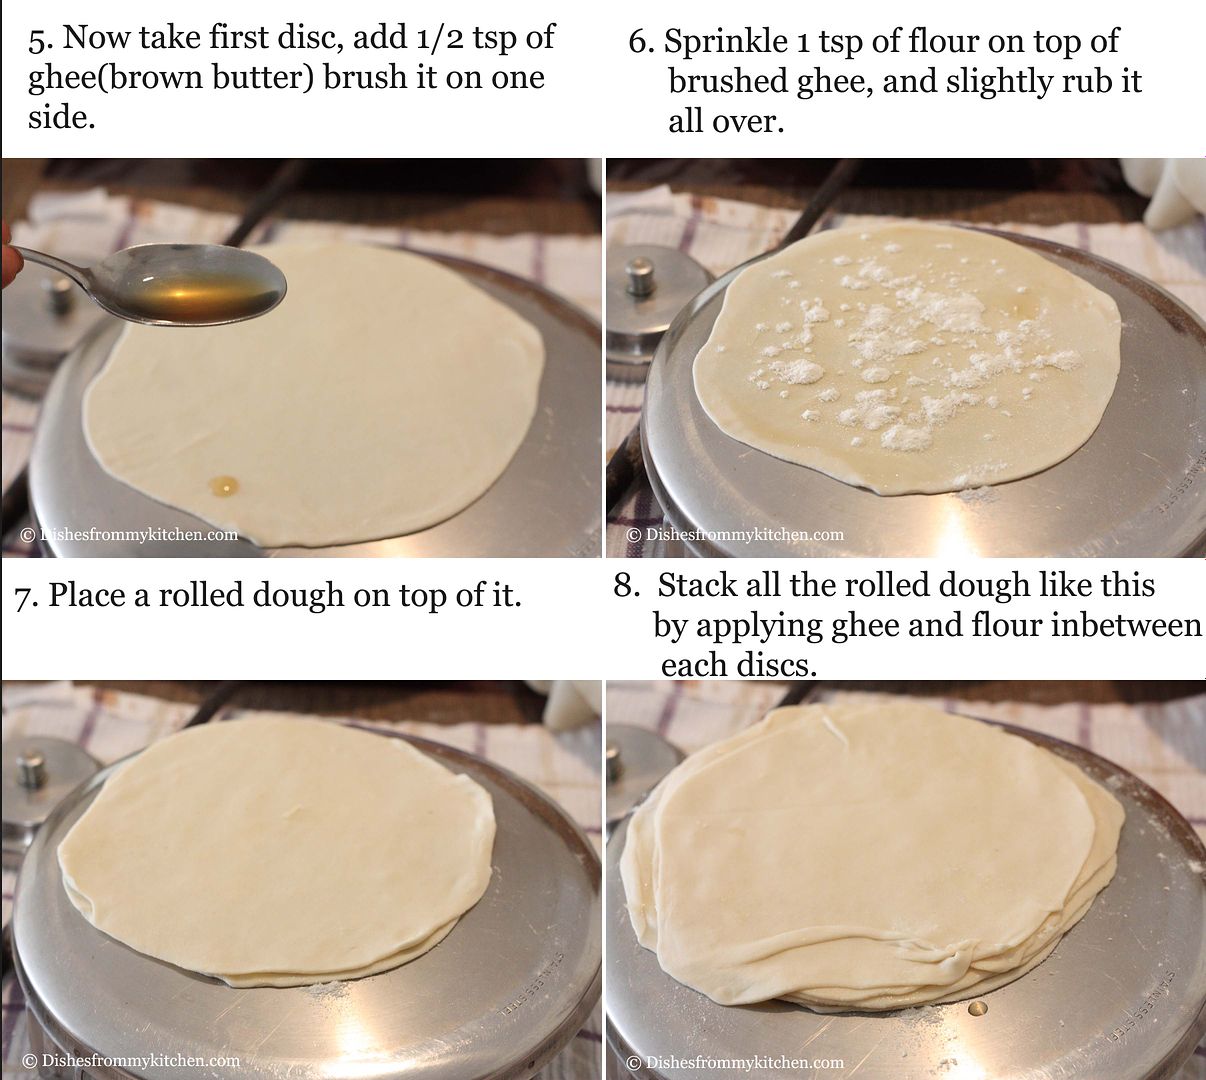
9. Spread the other half of the dough using a rolling pin. You can use a piece of wax paper over the counter; it will make it easier to move the dough around. Depending on the shape of your oven pan or cookie sheet, you will make a rectangle or a round.
10. Now, the thinness of the dough will depend on your choice of filling and how much bread you like in every bite. For your first time, make it about 3mm thin (about 1/10th of an inch) and then adjust from that in the next ones you make. But I love little bready so I made little thick.
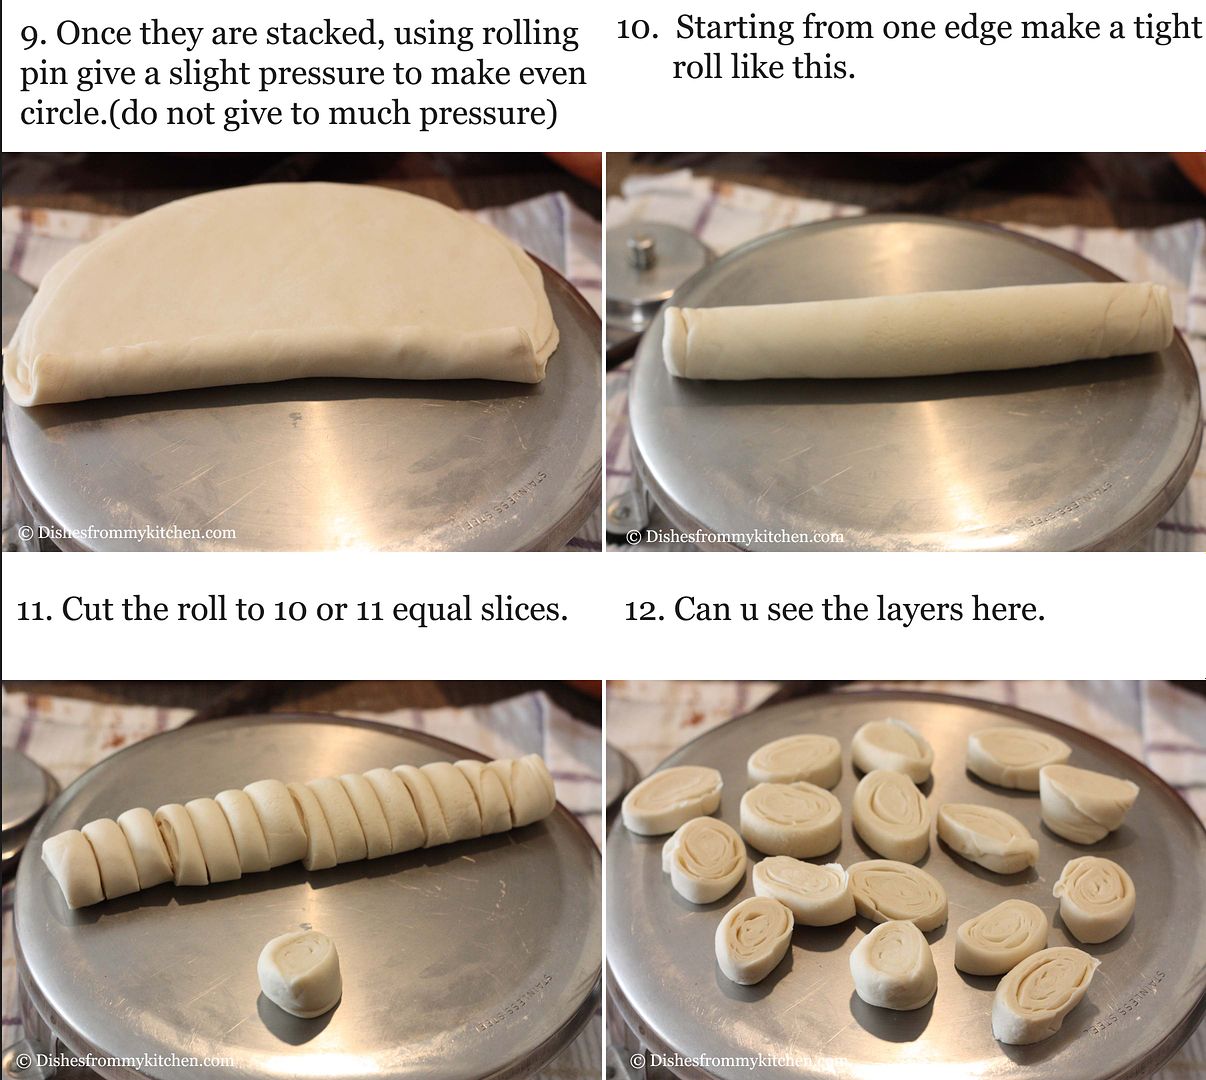
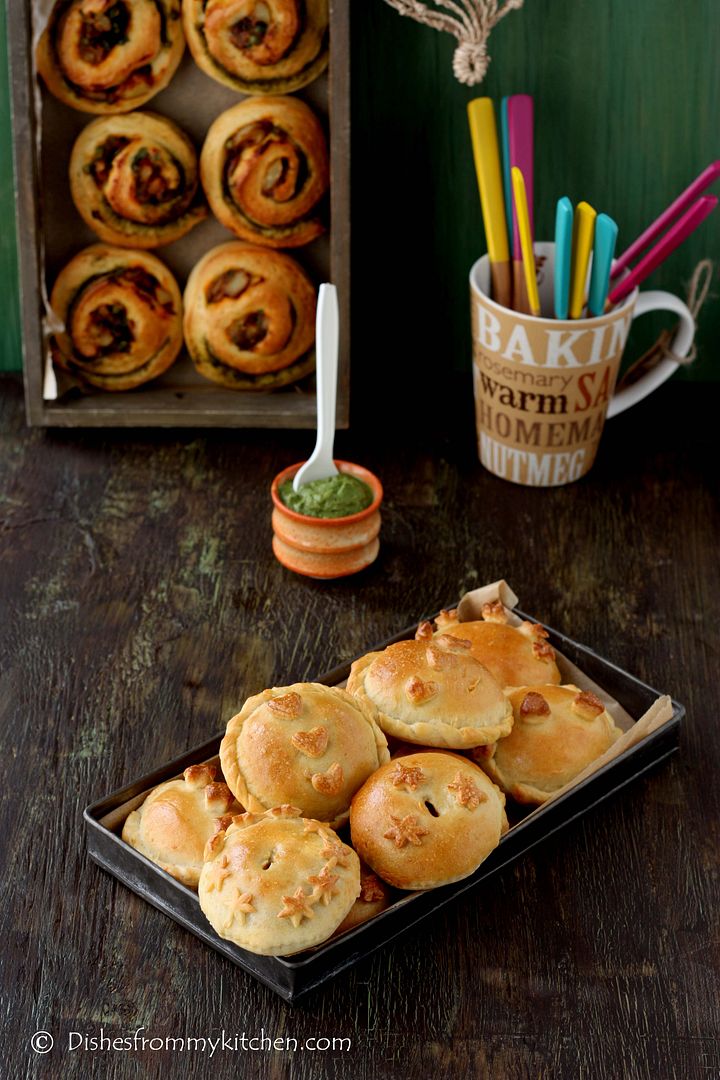
11. If you are not interested in making like big whole pie like empanadas. You can also make individual one as like I did.
For filling
Ingredients:
Potato - 3 medium sized (boiled, peeled, and mashed roughly)
Frozen Green peas - 1 1/2 cup (Microwave for 2 minutes)
Onion - 1 finely chopped
Cumin seeds - 1 tsp
Garam Masala powder - 2 tsp
Red chilli powder - 3 tsp
Turmeric powder - 1 tsp
Coriander leaves - 1/4 chopped finely chopped
Oil for sautéing the mixture - 1 tbsp
Salt to taste
Method:
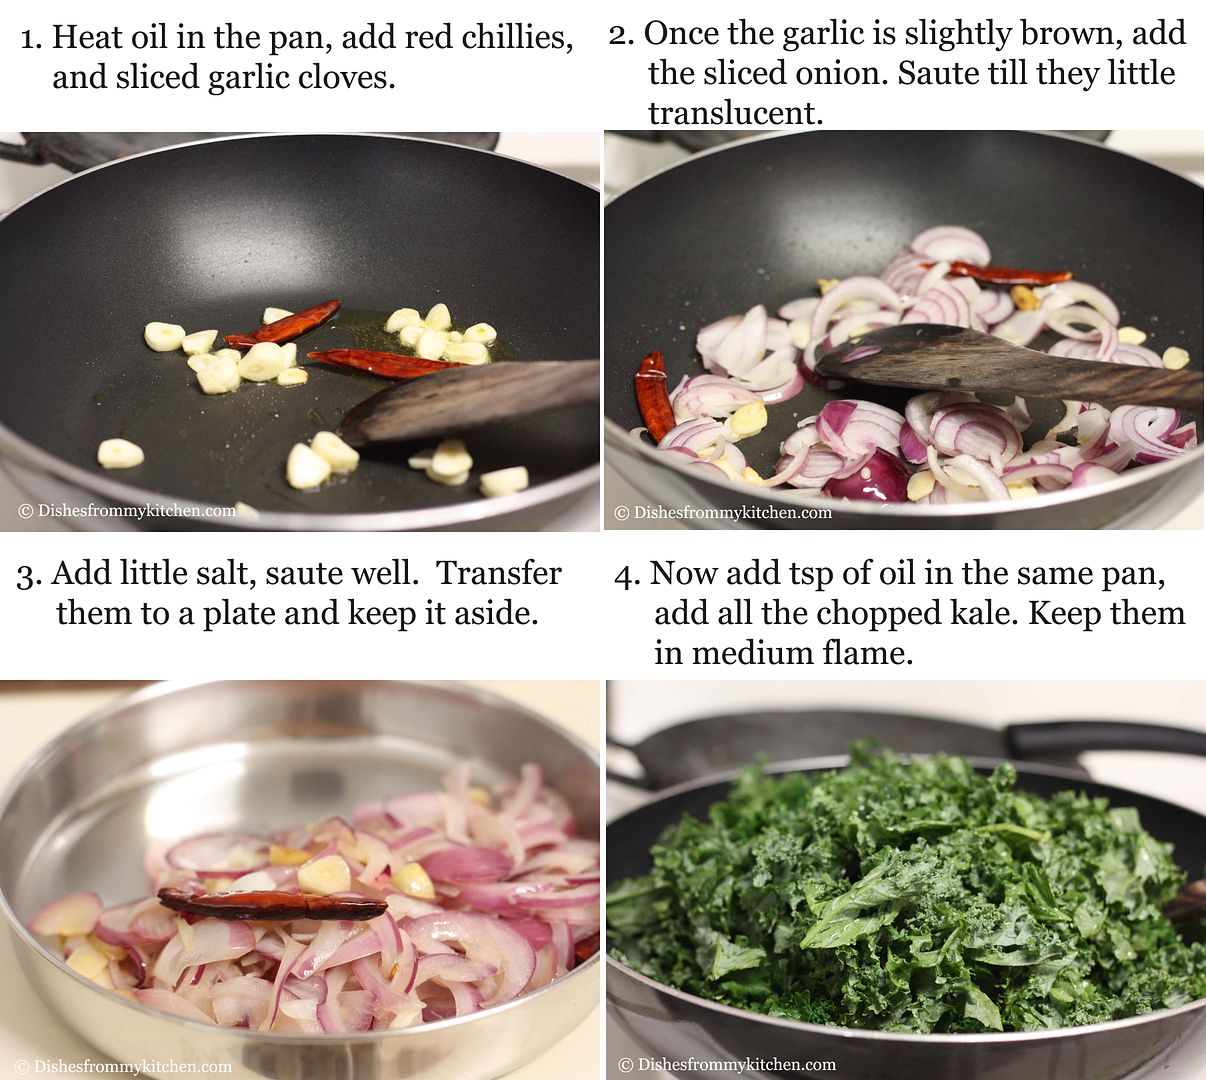
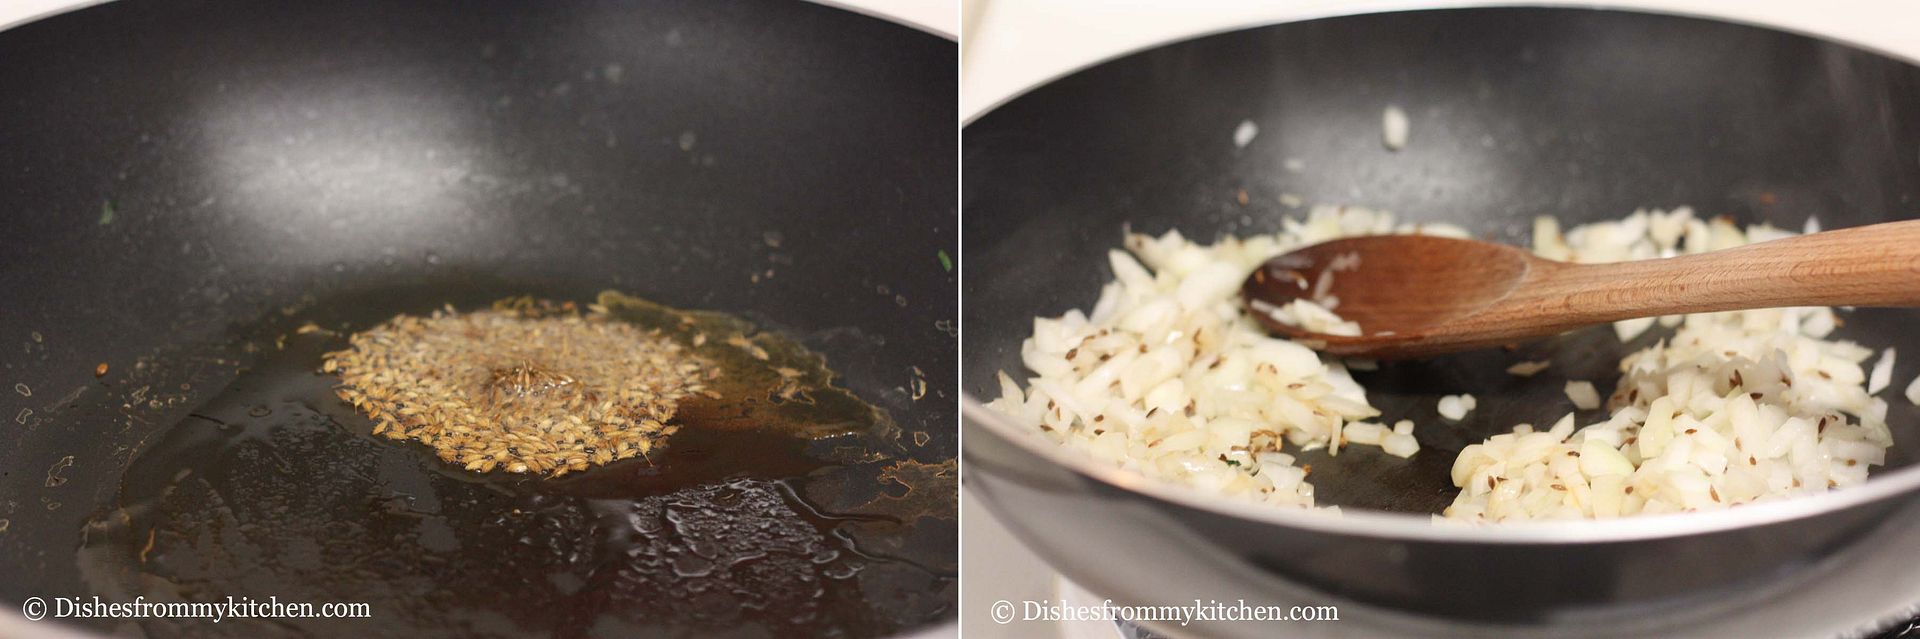
1. Heat oil in the pan; add cumin seeds.
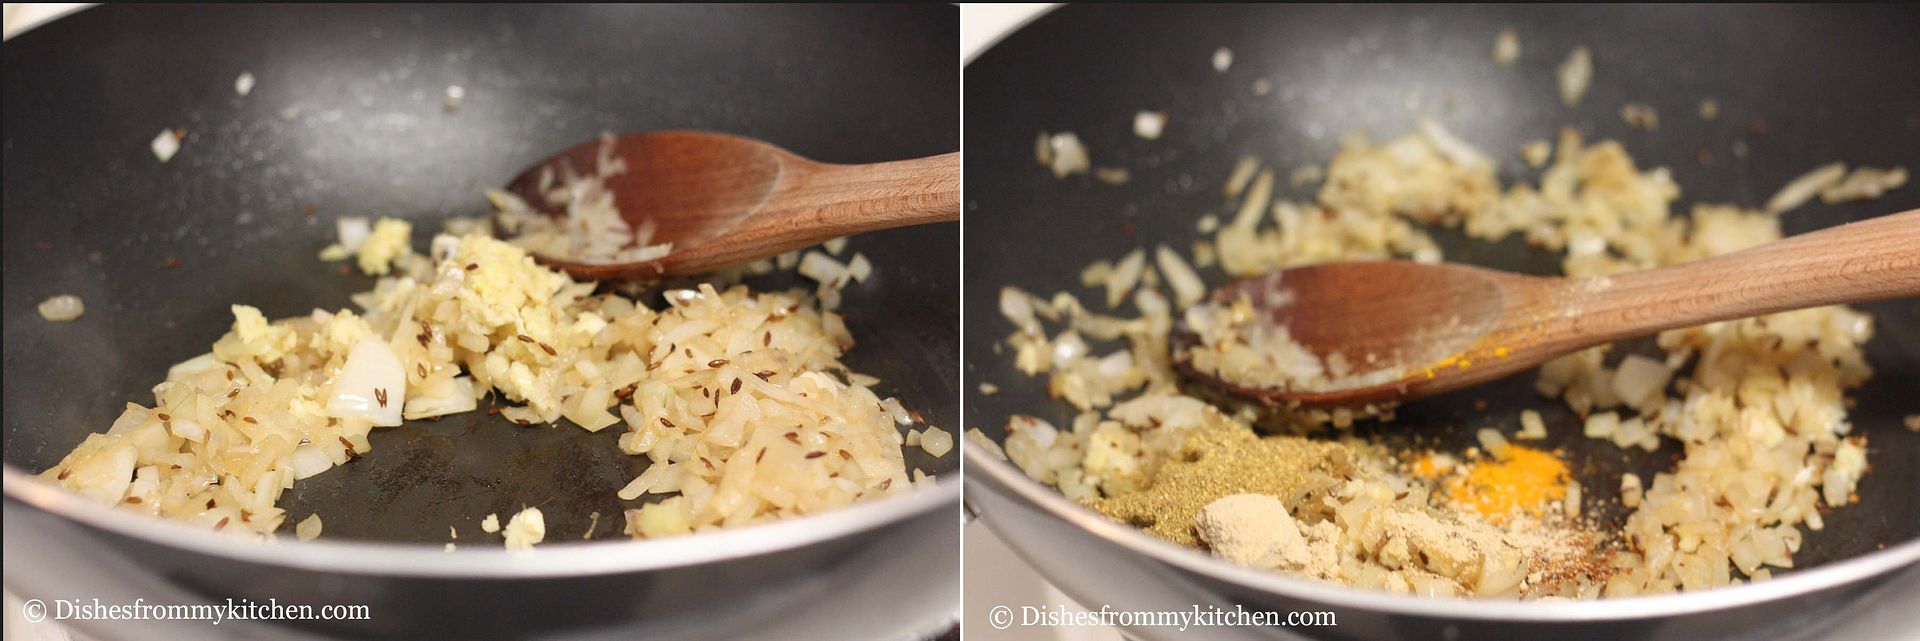
2. Add chopped onion, sauté until they are caramelized.
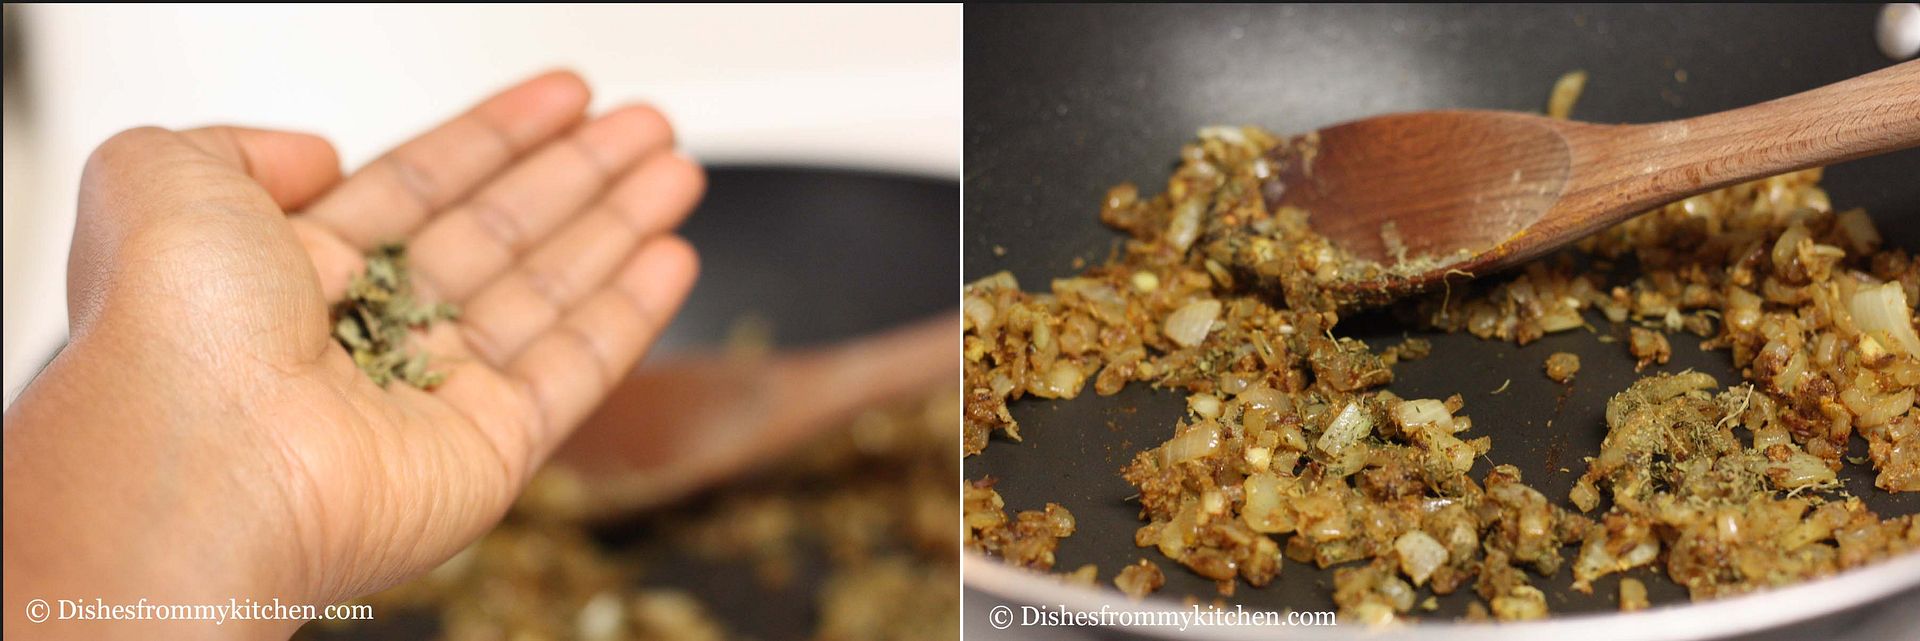
3. Add the garam Masala powder, turmeric and red chilli powder.
3. Now add the mashed potato and green peas. Mix until they are blended well with the masala mixture.
4. Add salt and coriander leaves. Mix everything well.
5. Let the mixture cool completely before you fill.
Assembling the empanada: (This procedure is to make one big Empanada like a pie)
1. If you haven’t used wax paper, either lightly flour or line with wax paper your pan or tray.
2. Cover the base and sides with the dough. Using the rolling pin or a knife, cut the extra dough.
3. Place the filling, making sure it is cold and that the entire base is covered. Using a hot filling will make the bottom layer of the empanada become soggy. Be careful to avoid adding too much oil from the filling; try to make it as “dry” as possible.
4. Start preheating your oven to moderate 350°F/180ºC/gas mark 4.
5. Take the other half of the dough and spread it out to the same or less thinness of the base. You can use a piece of wax paper for this too. Take into account that this “top” dough needs to be smaller around than the bottom, as it only needs to cover the filling.
6. If not using wax paper, move carefully the top to cover the filling. If using wax paper, transfer the dough, turn upside down, cover the filling and gently peel off the wax paper.
7. Using your fingers, join bottom and top dough, when you have gone all the way around, start pinching top and bottom together with your thumb and index finger and turning them half way in, that way you end up with a rope-like border.
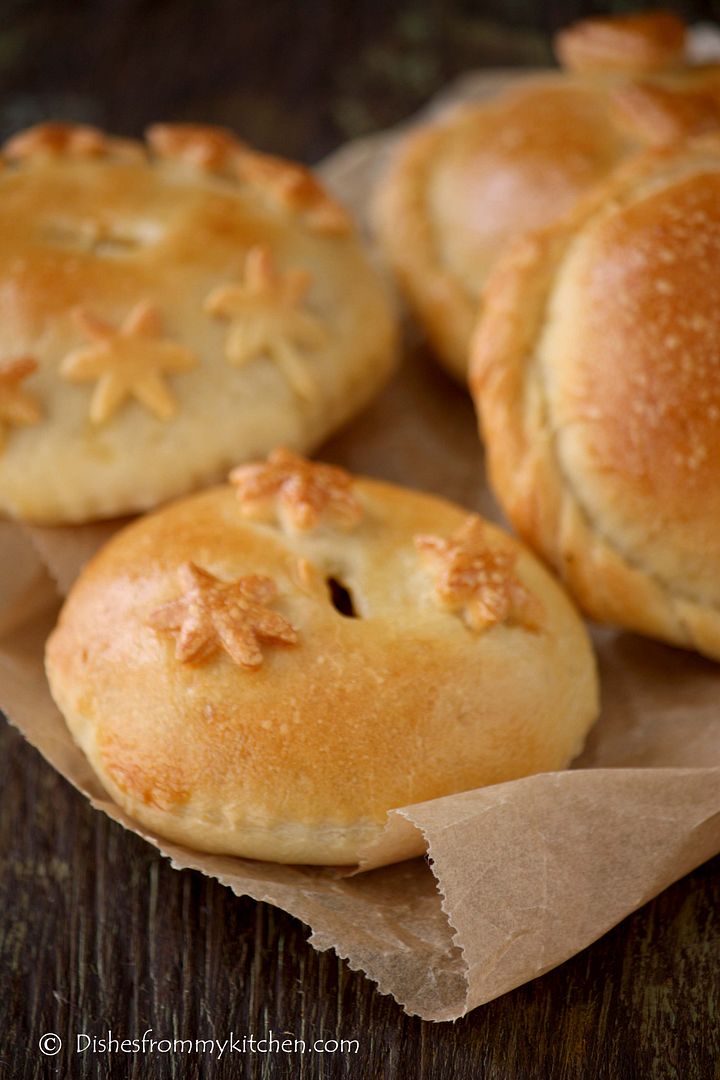
8. When you are finished, make a 1 inch hole in the middle of the top layer. This will help hot air exit the empanada while it’s baking without breaking the cover.
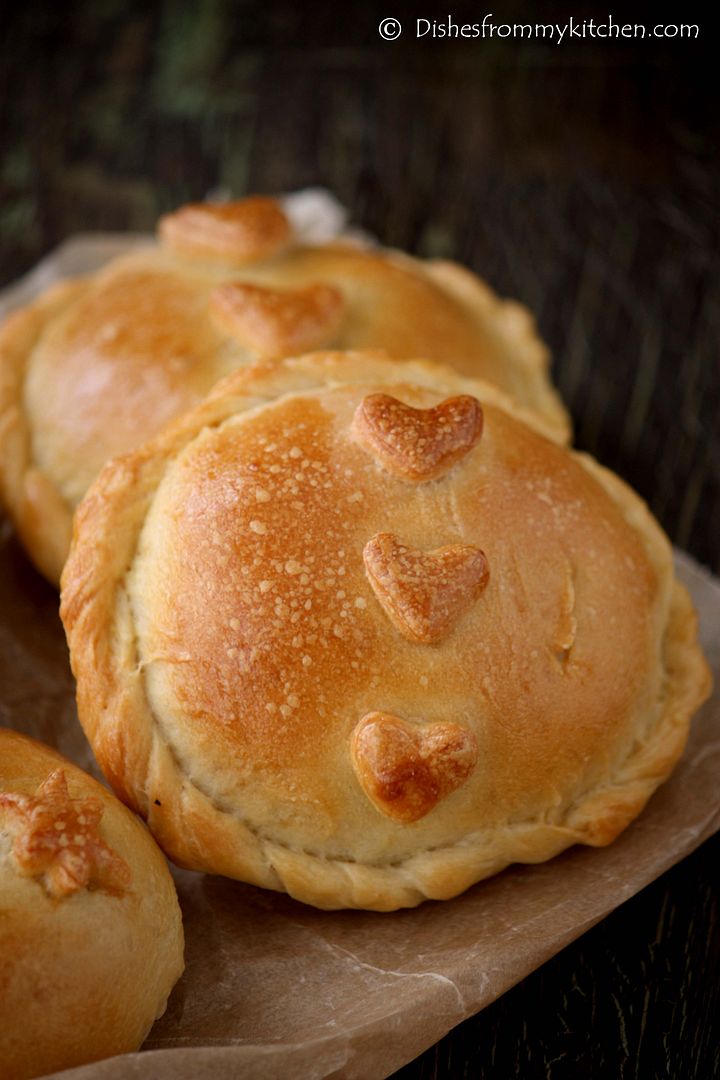
9. You can use left-over dough to decorate the empanada, using rounds, bows, lines… let your imagination flow and make it pretty!
10. Using a fork, prick the top layer or, using scissors, make snips that go all the way through the top layer.
12. In a small bowl, beat an egg and add a tbsp of cold water. With the pastry brush, paint the top of the empanada with the egg wash.
13. Place the empanada in the oven and bake for about 45 minutes. Check that the bottom part is done.
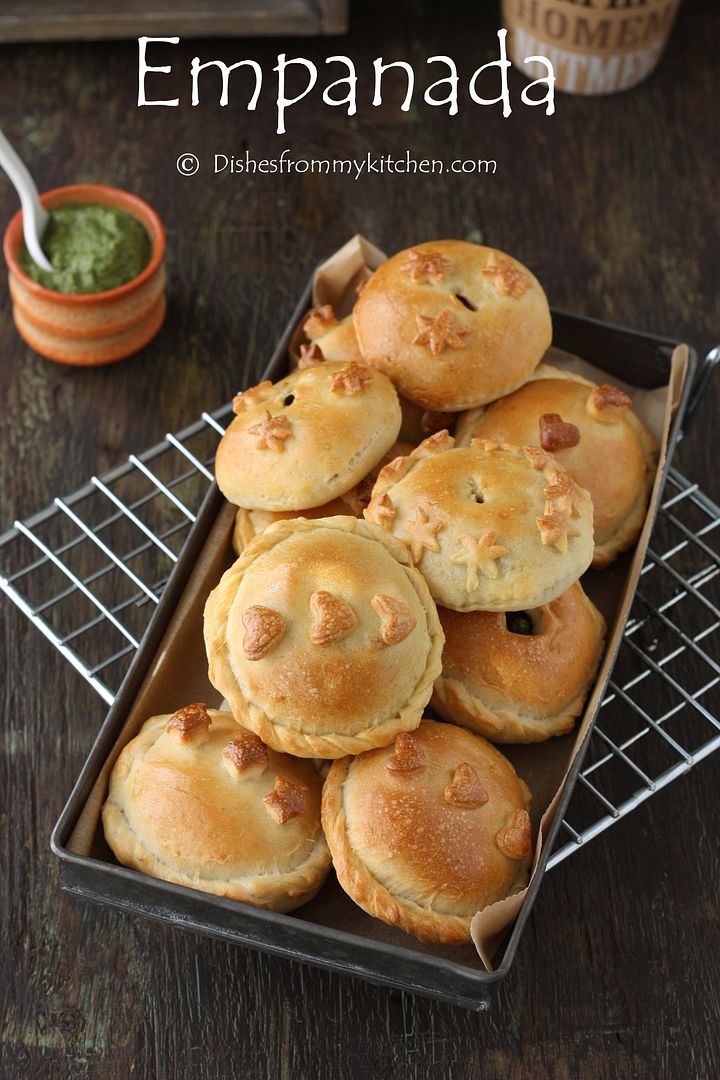
For Individual Empanada:
1. On a lightly floured surface, roll out the dough.
2. Using the circle cookie cutter or any other tool similar to it. Cut few circles.
3. In one round disc, fill 1 1/4 tbsp of filling and place another circle on the top.
4. Seal the edges by pressing firmly. You can also use fork to seal the edges.
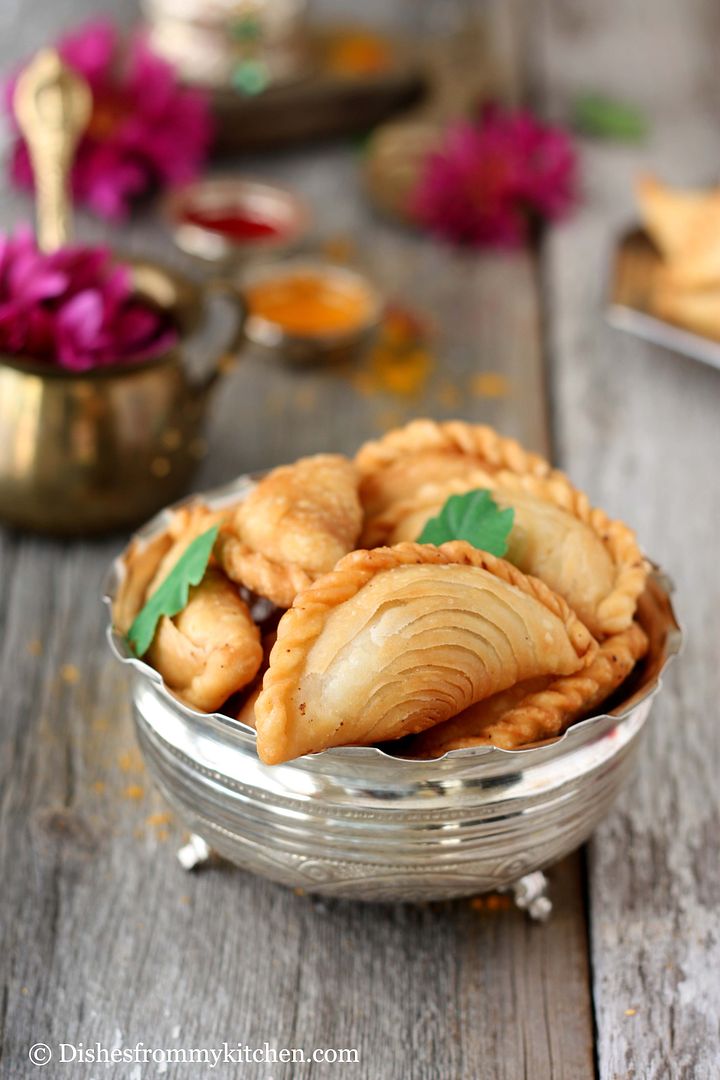
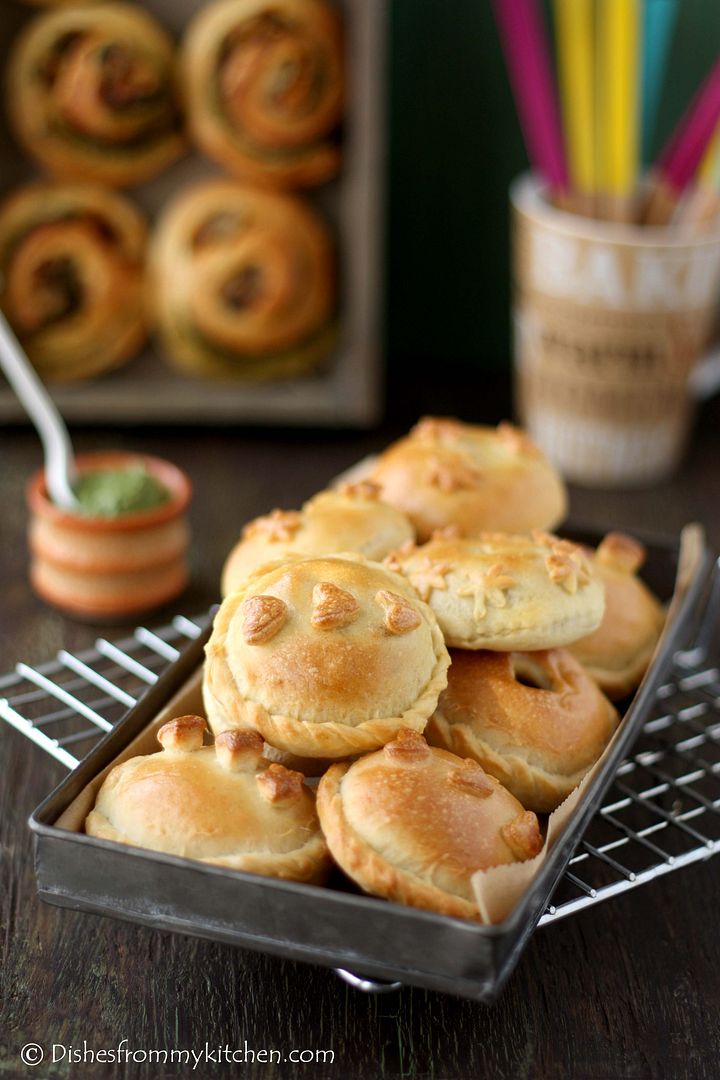
5. If you want to make a swirl pattern as I did, make swirls and decorate according to your liking.
6. In a small bowl, beat an egg with tbsp of cold water.
7. Brush the top of the empanada with the egg wash.
8. Place in the oven and bake for about 25 to 30 minutes or until golden brown.
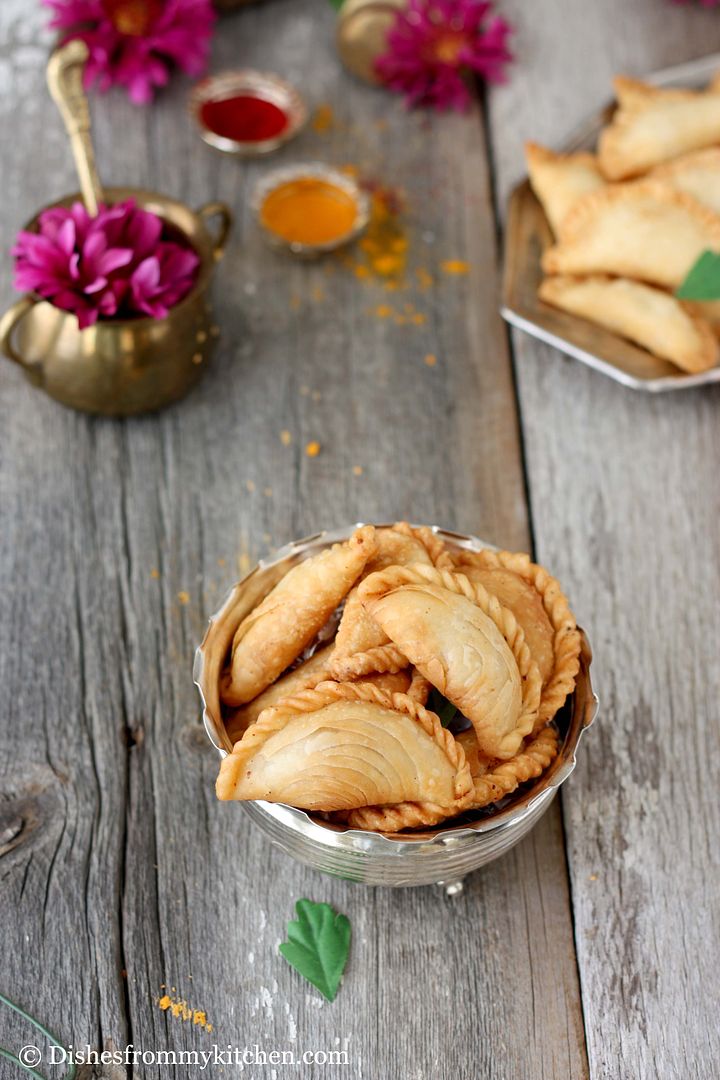
Enjoy the Empanada with hot coffee or tea!!!!