Search This Blog

CHOCOLATE FUDGE !!! - HEAVENLY !!! WITH STEPWISE PICTURES.


Few weeks back I did the guest post of this Chocolate fudge.  I wanted to re post it again in my space including the stepwise pictures which I clicked yesterday when I made a batch of this fudge for kids.  I have done this n number of times.  Even though I have made this so many times we still crave for this Chocolate fudge, yes J it’s totally addictive.    This is so easy to make with simple ingredients that we have in our pantry.  You need not require any fancy things like candy thermometer.  These fudge stores well in the refrigerator and you can gobble whenever you crave for chocolate.  You can also wrap this in fancy wrappers and gift them.    Like any other fudge it is not made out of boiling sugar syrup to soft ball stage. So this has to be refrigerated. 


With no greater effort here is an express Chocolate Fudge with divine taste....which surely satisfies your dessert/Chocolate craving....


CHOCOLATE FUDGE WITH MIXED NUTS

Recipe Source - Nigella Lawson (with minor changes)

Ingredients:

Dark chocolate - 350g 
Condensed milk - 1 can (397g)
Pinch salt
Butter - 30 g
Pistachios/Almond/Cashews - 150g chopped (I mix up all these nuts and dry roast in the pan to have extra crunch)
Cocoa Powder - little for dusting (This is my personal preference)


Note:

1. If you are using bitter sweet chocolate reduce the amount of condensed milk just by removing 1 1/2 tbsp from the can.
2.  You can add the nuts of your choice.
3. I dust the fudge slightly with cocoa powder because to avoid fudge sticking to each other and also to give nice matt finish.


Method:

1. Combine Cashew nuts, Almond and Pistachio. Dry roast them in the pan until they are nice and warm.  Keep aside for Cooling.
2. Once the nuts are cooled chop all the nuts.  (Rough chop them).
3. In the heavy bottom pan/vessel put the chopped chocolate, condensed milk, butter.  Stir them in low heat until everything is melted. Keep an eye on them as Chocolate will burn easily.
4. Add the nuts to the melted chocolate condensed milk mixture and stir well to mix.
5. Once they are mixed well. Pour them immediately in the 23 cm square tray. Smooth the top using some spatula, spoon or foil.
6.  Let the fudge cool.  Refrigerate until set at least for 1 hour. You can then cut it into small pieces.
7. Once cut slightly dust them with Cocoa powder. 
8. Store them in the air tight container and refrigerate it.


Enjoy them whenever you crave for Chocolates!!! It tastes divine.

Read more...

LIONS,TIGERS AND BEARS - OH MY !!! - YES BAKING WILD !!!


Sara and Erica of Baking JDs were our March 2012 Daring Baker hostesses!
Sara & Erica challenged us to make Dutch Crunch bread, a delicious sandwich bread with a unique, crunchy topping. Sara and Erica also challenged us to create a one of a kind sandwich with our bread!

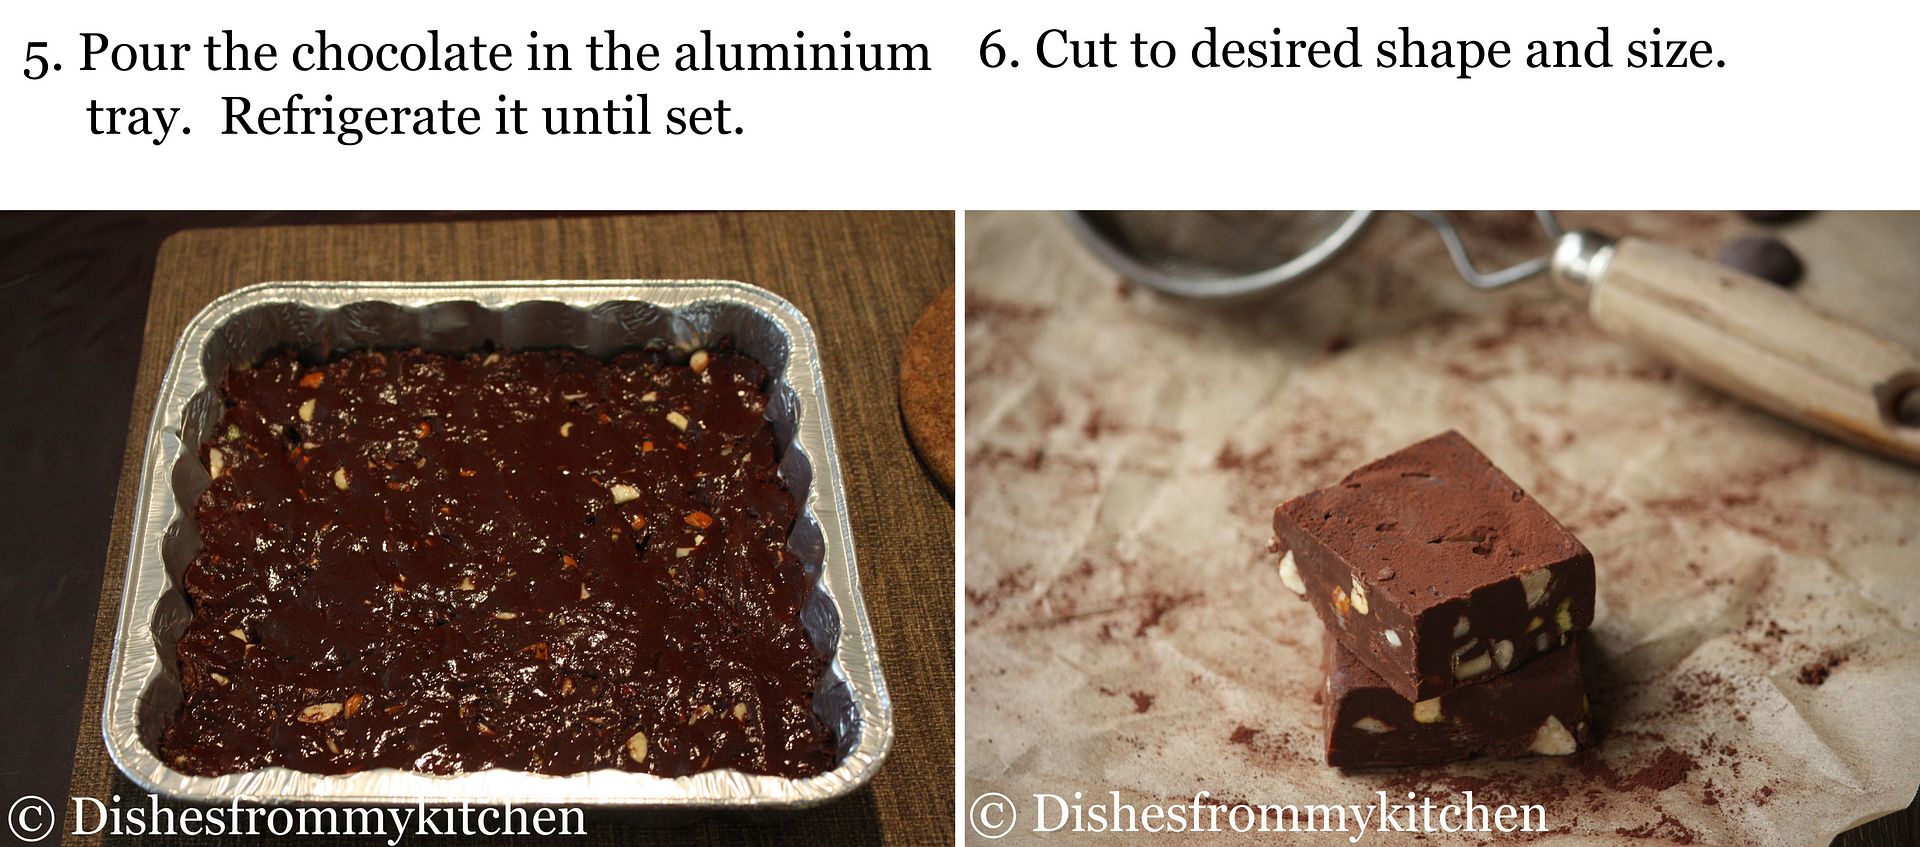
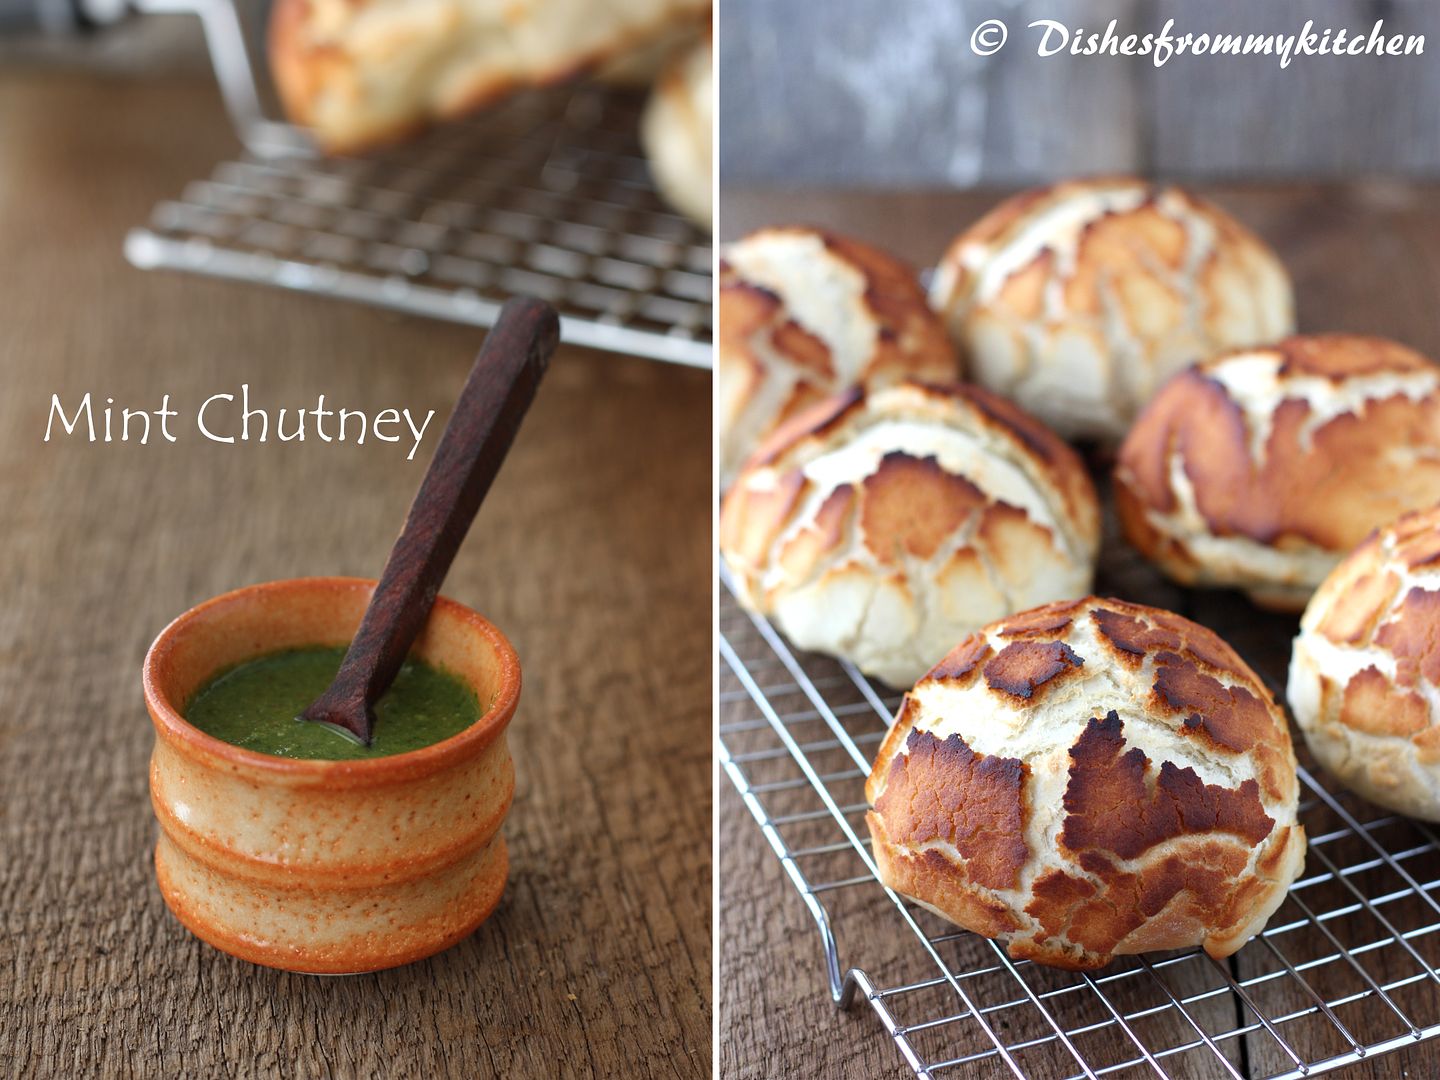
Let's go for this month's challenge, it is “Dutch Crunch bread ". Technically, Dutch Crunch doesn’t refer to the type of bread, but rather the topping that is spread over the 
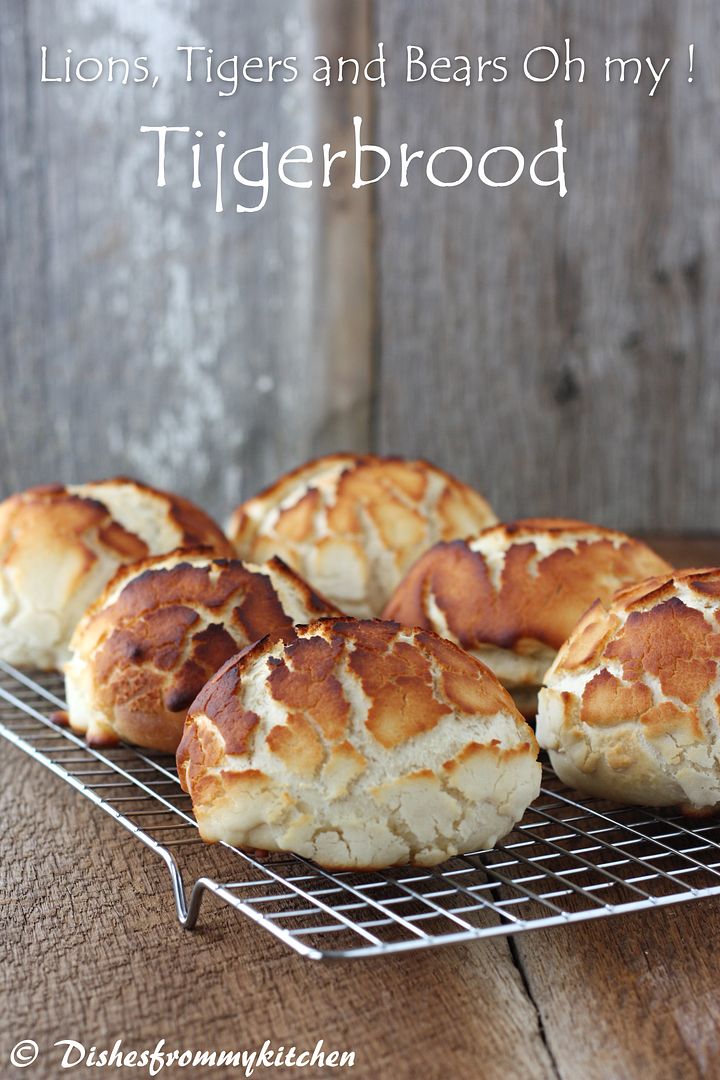
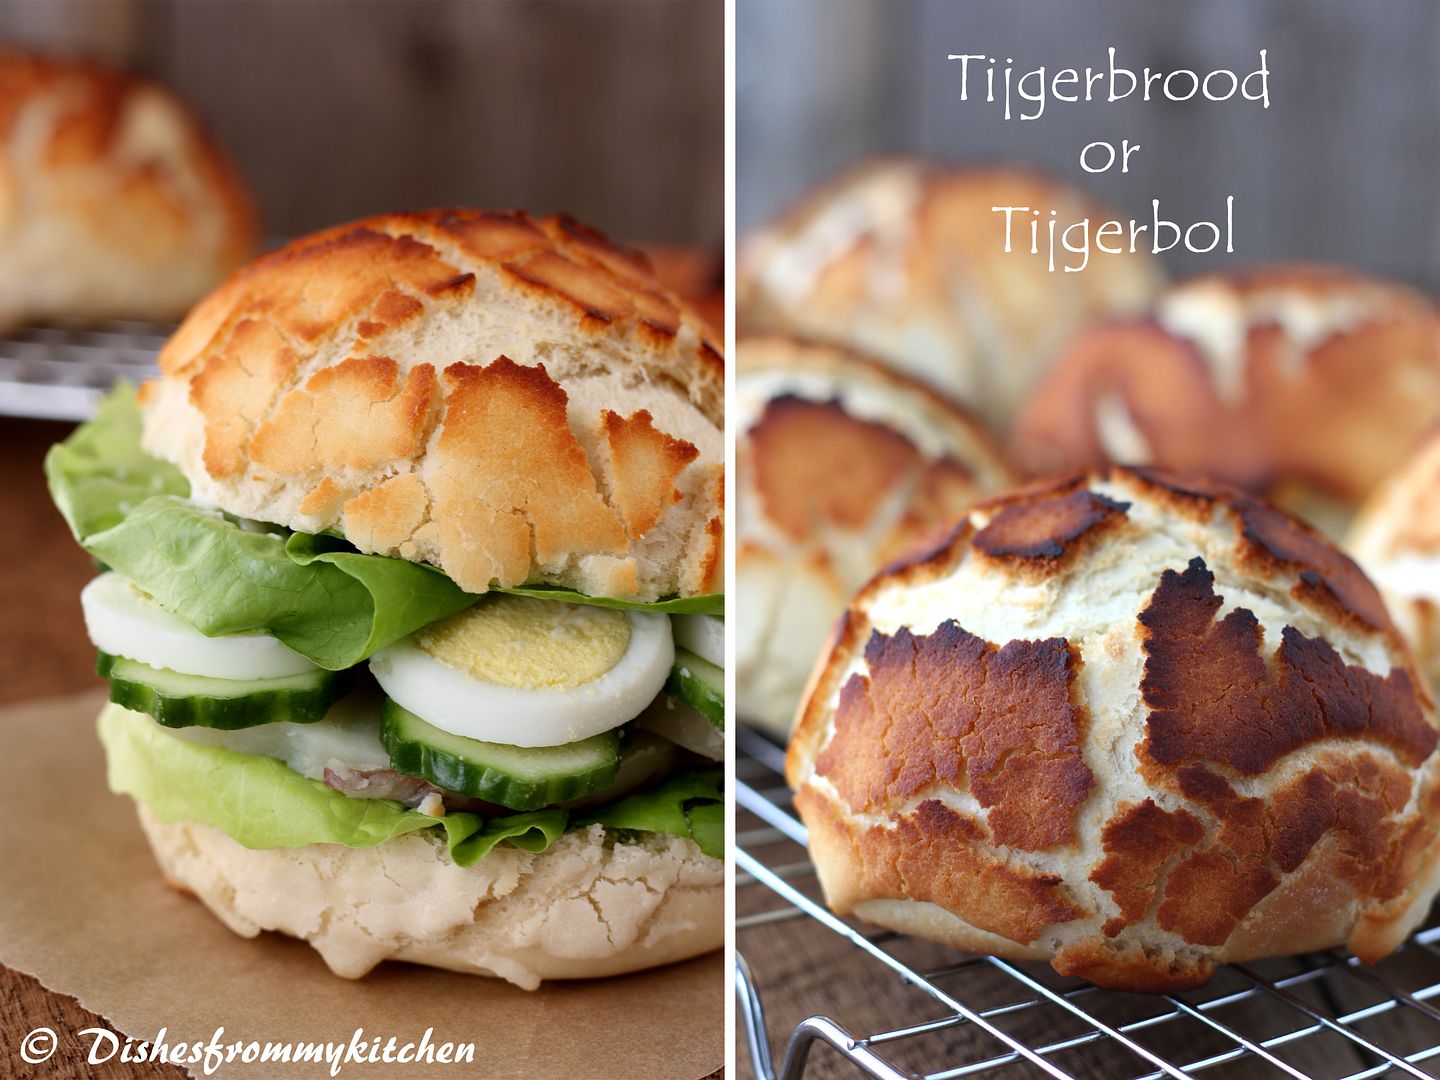
bread before baking. In Dutch it’s called Tijgerbrood or “tiger bread” after the tiger-like shell on the bread when it comes out of the oven. The final product has a delightful sweet crunch to it that makes it perfect for a sandwich roll. 


The name originated in the Netherlands, where it is known as Tijgerbrood or tijgerbol (translation: tiger roll) where it has been sold at least since the early 1970s.  In the USA, it is generally sold as "Dutch crunch". Though recently, some stores began to sell it as "Dutch crust". In the United States it is also sometimes known as dragonette bread.  This bread is  a common option at sandwich shops all over the Bay Area and is often one of the first breads to run out.


What is Dutch Crunch Topping/Crust ?

The bread is generally made with sesame oil and with a pattern baked into the top made by painting rice paste onto the surface prior to baking. [1] The paste dries and cracks during the baking process. The rice paste crust also gives the bread a distinctive flavor. It has a crusty exterior, but is soft inside. Typically, tiger bread is made as a white bread bloomer loaf or bread roll, but the technique can be applied to any shape of bread.


Therefore, the heart of this challenge is the topping.  Once we have our final loaves, it is required to use our bread to construct a sandwich of our choice!

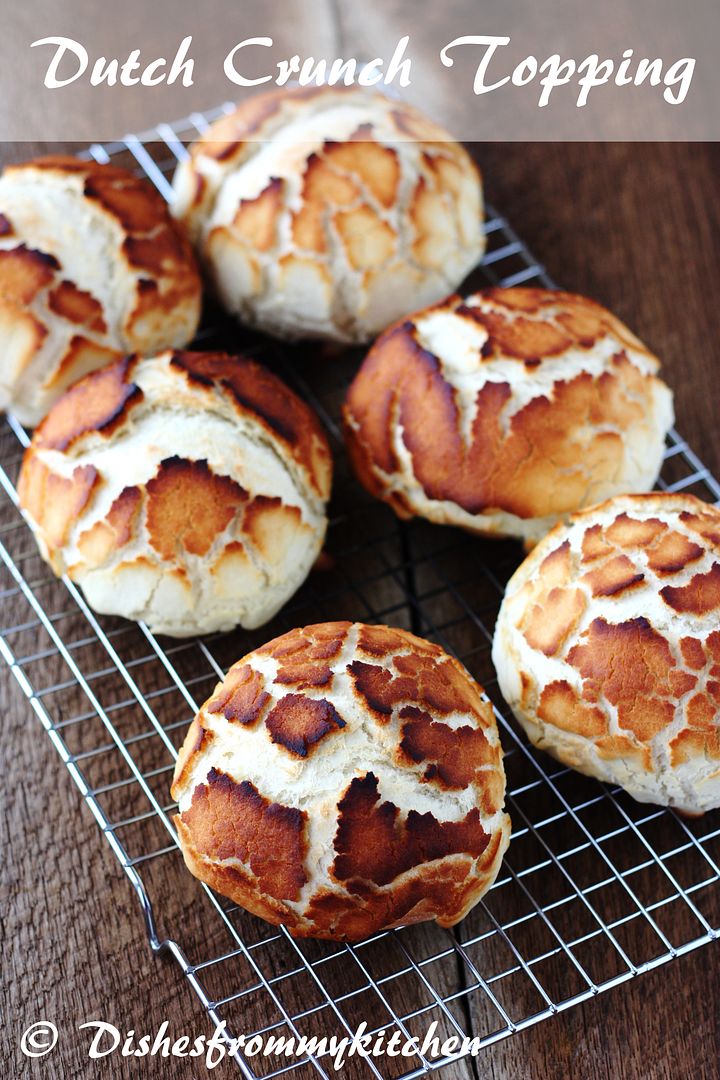
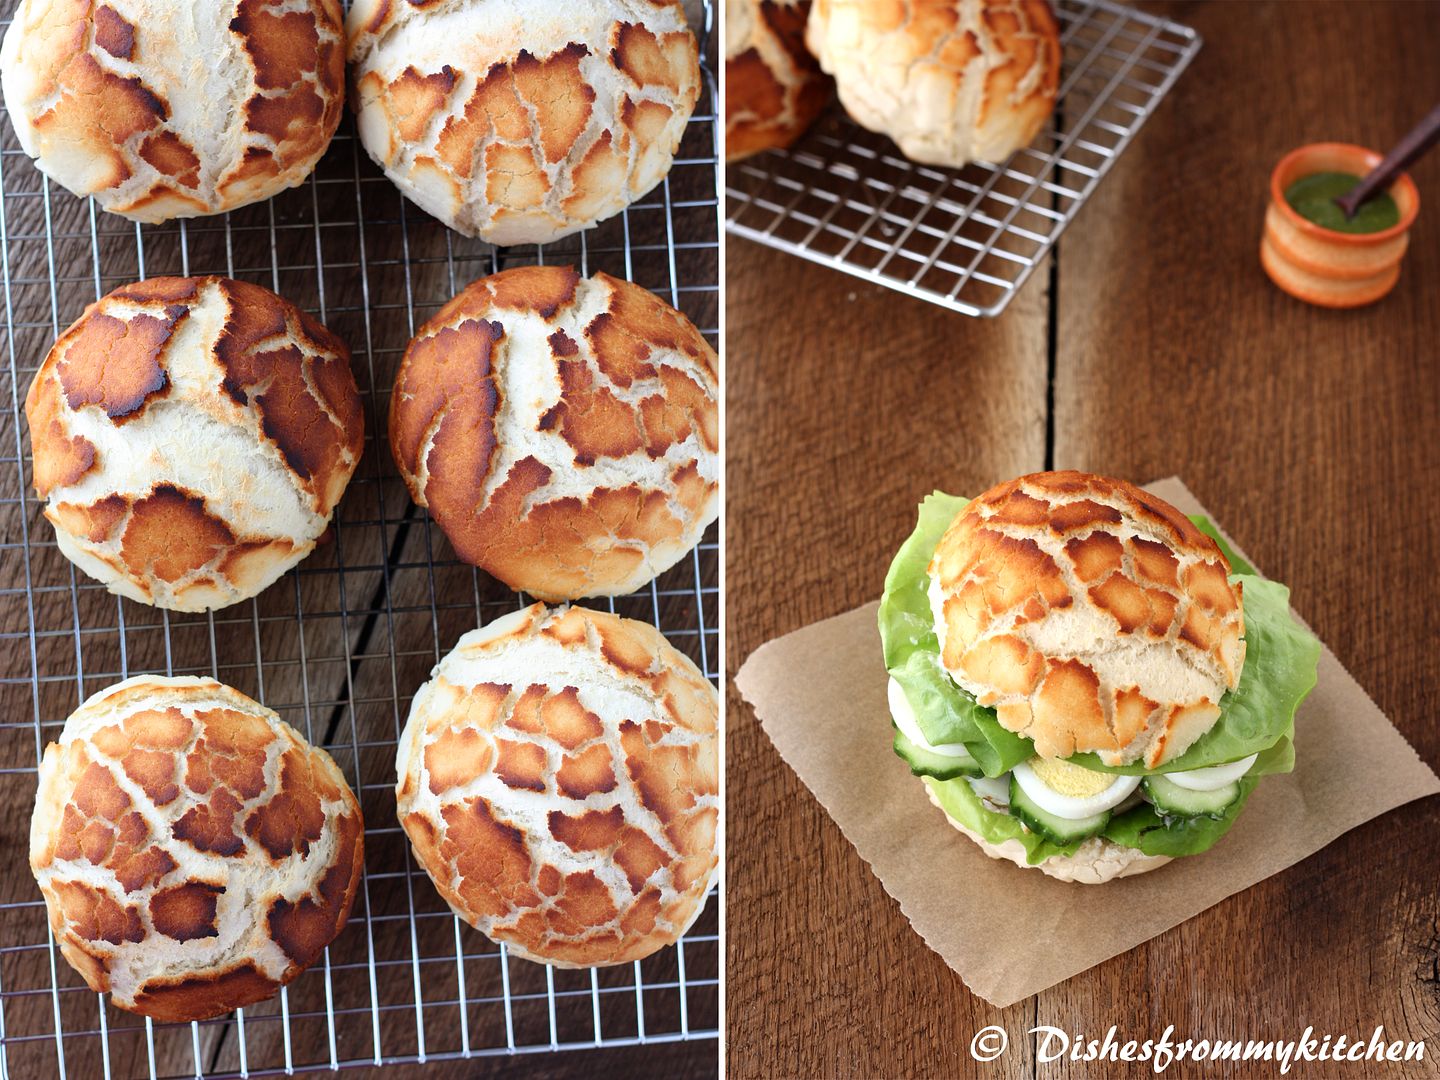
I was very happy to see the cracked top, beautiful appearance and finish of the Bread.  Don't they look beautiful ???? More than the tiger it looks like a Leopard right :) The crispy crust and soft inside is sure a perfect one for making sandwiches.  


Soft White Roll

Servings: 6 sandwich rolls

Ingredients:

Active dry yeast - 1 tbsp (1 packet)
Warm water - ¼ cup (105-110º F) (41-43°C) (No need to use a thermometer – it should feel between lukewarm and hot to the touch).
Warm milk - 1 cup (240 ml) (105-110º F) (41-43°C)
Sugar - 1½ tbsp
Vegetable oil - 2 tbsp (plus additional olive or vegetable oil for greasing bowl during rising)
Salt - 1½ tsp
All purpose flour - Up to 4 cups (I needed only 3 cups)


Directions:

1. In the bowl of an electric mixer or large mixing bowl, combine yeast, water, milk and sugar. Stir to dissolve and let sit for about 5 minutes (The mixture should start to bubble or foam a bit and smell yeasty).
2. Add in vegetable oil, salt and 2 cups of flour. Using the dough hook attachment or a wooden spoon, mix at medium speed until the dough comes together.
3. Add remaining flour a quarter cup at time until the dough pulls away from the sides of the bowl.  (I needed 3/4 cup extra flour)
4. Turn out onto a lightly floured surface and knead for about 4 minutes, until smooth and elastic.
5. Place in a lightly greased bowl and cover with plastic wrap. Let rise for 1 hour, or until doubled (or more) in size.
6. Once the dough has risen, turn it out onto a lightly floured surface and divide it into 6 equal portions (if you’d like to make rolls) or 2 equal portions (if you’d like to make a loaf) (using a sharp knife or a dough scraper works well). Shape each into a ball or loaf and place on a parchment-lined baking sheet (try not to handle the dough too much at this point).
7. Cover with plastic wrap and let rise for 15 minutes while you prepare the topping.
8. Coat the top of each roll or loaf with the topping as described above. While the original recipe recommends letting them stand for 20 minutes after applying the topping, I got better results by putting them directly into the oven.
9. Once you’ve applied the topping, bake in a preheated moderately hot 380ºF/190°C/gas mark 5 for 25-30 minutes, until well browned. Let cool completely on a wire rack before eating.

Dutch Crunch Topping

Serving: Topping for 6 Soft white rolls

Ingredients:

Active dry yeast - 1 tbsp (1 packet)
Warm water   - 1/2 cup (105-115º F) (41-46°C)
Sugar - 1 tbsp
Vegetable oil - 1 tbsp (I used 1/2 vegetable oil and 1/2 Sesame oil)
Salt - 1/4 tsp
Rice flour - 3/4 cup (white or brown; NOT sweet or glutinous rice flour) 


Method:

1. Combine all ingredients in a large bowl and beat with a whisk; beat hard to combine. The consistency should be like stiff royal icing – spreadable, but not too runny. If you pull some up with your whisk, as shown below, it should drip off slowly. Add more water or rice flour as necessary. Let stand 15 minutes.
2. Coat the top of each loaf or roll with a thick layer of topping. We tried coating it with a brush but it worked better just to use fingers or a spoon and kind of spread it around. You should err on the side of applying too much topping – a thin layer will not crack properly.
3. Let stand, uncovered, for any additional time your recipe recommends. With the Soft White Roll, you can place the rolls directly into the oven after applying the topping. With the Brown Rice Bread, the loaves should stand for 20 minutes with the topping before baking.
4. When baking, place pans on a rack in the center of the oven and bake your bread as you ordinarily would. The
Dutch Crunch topping should crack and turn a nice golden-brown color.

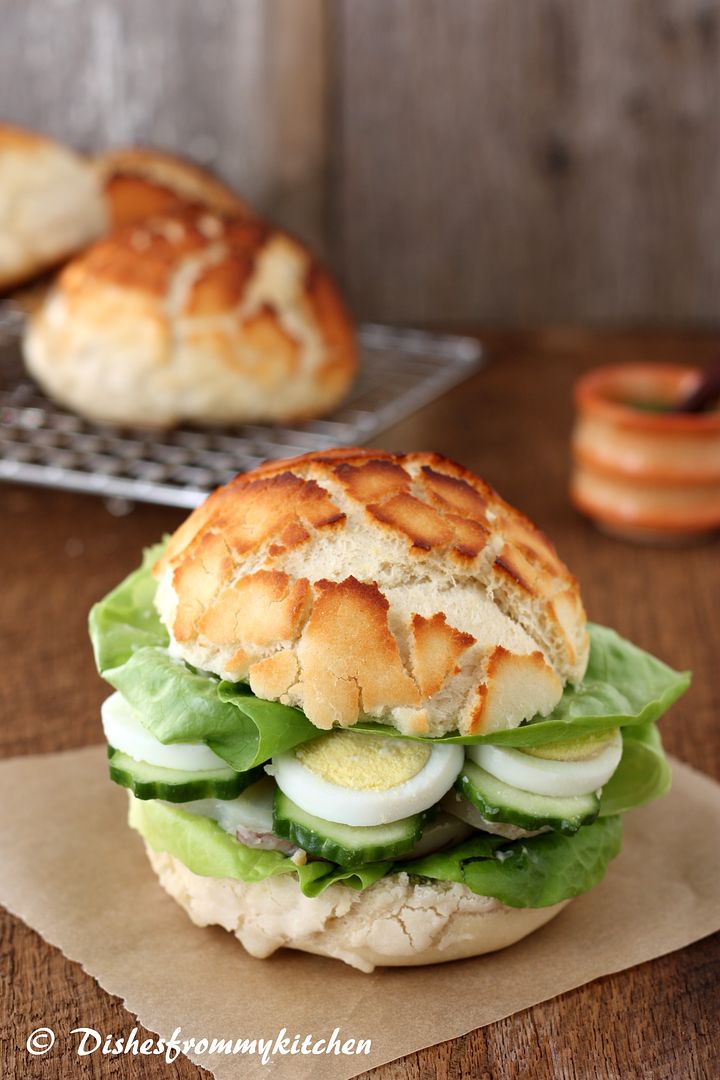
FOR MAKING SANDWICHES 


Serving  - for 3 sandwich

Ingredients :

Mint chutney or Basil Pesto refer the recipe here and here 
(You can use any kind of fresh green pesto, coriander or Mint chutney for spreading)
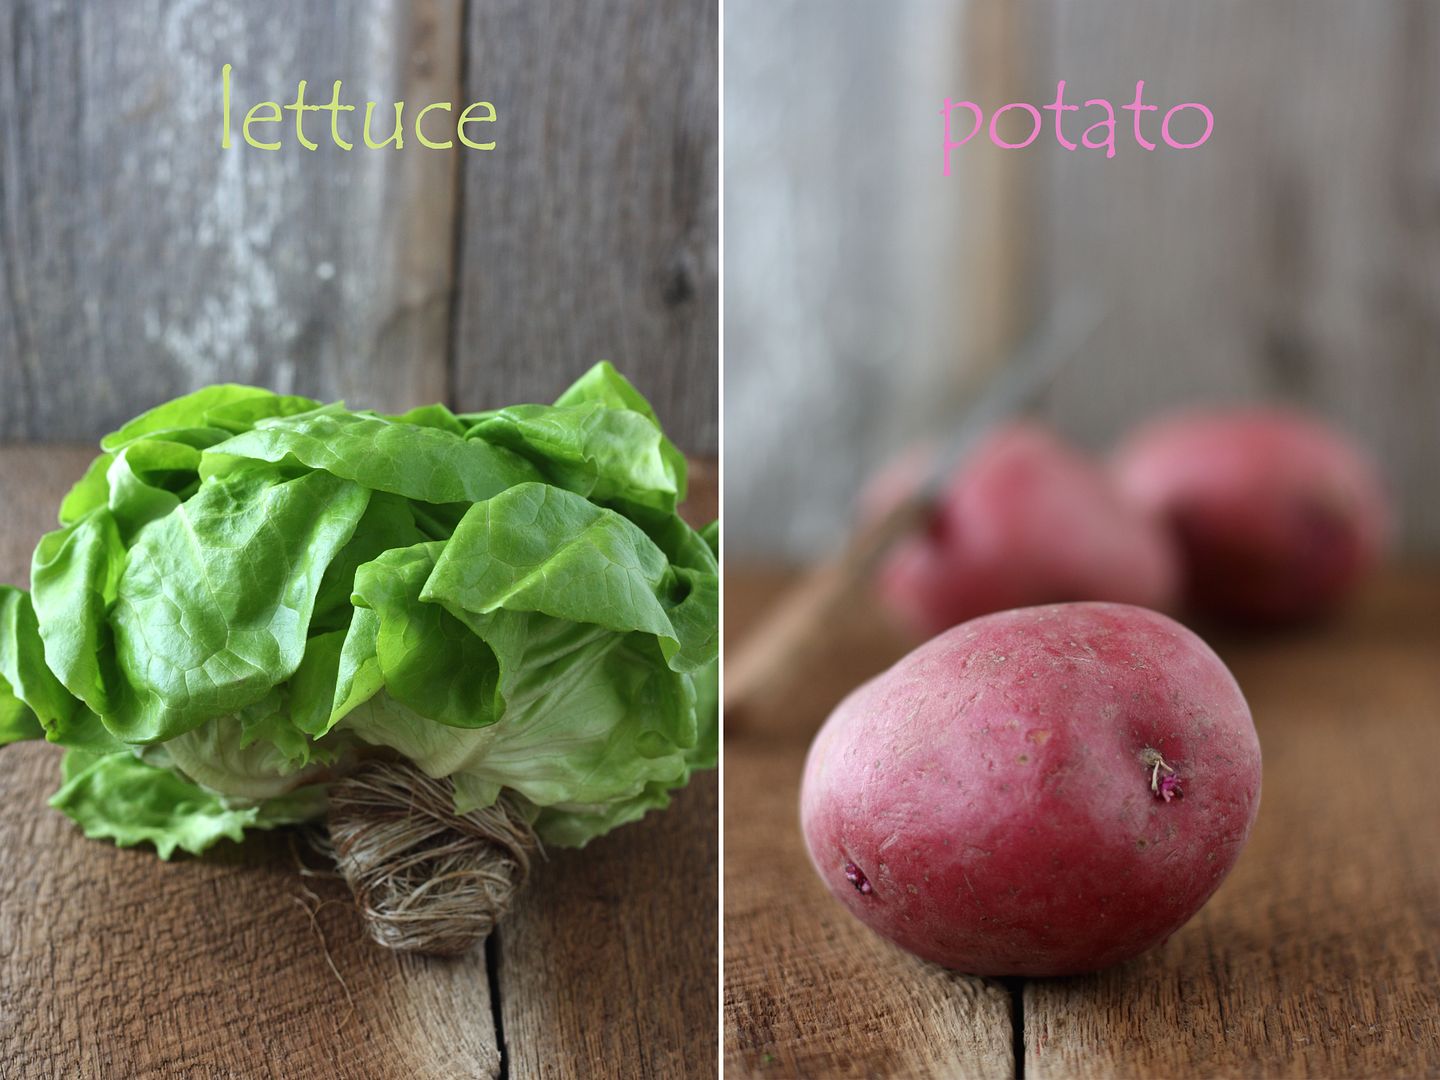
 Potato - 2 (Boiled and sliced)
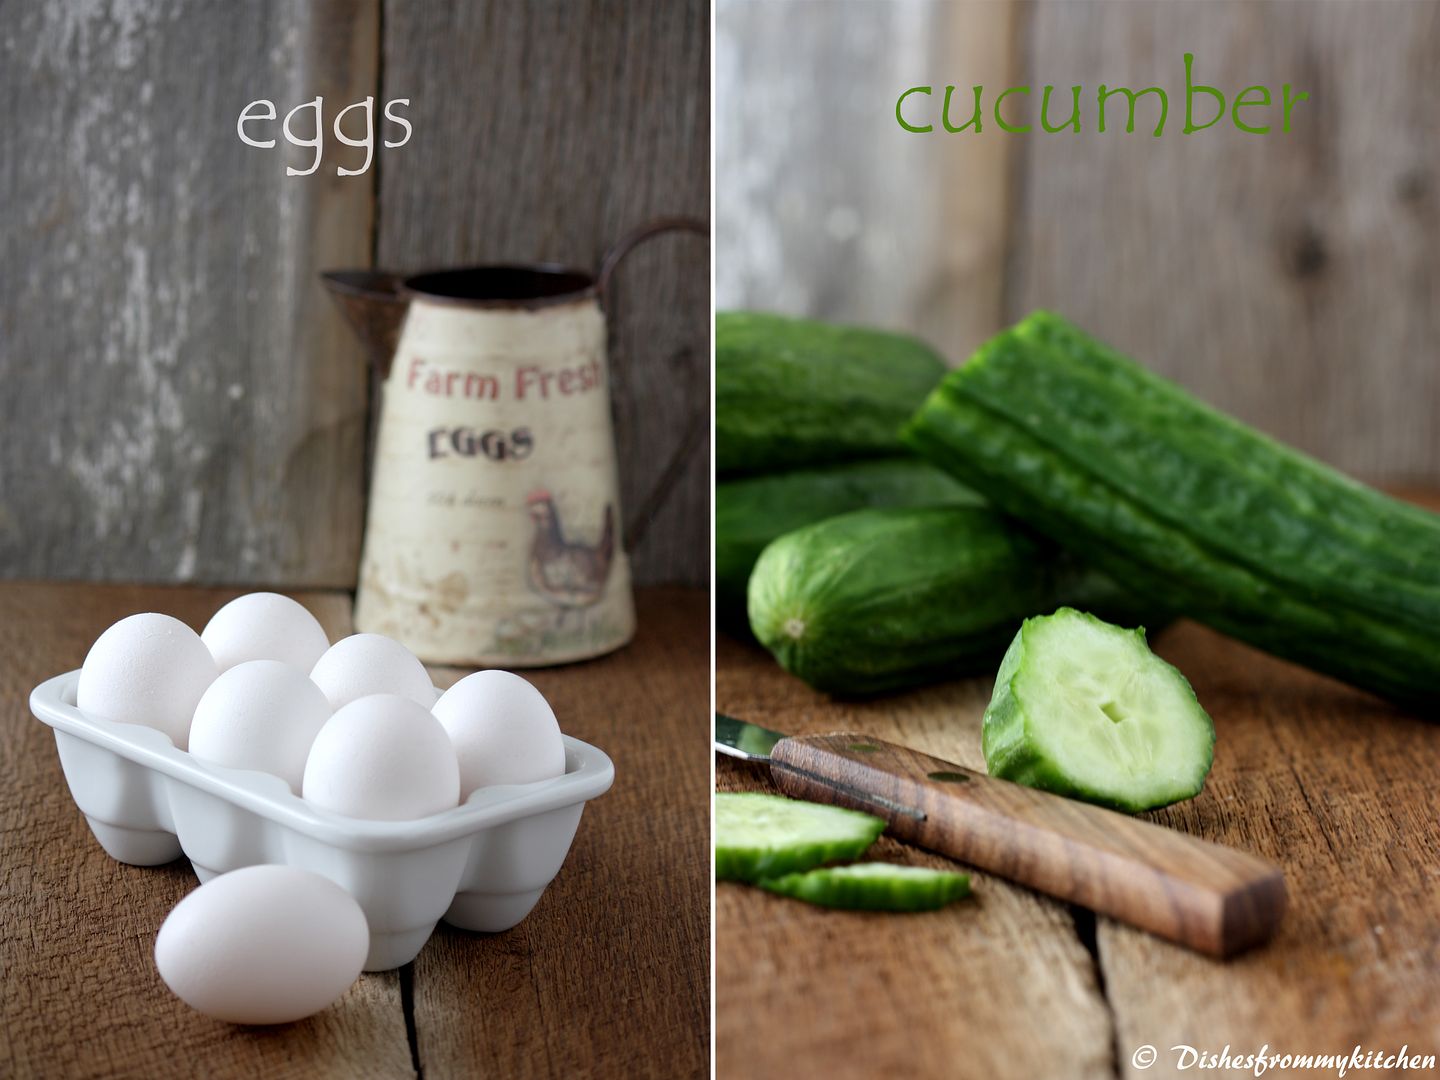
Egg - 3 (Boiled and sliced)
Lettuce - 6 leaves
Cucumber - 2 (sliced)
Mayonnaise - 1 1/2 tbsp
Ketchup - 1 tbsp (Absolutely optional)
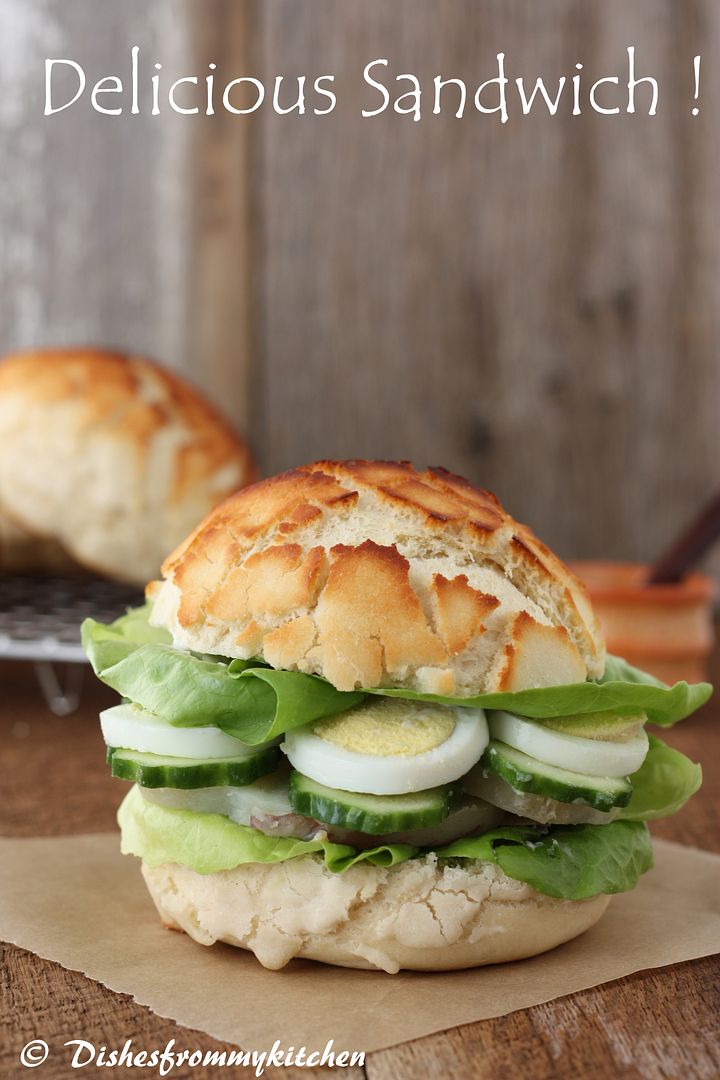


Assembling :

1. Cut the sandwich rolls to half horizontally.
2. If you want to toast in the pan you can toast them.
3. Apply the chutney or pesto to bottom bread.
4. Arrange the above ingredients in layers.
5. Spread the Mayonnaise and ketchup in the upper bread.
6. Close the sandwich and have a big Bite :) 


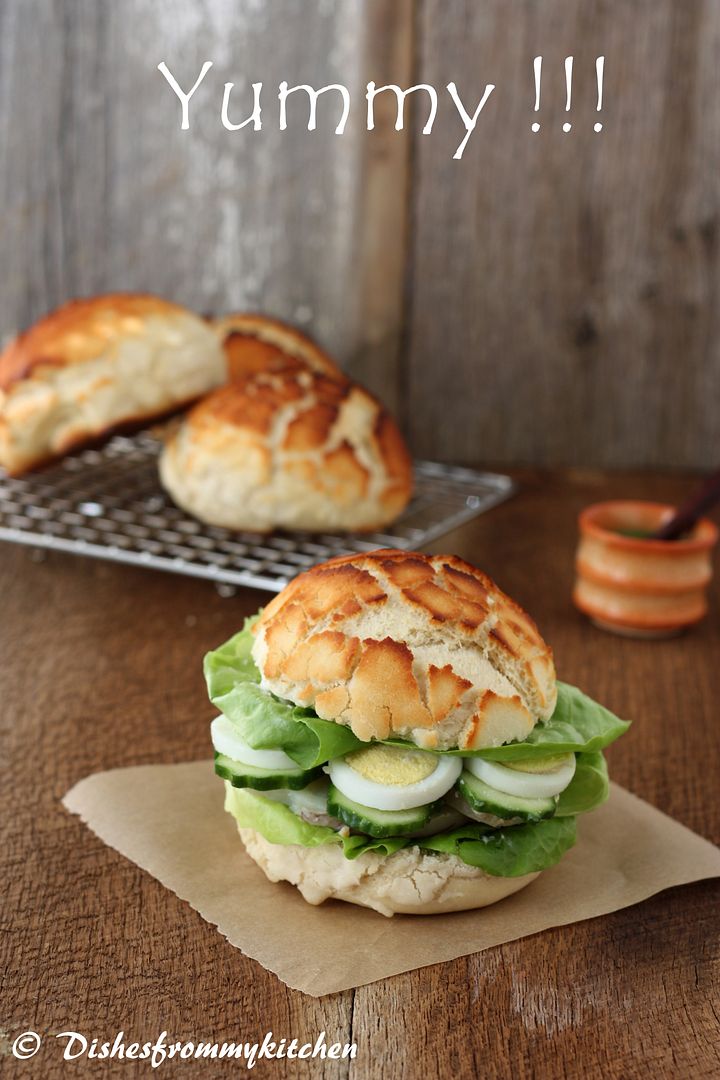
Enjoy Baking and eating the fresh crunchy bread !!!


Read more...

BITTER GOURD CHIPS - ADYAR ANANDA BHAVAN STYLE !!!


Have you tasted Adyar Ananda Bhavan Bitter gourd chips ?  You love them ?  Then here is the recipe for you :)

Few years back when we first tasted the bitter gourd chips from Adyar Ananda bhavan we instantly loved it, as bitter gourd is our favorite vegetable. From that time I have been making this at home.  We love this a lot.  This comes out super crisp and very tasty !!!  I am sure you all will love this for sure :)  


Warning: Beware Bitter gourd hater’s you will start loving this chips.


 BITTER GOURD CHIPS/CRISPIES

Bitter gourd - 4 or 5
Cornflour - 1/4 cup + 1/4 cup
Rice flour - 1/4 cup
Chickpea flour(Besan) - 1 tbsp
Coriander powder - 1/2 tbsp
Cumin powder - 1/4 tsp
Fennel(Saunf) powder - 1/2 tsp (coarsely powdered)
Chilli powder(Cayenne) - 1 tbsp
Salt - as needed


Method :

1. Wash and dry the bitter gourd.
2. Slice the bitter gourd using the slicer, this is important to make the chips nice and crispy.
3. The slices should be neither thick nor thin.
4. Mix cornflour, rice flour, chickpea flour(besan) and all other spice powders with salt in a bowl, reserving 1/4 cup cornflour for later dusting.
5. Now add this to the sliced bitter gourd  with a tsp of water. (Don’t add more water)
6. Make sure the spice mixture is nicely coated. Keep this mixture aside.
7. When you are ready for frying, heat oil in the pan.
8. Dust the remaining 1/4 cup of cornflour in the bitter gourd mixture.  Toss well so that everything is well dusted. (If the mixture is not sticking to the vegetable and if it is dry just add 2 to 3 drops of water, only 2 to 3 drops not more than that)
9. Check the temperature of oil, fry the bitter gourd in hot oil in batches until the big bubbles ceases (until the shh.. sound subsides). 
10. Drain them in the kitchen towel. 
11. Once you are done with all the bitter gourds, bake them in the oven (spreading out in the tray) for 10 minutes in 350 F preheated oven.
12. Cool and store in airtight container.


Bitter gourd chips is now ready for Munching!!!


Note :

1. The bitter gourd should be evenly sliced.
2. Baking them after frying makes the bitter gourd chips crispier and also it can be stored well.
3. While Frying, fry until the bubbles ceases(Shh sound subsides) this is very important to get crispy bitter gourds.  
4. You can also bake this bitter gourd chips in the oven instead of deep frying.  If you are baking in the oven then 1/4 cup corn flour which we are using later for dusting is not needed.  Just add 3 tbsp of oil in the bitter gourd mixture then bake them in the 400 f preheated oven for 25 to 30 minutes until they are nice and crisp.  Rotate the tray for every 10 minutes and also flip the bitter gourd for every 15 minutes.

Read more...

CHICK PEA RICE / GARBANZO RICE / CHANNA CHAWAL / CHANNA RICE / CHANNA PULAO - FINGER LICKING GOOD !!!


Channa Masala or Chole Masala is a popular vegetable dish in Pakistani cuisine & Indian cuisine. In India, it is often eaten with a type of fried bread and is known as Chole bhature (puffed poori). There are so many ways of making this and people add and eliminate spices according to their taste and preferences.  Here is the recipe for the Channa Masala/Chole Masala which I have posted earlier.  But the recipe which I am posting today is Channa rice/Channa chawal/Channa pulao which is very very flavorful and it is prepared using the leftover Punjabi chole/channa masala.  It is truly finger licking good.  


CHANNA CHAWAL/ CHANNA RICE/ CHANNA PULAO

Ingredients:

Basmati rice - 1 cup
Left over chole or channa masala - 1 cup (See the recipe here)
Tomato - 1/2 cubed
Whole spices - cardamom, cinnamon and clove each 1
Cumin seeds - 1/2 tsp
Water - 1 1/2 cup
Chilli powder - 1/2 tsp or as needed
Salt
Oil - 1 tbsp
Coriander leaves for garnishing


Method:

1. Wash and soak the rice.  Keep it aside for 10 to 15 minutes.
2. Heat oil in the pan followed by cumin and the whole spices.
3. Once it splutters add the chopped tomato followed by leftover chole masala.
4. Sauté for few minutes, add chilli powder and salt.
5. Add the washed rice.
6. Pour the measured boiling water.  Check for salt.
7. Close the pan or cooker with the lid.
8. Keep the heat to low.  Cook the rice until all the moisture is absorbed.
9. Garnish with the chopped coriander.


Serve hot with your favorite raita !!!

Read more...

DOSA MAAVU BONDA / PUNNUGULU / INDIAN HUSHPUPPIES !!!


If you have left over idli/dosa batter sitting in your refrigerator, then here is a quick and easy snack for you.  These are wonderful deep fried snack with light tangy and chewy texture.   This can be called in variety of names like Dosa pindi unta, Punnugulu, Punnukkulu, Dosa maavu Bonda...whatever way you call it, these little golden beauties are sure an addictive one.  This bonda can be made in different ways by adding Sago, besan or semolina.    If the batter is very sour then it tastes yummy by adding any one of the above ingredients.  I personally love to make them in sour batter by adding semolina or sago.  More the sour the tastier it is :) You can also make them plain even without adding any of the above ingredients.  If you are planning to make them plain then for this the batter need not be very sour. Today I am posting the recipe by adding Semolina to the Dosa/Idli batter.


Here is the recipe for  COCONUT CHUTNEY. 


DOSA MAAVU BONDA / PUNNUGULU - INDIAN HUSHPUPPIES !!!

Ingredients :

Dosa/idli batter - 2 cups
Semolina - 1/4 cup
Rice flour - 2 tbsp
Green chilli paste - 1 tbsp
Mustard seeds - 1 tsp
Curry leaves - few chopped finely
Coriander leaves - few finely chopped
Baking soda - 1/16 tsp (pinch)
Salt as needed
Oil for frying


Method:

1. Mix the semolina with the dosa batter and keep it aside for at least one hour.
2.  When you are ready to make the bonda, add rice flour, baking soda, green chilli paste, chopped curry leaves, chopped coriander leaves and salt.
3. Heat oil in the deep vessel.
4. Temper the mustard in tsp of oil and add to the batter. Add water as needed to adjust the consistency of the batter.
5. The batter should in dropping consistency.
6. Check the temperature of the oil just by dropping small pinch of batter, if the batter immediately comes up and floats on the top of the oil then the temperature of oil is right for frying.
7.  Now drop the batter to small balls directly to the oil, fry them till they are nice golden brown in color.
8. Drop 8 to 10 small balls for every batch.  Don’t over crowd them. Repeat the same with remaining batter and fry them till nice golden brown color.
8.  Drain them in kitchen towel and serve hot with coconut chutney.

 Enjoy !!! 


Note:

1. You can also add finely chopped onion, cumin seeds to the batter.
2. You can also add chilli powder instead of green chilli paste.
3. Add required amount of water to adjust the consistency.

Read more...


Page copy protected against web site content infringement by Copyscape

Visit Great Cooks Community
All recipes are on Petitchef