VEGAN MAPLE MOUSSE WITH COFFE CINNAMON JELLO - DARING CHALLENGE APR 2011
>> Wednesday, April 27, 2011 –
bite size desserts,
cinnamon jello,
coffe jello,
coffee,
Daring Bakers,
desserts using maple syrup,
edible container,
Maple dessert,
maple mousse,
maple syrup,
mousse,
nut container,
vegan mousse
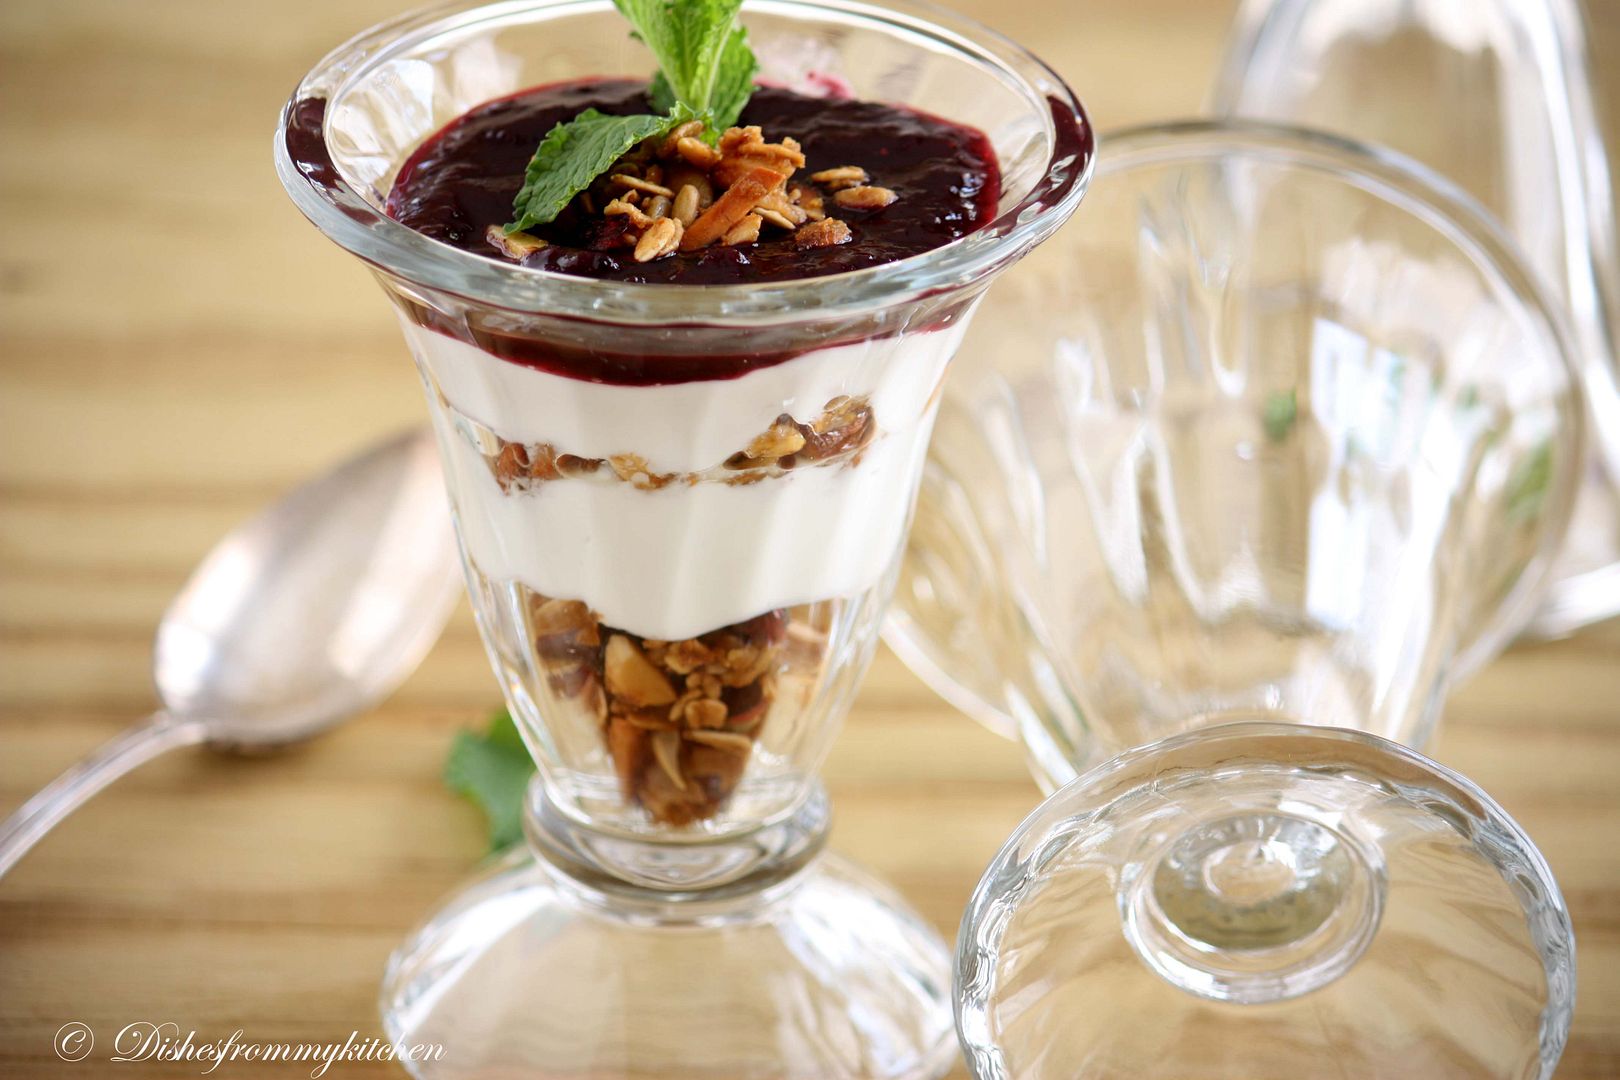
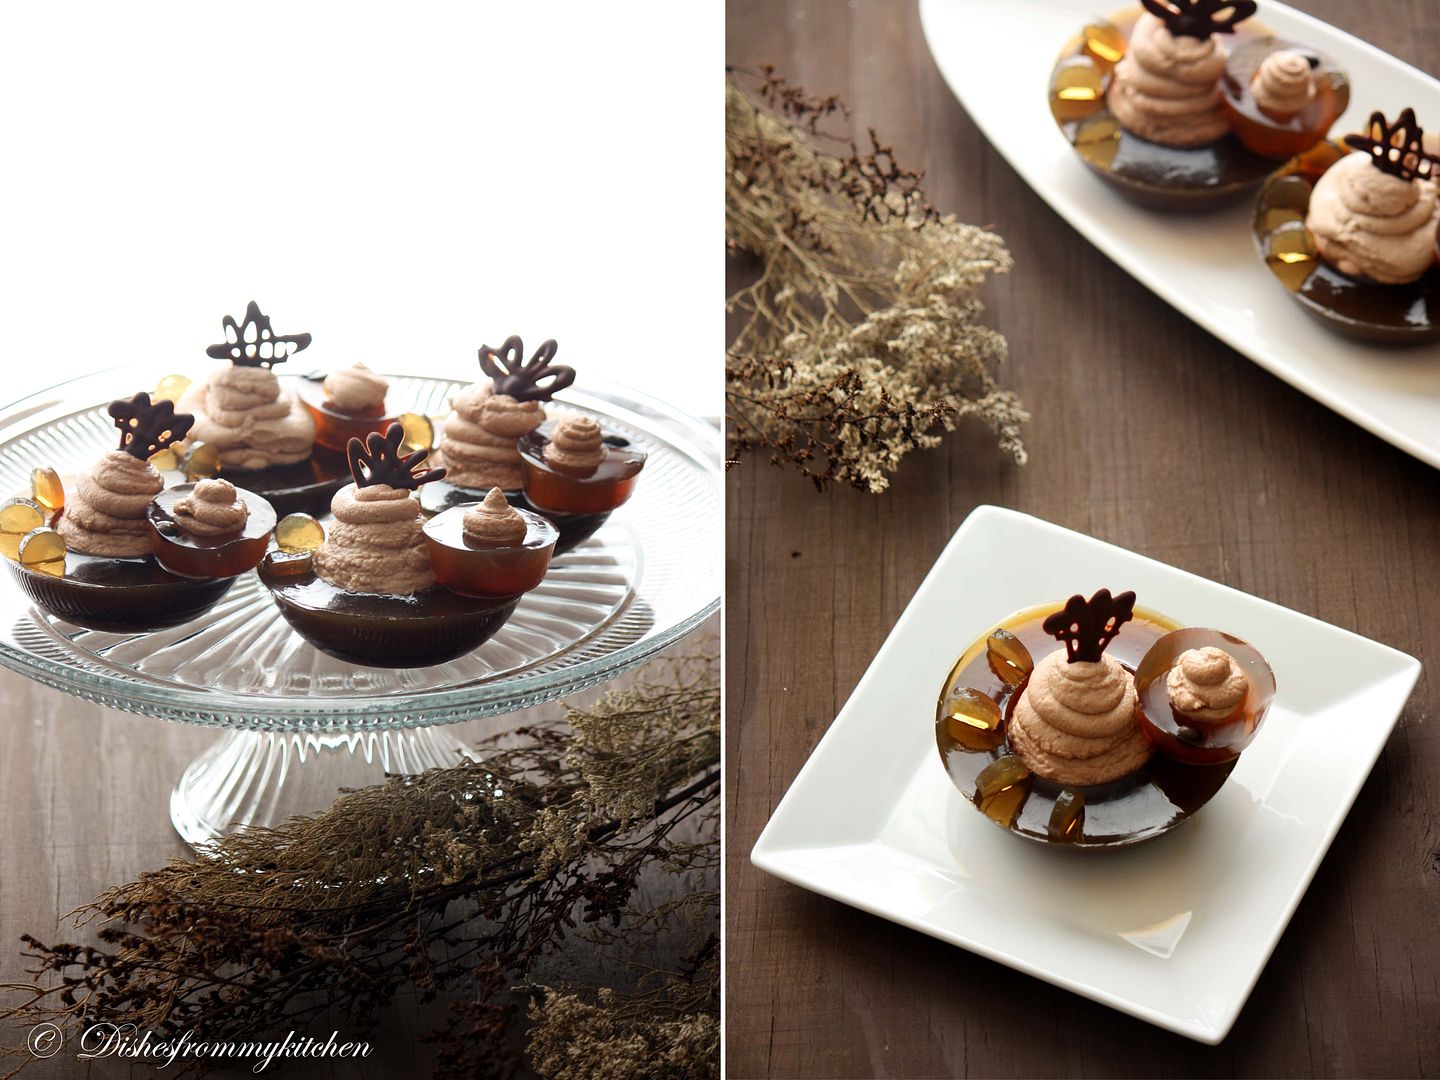
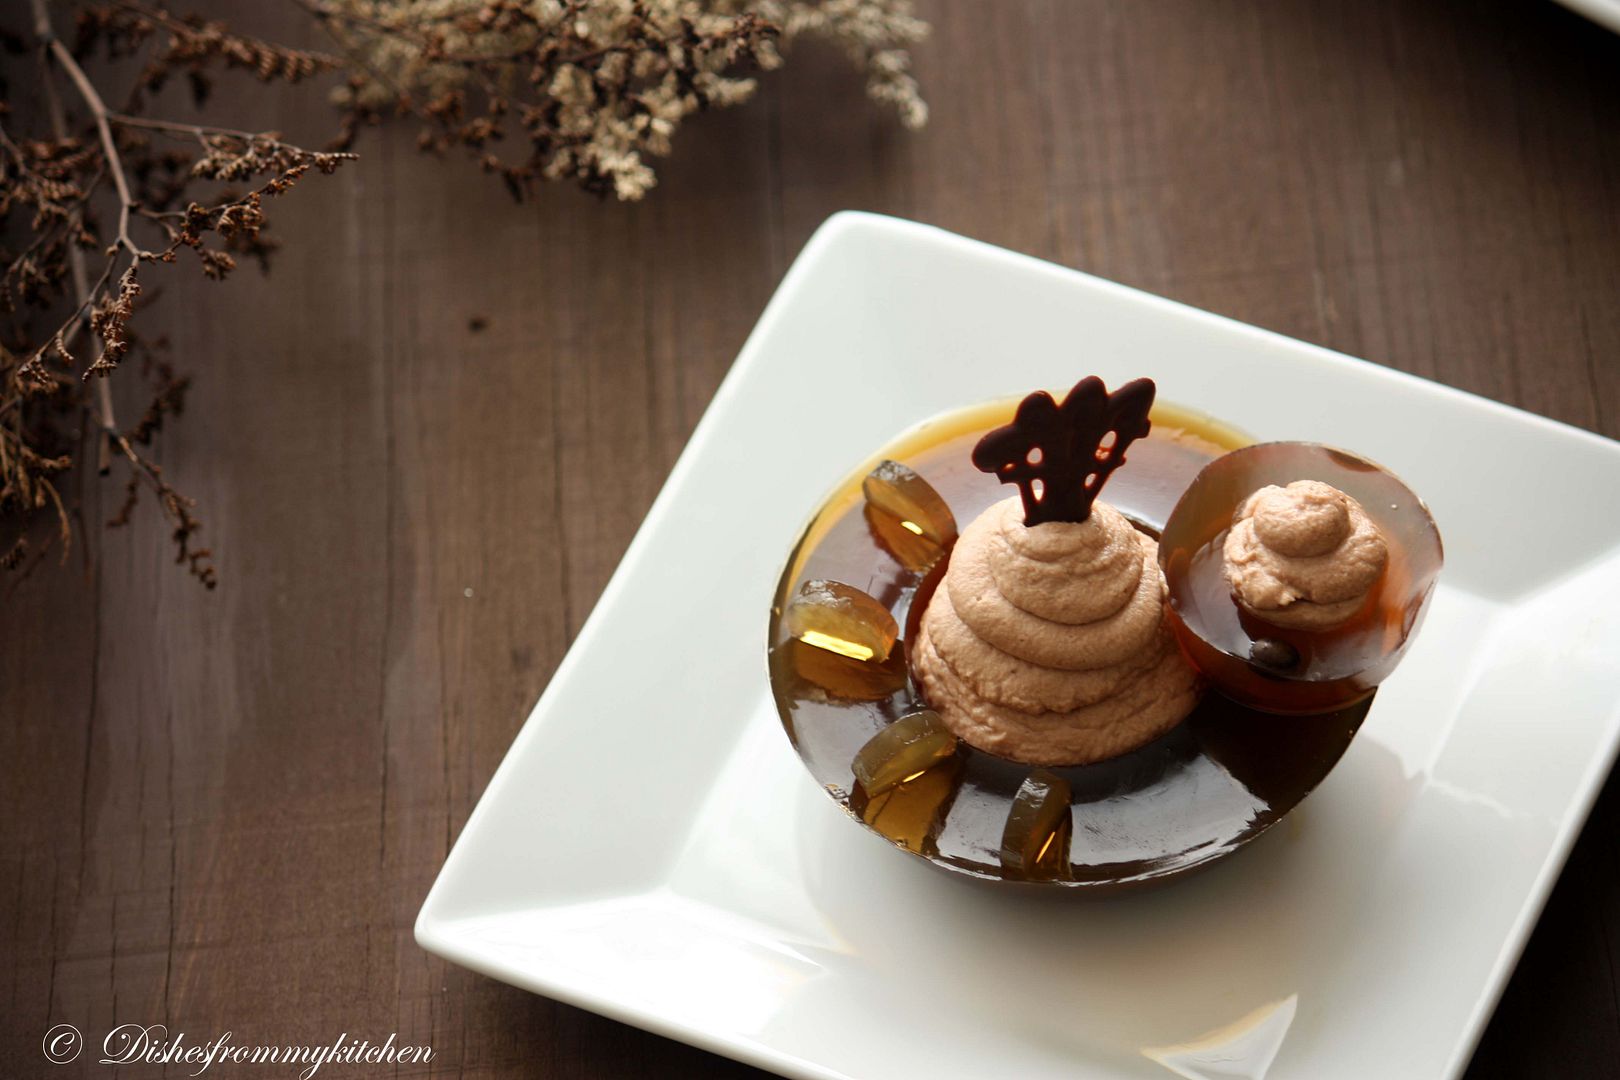
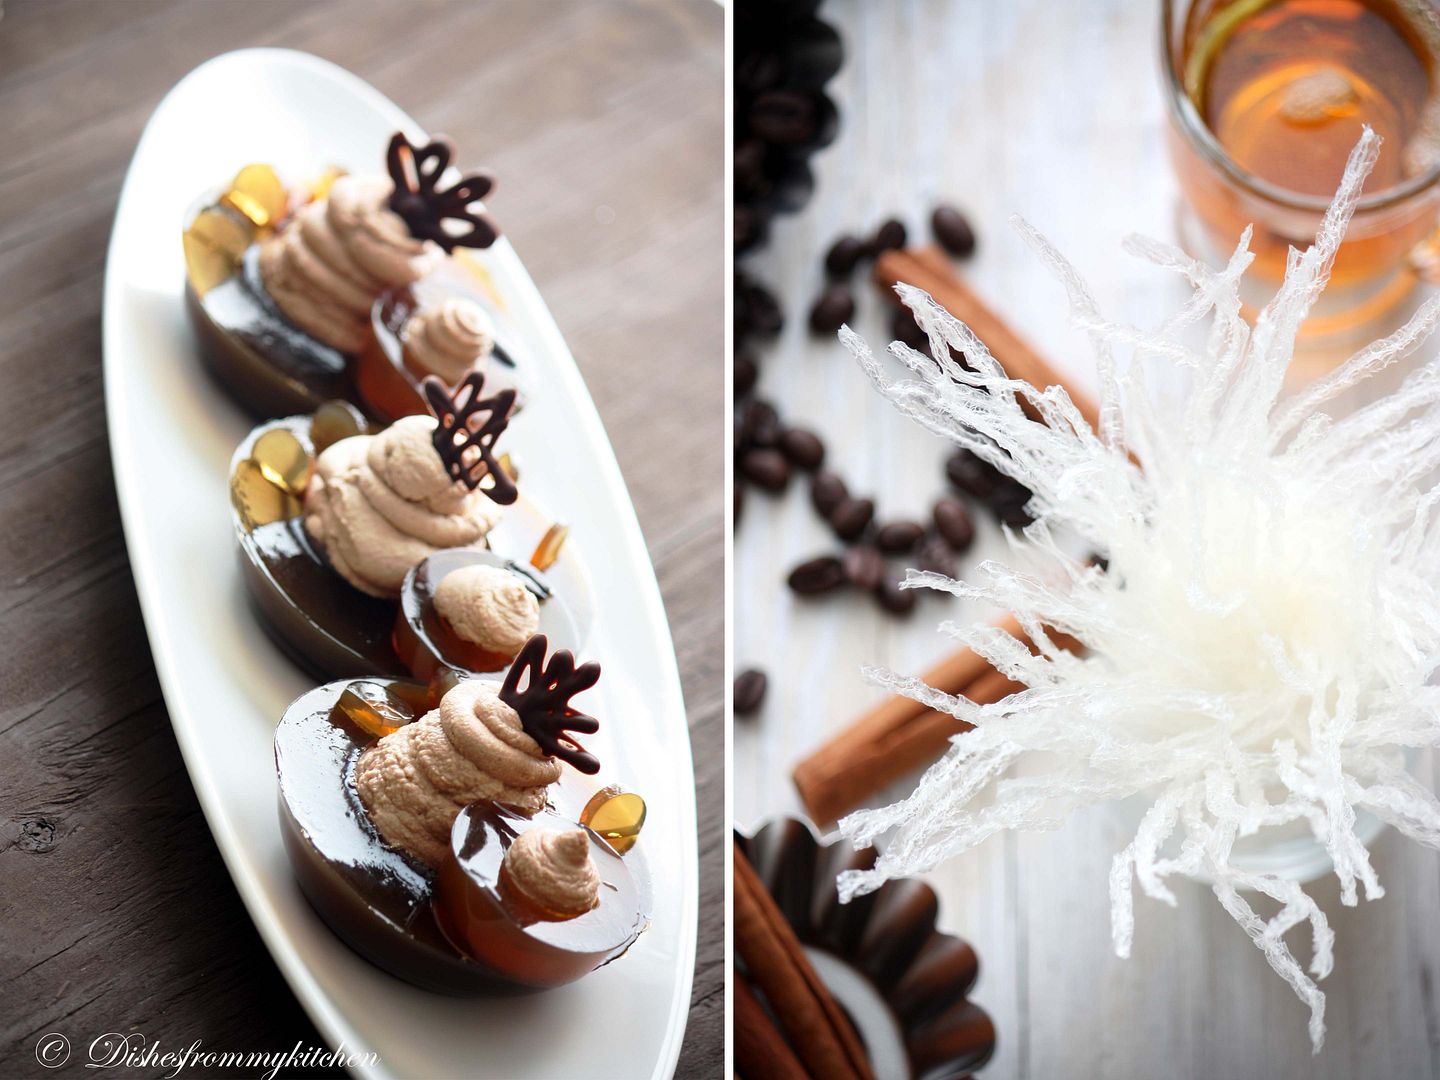
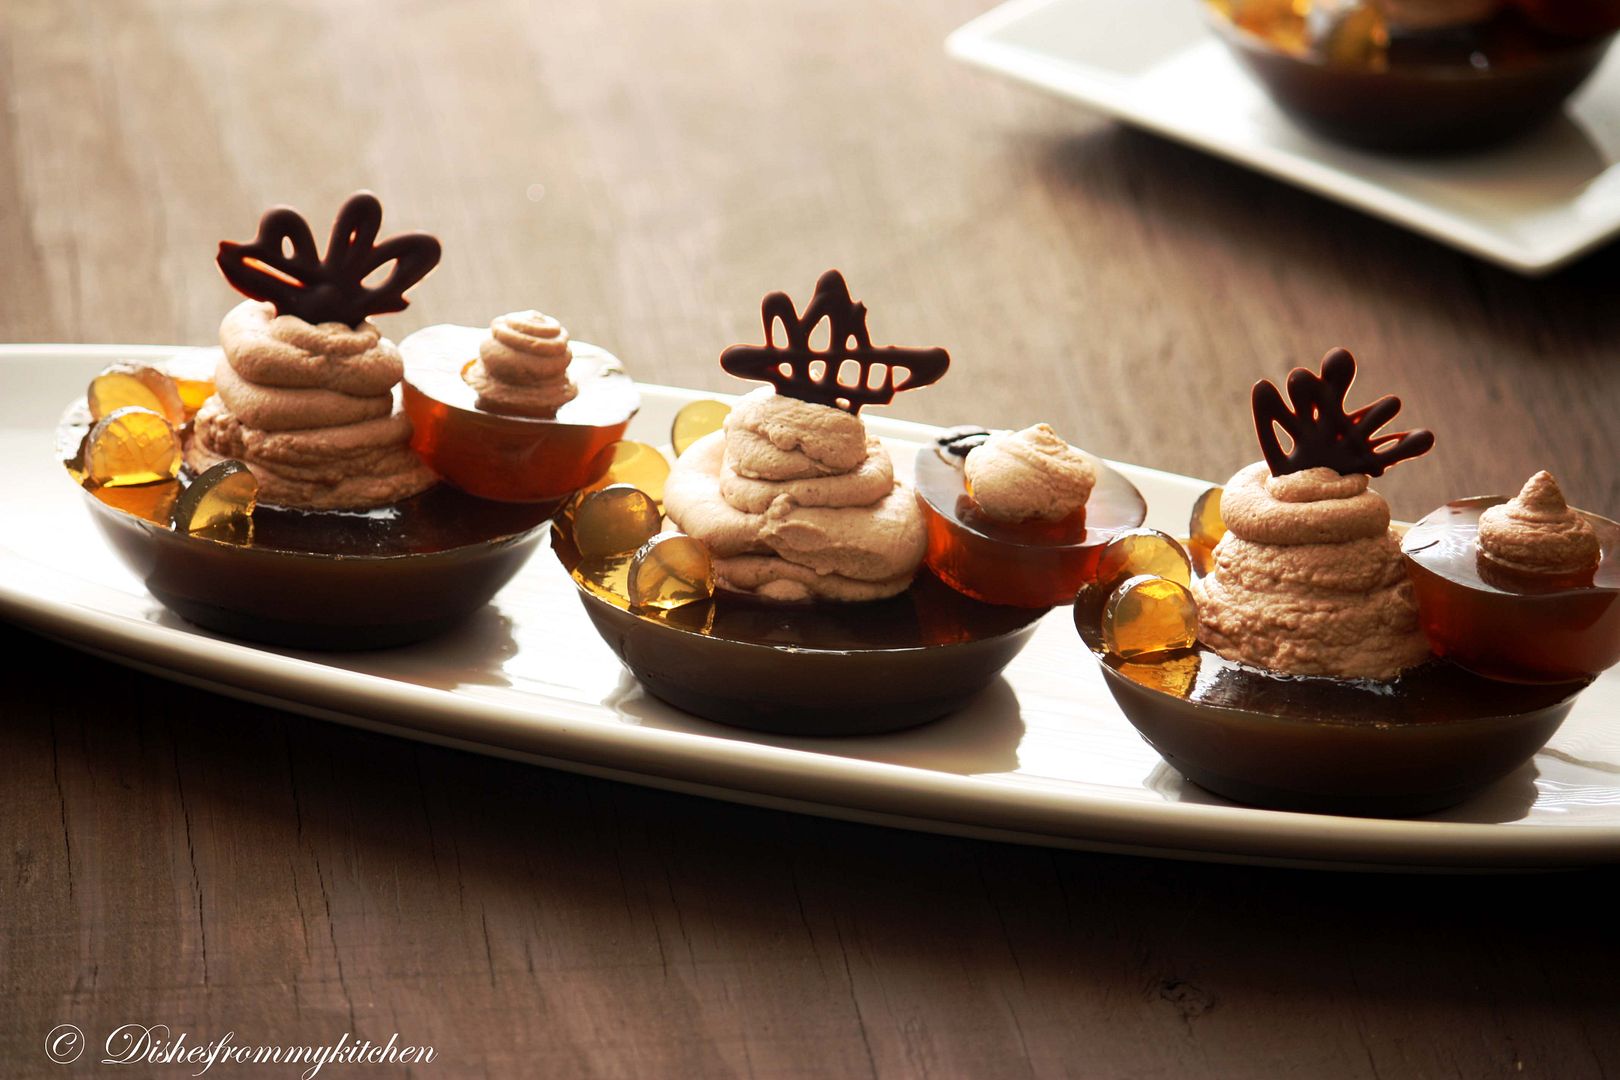
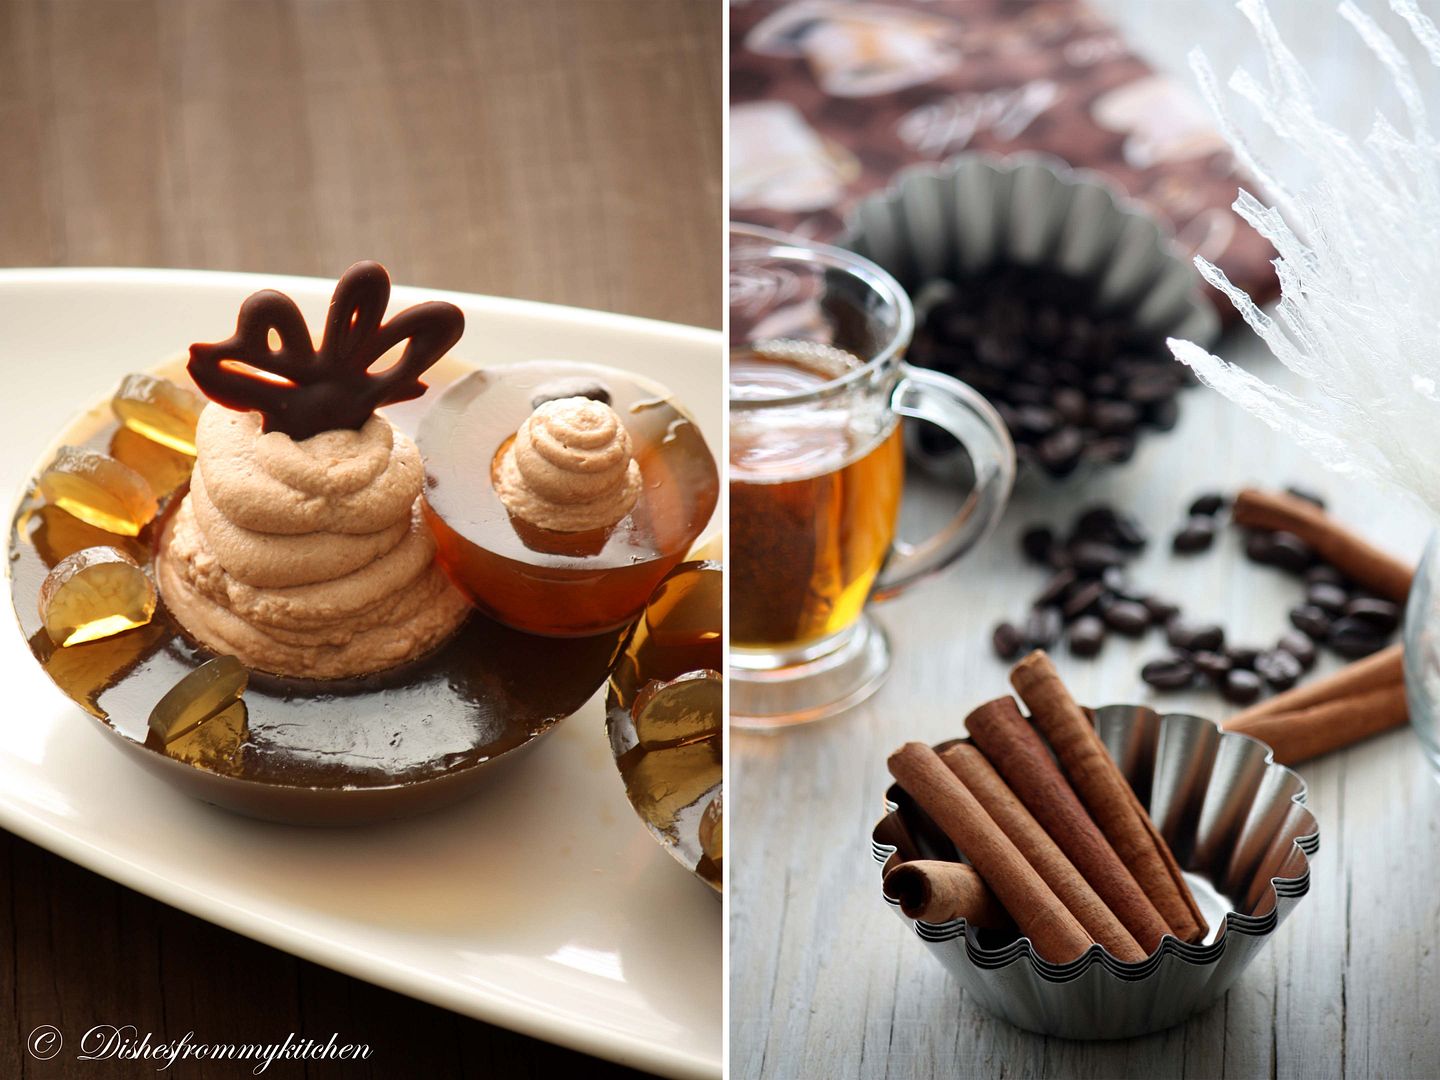
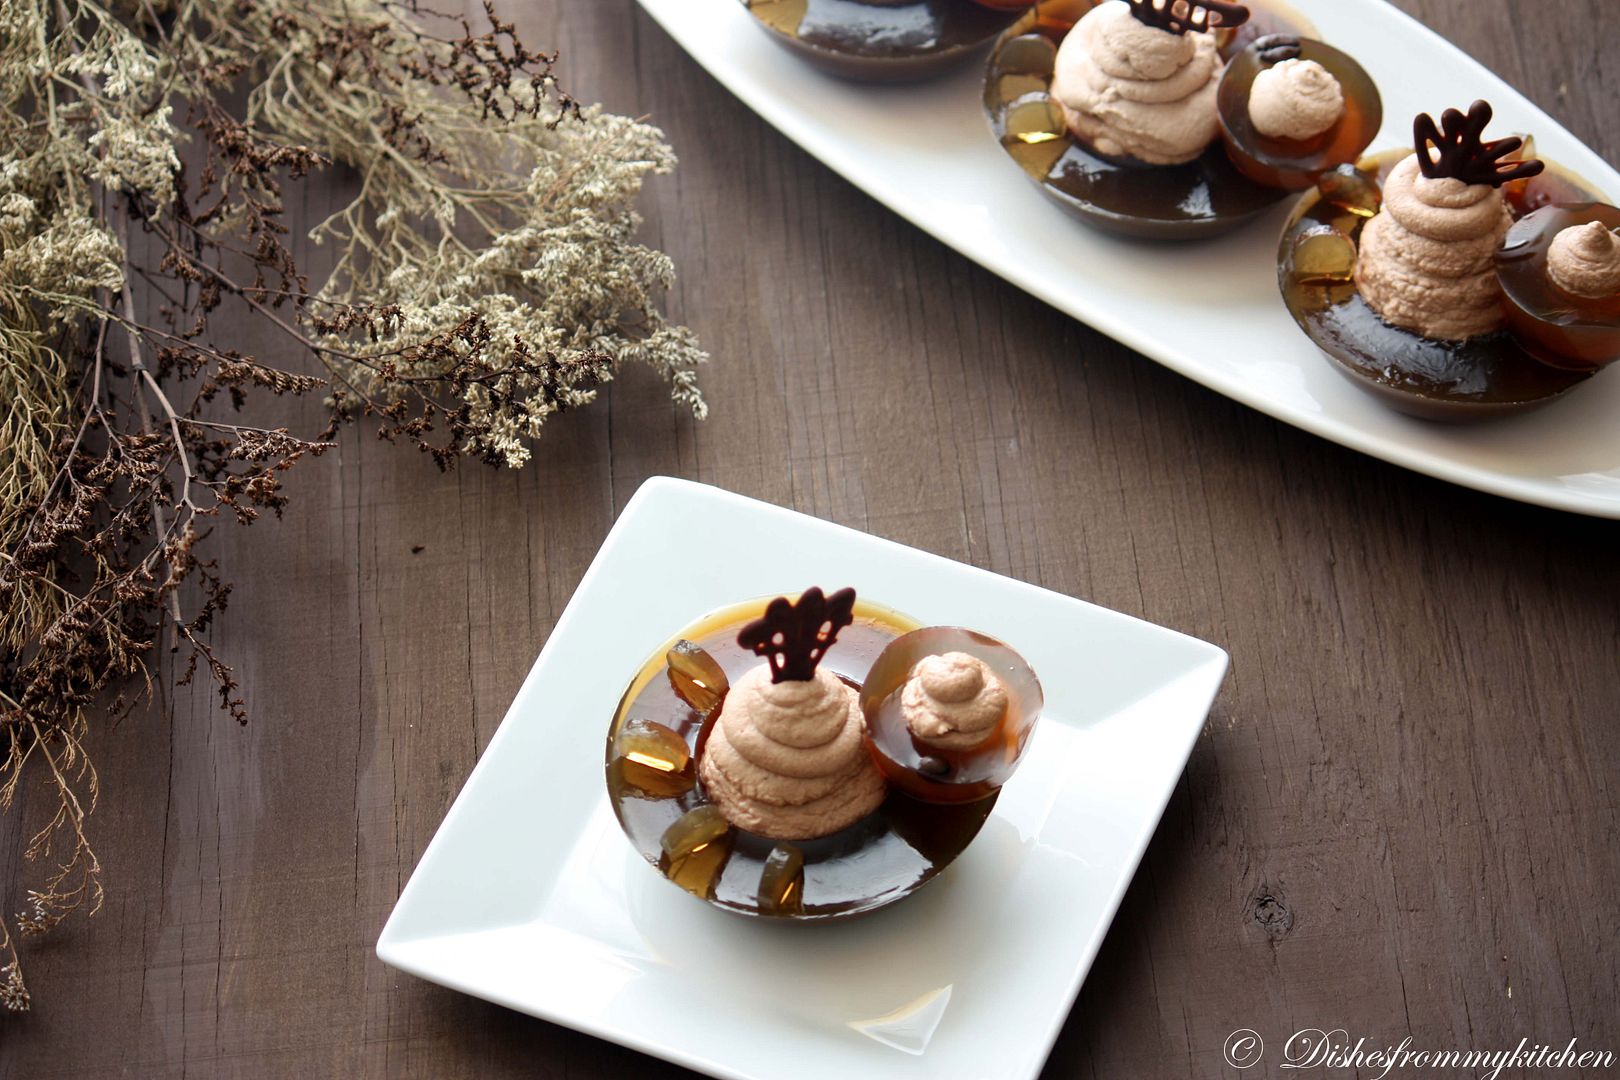
The April 2011 Daring Bakers’ challenge was hosted by Evelyne of the blog Cheap Ethnic Eatz. Evelyne chose to challenge everyone to make a maple mousse in an edible container. Prizes are being awarded to the most creative edible container and filling, so vote on your favorite from April 27th to May 27th at http://thedaringkitchen.com!
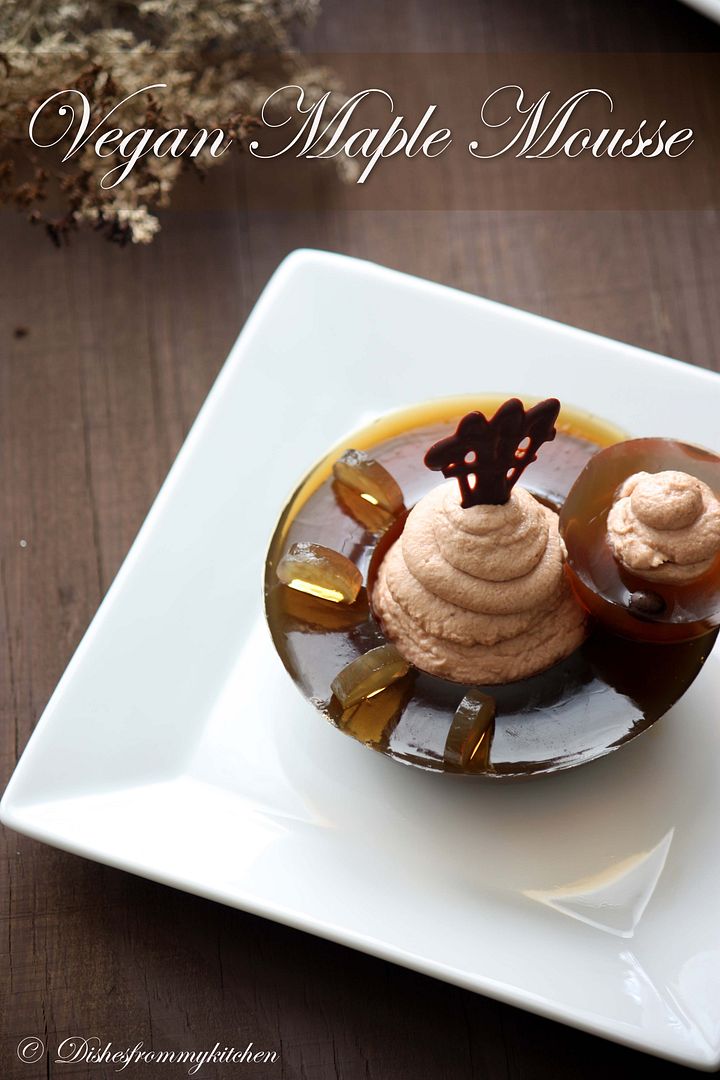
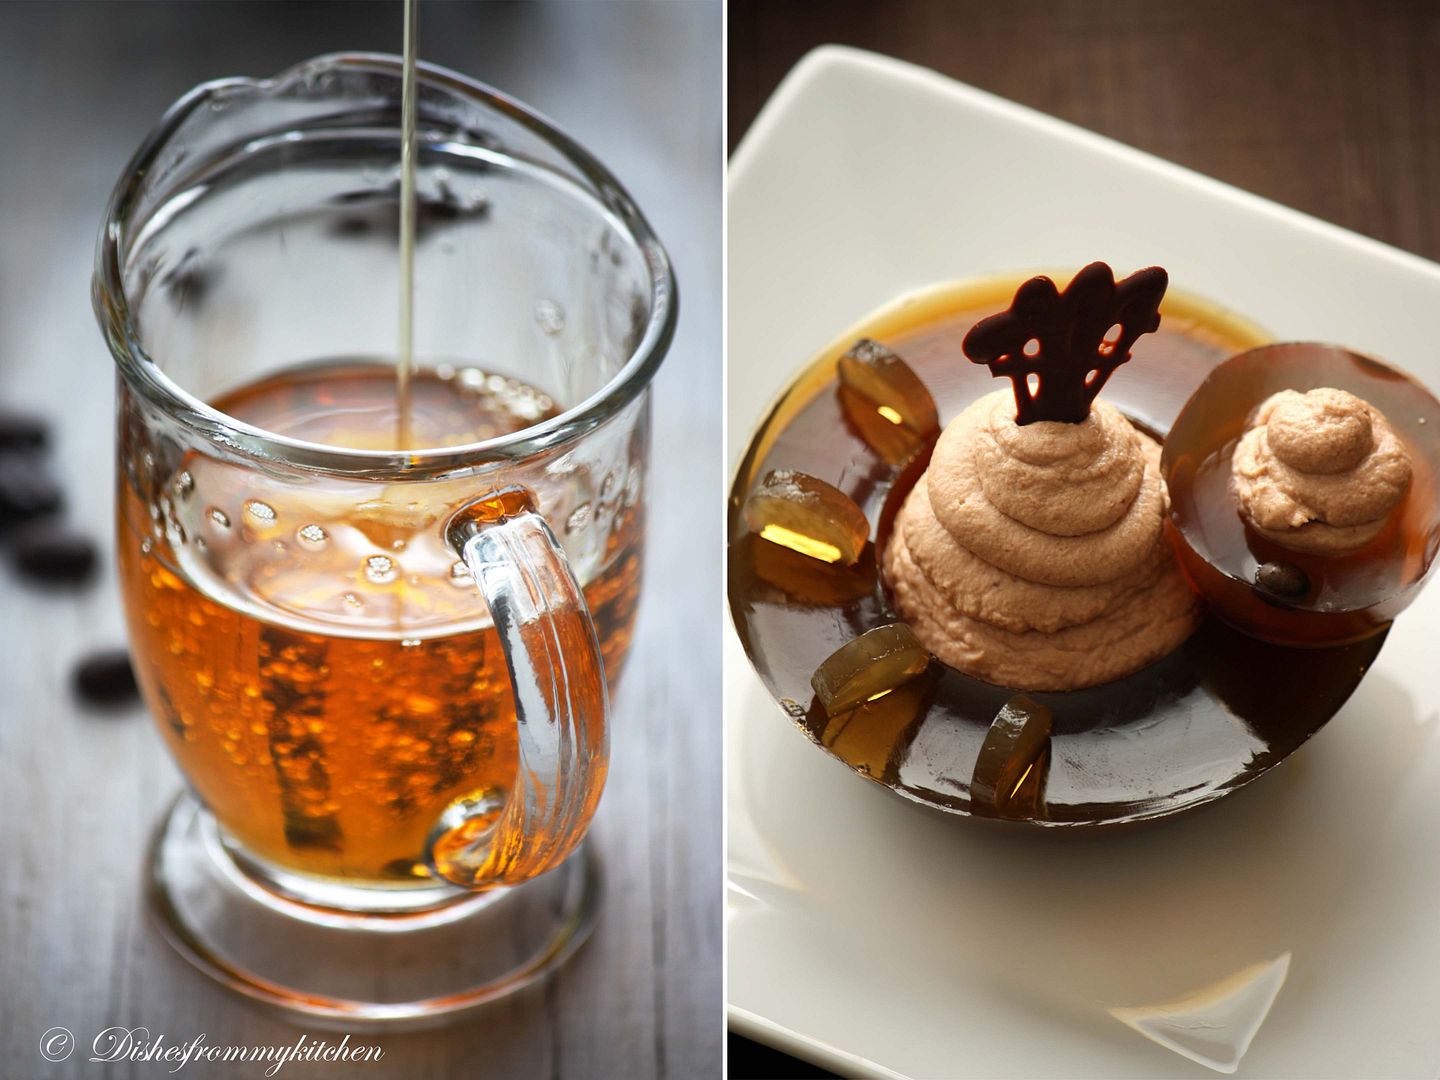
I did mine few hours ago and this was absolutely last minute work. Could not spend much time. Its because I am just getting ready for my vacation :) Happily held up with so many works like shopping. But sadly not good with my health :(.....Ok coming to this month challenge, I choose to do the vegan Maple which tasted so delicious, easy to do and I had all the ingredients in hand. And the container is coffee cinnamon Jell-O (using agar agar) which worked wonderfully with creamy vegan maple mousse. Hope you all enjoy the virtual treat!!! I am also posting the nuts bowl and the Maple mousse using egg yolks you can give it a try as well.
VEGAN MAPLE MOUSSE
Ingredients:
Soft silken tofu - 1 package
Pure maple syrup - 3/4 cup
Agar-agar - 2 tsp
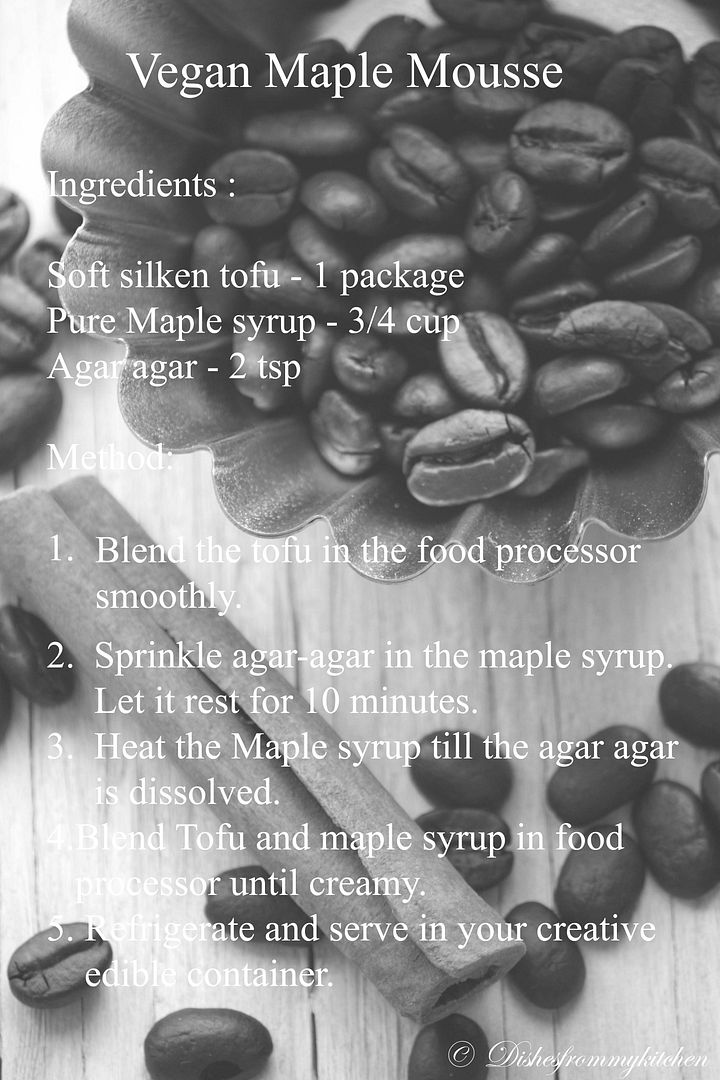
Directions:
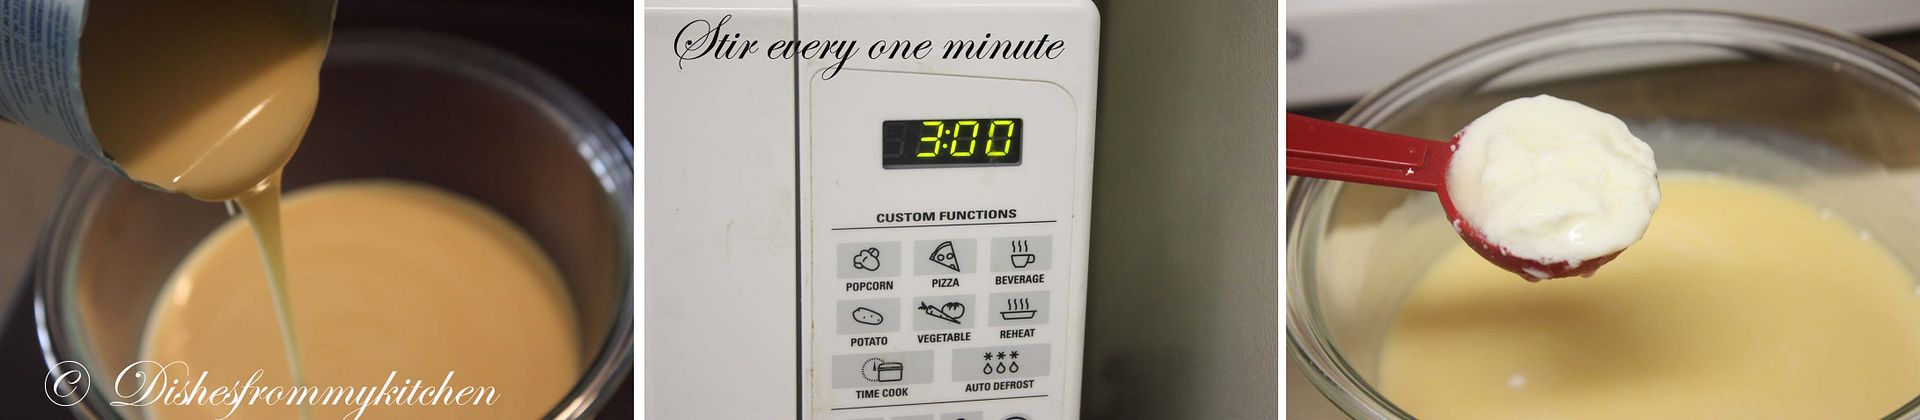
1. Let tofu come to room temperature. Using a food processor, blender, or hand mixer, blend tofu until just smooth. (But I did not blend very smooth)
2. Sprinkle agar-agar on the maple syrup and let it rest for 10 minutes. Heat maple syrup on the stove to a boil and then let it simmer 5 minutes until the agar-agar has dissolved.
3. In a food processor, blender, or a large bowl, blend the tofu with the maple syrup until creamy(I like little bit grainy).
4. Refrigerate for at least one hour. Remove from the fridge and divide among your edible containers.

MY EDIBLE CONTAINER - COFFEE CINNAMON JELLO
Ingredients:
Instant coffee - 1 tbsp
Water - 3 1/4 cup
Sugar - 1 /2 cup
Cinnamon stick - 2
Agar agar - 1 1/2 tsp
Method:
1. Place the water, coffee, Cinnamon, sugar in a small saucepan and bring to gentle boil.
2. Heat until sugar dissolves.
3. Add the agar agar powder in the boiling water until it dissolves.
4. Pour it in the moulds and let it set.
5. Then fill it with the mousse.
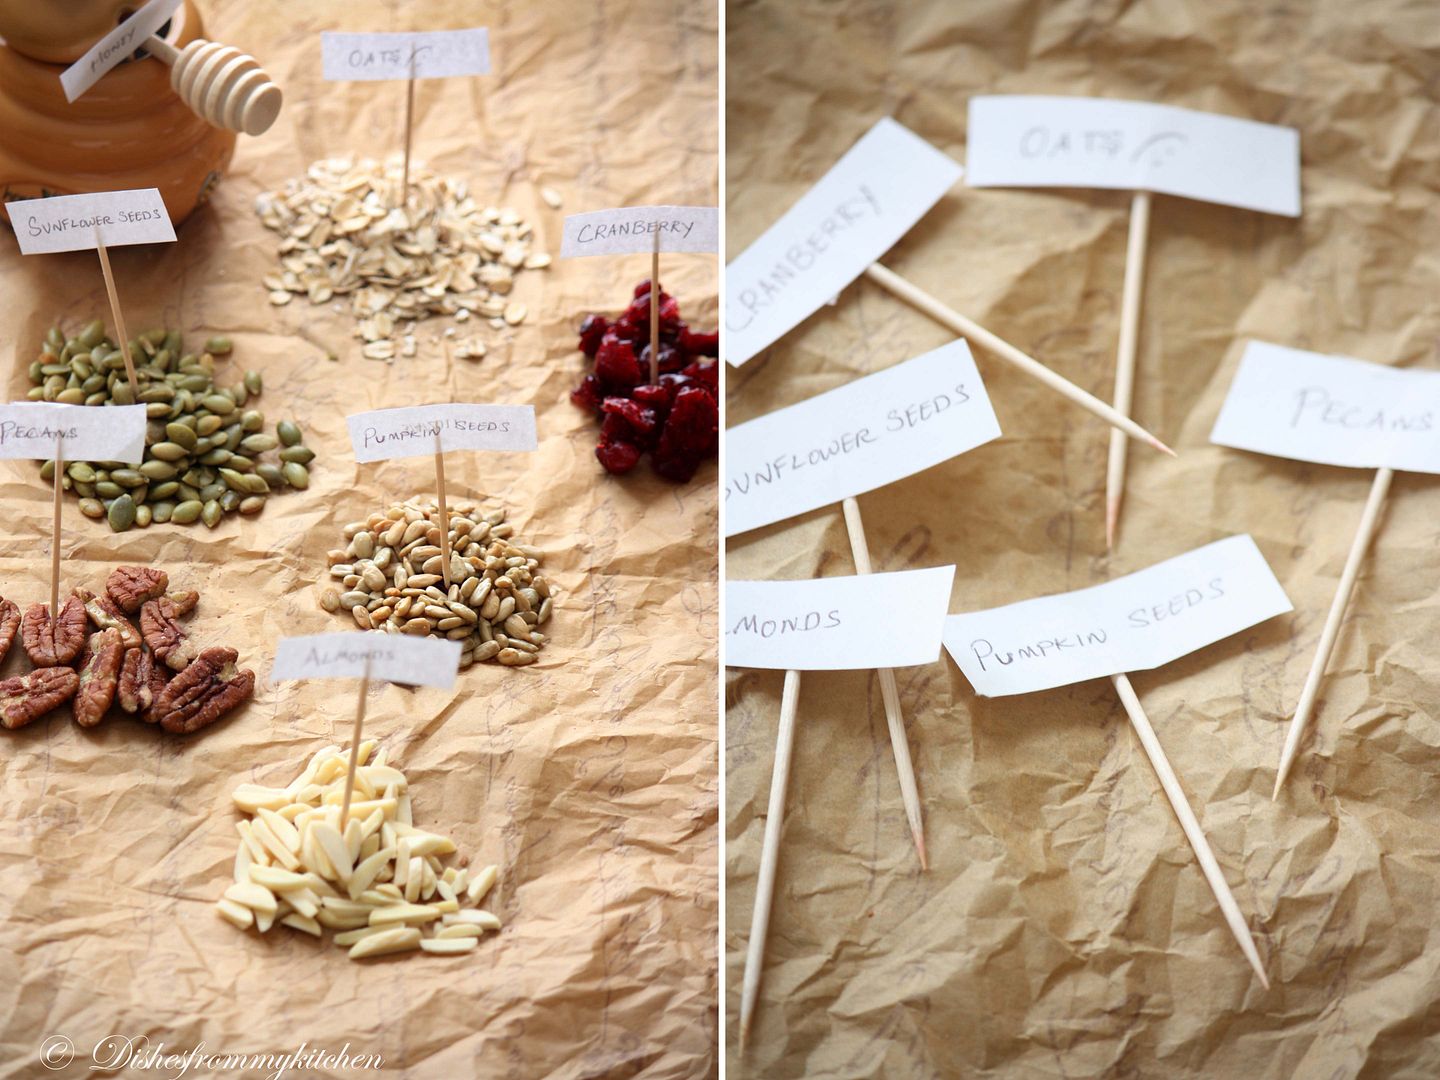
NUT BOWLS
Ingredients:
Crushed nuts of your choice such as almonds, hazelnuts or walnuts - 1 1/2 cups
Egg - 1 beaten room temperature
Sugar - 2 tbsp
Dark chocolate pieces - 1/2 cup
Directions:
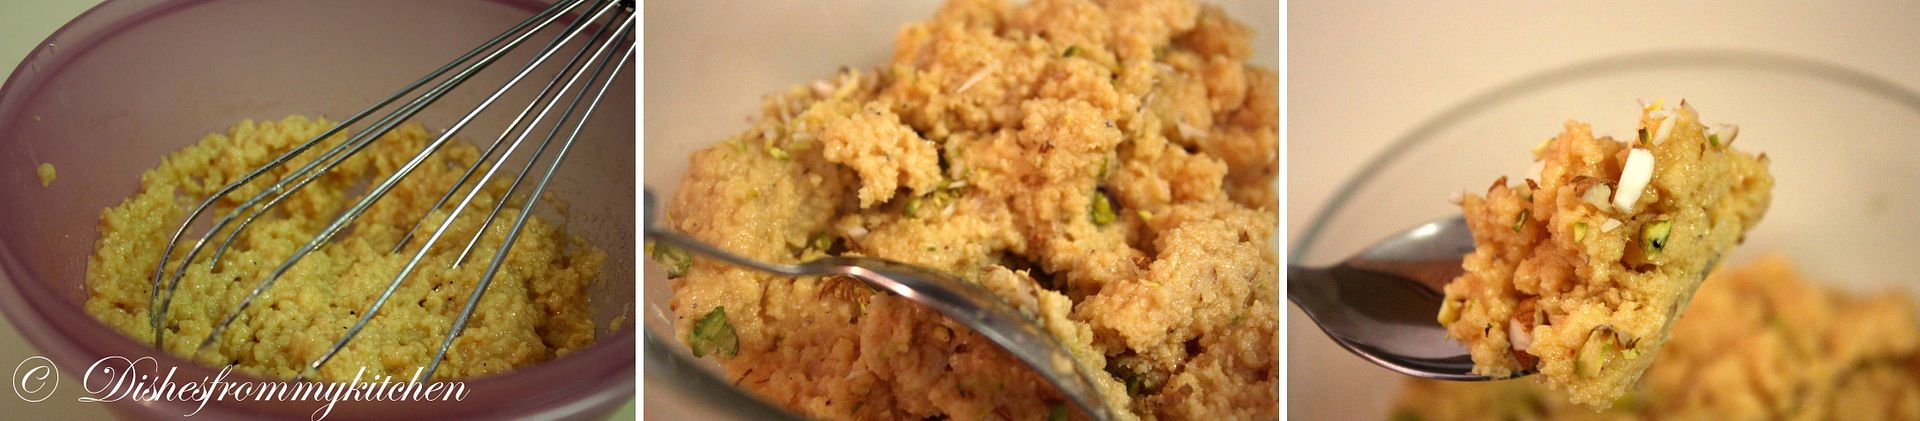
1. Use a food processor or a zip-lock back with a rolling pin to crush your nuts if whole, use about 1 cup of whole nuts to get 3/4 cups crushed. You want it somewhat coarse.
2. In a bowl mix the nuts with the beaten egg and the sugar.
3. Take 6 small ½ cup capacity Pyrex cups or a similar container and line the inside with aluminum foil. Spread ¼ cup of the mixture in the bowl, all the way up to the sides making sure you have a thin and even clean layer all around.
4. Bake at 350 degrees F/175 degrees C. until the nuts are golden and fragrant (about 15 minutes). Let cool completely before unmolding.
5. Melt chocolate (either in the microwave or over a double boiler). Dip the rims of the cooled nut bowls in the chocolate. Place in the freezer for at least 15 minutes or until the chocolate has hardened and is set.
MAPLE MOUSSE
Ingredients:
Pure maple syrup (not maple-flavored syrup) - 1 cup
Egg yolks - 4 large
Unflavored gelatin - 1 package
Whipping cream (35% fat content) - 1 1/2 cups
Directions:
1. Bring maple syrup to a boil then remove from heat.
2. In a large bowl, whisk egg yolks and pour a little bit of the maple syrup in while whisking (this is to temper your egg yolks so they don’t curdle). Read more...