CHRISTMAS PUDDING - DARING BAKER'S CHALLENGE APRIL, 2010
>> Tuesday, April 27, 2010 –
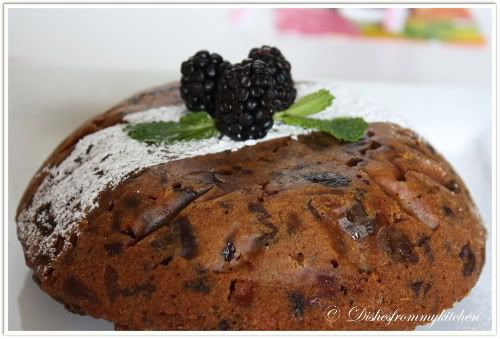
Christmas pudding,
Daring Bakers,
Desserts,
Dry fruits
This is my first Daring Bakers challenge..I was very excited and had fun in doing this, but when the challenge was revealed I was little disappointed because I thought I would not be able to take the first Challenge itself.
The April 2010 Daring Bakers’ challenge was hosted by Esther of The Lilac Kitchen. She challenged everyone to make a traditional British pudding using, if possible, a very traditional British ingredient: Suet.

As the recipe calls for suet which is not suitable for vegetarians. But since Esther gave alternative of using butter it was success...
We had a choice between the traditional suet and butter puddings, but the basic type and cooking method were the same.
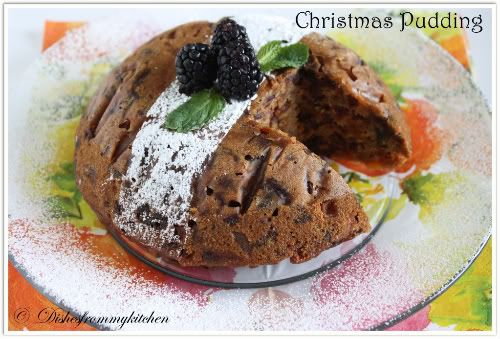
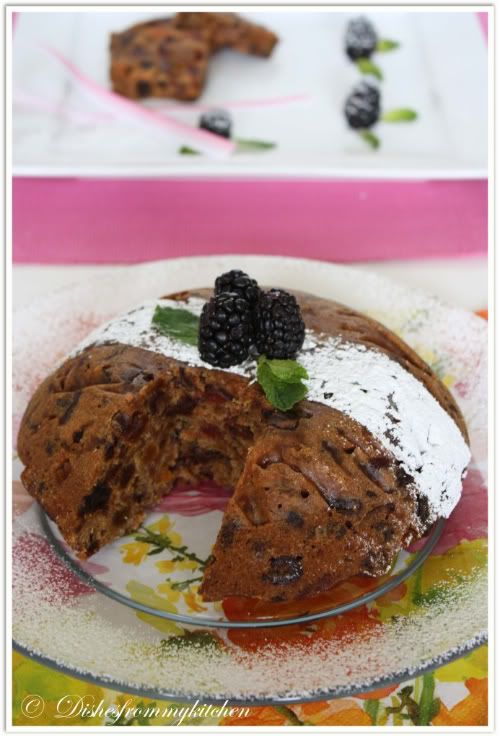
I adapted my recipe here. I almost halved the quantity and substituted liquor with orange juice and slightly adjusted the ingredients to our taste. It came out so delicious. I had a very hard time waiting for 3 hrs while it was steaming, before I could taste it. But its really worth waiting.. We enjoyed a lot. This is my Christmas pudding for the wonderful challenge..
CHRISTMAS PUDDING
Serves 4 to 5
Ingredients:
Mixed dried fruit - 1 1/4 cup
Pitted dried dates - 1/2 chopped
Raisins - 1/2 cup roughly chopped
Red glace cherries - 1/4 cup chopped
Dark brown sugar - 1/2 cup
Butter - 60 gms
Bicarbonate of soda - 1/2 tsp
Grated orange rind - 1/2 tsp
Egg -1 beaten
Plain flour - 1/2 cup sifted
Self-raising flour- 1/2 cup sifted
Cinnamon - 1/2 tsp
Orange liquor - 2 tbsp

Method :
1.Grease an 4 cup-capacity metal pudding steamer.
2.Line base with baking paper.
3.Place mixed dried fruit, dates, raisins, cherries, sugar, butter and 1/2 cup cold water in a saucepan over medium-high heat.
4.Stir until butter has melted. Bring to the boil.
5.Cook, stirring, for 5 minutes. Remove from heat.
6.Now add bicarbonate of soda. Stir to combine.
7.Transfer to a large, heatproof bowl. Cool.
8.Stir in orange rind, egg, flours, cinnamon and orange juice.
9.Spoon mixture into prepared steamer. Smooth top.
10.Cover tightly with Aluminium foil.
11. Place in the pressure cooker or steamer by carefully pouring boiling water to half. Cover pan. Place over medium heat.
12. Steam for 3 to 3 1/2 hrs, topping up with boiling water when necessary.
13.Remove pan from heat. Carefully lift steamer from water. Stand for 10 minutes. Remove lid. Turn pudding onto a plate. Serve with custard.
Note :
1.Wrap pudding in plastic wrap then foil. Refrigerate for 3 months or freeze for up to 1 year.
2.After 3 hrs check whether the pudding is done by inserting skewer or knife, If not done steam for another 1/2 hr.
Verdict :
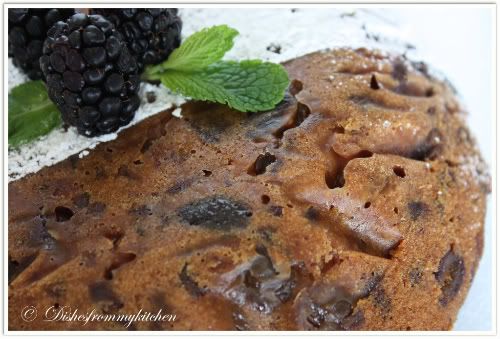
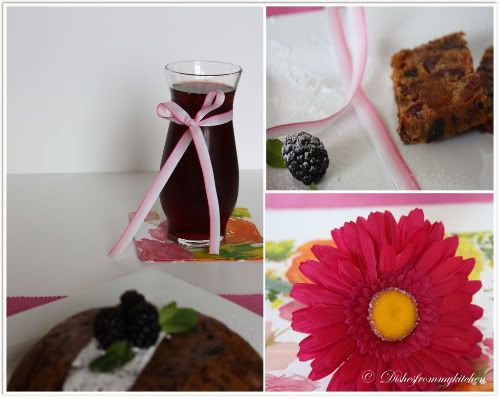
Everything came out so delicious, Since the dry fruits had already sugar in it, I should reduce amount of sugar when I make next time. As the pudding itself had exact sweetness we did not have it with custard. It was delicious on its own like Christmas fruit cake but very moist and heavenly.
Read more...
The April 2010 Daring Bakers’ challenge was hosted by Esther of The Lilac Kitchen. She challenged everyone to make a traditional British pudding using, if possible, a very traditional British ingredient: Suet.
As the recipe calls for suet which is not suitable for vegetarians. But since Esther gave alternative of using butter it was success...
We had a choice between the traditional suet and butter puddings, but the basic type and cooking method were the same.
I adapted my recipe here. I almost halved the quantity and substituted liquor with orange juice and slightly adjusted the ingredients to our taste. It came out so delicious. I had a very hard time waiting for 3 hrs while it was steaming, before I could taste it. But its really worth waiting.. We enjoyed a lot. This is my Christmas pudding for the wonderful challenge..
CHRISTMAS PUDDING
Serves 4 to 5
Ingredients:
Mixed dried fruit - 1 1/4 cup
Pitted dried dates - 1/2 chopped
Raisins - 1/2 cup roughly chopped
Red glace cherries - 1/4 cup chopped
Dark brown sugar - 1/2 cup
Butter - 60 gms
Bicarbonate of soda - 1/2 tsp
Grated orange rind - 1/2 tsp
Egg -1 beaten
Plain flour - 1/2 cup sifted
Self-raising flour- 1/2 cup sifted
Cinnamon - 1/2 tsp
Orange liquor - 2 tbsp
Method :
1.Grease an 4 cup-capacity metal pudding steamer.
2.Line base with baking paper.
3.Place mixed dried fruit, dates, raisins, cherries, sugar, butter and 1/2 cup cold water in a saucepan over medium-high heat.
4.Stir until butter has melted. Bring to the boil.
5.Cook, stirring, for 5 minutes. Remove from heat.
6.Now add bicarbonate of soda. Stir to combine.
7.Transfer to a large, heatproof bowl. Cool.
8.Stir in orange rind, egg, flours, cinnamon and orange juice.
9.Spoon mixture into prepared steamer. Smooth top.
10.Cover tightly with Aluminium foil.
11. Place in the pressure cooker or steamer by carefully pouring boiling water to half. Cover pan. Place over medium heat.
12. Steam for 3 to 3 1/2 hrs, topping up with boiling water when necessary.
13.Remove pan from heat. Carefully lift steamer from water. Stand for 10 minutes. Remove lid. Turn pudding onto a plate. Serve with custard.
Note :
1.Wrap pudding in plastic wrap then foil. Refrigerate for 3 months or freeze for up to 1 year.
2.After 3 hrs check whether the pudding is done by inserting skewer or knife, If not done steam for another 1/2 hr.
Verdict :
Everything came out so delicious, Since the dry fruits had already sugar in it, I should reduce amount of sugar when I make next time. As the pudding itself had exact sweetness we did not have it with custard. It was delicious on its own like Christmas fruit cake but very moist and heavenly.